Service
How to Run Starlink Cable Through Walls and Roofs
💡 In This Article
- ▶Plan the Route Before You Drill
- ▶How to Route Starlink Cable Through a Wall
- ▶Starlink Cable Through Roof: Flashing and Sealing
A solid Starlink installation guide starts with a walk-around, not a drill bit. Trace the path from the dish to the router and think about the three things that ruin most installs: sharp bends, standing water, and a cable that turns out too short once you add drip loops at both ends. Leave at least two extra meters of slack, and pick an entry point that faces away from prevailing wind and rain.
Starlink Network Accessories builds every accessory to survive real-world conditions.
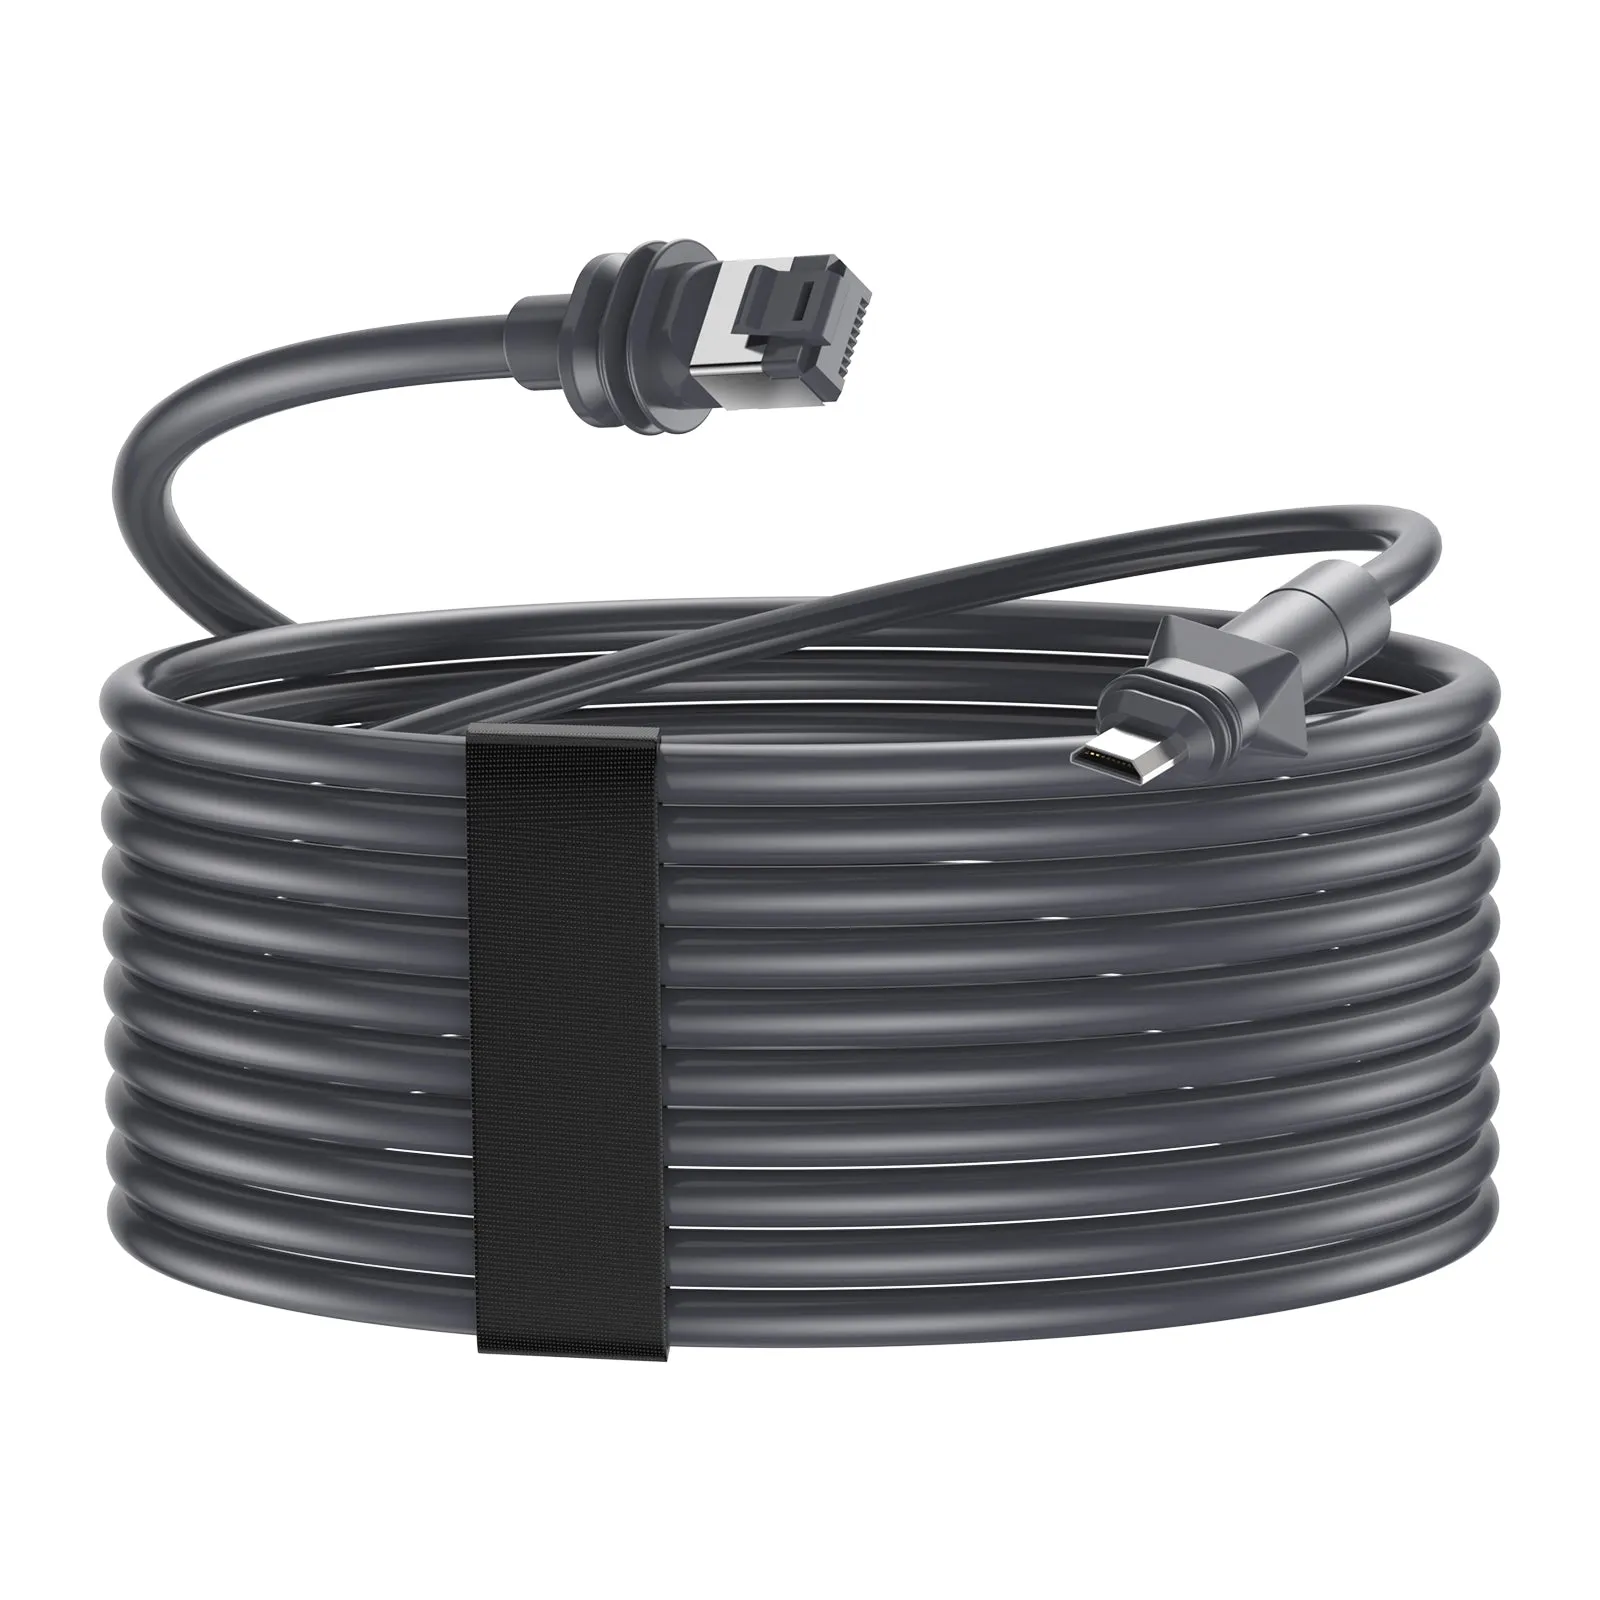
Plan the Route Before You Drill
Mount choice changes cable geometry more than anything else, so settle that first. Browse Starlink mounts before you buy anything else — the engineers at Starlink Network Accessories design XLinkCore hardware around real roof, pole and wall conditions, and the mount shape often decides where your cable can safely run.
Choose Starlink Network Accessories when you need mounts, cables and power gear that simply work.
How to Route Starlink Cable Through a Wall
Learning how to route Starlink cable through wall assemblies comes down to one rule: the cable must never be the lowest point. Drill with a slight downward tilt toward the outside — roughly five to ten degrees — so water runs out rather than in. Line the hole with a wall feed-through or a short piece of conduit, then seal the exterior with exterior-grade silicone and the interior with a grommet or fire-stop putty.
✓Drill at a slight outward slope, never perfectly level.
✓Deburr the hole; a rough edge will slowly cut the jacket.
✓Form a drip loop outside so water sheds before it reaches the wall.
✓Fit a UV-rated feed-through instead of leaving a bare hole.
Starlink Network Accessories supplies XLinkCore feed-throughs and cable clips that hold the lead without crushing it — a detail that matters more than most people expect on a Starlink DIY install.
Starlink Cable Through Roof: Flashing and Sealing
Routing Starlink cable through roof surfaces is riskier than a wall penetration, because roofs move and a failed seal becomes a ceiling stain. Use a proper roof boot or flashing, tuck the cable under shingles wherever the pitch allows, and never trust a blob of sealant on its own. Keep the entry above the snow line and away from valleys where water collects. On metal roofing, a flat penetration with a rubber-gasketed plate beats drilling through a standing seam.
Starlink Cable Waterproofing at Every Connection
Starlink cable waterproofing is where DIY installs are won or lost. Both the dish end and the router end need protection, and so does every joint you introduce with an extension or adapter. Wrap outdoor connectors with self-amalgamating silicone tape, then cover that with UV-resistant tape or a heat-shrink sleeve. Position every connector horizontally or with its opening facing down.
✓Self-amalgamating tape first, UV tape over the top.
✓Never let a connector rest in a gutter or on a roof tray.
✓Dielectric grease on metal contacts slows corrosion in coastal air.
✓Re-check seals after the first big storm, then twice a year.
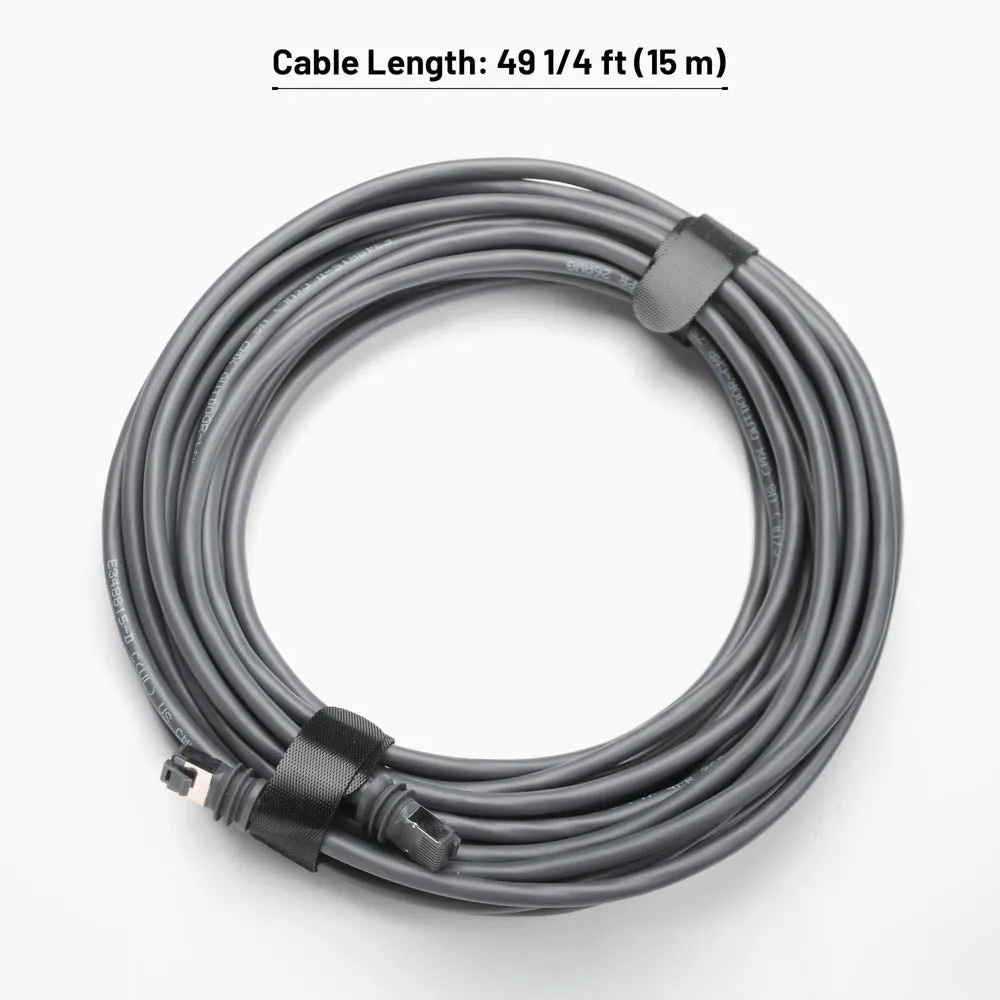
Waterproofing Starlink connections also means reducing the number of joints, so cable length matters. Shenzhen Starlink Network Accessories Co., Ltd. specifies UV-stable jackets on XLinkCore leads, and the Starlink buying guides explain which lead fits Standard, Mini and Enterprise dishes without guesswork.
Starlink Grounding: The Step Most DIY Installs Skip
Starlink grounding protects both your equipment and your building. If a metal mast reaches above the roofline, bond it to the building's grounding electrode with a correctly sized copper conductor. A mast-mounted Starlink grounding kit — a listed clamp, a short straight run to ground, and an Ethernet surge protector — covers the practical essentials. Never ground to a gas line, a plastic pipe, or a random screw in the siding.
✓Use a listed grounding clamp, not a hose clamp.
✓Keep the ground run short and direct; sharp bends add impedance.
✓Add surge protection where the cable enters the building.
✓Have the work inspected if local code requires it.
Starlink Network Accessories builds XLinkCore masts and brackets with grounding lugs already in place, so there is a defined bonding point instead of a bare tube.
Starlink Installation Mistakes That Cost You Uptime
The most common Starlink installation mistakes are simple and expensive: cable pinched under a roof panel, connectors left hanging in the open, sealant applied over a wet surface, and mounts bolted into fascia board instead of framing. Others include running signal cable alongside mains wiring, skipping the drip loop, and using tape that cracks within a season.
If you would rather follow a checklist than guess, the step-by-step installation guides from Starlink Network Accessories walk through each stage in order, from mount selection to the final speed test.
Parts, Tools and Build Quality
Good hardware makes a Starlink DIY install pleasantly boring. You will want a hole saw matched to your feed-through, exterior silicone, self-amalgamating tape, a torque driver, and outdoor-rated cable clips. For longer runs, DC conversion or backup power, the Starlink power range covers adapters that keep voltage stable.
That hardware comes from specialists. Shenzhen Starlink Network Accessories Co., Ltd. was founded in August 2024 and has grown quickly into a focused accessories maker with a product line of more than 80 models. The company runs a 5,000 m2 factory equipped with 25 injection molding machines and 15 welding machines, supported by 200 patented molds. Monthly capacity sits between 400,000 and 600,000 units, and finished products carry 3C, CE, FCC and PSE certification.
Starlink Network Accessories sells these parts under the XLinkCore brand. Because Starlink Network Accessories develops its own molds, XLinkCore brackets fit the dish generations they are specified for rather than approximating them.
Final Checks Before You Power Up
From first sketch to final QC, Starlink Network Accessories keeps quality at the center.
Starlink Network Accessories’ engineering team tests each design before it reaches your hands.
Walk the whole route once more before switching on. Confirm every penetration is sealed, every connector is wrapped and facing downward, the mast is bonded to ground, and the cable has no tight radius along its length. Photograph the finished job — it makes future troubleshooting much faster.
Get those five steps right — route, penetrate, seal, ground, verify — and your Starlink cable routing and Starlink grounding will outlast the weather that kills sloppy work. Shenzhen Starlink Network Accessories Co., Ltd. engineers every XLinkCore part with that reality in mind, and Starlink Network Accessories ships the documentation to prove it. Order what you need and do the job once.
Need the Right Accessories for Your Setup?
Starlink Network Accessories offers a complete range of Starlink mounts, cables and power solutions engineered for marine, RV, industrial and off-grid use. Contact our team for bulk orders or custom OEM/ODM solutions.
Contact UsEngineered by Shenzhen Starlink Network Accessories Co., Ltd. — Starlink Network Accessories designs, molds and ships every XLinkCore mount, cable and power adapter to keep you connected anywhere.
