Service
Starlink Install: Cable Routing, Seals, Grounding
💡 In This Article
- ▶Start With a Starlink Installation Guide You Can Trust
- ▶Plan Starlink Cable Routing Before You Drill
- ▶How to Route Starlink Cable Through Wall or Roof
A reliable Starlink installation guide saves time, protects your hardware, and keeps your connection stable through wind, rain, and temperature swings. Whether you are mounting a dish on a home, van, or job-site mast, the basics are the same: plan the cable path, seal every entry point, and ground the system correctly. Shenzhen Starlink Network Accessories Co., Ltd. has supported these installations since August 2024 with a product line of more than 80 models, so this advice comes from real manufacturing and field experience. XLinkCore mounts, seals, and adapters are designed to make each step repeatable, even for a first-time Starlink DIY install.
Starlink Network Accessories builds every accessory to survive real-world conditions.

Start With a Starlink Installation Guide You Can Trust
Choose Starlink Network Accessories when you need mounts, cables and power gear that simply work.
Plan Starlink Cable Routing Before You Drill
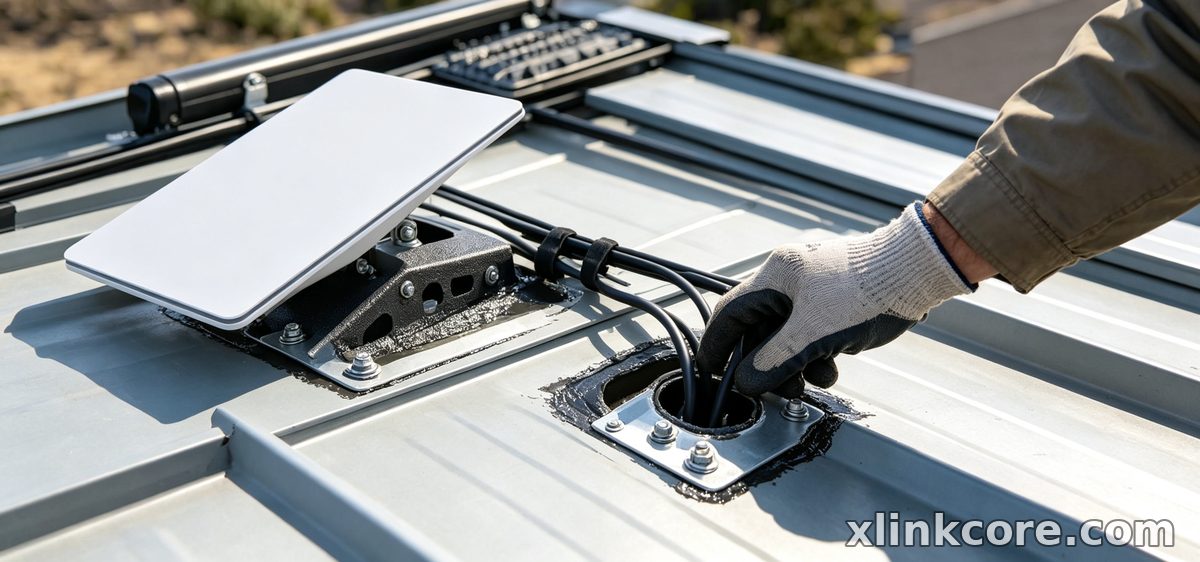
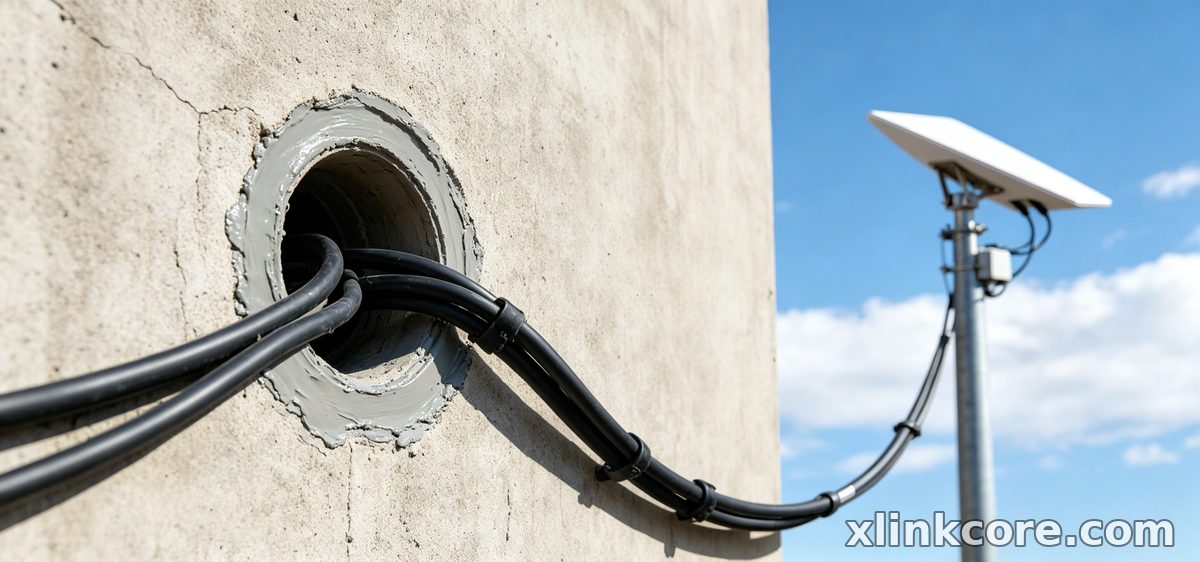
Good Starlink cable routing starts with a simple sketch. Walk the route from dish to router and note every turn, penetration, and drip loop. Keep the cable away from sharp roof edges, hot chimneys, and standing water. A shorter run reduces signal loss, but a safer run reduces failures. If you are unsure which cable fits your dish, review the Starlink buying guides before ordering. Starlink Network Accessories offers cable-entry plates and routing clips that hold the cable firm without crushing it.
✓Measure twice and leave a service loop near the router.
✓Avoid tight bends; respect the cable's minimum bend radius.
✓Create a drip loop before every wall or roof entry.
✓Label both ends if you run more than one cable.
How to Route Starlink Cable Through Wall or Roof
When learning how to route Starlink cable through wall, choose a spot above the flood line and below the roof overhang if possible. Drill with a slight downward angle so water runs outside, then line the hole with a wall sleeve or bushing. For Starlink cable through roof, use a proper roof boot or flashing plate rather than sealant alone. XLinkCore cable-entry seals and grommets are sized for common Starlink cable diameters and compress evenly to keep moisture out. After insertion, secure the cable with UV-resistant clips every 12-18 inches. If the run crosses a long distance, add an XLinkCore cable protector where abrasion is likely.
Waterproof Starlink Connections the Right Way
Starlink cable waterproofing is not just about the dish connector. Every outdoor joint, splitter, and adapter needs protection. Clean the connector, apply dielectric grease if the manufacturer allows it, and wrap self-amalgamating silicone tape from the cable jacket up over the connector. Finish with UV-rated electrical tape for mechanical strength. To waterproof Starlink connections at a wall plate, use a gasketed box and a drip loop. Starlink Network Accessories manufactures weather seals and enclosure accessories that simplify this step. Avoid wrapping a wet connector; dry it first or trapped moisture will cause corrosion. XLinkCore products are tested for outdoor exposure and fit the latest dish versions.
Starlink Grounding: A Practical Step-by-Step
Starlink grounding protects your equipment from static buildup and nearby strikes. Use a listed ground rod or an existing building ground, and keep the ground wire as short and straight as possible. A Starlink grounding kit from Starlink Network Accessories can include a proper lug, copper conductor, and corrosion-resistant hardware. Bond the mount or mast, then route the wire to the ground point without sharp bends. Do not daisy-chain multiple grounds through one thin wire. If local code requires a licensed electrician, hire one. Shenzhen Starlink Network Accessories Co., Ltd. supplies grounding and mounting hardware through the installation guides section, where each step is explained in plain language.
Common Starlink Installation Mistakes to Avoid
Most Starlink installation mistakes come from rushing the weatherproofing or ignoring strain relief. Other frequent issues include mounting the dish where trees or buildings block the view, skipping a drip loop, over-tightening cable ties, and using indoor connectors outdoors. A weak mount can also fail in high wind, so match the bracket to your roof, pole, or wall type. XLinkCore mounts include reinforced plates and stainless fasteners for exactly this reason. Starlink Network Accessories' range covers roof, pole, wall, and marine options, and the mount selection guide helps you choose before you climb.
Tools, Parts, and Manufacturer Support
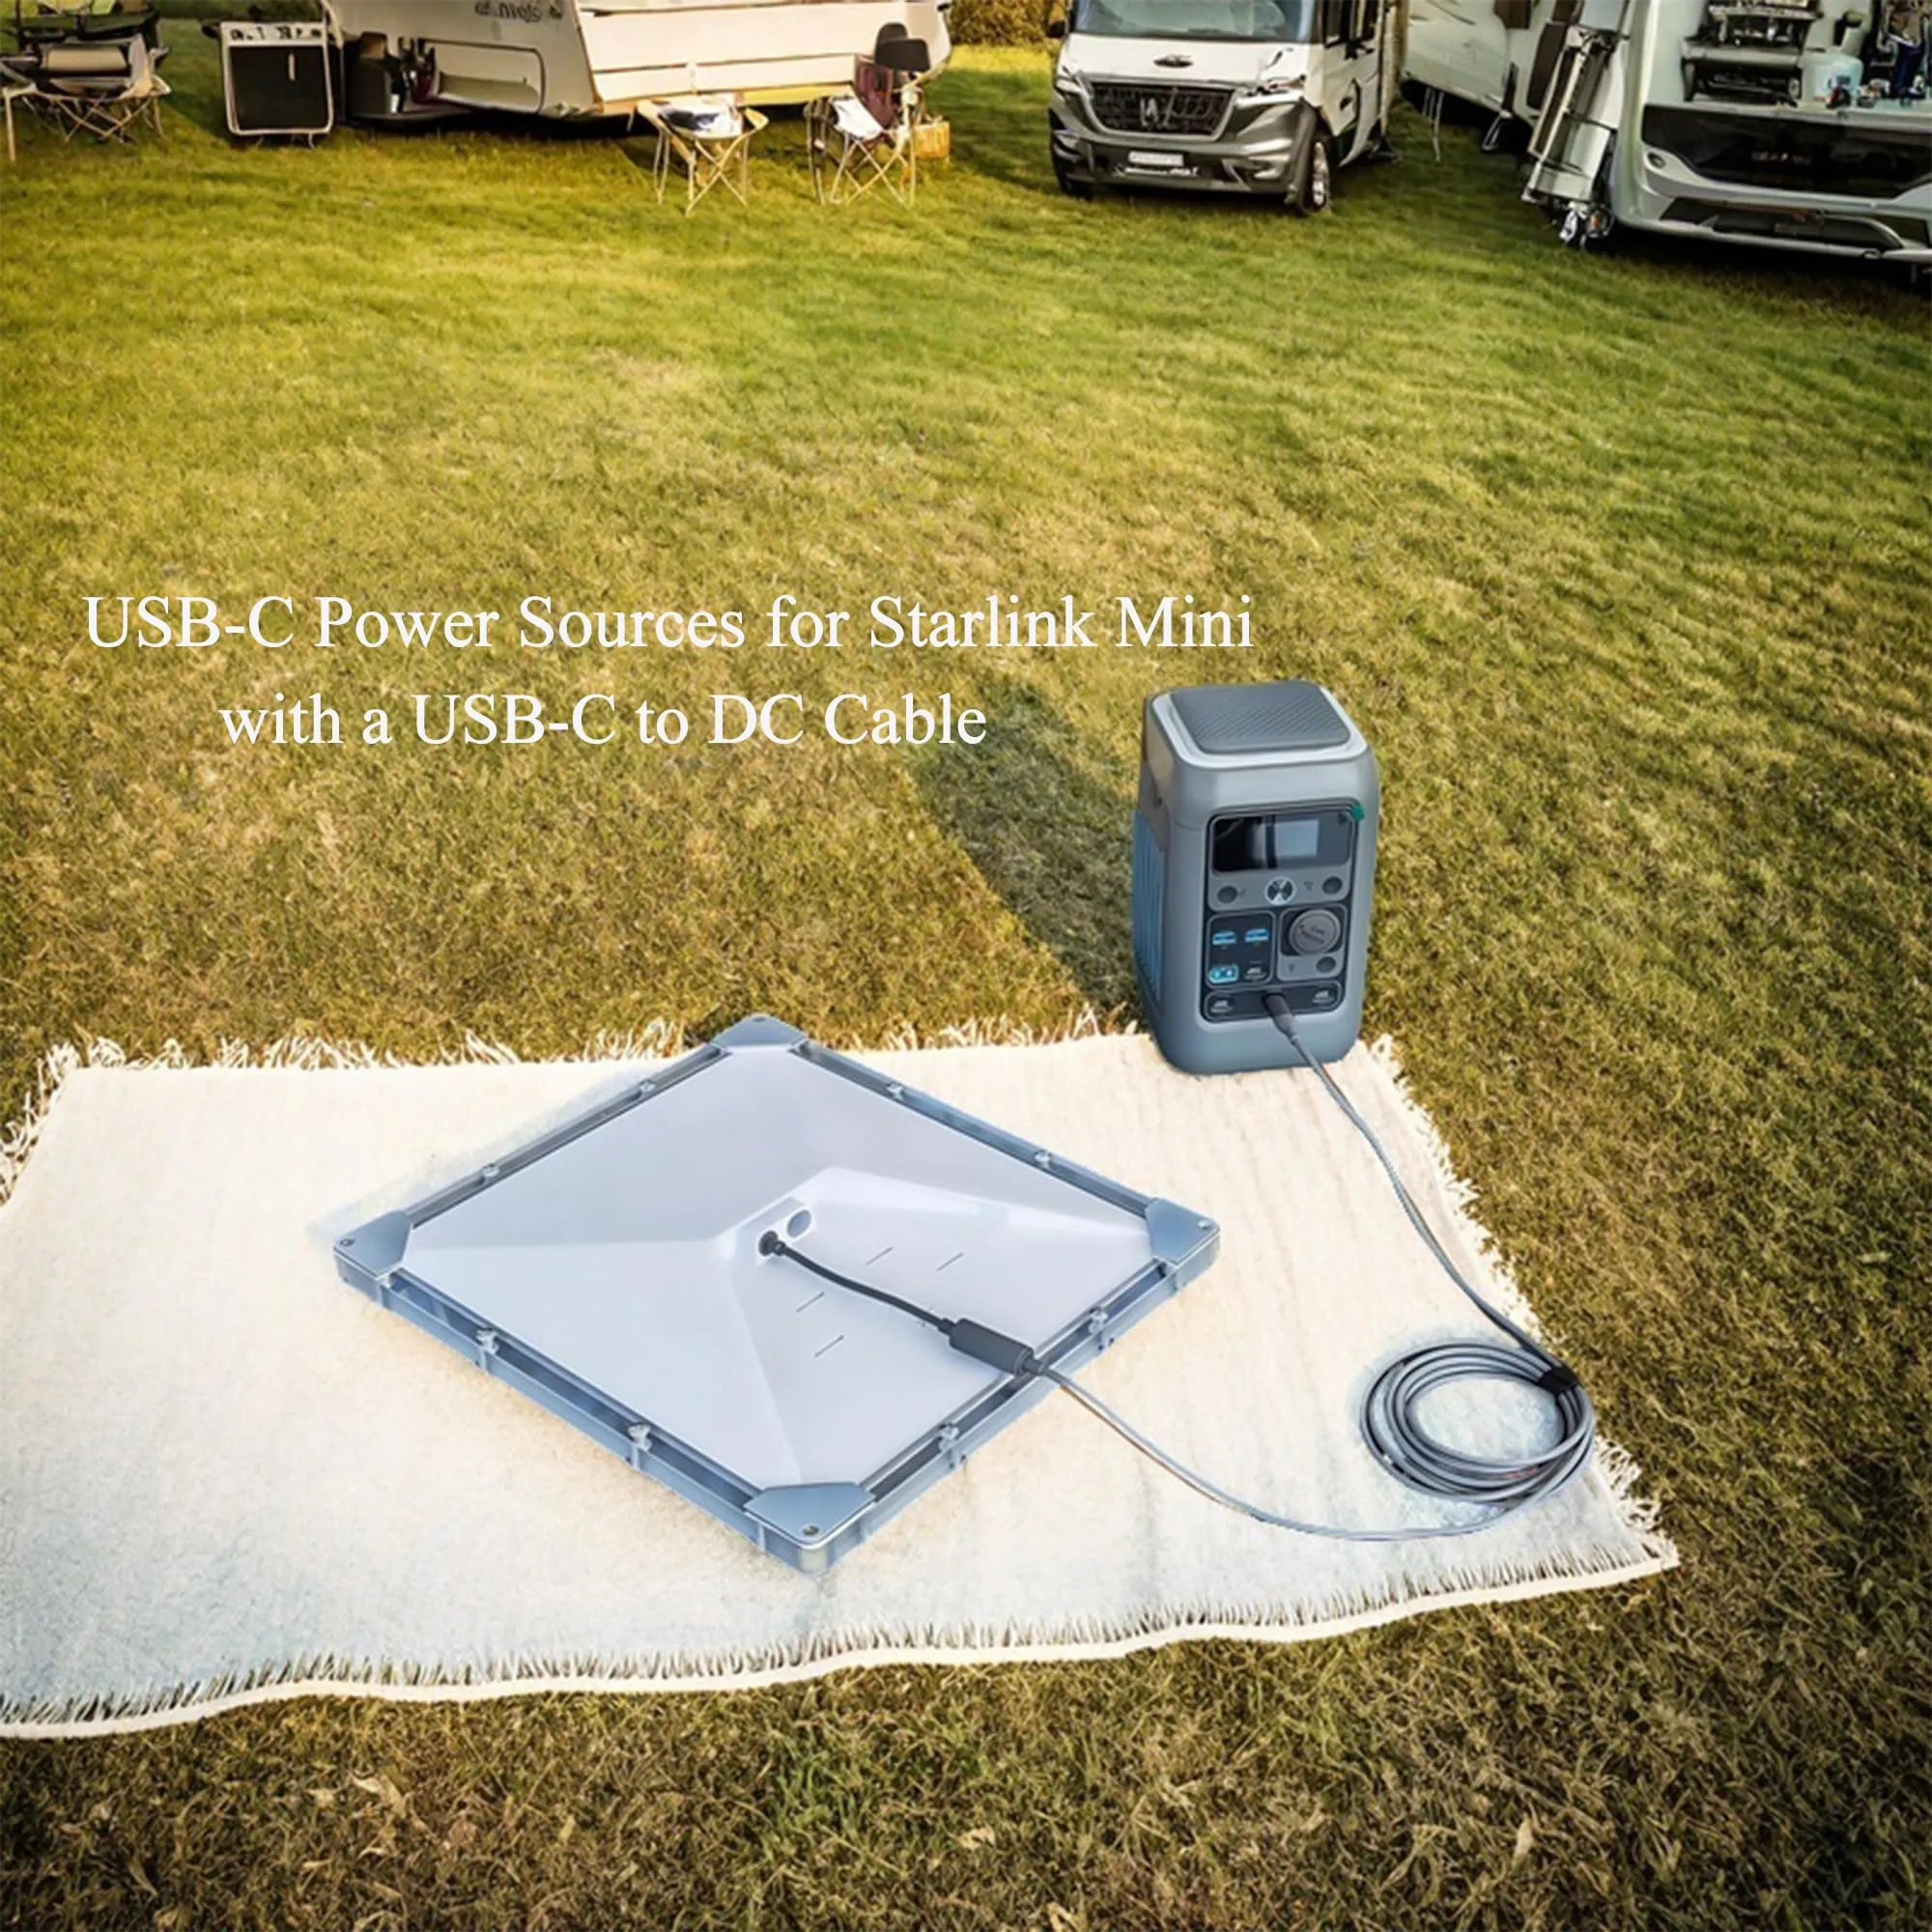
A smooth Starlink DIY install needs basic tools: drill, bits, sealant, level, wrench set, and cable clips. Buy parts that match your dish generation and climate. Shenzhen Starlink Network Accessories Co., Ltd. operates a 5,000 m2 factory with 25 injection molding machines, 15 welding machines, and 200 patented molds. That tooling supports a monthly production capacity of 400,000-600,000 units and an annual export value of roughly 20-30 million USD. Products are certified 3C / CE / FCC / PSE, so they meet common safety and EMC requirements. XLinkCore is the product brand built on this manufacturing base, and Starlink Network Accessories engineers each part for real outdoor conditions. For power planning, see the Starlink power solutions pages.
Final Checks for a Weatherproof Starlink Install
From first sketch to final QC, Starlink Network Accessories keeps quality at the center.
Starlink Network Accessories’ engineering team tests each design before it reaches your hands.
After installation, test the connection, check for obstructions, and tug gently on every cable entry. Confirm that the drip loop hangs below the seal, the ground wire is tight, and no connector sits in a puddle. Recheck the system after the first heavy rain or high-wind day. With a careful Starlink cable routing plan, proper Starlink cable waterproofing, and solid Starlink grounding, your dish will stay online longer. XLinkCore and Starlink Network Accessories provide the mounts, seals, and adapters to make that happen, while Shenzhen Starlink Network Accessories Co., Ltd. continues to expand the line with practical, field-tested accessories.
Need the Right Accessories for Your Setup?
Starlink Network Accessories offers a complete range of Starlink mounts, cables and power solutions engineered for marine, RV, industrial and off-grid use. Contact our team for bulk orders or custom OEM/ODM solutions.
Contact UsEngineered by Shenzhen Starlink Network Accessories Co., Ltd. — Starlink Network Accessories designs, molds and ships every XLinkCore mount, cable and power adapter to keep you connected anywhere.
