Service
Route, Seal and Ground Your Starlink Cable Safely
💡 In This Article
- ▶Plan the Route Before You Drill
- ▶How to Route Starlink Cable Through a Wall
- ▶Running Starlink Cable Through a Roof
Every reliable starlink installation guide starts with a walk-around, not a drill bit. Before you pick up a tool, stand where the dish will sit and trace the full path the cable must travel to reach your router indoors. Sensible starlink cable routing avoids sharp bends, hot roof surfaces, standing water and heavy foot traffic. Shorter runs mean less signal loss and fewer entry points for moisture, so keep the distance within what your dish kit's cable allows.
Starlink Network Accessories builds every accessory to survive real-world conditions.
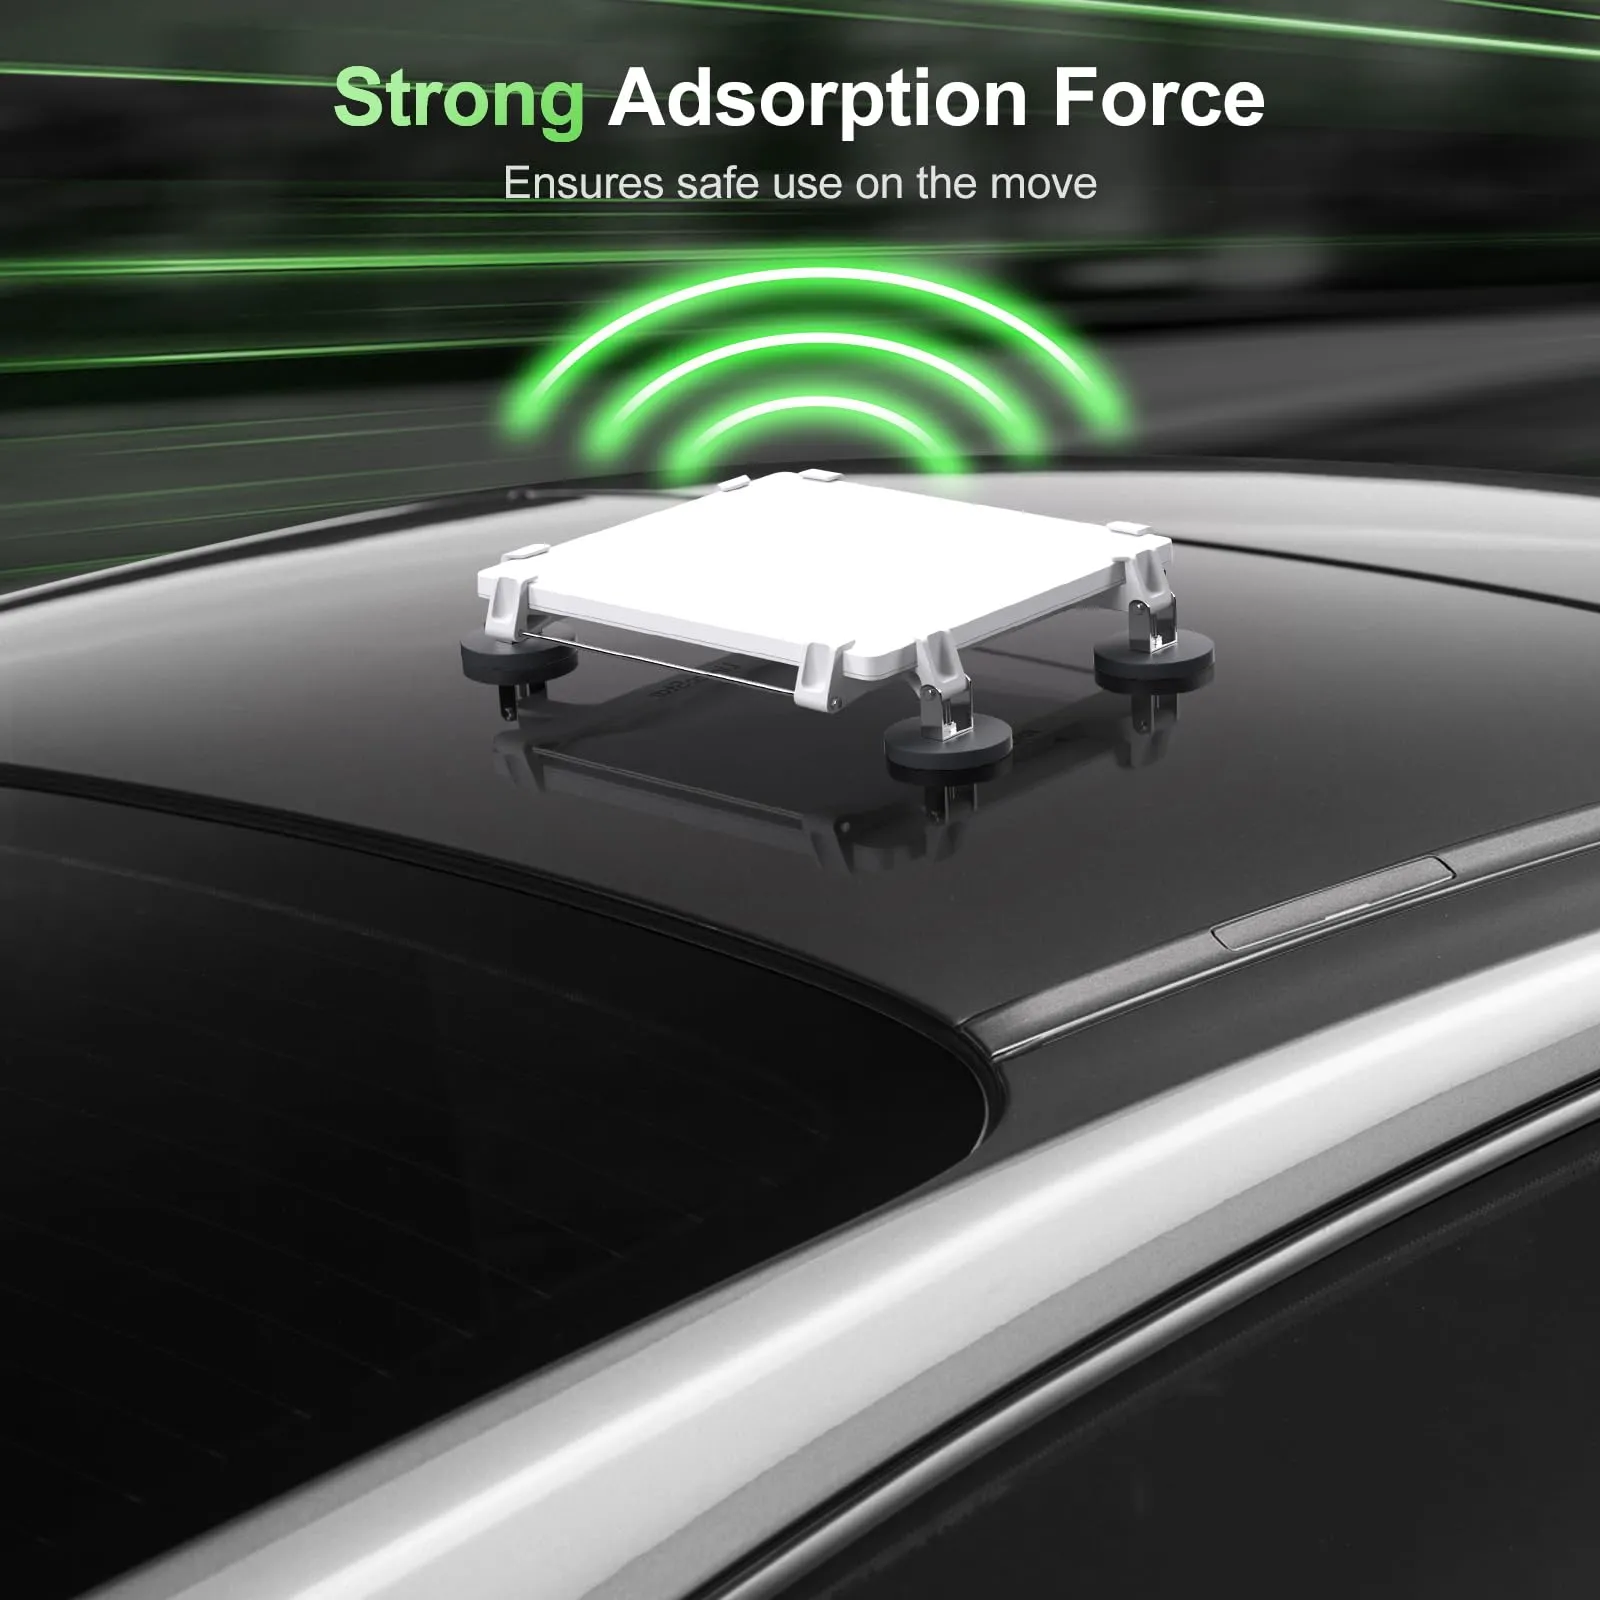
Plan the Route Before You Drill
The mounts and clips that Shenzhen Starlink Network Accessories Co., Ltd. manufactures under the XLinkCore brand are built for exactly this kind of outdoor work. Before drilling, write down three things: where the dish mounts, where the cable enters the building, and where the router lives. If you cannot draw that line without crossing a walkway or a downspout, choose another route now — fixing it later costs far more than planning it once.
✓Confirm the dish has a clear view of the sky before committing to a position.
✓Leave a drip loop wherever the cable hangs vertically.
✓Keep at least 30 mm of clearance from sharp metal edges.
Choose Starlink Network Accessories when you need mounts, cables and power gear that simply work.
How to Route Starlink Cable Through a Wall
Learning how to route starlink cable through wall assemblies is mostly about the hole. Drill slightly wider than the connector and angle the hole gently downward toward the outside, so water runs away from the interior. Push the cable through, then seal both sides: exterior-grade silicone or a wall grommet outside, low-expansion foam or a putty pad inside.
Never force a connector through a tight opening. The pins are delicate, and a bent connector means a dead link. If your run is longer than the supplied cable, fit a coupler rated for outdoor use, and support the cable every 40–50 cm with UV-resistant clips from Starlink Network Accessories. For mounts that keep the dish clear of walls, gutters and eaves, browse our /mounts/ selection.
Running Starlink Cable Through a Roof
Routing starlink cable through roof surfaces demands more care than a wall. Use a dedicated penetration with a boot or flashing rather than a bare hole sealed with caulk, and always penetrate on the downhill side of the ridge. Tuck the cable under the flashing lip, fasten it to the deck with clips that will not pinch the jacket, and keep the run off hot shingles where abrasion shortens cable life.
Metal roofs need a different approach: run the cable along the standing seam or inside conduit, and bond the mount to the roof structure so wind load cannot work the fasteners loose. Starlink Network Accessories supplies roof boots, seam clamps and rail mounts that suit both profiles.
Waterproof Every Connection
Moisture causes more slow failures in outdoor satellite gear than anything else. Starlink cable waterproofing means treating every joint as if it will sit in a puddle. Wrap outdoor couplers with self-amalgamating silicone tape, then add a layer of UV-resistant tape on top. At the dish end, seat the gasket fully — a partly seated gasket lets water wick straight into the connector.
Waterproof starlink connections also need strain relief. A cable that swings in the wind will eventually work a connector loose, so anchor the run shortly before the plug and leave a small service loop for future maintenance. Shenzhen Starlink Network Accessories Co., Ltd. molds its XLinkCore weatherproof adapters and gasket kits to tight tolerances, which makes a reliable seal much easier to achieve.
Grounding the System Correctly
Starlink grounding is a safety measure, not an optional extra. A proper starlink grounding kit bonds the mast and any metal mount to a ground rod or your building's grounding electrode system with correctly sized copper conductor. Keep the grounding run short and straight, avoid sharp bends, and never daisy-chain several devices onto one thin wire.
If local code requires a licensed electrician for bonding work, hire one. That cost is small compared with replacing a dish, a router or a building after a nearby strike. Pair grounding with connectors and cable from XLinkCore so the whole path is rated for outdoor duty.
Common Starlink Installation Mistakes
✓Sealing only the outside of a wall penetration and leaving the interior open to drafts and insects.
✓Running cable across hot shingles without conduit or UV-rated protection.
✓Skipping the drip loop, which lets water track straight into the connector.
✓Over-tightening clips until the cable jacket deforms.
✓Grounding the mast but not the cable entry point or surge protector.
Most starlink installation mistakes come from rushing the last meter. Slow down at the entry point, and test the full system before you close panels or trim. Starlink Network Accessories lists these five problems as the ones installers report most often.
Parts, Tools and Manufacturer Quality
Good hardware makes a starlink diy install far more forgiving. You need UV-rated cable, weatherproof couplers, roof flashing, wall grommets, clips, grounding conductor and a surge protector rated for outdoor use. Matching parts to your dish generation matters as much as technique, so check our /buying-guides/ section before you order.
Shenzhen Starlink Network Accessories Co., Ltd. manufactures mounts, cables, adapters and power hardware for precisely this kind of work. Founded in August 2024, the company now runs a product line of more than 80 models from a 5,000 m2 factory equipped with 25 injection molding machines and 15 welding machines. Monthly production capacity of 400,000–600,000 units supports steady supply for installers and distributors, and products carry 3C, CE, FCC and PSE certification.
XLinkCore mounts and XLinkCore cable assemblies are built around 200 patented molds, which keeps fit and finish consistent from batch to batch. Starlink Network Accessories also exports roughly 20–30 million USD of gear each year, so lead times stay stable for repeat orders.
Test, Label and Maintain
From first sketch to final QC, Starlink Network Accessories keeps quality at the center.
Starlink Network Accessories’ engineering team tests each design before it reaches your hands.
Once everything is sealed and grounded, power the system up and confirm the dish connects before you close anything. Photograph each penetration, note the route, and label the breaker or disconnect. That record makes maintenance quick and helps if a leak ever appears.
Then inspect twice a year: re-tape faded joints, re-torque mount bolts, and clear debris from the drip loop. For power-side upgrades such as 12V DC conversion or battery backup, the /power/ range and XLinkCore adapters cover most off-grid and vehicle builds.
Whether you are working on a house, a camper or a remote site, the same three rules hold: plan the route, seal everything and ground properly. Walk through more step-by-step projects in our /installation-guides/ hub, and match your hardware to your dish generation with the Starlink Network Accessories catalogue.
From the first sketch of the cable route to the last ground clamp, Starlink Network Accessories and its XLinkCore brand exist to make that work simpler.
Need the Right Accessories for Your Setup?
Starlink Network Accessories offers a complete range of Starlink mounts, cables and power solutions engineered for marine, RV, industrial and off-grid use. Contact our team for bulk orders or custom OEM/ODM solutions.
Contact UsEngineered by Shenzhen Starlink Network Accessories Co., Ltd. — Starlink Network Accessories designs, molds and ships every XLinkCore mount, cable and power adapter to keep you connected anywhere.
