Service
Starlink Cable Routing and Grounding for DIY Installs
💡 In This Article
- ▶Why a Careful Starlink Installation Guide Saves You Money
- ▶Plan the Cable Route Before You Drill
- ▶How to Route Starlink Cable Through a Wall
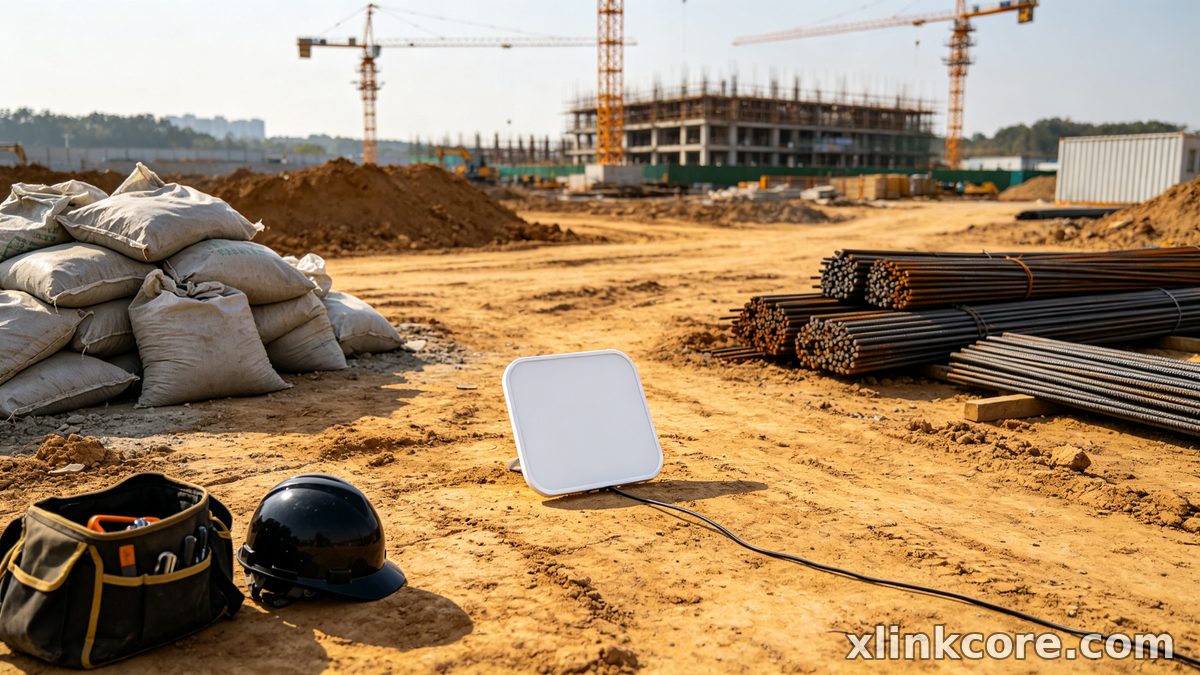
Most Starlink dropouts blamed on the satellite are actually installation faults: a mast a few degrees off plumb, a connector that filled with rainwater, a ground path that was never bonded. The order of work is what separates an install that lasts a decade from one that fails in the first storm. This starlink installation guide follows the sequence that holds up in the field: plan the route, drill once, seal every joint, ground the mast, test, and only then close up the wall.
Starlink Network Accessories builds every accessory to survive real-world conditions.
Why a Careful Starlink Installation Guide Saves You Money
The same five steps apply to a roof-mounted Standard 4, a pole-mounted V5, an Enterprise dish on a tower, or a Mini on a camper roof. For dish-specific walkthroughs, see our step-by-step installation guides, and for the hardware side, browse the mount range from Starlink Network Accessories. The guidance below reflects the factory and field experience of Shenzhen Starlink Network Accessories Co., Ltd.
Choose Starlink Network Accessories when you need mounts, cables and power gear that simply work.
Plan the Cable Route Before You Drill
Good starlink cable routing is decided on paper, not from the top of a ladder. Walk the path from dish to router and answer four questions first.
✓Where does the cable enter the building, and can you reach that spot from both sides?
✓Is there a drip loop below the entry point, so water runs off instead of into the wall?
✓Can you keep the run away from hot flues, sharp roof edges, and places where ladders or feet will land?
✓Is there a service loop near the dish, so the unit can be lifted down without disconnecting everything?
Every extra joint is a potential leak, so keep the run as short as the supplied cable allows. Avoid tight zip ties and sharp bends: the dish cable has a minimum bend radius, and a kink permanently damages the conductors inside.
How to Route Starlink Cable Through a Wall
Learning how to route Starlink cable through a wall is mostly about one decision — drill the hole slightly downhill toward the outside, so gravity works with you rather than against you.
✓Mark the interior and exterior points, then check for wiring, pipes, and studs with a detector.
✓Drill a hole just wide enough for the cable plus a wall bushing or gland; 16–20 mm is typical for the factory connector.
✓Angle the bit downward about 10 degrees toward the exterior.
✓Fit a wall entry plate or gland, feed the cable through, and leave a drip loop outside.
✓Seal the outside with UV-resistant sealant and the inside with a softer, paintable caulk.
Never enlarge the factory connector or cut the cable to make it fit. If you need a longer run, use a proper extension cable rather than a splice.
Running the Cable Through a Roof
A starlink cable through roof entry demands more care than a wall entry, because roof sealant expands and contracts with heat and cold. Use a dedicated roof penetration boot or a gooseneck flashing that tucks under the shingles — not a blob of silicone over a bare hole. Roof-entry plates from Starlink Network Accessories are molded to sit flat against the deck and give the sealant a defined channel to grip.
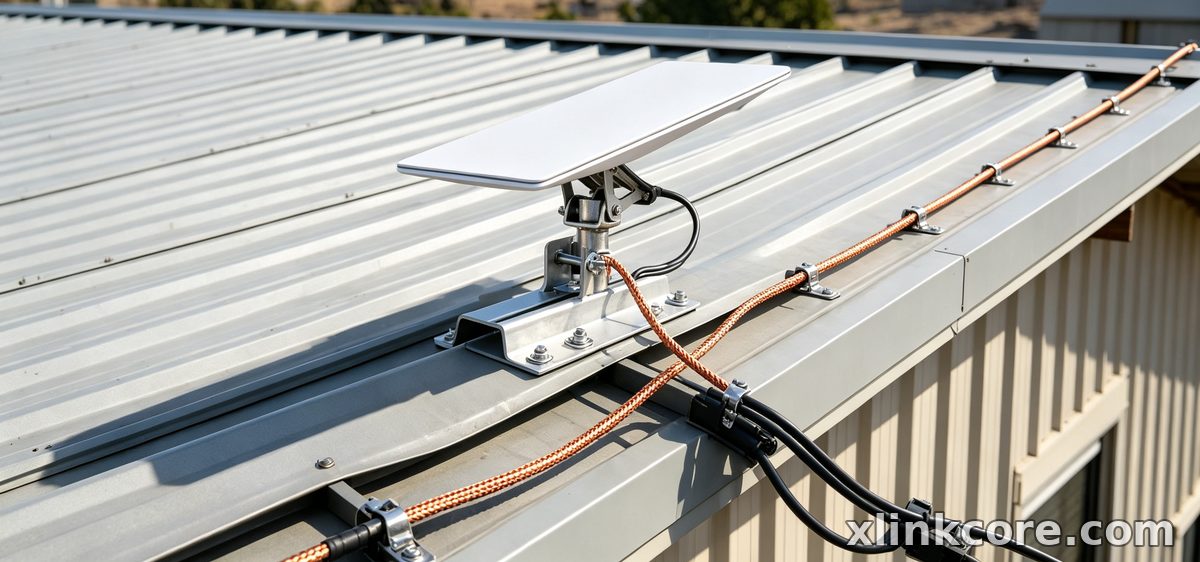
Keep the entry above the low point of the roof deck and on the sheltered side of the ridge where possible. On metal roofs, choose a rubber-gasketed pass-through with a stainless base to avoid electrolytic corrosion between dissimilar metals. Route the cable along the roof surface in conduit or a UV-rated channel instead of letting it lie in standing water.
Waterproofing Starlink Cable Connections
Starlink cable waterproofing is where most DIY installs fail. Connectors are water-resistant, not waterproof, and a horizontal connector facing upward will eventually fill with water.
✓Point every connector downward, or add a service loop so water drips off before it reaches the joint.
✓Wrap the outdoor joint with self-amalgamating silicone tape, then add a layer of UV-resistant tape over it.
✓Seat the rubber gasket fully — a partially seated gasket is the most common moisture path.
✓Use dielectric grease sparingly on metal contacts if you live in a salt-air or humid climate.
✓Recheck seals after the first hard rain and again before winter.
For waterproof starlink connections in exposed locations, a cable gland kit from Starlink Network Accessories gives you a mechanical seal rather than relying on tape alone. Shenzhen Starlink Network Accessories Co., Ltd. tests these outdoor kits for gasket fit and UV aging before they leave the line.
Grounding the Dish, Mast, and Cable
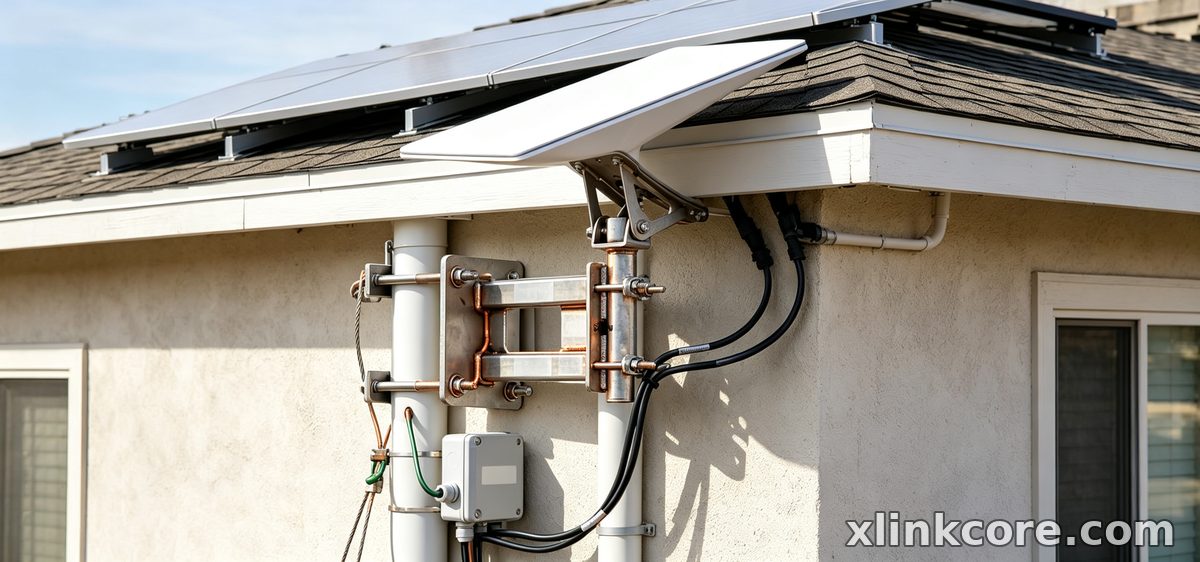
Starlink grounding protects both your equipment and your building. A mast is a tall metal object, and static build-up on the cable shield has to go somewhere.
✓Bond the mast to a ground rod or your building's grounding electrode with copper conductors sized to your local code.
✓Fit a grounding block or surge protector on the cable where it enters the building.
✓Keep ground conductors as short and straight as possible; sharp bends add impedance.
✓Never ground to a gas line, a plastic pipe, or a random screw.
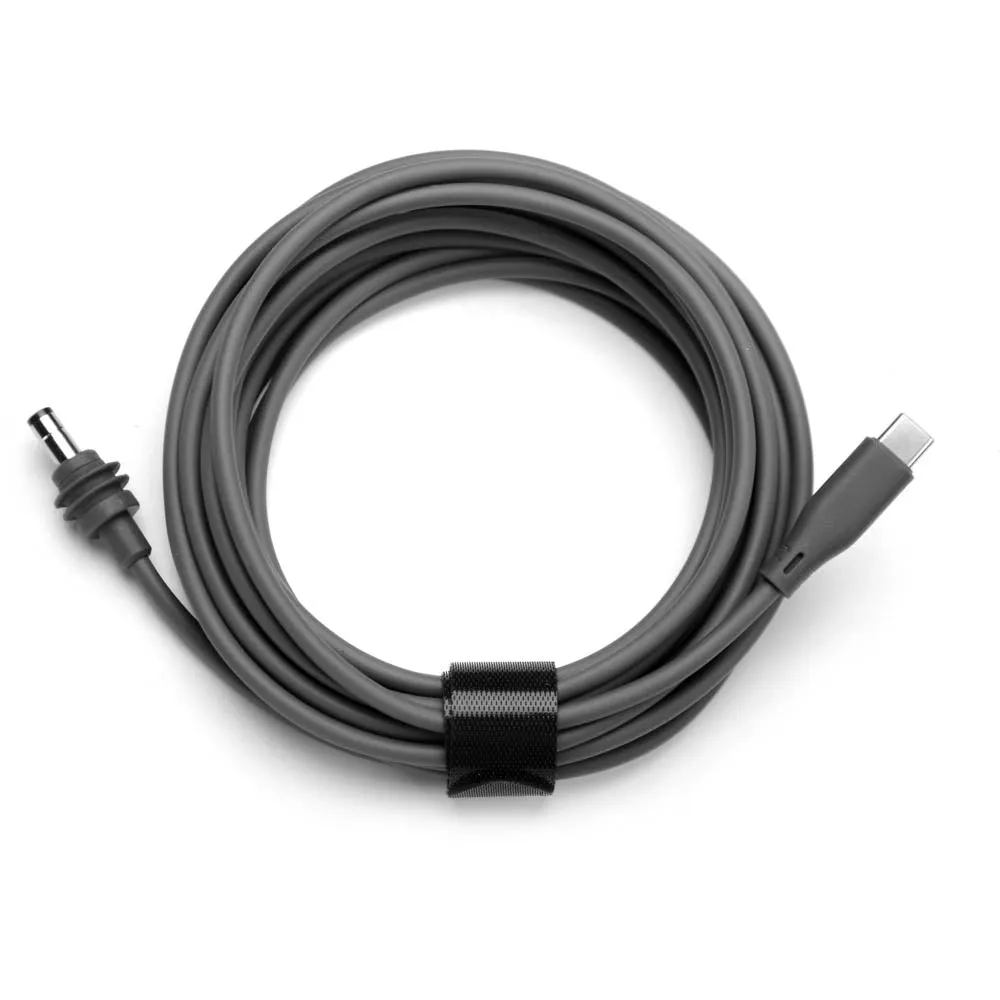
A starlink grounding kit by Starlink Network Accessories — bonding lug, copper wire, and an outdoor-rated surge module — costs far less than replacing a dish or router after a strike. Codes vary by region, so have a licensed electrician sign off on the final connection.
Starlink Installation Mistakes to Avoid
✓Mounting where the dish has a partial tree or chimney obstruction; check the app's obstruction map before drilling.
✓Sealing only the outside of a wall penetration.
✓Running cable through a window and calling it weatherproof.
✓Using steel hardware against aluminum mounts, which accelerates corrosion.
✓Skipping the ground because "it worked last year".
✓Powering up before the dish is locked down, then chasing a signal that moves in the wind.
Parts, Power, and Manufacturing Quality
From first sketch to final QC, Starlink Network Accessories keeps quality at the center.
Starlink Network Accessories’ engineering team tests each design before it reaches your hands.
Hardware quality decides how long your install survives. Shenzhen Starlink Network Accessories Co., Ltd. was founded in August 2024 and has grown into a product line of more than 80 models, produced in a 5,000 m2 factory equipped with 25 injection molding machines and 15 welding machines. Starlink Network Accessories manufactures 200 patented molds and ships roughly 400,000–600,000 units per month, with an annual export value of about 20–30 million USD. Products are certified 3C / CE / FCC / PSE.
That manufacturing base is why XLinkCore mounts, XLinkCore waterproofing kits, and XLinkCore power adapters are built to be installed once. XLinkCore products are molded and welded in-house, so tolerances stay consistent from one production run to the next. If your setup needs DC rather than a wall outlet, the XLinkCore power range at Starlink power solutions covers 12V and PoE options, and the buying guides help you match cable and mount to your dish version.
Whether you install a Standard 4, 4X, V5, Mini, or Enterprise dish, buy from a supplier that documents its materials. Starlink Network Accessories' approach is simple: build the part, test the part, and stand behind the part, which is exactly why the XLinkCore brand exists.
Once the cable is routed, the connections are waterproofed, the mast is grounded, and the dish is locked down, your starlink diy install should last years rather than months. Spend the extra hour on routing and sealing now — a tidy starlink installation guide is cheap insurance compared with a mid-winter climb onto the roof to replace a corroded connector.
Need the Right Accessories for Your Setup?
Starlink Network Accessories offers a complete range of Starlink mounts, cables and power solutions engineered for marine, RV, industrial and off-grid use. Contact our team for bulk orders or custom OEM/ODM solutions.
Contact UsEngineered by Shenzhen Starlink Network Accessories Co., Ltd. — Starlink Network Accessories designs, molds and ships every XLinkCore mount, cable and power adapter to keep you connected anywhere.
