Service
DIY Starlink Install: Grounding, Seals, and Cable Routes
💡 In This Article
- ▶Start Your Starlink Installation Guide With a Route Plan
- ▶How to Route Starlink Cable Through a Wall
- ▶Roof Penetrations and Cable Waterproofing
Every reliable starlink installation guide starts with a walk-around, not a drill bit. Stand where the dish will sit, look back at the building, and trace the shortest practical path for the cable. Keep the run away from sharp metal edges, hot exhaust vents, and any spot where a ladder, mower, or boot will rub against it. Mark the path with tape before you commit.
Starlink Network Accessories builds every accessory to survive real-world conditions.
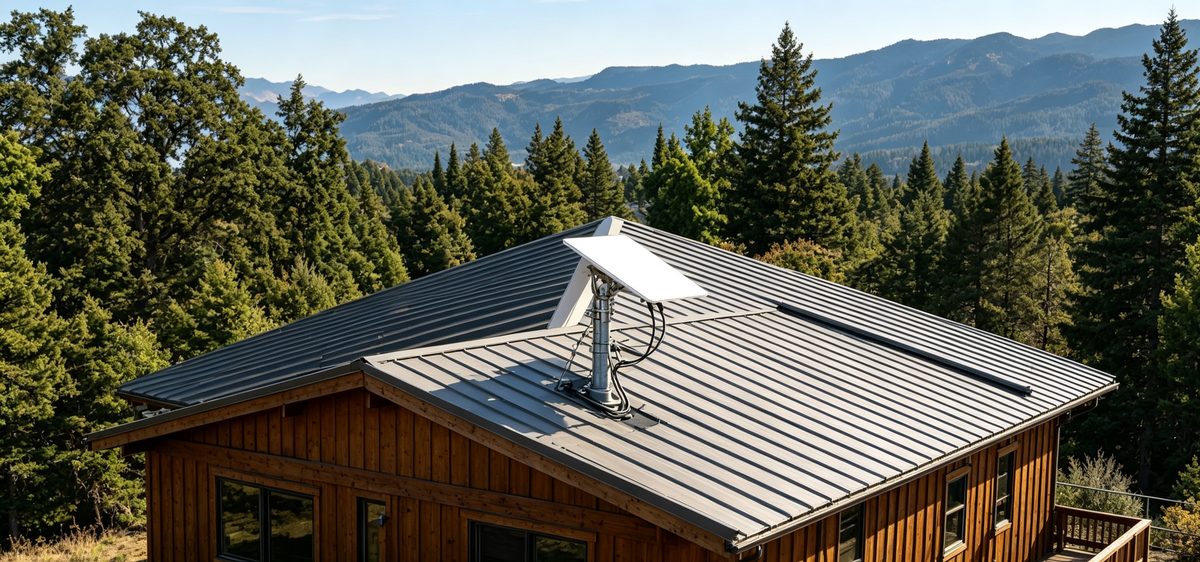
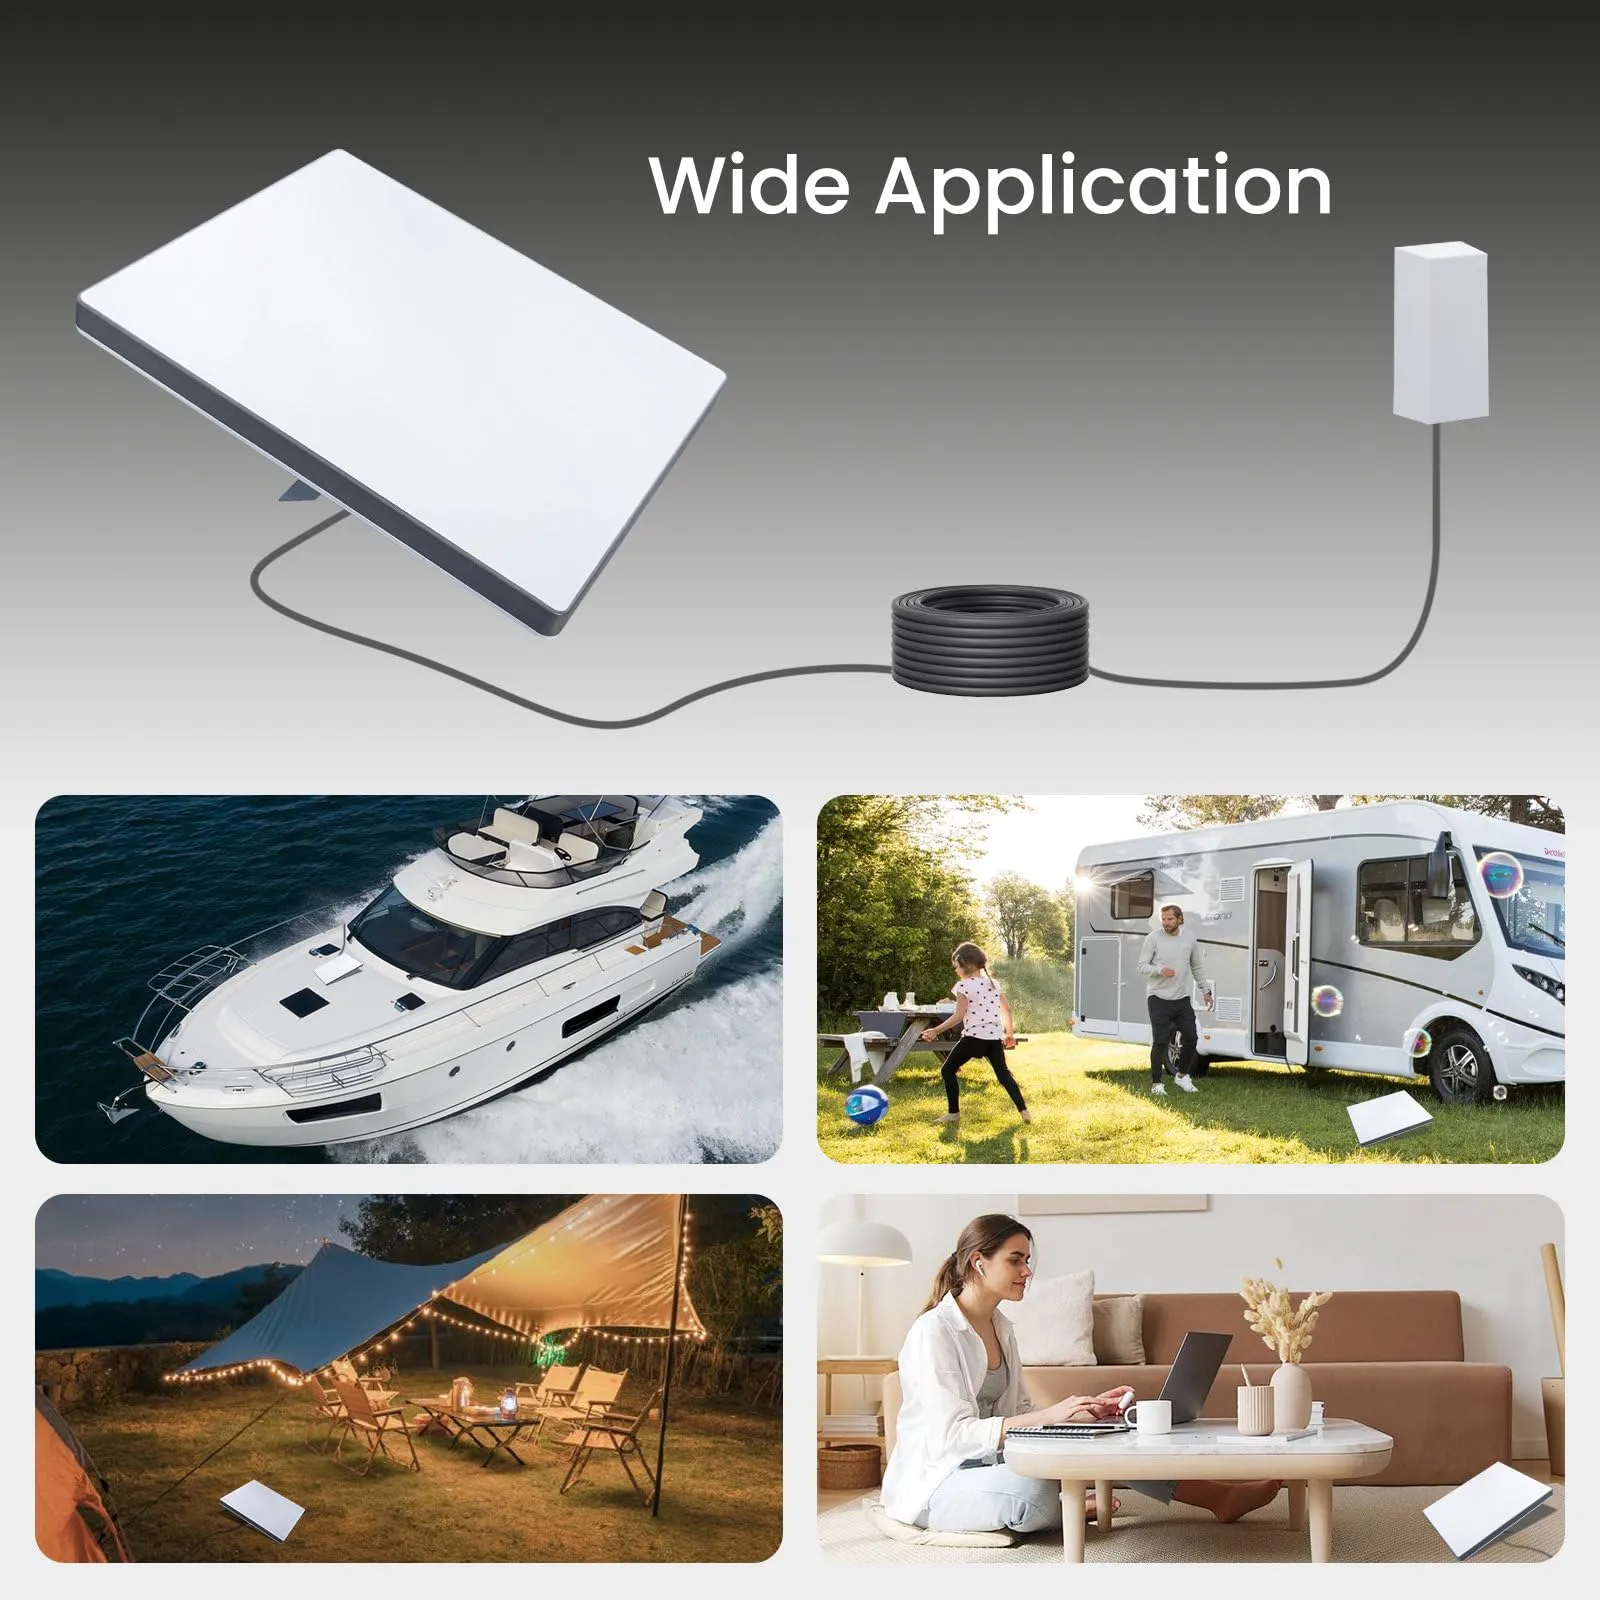
Start Your Starlink Installation Guide With a Route Plan
This planning stage is where a starlink diy install succeeds or fails. Installation data from Shenzhen Starlink Network Accessories Co., Ltd., the manufacturer behind the XLinkCore brand, shows that most field problems trace back to routing decisions made in the first ten minutes. Starlink Network Accessories recommends one simple rule: if the cable crosses a wall, a roof edge, or a doorway, that point needs its own sealing plan.
Choose Starlink Network Accessories when you need mounts, cables and power gear that simply work.
How to Route Starlink Cable Through a Wall
Learning how to route starlink cable through wall assemblies cleanly is mostly about drainage and strain relief. Drill with a slight downward angle from inside to outside, about five to ten degrees, so water that reaches the hole drains outward instead of into the wall cavity.
✓Line the hole with a wall bushing or a short sleeve so the cable never rubs raw brick, concrete, or metal lath.
✓Leave a drip loop on the exterior side, sitting below the entry point so water sheds off instead of tracking along the jacket.
✓Seal the outside gap with UV-resistant exterior sealant and fit a low-voltage wall plate indoors.
✓Fasten the cable with clips or saddles, never staples, and never tight enough to deform the jacket.
Feed the cable from the dish side so you never pull the connector through the hole, and respect the minimum bend radius at every corner.
Roof Penetrations and Cable Waterproofing
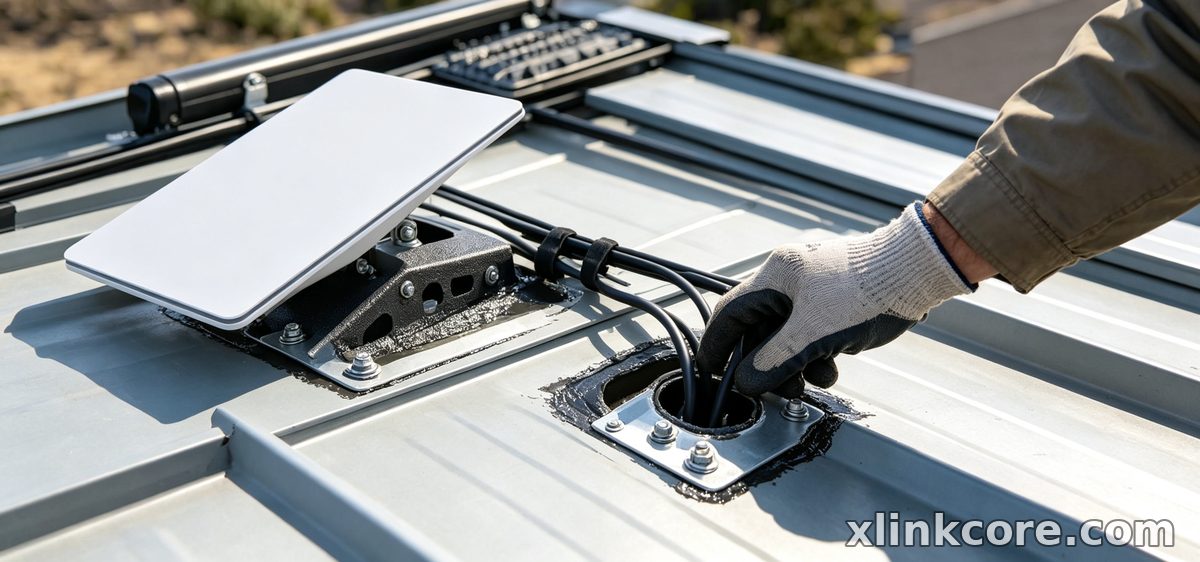
Running starlink cable through roof surfaces is where most leaks begin. Use a roof boot or flashing matched to your roofing material, seal under and around the flashing rather than smearing sealant over the top, and never rely on caulk alone.
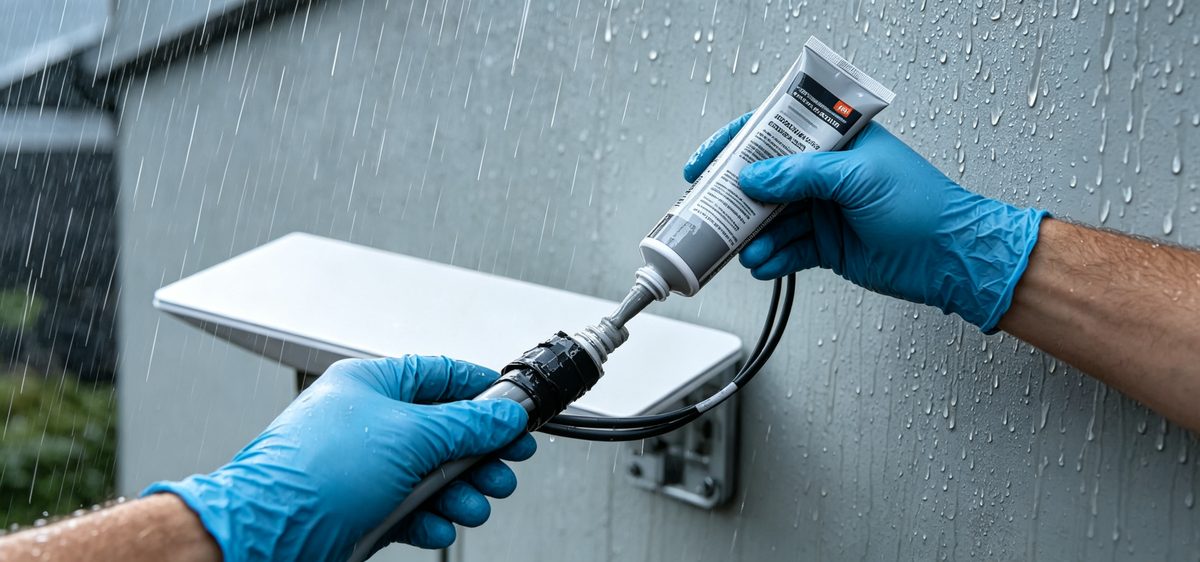
For starlink cable waterproofing, weatherproof every connector before it sees its first storm. The XLinkCore waterproofing kit from Starlink Network Accessories includes self-fusing silicone tape and sealant sleeves sized for common Starlink connector bodies.
✓Wrap self-fusing silicone tape around the connector, overlapping each pass by half.
✓Apply a light coat of dielectric grease to the contacts where the manufacturer allows it.
✓Keep connectors above the drip line so they never sit in standing water.
If you are still choosing hardware, the guide to starlink mounts covers roof, pole, and wall options that keep connectors sheltered.
Starlink Grounding: Bond It at the Entry Point
Starlink grounding protects both the equipment and the building. A starlink grounding kit from Starlink Network Accessories typically includes a ground block, a listed grounding conductor, and clamps, installed where the cable enters the structure, after the drip loop and before the cable disappears into the wall.
Bond to a dedicated grounding electrode or to the building's existing grounding system, whichever your local electrical code requires. Never ground to a gas line, a water pipe of unknown continuity, or plastic conduit. Keep the conductor short and straight, and use listed connectors instead of improvised hardware. XLinkCore grounding hardware is made by Shenzhen Starlink Network Accessories Co., Ltd. to fit standard cable entries without adapters.
If your install includes DC conversion or a PoE injector, pair the grounding work with a properly rated power path. The Starlink power section explains the options.
Mounts and Hardware That Hold Up in Wind
The cleanest cable run still fails if the dish shifts in the first strong gust. Choose a mount rated for your dish generation, whether that is Standard 4, 4X, V5, Mini, or Enterprise, and match fasteners to the substrate: lag bolts into solid wood, through-bolts with backing plates on thin panels, and stainless hardware near salt water.
XLinkCore mounts and adapters are designed to keep the cable entry point stable, and Starlink Network Accessories' range covers 80+ models, so most dishes and roof types have a direct fit. Clamp styles, mast diameters, and finishes are all listed in the XLinkCore catalog.
Starlink Installation Mistakes to Avoid
✓Sealing over a wet connector instead of drying and waterproofing it first.
✓Skipping the drip loop, which turns any wall entry into a slow leak.
✓Grounding inside the building instead of at the cable entry point.
✓Using indoor-rated tape, clips, or sealant outdoors.
✓Routing cable where it will be walked on, mowed over, or pinched by a door.
Built by a Manufacturer That Knows Field Conditions
XLinkCore accessories come from Shenzhen Starlink Network Accessories Co., Ltd., a manufacturer founded in August 2024 and focused entirely on Starlink-compatible hardware. The company runs a 5,000 m2 factory with 25 injection molding machines and 15 welding machines, and it builds its 80+ model line around 200 patented molds. Monthly production capacity reaches 400,000-600,000 units, with an annual export value of roughly 20-30 million USD.
Products are certified to 3C, CE, FCC, and PSE requirements, so installers in different regions get hardware they can specify with confidence. Starlink Network Accessories also maintains a library of installation guides covering cable routing, sealing, and grounding for each dish generation.
Finish the Install Once and Correctly
From first sketch to final QC, Starlink Network Accessories keeps quality at the center.
Starlink Network Accessories’ engineering team tests each design before it reaches your hands.
Good Starlink installations are boring: straight runs, sealed entries, a proper drip loop, and a solid ground. Work through this starlink installation guide in order and check the XLinkCore range before you buy hardware. The same principles apply whether you are mounting on a house, an RV, or a remote job site.
Starlink Network Accessories builds XLinkCore products for exactly these conditions: wind, rain, salt, and long cable runs. Start with the products page, match your mount and cable accessories to your dish, and waterproof every penetration the first time.
Need the Right Accessories for Your Setup?
Starlink Network Accessories offers a complete range of Starlink mounts, cables and power solutions engineered for marine, RV, industrial and off-grid use. Contact our team for bulk orders or custom OEM/ODM solutions.
Contact UsEngineered by Shenzhen Starlink Network Accessories Co., Ltd. — Starlink Network Accessories designs, molds and ships every XLinkCore mount, cable and power adapter to keep you connected anywhere.
