Service
Starlink Installation Guide: Route, Seal, and Ground the Cable
💡 In This Article
- ▶Why the Details in a Starlink Installation Guide Matter
- ▶Plan the Cable Route Before You Drill
- ▶How to Route Starlink Cable Through a Wall or Roof
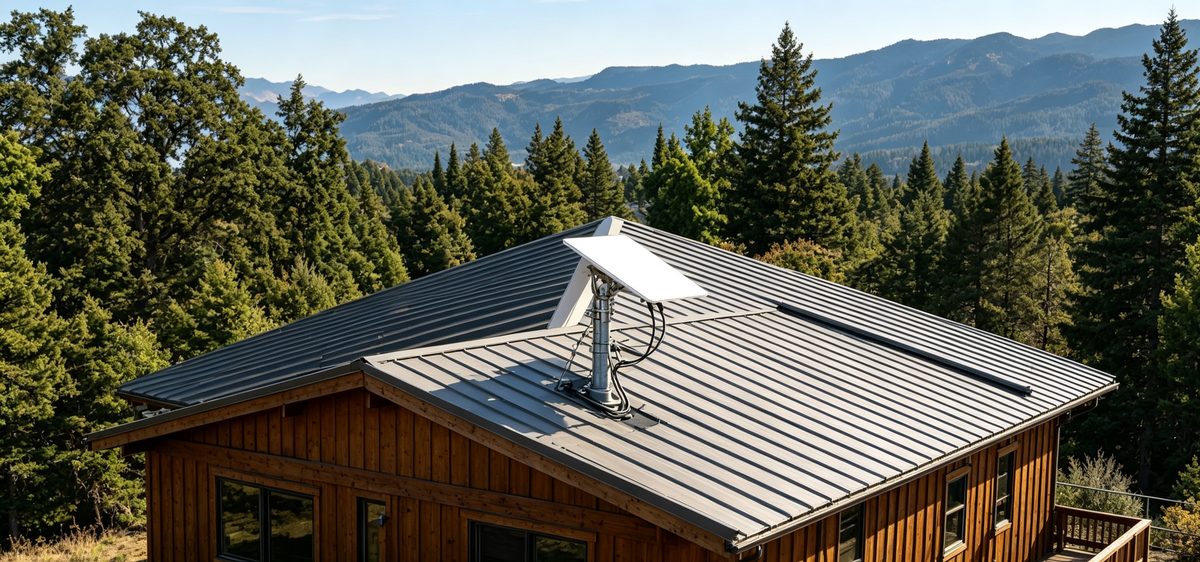
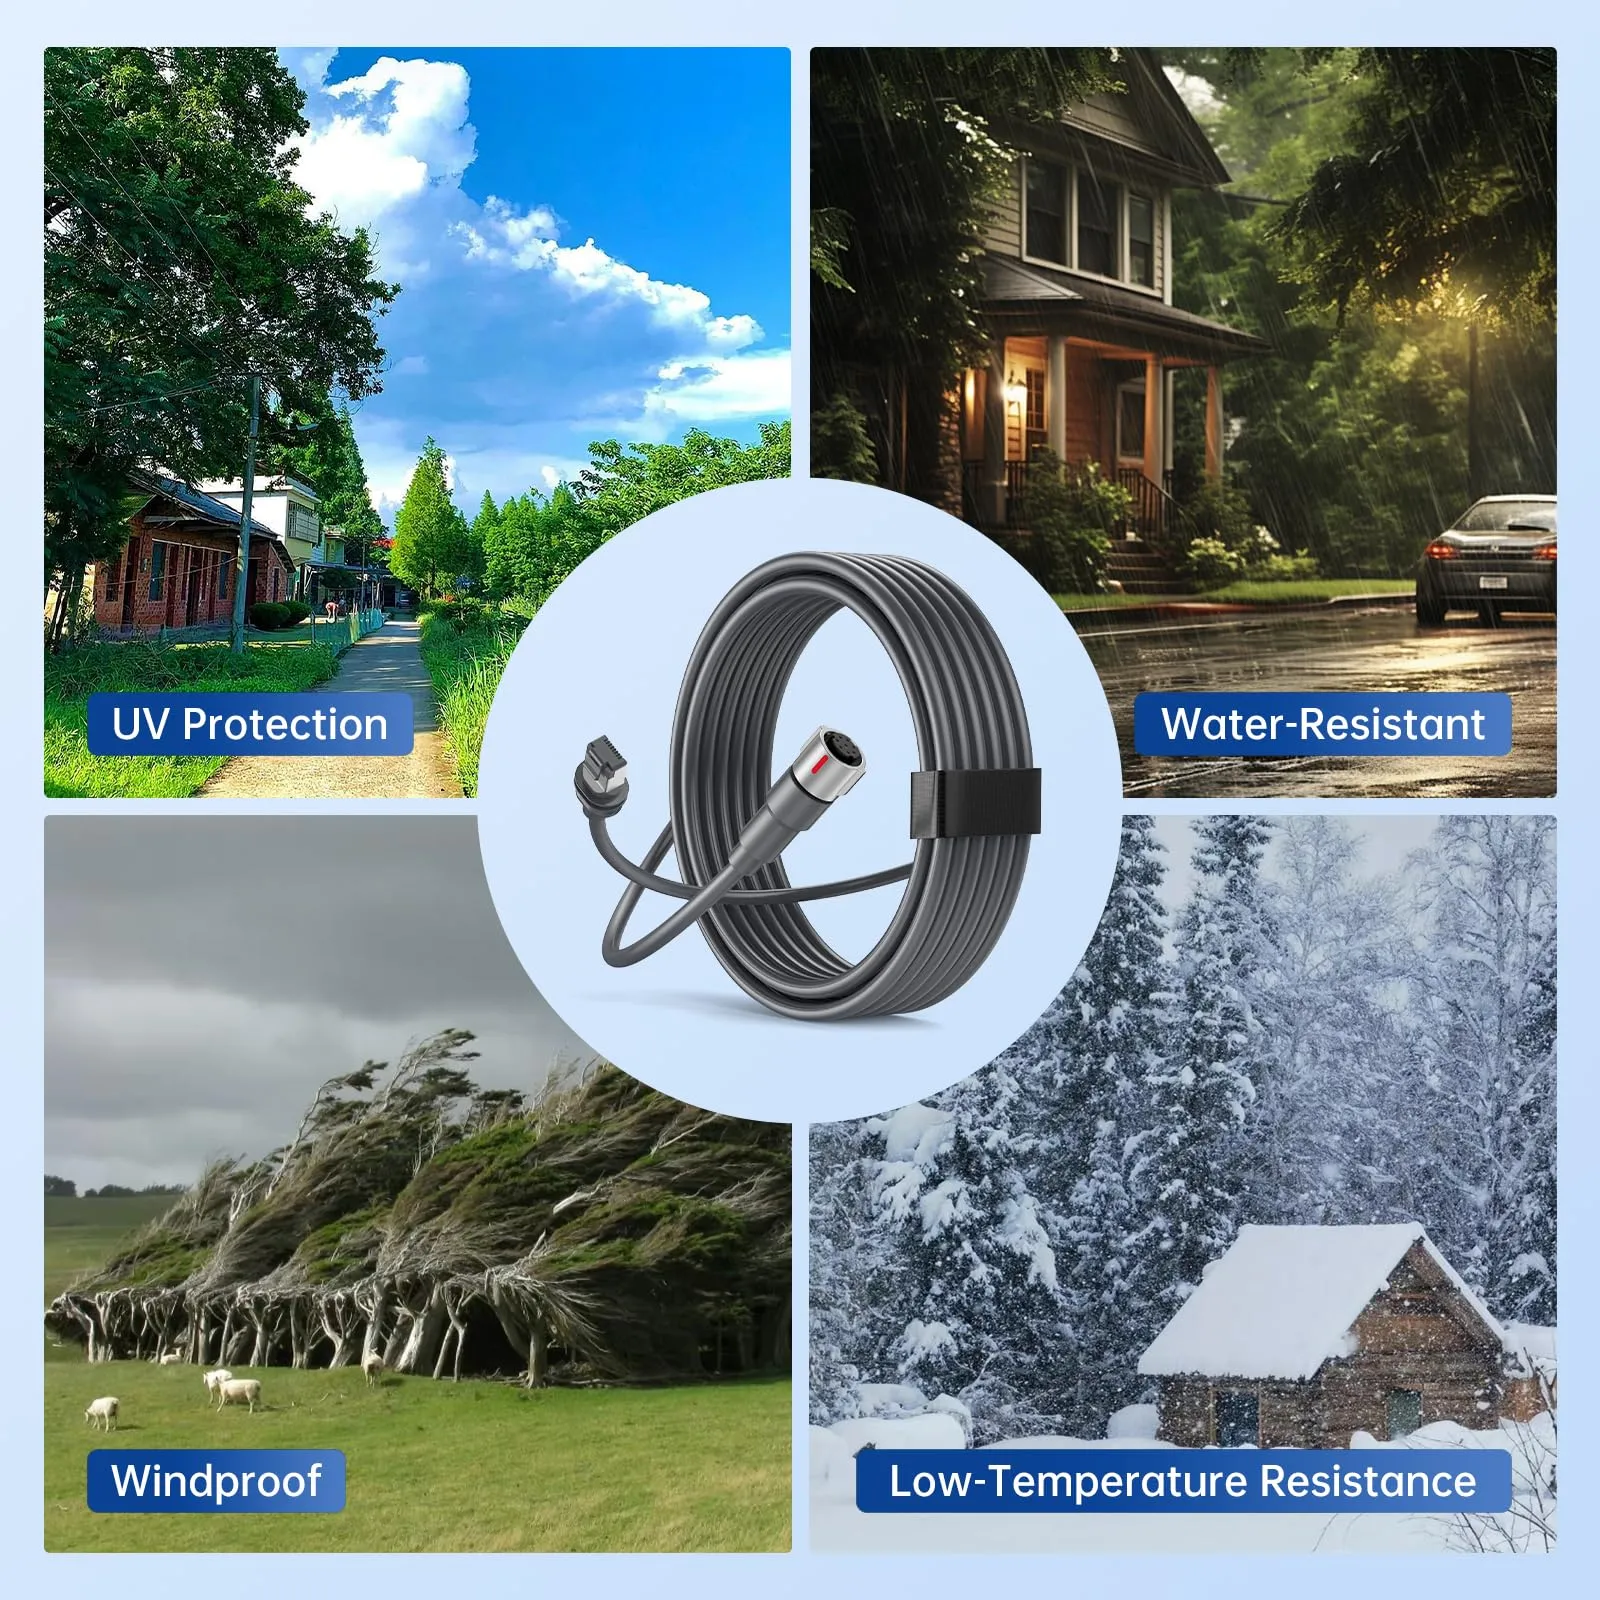
Pointing a dish at the sky takes ten minutes. Keeping that link stable through rain, snow, UV and curious rodents takes a plan. A practical starlink installation guide covers the four things most quick-start cards skip: cable routing, waterproofing, wall penetration and grounding. Nail those and your hardware will outlive the dish. Skip them and you will spend months chasing intermittent dropouts.Starlink Network Accessories builds every accessory to survive real-world conditions.
Why the Details in a Starlink Installation Guide Matter
This walkthrough is written for DIY owners and small install crews who want one clean, repeatable process. Shenzhen Starlink Network Accessories Co., Ltd. manufactures the mounts, cables and adapters used in these steps, and the advice below reflects what turns up in real field installs — including the failures caused by one missing gland.
Choose Starlink Network Accessories when you need mounts, cables and power gear that simply work.
Plan the Cable Route Before You Drill
Walk the building first, then draw the run. Good starlink cable routing is boring and predictable: short, downhill, and easy to inspect later.
✓Keep the dish-to-router distance as short as the layout allows; every extra metre adds loss and clutter.✓Route downhill wherever possible and add a drip loop before the entry point so water never travels along the jacket into the wall.✓Stay well clear of mains wiring, inverters and fluorescent ballasts to reduce interference.✓Mark every penetration and fastener point with tape before drilling, and check both sides of the wall for pipes and cables.Routing hardware from Starlink Network Accessories is designed around these constraints, with clips and conduit sized for the standard cable jacket. If you are unsure which length or connector your dish generation uses, check our installation guides first — ordering the wrong cable mid-install is the most common delay we hear about.
How to Route Starlink Cable Through a Wall or Roof
Drill with a slight downward tilt of about 5–10 degrees so gravity pushes water out, not in. Line the hole with a sleeve or a short length of conduit, then feed the cable through with a pull cord instead of dragging the connector. For a starlink cable through roof run, use a flashing or boot rated for the roof pitch, seal it with UV-stable roof sealant, and never rely on silicone alone on a shingle or standing-seam panel. Leave a service loop of 30–60 cm inside the building so you can re-terminate later without cutting a second hole.
Clip or staple the cable every 40–50 cm, and protect any exposed section with conduit or a cable tray wherever foot traffic, livestock or mowers can reach it.
Waterproof Starlink Connections at Every Entry
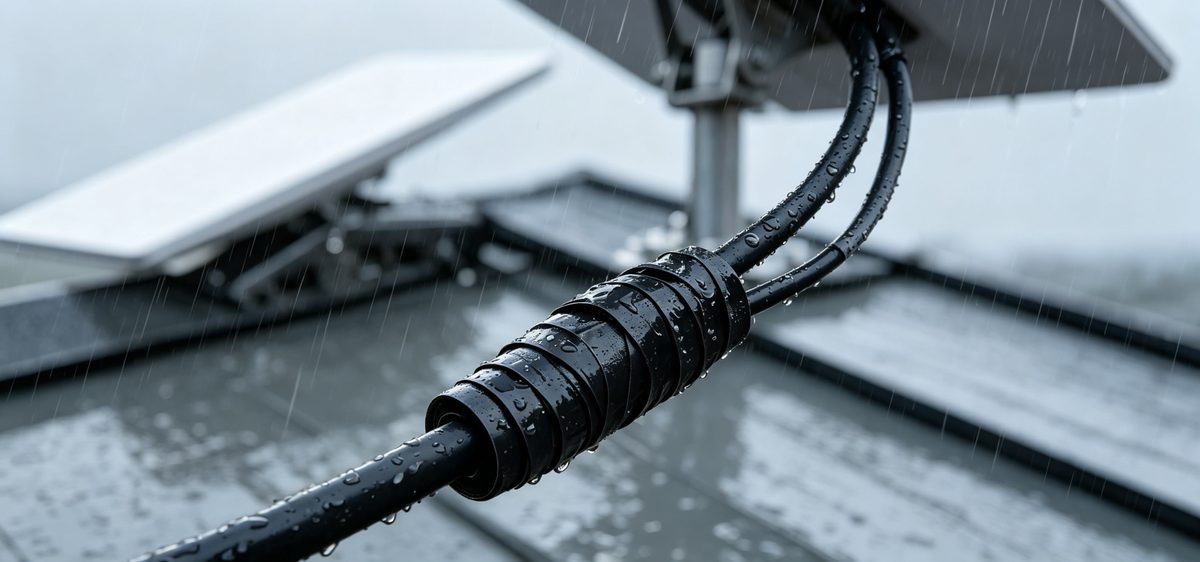
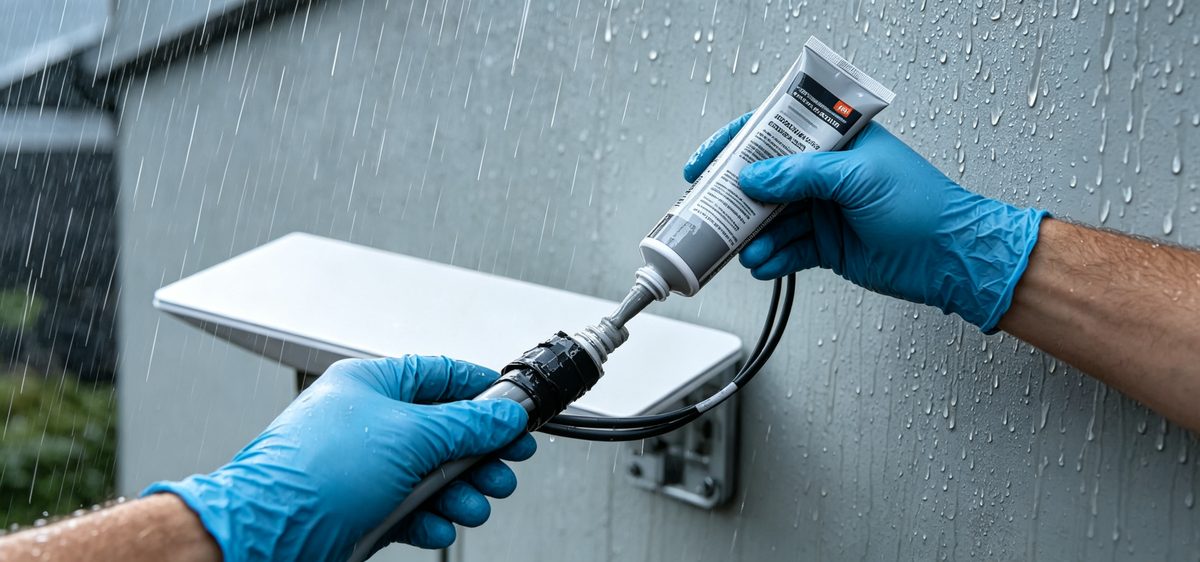
Water kills links at the joints, not in the middle of the cable. Proper starlink cable waterproofing means treating every connector, gland and entry point as a potential leak:
✓Fit an IP-rated cable gland where the cable enters a wall box or enclosure — not foam, not tape.✓Point connectors downward and wrap outdoor joints with self-amalgamating tape plus a UV-resistant outer layer.✓Fill empty conduit ends with duct seal to stop drafts, insects and moisture.✓Re-check every seal after the first heavy storm and again before winter.To waterproof starlink connections in an outdoor cabinet, pair sealed glands from Starlink Network Accessories with weatherproof power hardware from our power and adapter range.
Starlink Grounding: The Step Nobody Wants to Do
Starlink grounding protects both the equipment and the people using it. Bond the mast or mount to a proper earth ground with a copper conductor sized to your local code, keep that run as short and straight as possible, and avoid sharp bends that add impedance. A starlink grounding kit simplifies the job by supplying the correct lug, hardware and conductor length for typical residential installs. Shenzhen Starlink Network Accessories Co., Ltd. builds grounding accessories to match the mast hardware it sells, so the lug actually fits.
Never ground through a gas line, and never assume a plastic mount isolates you from a strike — the cable itself is the path.
Starlink Installation Mistakes That Cost You Uptime
✓Sealing a wall entry with standard silicone that cracks within a season.✓Leaving a long horizontal cable run with no drip loop.✓Over-tightening zip ties until the jacket deforms and pinches the conductors.✓Ignoring grounding because the dish sits low on the roof.✓Mixing mounts and cables across dish generations without checking fit.Most starlink installation mistakes are cheap to avoid and expensive to repair, usually leaving you one blocked connector away from a full re-run.
Match the Mount to the Surface and the Dish
A starlink diy install only stays put if the mount suits the surface. Roof pitches, metal seams, brick, poles and flat decks each need different hardware, and Standard 4, 4X, V5, Mini and Enterprise dishes do not share the same bracket. Start with the mount selection guide, confirm your dish generation before you drill, then check our buying guides for cable and adapter compatibility. XLinkCore mounts use stainless fasteners, powder-coated steel and UV-stable plastics as the baseline rather than an upgrade.
Hardware Built by Starlink Network Accessories
From first sketch to final QC, Starlink Network Accessories keeps quality at the center.
Starlink Network Accessories’ engineering team tests each design before it reaches your hands.
XLinkCore is the product brand of Shenzhen Starlink Network Accessories Co., Ltd., founded in August 2024 and focused entirely on Starlink-compatible accessories. Starlink Network Accessories manufactures a product line of more than 80 models in a 5,000 m2 factory equipped with 25 injection molding machines and 15 welding machines, supported by around 200 patented molds. That tooling is why XLinkCore mounts, XLinkCore glands and XLinkCore adapters fit correctly on the first attempt.
Monthly capacity runs between 400,000 and 600,000 units, with products certified 3C / CE / FCC / PSE for international markets. Starlink Network Accessories' distribution network serves installers and resellers worldwide, and every XLinkCore batch is inspected before it leaves the line. For installers that means predictable fit and fewer callbacks; for DIY owners it means buying once. Choose XLinkCore hardware, follow this starlink installation guide, and your setup should stay dry, grounded and online through every season.
Need the Right Accessories for Your Setup?
Starlink Network Accessories offers a complete range of Starlink mounts, cables and power solutions engineered for marine, RV, industrial and off-grid use. Contact our team for bulk orders or custom OEM/ODM solutions.
Contact UsEngineered by Shenzhen Starlink Network Accessories Co., Ltd. — Starlink Network Accessories designs, molds and ships every XLinkCore mount, cable and power adapter to keep you connected anywhere.
💡 In This Article
- ▶Why the Details in a Starlink Installation Guide Matter
- ▶Plan the Cable Route Before You Drill
- ▶How to Route Starlink Cable Through a Wall or Roof
Pointing a dish at the sky takes ten minutes. Keeping that link stable through rain, snow, UV and curious rodents takes a plan. A practical starlink installation guide covers the four things most quick-start cards skip: cable routing, waterproofing, wall penetration and grounding. Nail those and your hardware will outlive the dish. Skip them and you will spend months chasing intermittent dropouts.
Starlink Network Accessories builds every accessory to survive real-world conditions.
Why the Details in a Starlink Installation Guide Matter
This walkthrough is written for DIY owners and small install crews who want one clean, repeatable process. Shenzhen Starlink Network Accessories Co., Ltd. manufactures the mounts, cables and adapters used in these steps, and the advice below reflects what turns up in real field installs — including the failures caused by one missing gland.
Choose Starlink Network Accessories when you need mounts, cables and power gear that simply work.
Plan the Cable Route Before You Drill
Walk the building first, then draw the run. Good starlink cable routing is boring and predictable: short, downhill, and easy to inspect later.
✓Keep the dish-to-router distance as short as the layout allows; every extra metre adds loss and clutter.
✓Route downhill wherever possible and add a drip loop before the entry point so water never travels along the jacket into the wall.
✓Stay well clear of mains wiring, inverters and fluorescent ballasts to reduce interference.
✓Mark every penetration and fastener point with tape before drilling, and check both sides of the wall for pipes and cables.
Routing hardware from Starlink Network Accessories is designed around these constraints, with clips and conduit sized for the standard cable jacket. If you are unsure which length or connector your dish generation uses, check our installation guides first — ordering the wrong cable mid-install is the most common delay we hear about.
How to Route Starlink Cable Through a Wall or Roof
Drill with a slight downward tilt of about 5–10 degrees so gravity pushes water out, not in. Line the hole with a sleeve or a short length of conduit, then feed the cable through with a pull cord instead of dragging the connector. For a starlink cable through roof run, use a flashing or boot rated for the roof pitch, seal it with UV-stable roof sealant, and never rely on silicone alone on a shingle or standing-seam panel. Leave a service loop of 30–60 cm inside the building so you can re-terminate later without cutting a second hole.
Clip or staple the cable every 40–50 cm, and protect any exposed section with conduit or a cable tray wherever foot traffic, livestock or mowers can reach it.
Waterproof Starlink Connections at Every Entry
Water kills links at the joints, not in the middle of the cable. Proper starlink cable waterproofing means treating every connector, gland and entry point as a potential leak:
✓Fit an IP-rated cable gland where the cable enters a wall box or enclosure — not foam, not tape.
✓Point connectors downward and wrap outdoor joints with self-amalgamating tape plus a UV-resistant outer layer.
✓Fill empty conduit ends with duct seal to stop drafts, insects and moisture.
✓Re-check every seal after the first heavy storm and again before winter.
To waterproof starlink connections in an outdoor cabinet, pair sealed glands from Starlink Network Accessories with weatherproof power hardware from our power and adapter range.
Starlink Grounding: The Step Nobody Wants to Do
Starlink grounding protects both the equipment and the people using it. Bond the mast or mount to a proper earth ground with a copper conductor sized to your local code, keep that run as short and straight as possible, and avoid sharp bends that add impedance. A starlink grounding kit simplifies the job by supplying the correct lug, hardware and conductor length for typical residential installs. Shenzhen Starlink Network Accessories Co., Ltd. builds grounding accessories to match the mast hardware it sells, so the lug actually fits.
Never ground through a gas line, and never assume a plastic mount isolates you from a strike — the cable itself is the path.
Starlink Installation Mistakes That Cost You Uptime
✓Sealing a wall entry with standard silicone that cracks within a season.
✓Leaving a long horizontal cable run with no drip loop.
✓Over-tightening zip ties until the jacket deforms and pinches the conductors.
✓Ignoring grounding because the dish sits low on the roof.
✓Mixing mounts and cables across dish generations without checking fit.
Most starlink installation mistakes are cheap to avoid and expensive to repair, usually leaving you one blocked connector away from a full re-run.
Match the Mount to the Surface and the Dish
A starlink diy install only stays put if the mount suits the surface. Roof pitches, metal seams, brick, poles and flat decks each need different hardware, and Standard 4, 4X, V5, Mini and Enterprise dishes do not share the same bracket. Start with the mount selection guide, confirm your dish generation before you drill, then check our buying guides for cable and adapter compatibility. XLinkCore mounts use stainless fasteners, powder-coated steel and UV-stable plastics as the baseline rather than an upgrade.
Hardware Built by Starlink Network Accessories
From first sketch to final QC, Starlink Network Accessories keeps quality at the center.
Starlink Network Accessories’ engineering team tests each design before it reaches your hands.
XLinkCore is the product brand of Shenzhen Starlink Network Accessories Co., Ltd., founded in August 2024 and focused entirely on Starlink-compatible accessories. Starlink Network Accessories manufactures a product line of more than 80 models in a 5,000 m2 factory equipped with 25 injection molding machines and 15 welding machines, supported by around 200 patented molds. That tooling is why XLinkCore mounts, XLinkCore glands and XLinkCore adapters fit correctly on the first attempt.
Monthly capacity runs between 400,000 and 600,000 units, with products certified 3C / CE / FCC / PSE for international markets. Starlink Network Accessories' distribution network serves installers and resellers worldwide, and every XLinkCore batch is inspected before it leaves the line. For installers that means predictable fit and fewer callbacks; for DIY owners it means buying once. Choose XLinkCore hardware, follow this starlink installation guide, and your setup should stay dry, grounded and online through every season.
Need the Right Accessories for Your Setup?
Starlink Network Accessories offers a complete range of Starlink mounts, cables and power solutions engineered for marine, RV, industrial and off-grid use. Contact our team for bulk orders or custom OEM/ODM solutions.
Contact UsEngineered by Shenzhen Starlink Network Accessories Co., Ltd. — Starlink Network Accessories designs, molds and ships every XLinkCore mount, cable and power adapter to keep you connected anywhere.
