Service
How to Route Starlink Cable Through a Wall the Right Way
💡 In This Article
- ▶Start with a Simple Cable Route Plan
- ▶Penetrate Roofs and Walls the Right Way
- ▶Waterproof Starlink Connections and Joints
Reliable satellite internet depends on getting the cable from outside to the router without letting water follow it inside. Shenzhen Starlink Network Accessories Co., Ltd. started producing installation hardware in August 2024, and much of the early product work focused on that transition point. Starlink Network Accessories has since built up a practical range of wall plates, roof boots, mounts, and grounding parts. To be clear, Starlink Network Accessories does not make the dish; the company makes the accessories that protect it. XLinkCore products are designed for installs where a clean, long-lasting cable path matters as much as signal strength.
Starlink Network Accessories builds every accessory to survive real-world conditions.
Start with a Simple Cable Route Plan
This starlink installation guide begins with planning because starlink cable routing cannot be fixed after the cable is hidden inside a wall. Walk from the dish to the router and choose the shortest practical path that avoids heat, sharp edges, and standing water. If you are wondering how to route starlink cable through wall, pencil the entry point on both sides of the wall before drilling. Shenzhen Starlink Network Accessories Co., Ltd. often sees first-time owners mount the dish first, then realize the cable ends up crossing a doorway or window. Starlink Network Accessories' entry plates and grommets are handy here because they keep the cable stable where it crosses the wall. XLinkCore wall entry plates offer the same tidy low-profile finish indoors and outdoors.
✓Mark the exact entry point from both sides.
✓Plan a small drip loop outside the wall.
✓Choose accessories sized for the cable jacket.
Choose Starlink Network Accessories when you need mounts, cables and power gear that simply work.
Penetrate Roofs and Walls the Right Way
For a starlink cable through roof, never trap it under a shingle. Use a roof boot or a purpose-made entry hatch designed to seal around the cable. On vertical walls, drill at a slight downward angle toward the outside so water drains away, then push the cable through a grommet before pulling it inside. This is where a careless starlink DIY install often starts leaking.
The starlink cable waterproofing process is easier when you use a weatherproof entry plate that holds the cable in the center and allows sealant to be applied to the plate rather than directly to the jacket. Starlink Network Accessories recommends leaving a small service loop on both sides of every penetration. XLinkCore roof boots have a gentle guide channel that protects the bend and stops water from pooling at the seal.
Waterproof Starlink Connections and Joints
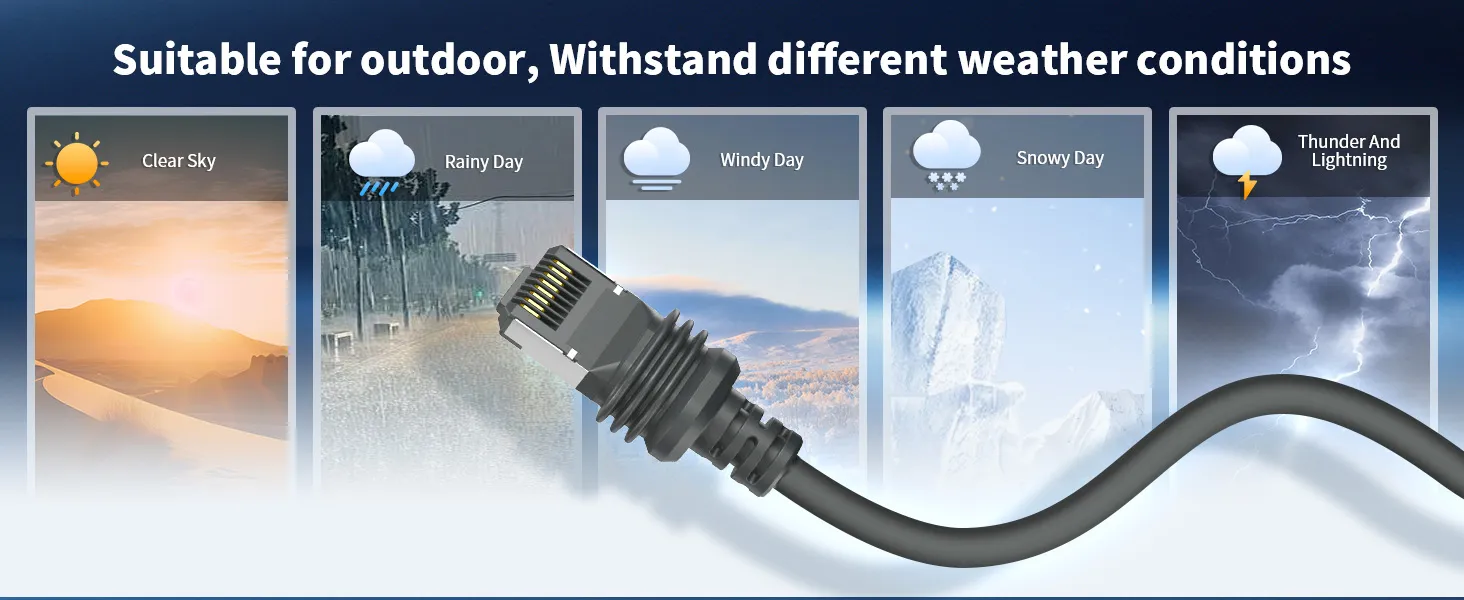
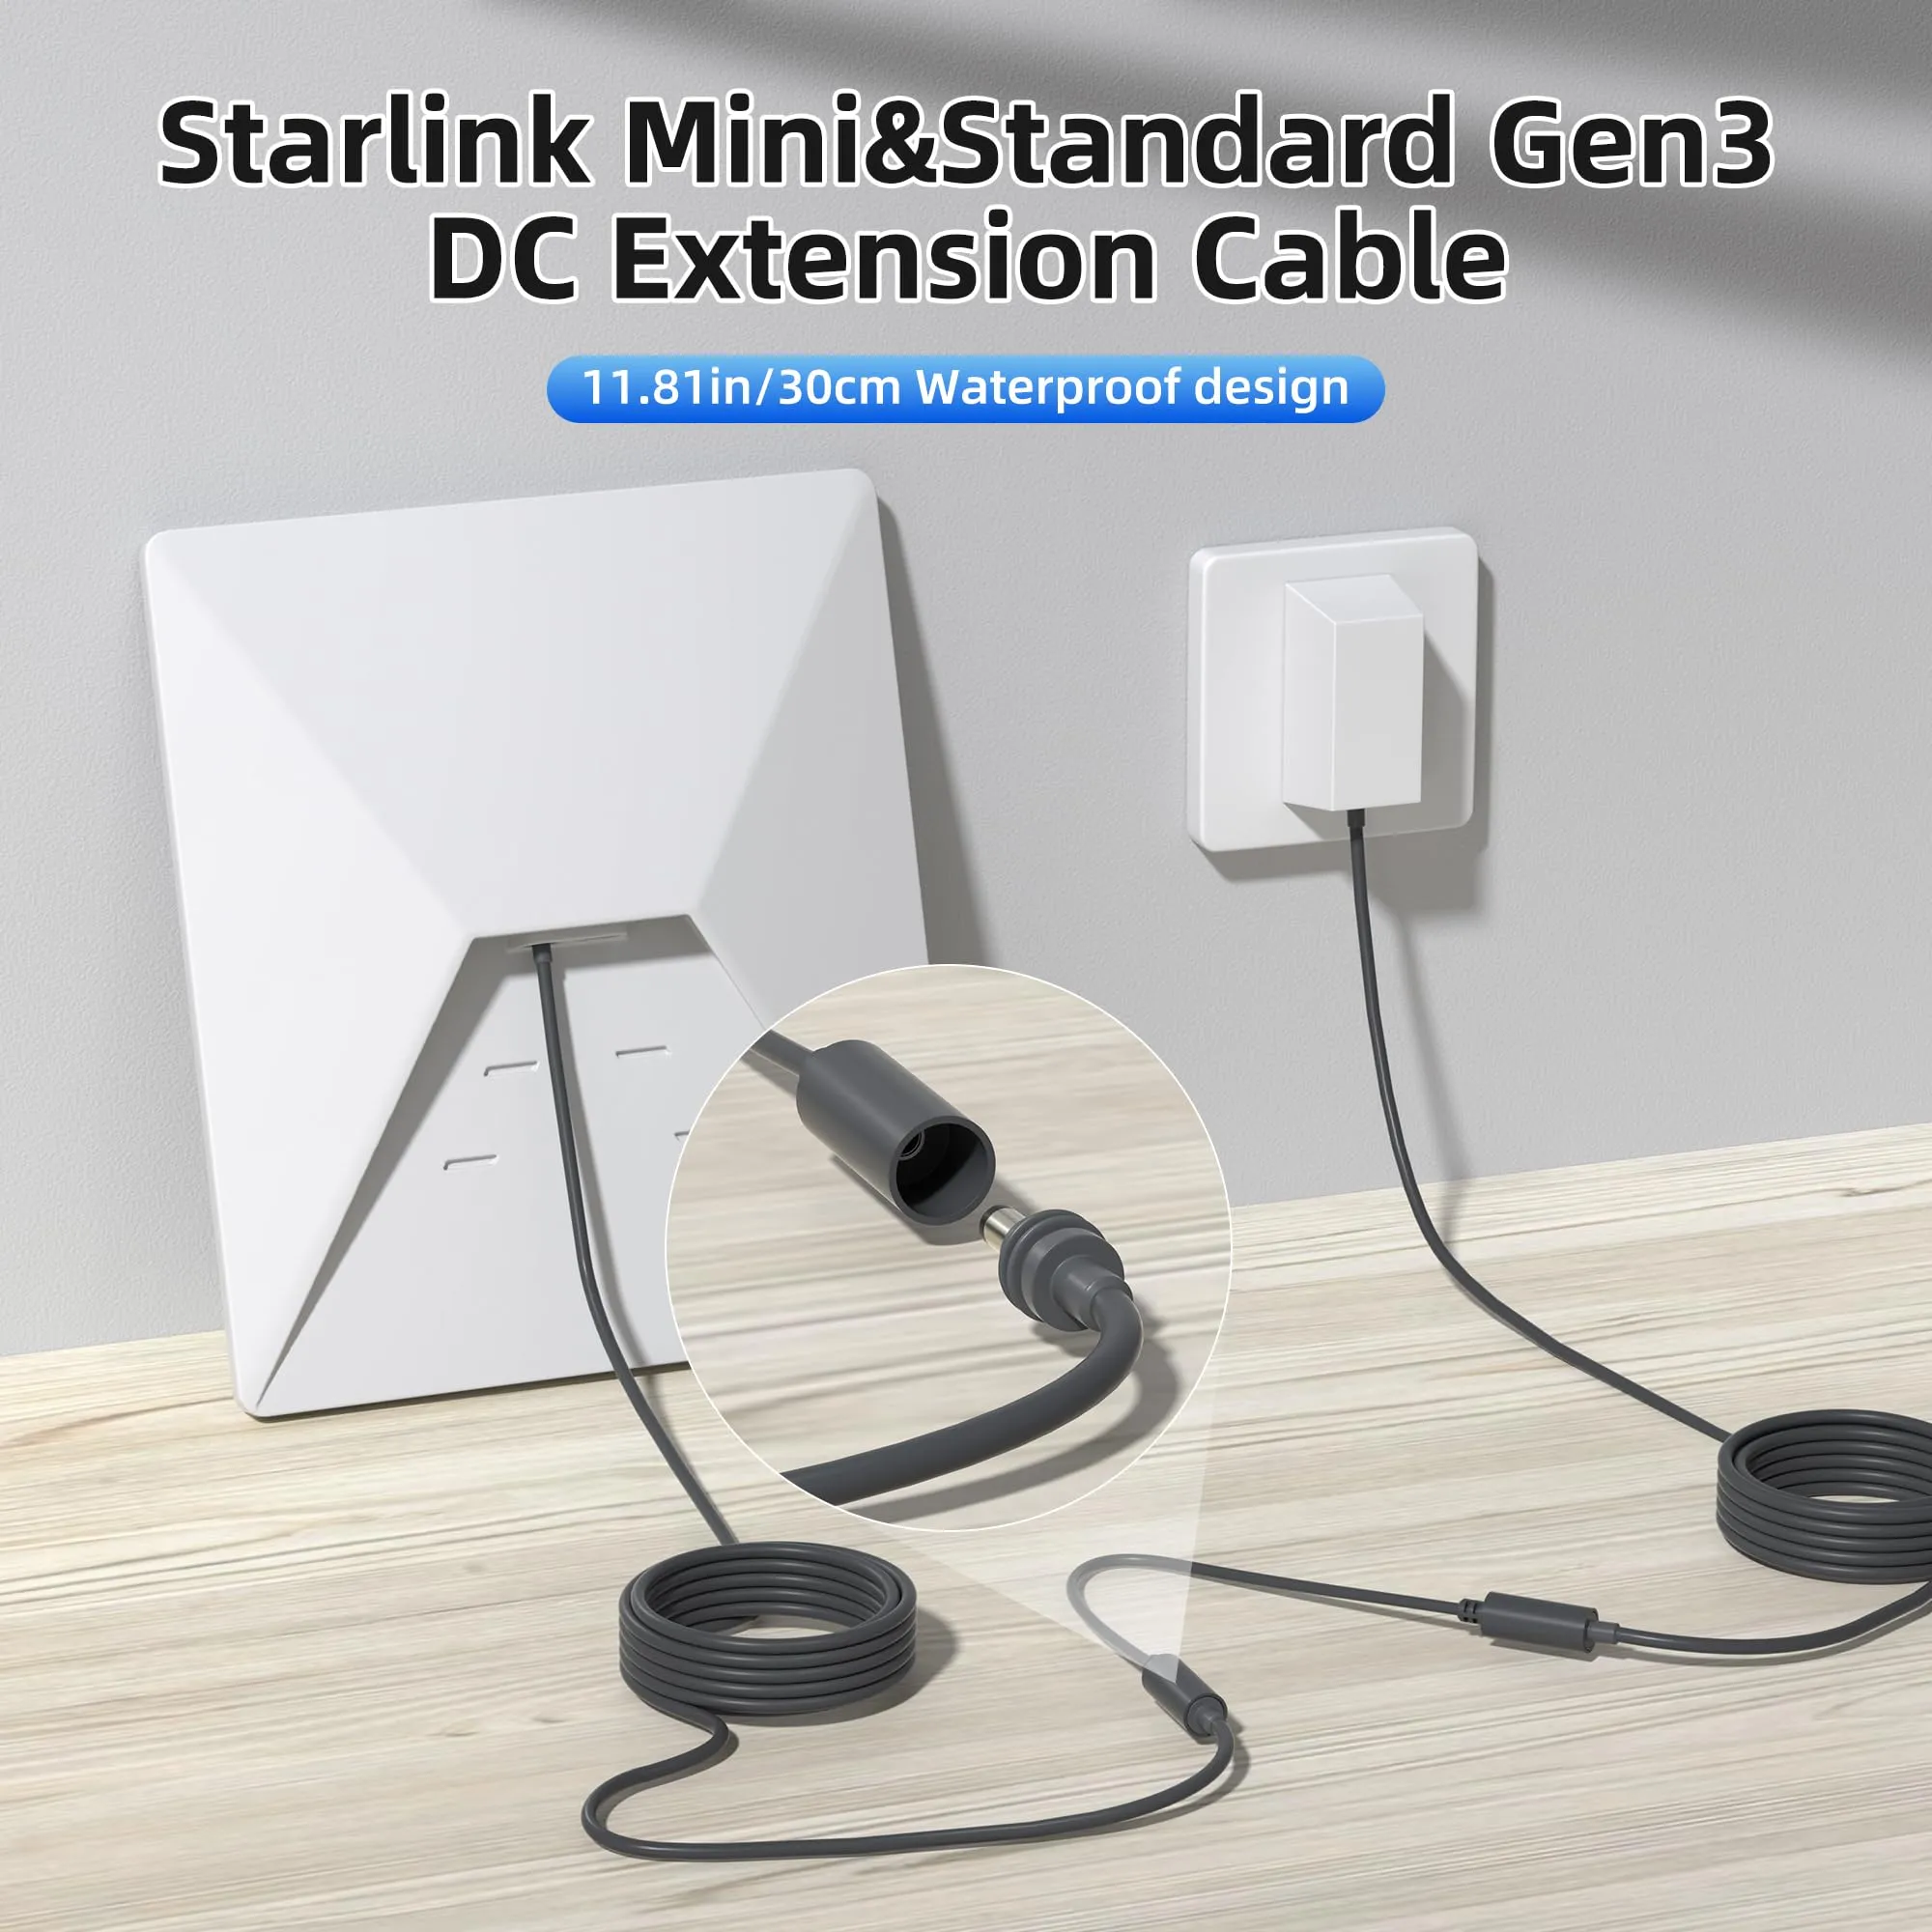
The wall entry is not the only place leaks happen. If you extend the cable for a longer run, verify every joint before you hide it. Take time to waterproof starlink connections with UV-resistant tape or a covered splice box, especially when the connection sits outdoors. A short cable with fewer splices is almost always better than a long run full of unprotected joints. XLinkCore cable sleeves and grommets shield connection points from spray, dust, and vibration while keeping the cable free to expand and contract with temperature changes.
Ground the Entry Cable for Surge Protection
Grounding protects your router and dish from damaging surges. Install a starlink grounding kit at the point where the cable first enters the building, before it runs beside telephone or power lines. Connect the grounding block to the house ground electrode or a dedicated ground rod with a short, continuous copper conductor. Keep the ground run as straight as possible and never route it through the same bundle as the data cable. XLinkCore grounding accessories are built to fit this position cleanly, and Starlink grounding done this way also gives your system a stable reference point in lightning-prone areas. Before buying any cable or ground part, check the buying guides for compatibility with your dish version.
Learn from Common Starlink Installation Mistakes
The most frustrating starlink installation mistakes are also the easiest to prevent. Most of them come from rushing the finishing steps after the dish already has a signal. Go back and inspect your work before you permanently seal anything.
✓No drip loop before the wall allows rainwater to run along the jacket and straight into the hole.
✓Oversized holes filled only with expanding foam give rodents and drafts an easy path inside.
✓Skipping grounding to save time turns an ordinary storm into an expensive service call.
✓Sealing the connection before testing the system makes it much harder to fix a faulty joint later.
Reviewing these mistakes is faster than redoing drywall. XLinkCore's product line is built around small details that prevent them, from sealing collars to strain-relief brackets.
Choose Accessories Made to Last
From first sketch to final QC, Starlink Network Accessories keeps quality at the center.
Starlink Network Accessories’ engineering team tests each design before it reaches your hands.
Behind XLinkCore is Shenzhen Starlink Network Accessories Co., Ltd., which operates a 5,000 square meter factory equipped with 25 injection molding machines and 15 welding machines. Starlink Network Accessories also maintains around 200 patented molds, producing a catalogue of more than 80 accessory models that includes cable entry kits, grounding components, and mounts. Starlink Network Accessories' engineering team uses the same factory floor to keep dimensional tolerances consistent, which matters when a grommet must seal tightly around a cable. XLinkCore products are certified 3C, CE, FCC, and PSE before shipping, and monthly production capacity reaches 400,000 to 600,000 units.
Once your cable path, waterproofing, and grounding are finished, complete the job with the correct mount. Browse the mount selection for roof, wall, and pole options, then review the power section if you also need DC or backup power support. A neat and protected cable route is the best foundation for years of reliable satellite service.
Need the Right Accessories for Your Setup?
Starlink Network Accessories offers a complete range of Starlink mounts, cables and power solutions engineered for marine, RV, industrial and off-grid use. Contact our team for bulk orders or custom OEM/ODM solutions.
Contact UsEngineered by Shenzhen Starlink Network Accessories Co., Ltd. — Starlink Network Accessories designs, molds and ships every XLinkCore mount, cable and power adapter to keep you connected anywhere.
