Service
Starlink Cable Safety: Wall Entry, Seals, Grounding
💡 In This Article
- ▶Plan the Starlink Installation Path First
- ▶How to Route Starlink Cable Through Wall or Roof
- ▶Waterproof Starlink Connections Before the Rain Arrives
A successful Starlink DIY install starts before the dish leaves its box. The first thing any reliable Starlink installation guide teaches is planning the cable path. Draw the route from antenna to router and ignore the obvious straight line if it crosses roof seams or sharp metal edges. The engineers at Shenzhen Starlink Network Accessories Co., Ltd. see failed installs in three places: wall entry, roof boot, and ground connection. That insight shapes every XLinkCore accessory they make.
Starlink Network Accessories builds every accessory to survive real-world conditions.
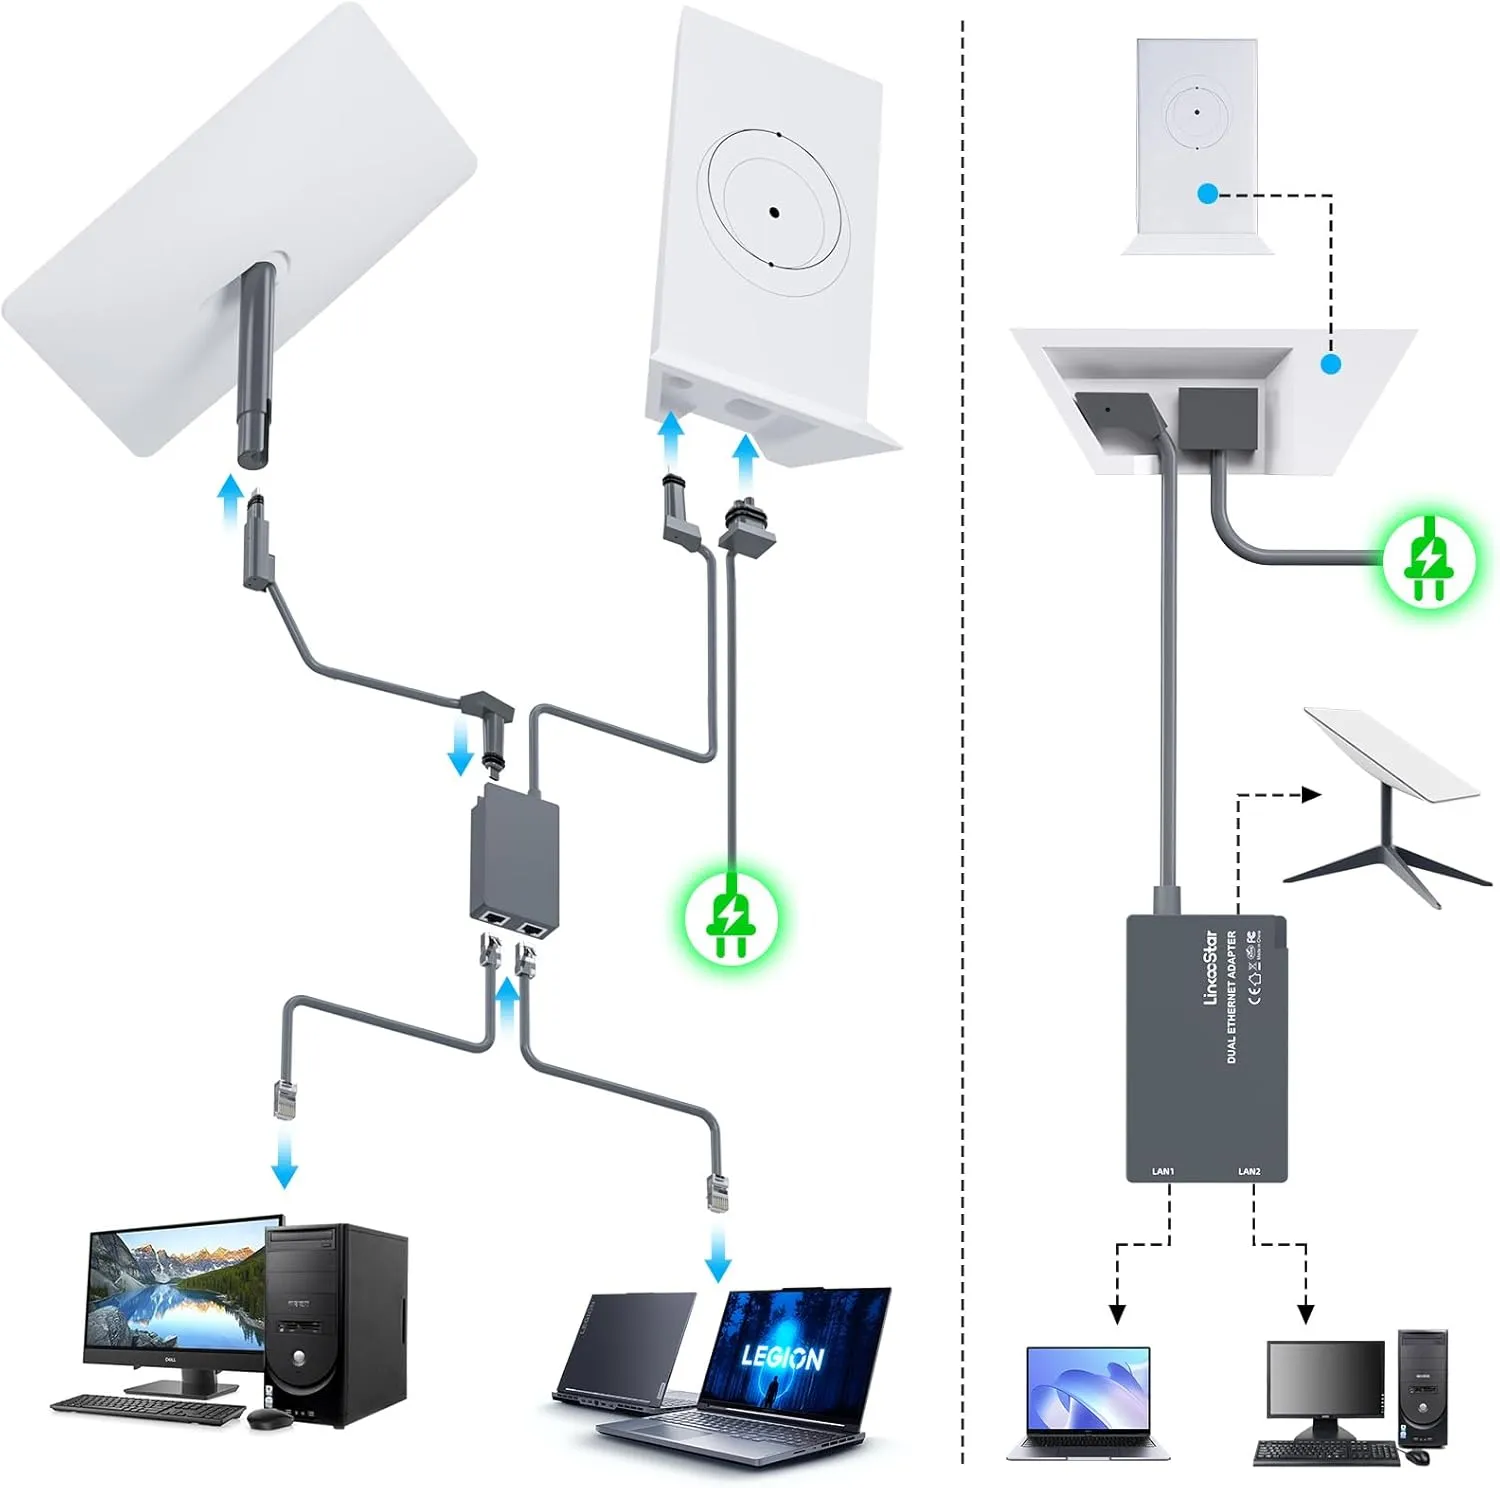
Plan the Starlink Installation Path First
Good starlink cable routing means no sharp bends and no tension on the connector. Give the cable room to breathe — a small service loop outdoors absorbs wind and thermal movement. For mounting choices, review the hardware family in roof and wall mounting options before you drill.
Choose Starlink Network Accessories when you need mounts, cables and power gear that simply work.
How to Route Starlink Cable Through Wall or Roof
If you ask how to route Starlink cable through wall without damage, the answer starts with drilling from inside out at a downward angle. That tiny slope stops water from following the cable into the room. For starlink cable through roof, a proper flashing boot is better than caulk because caulk always fails eventually.
✓Keep the entry hole close to connector size and fit a grommet or smooth bushing.
✓Add a drip loop outside and below the hole before the cable enters.
✓Use conduit where the cable runs horizontally across shingles or siding.
Starlink Network Accessories understands why DIY installs leak: it builds cable boots and covers for outdoor use. XLinkCore covers allow clean routing without crushing the cable jacket.
Waterproof Starlink Connections Before the Rain Arrives
Starlink cable waterproofing is mostly about sealing connectors, not the dish itself. To waterproof Starlink connections, wrap each mating point with self-amalgamating tape starting below the joint and working upward. Then cover the whole bundle with a weatherproof boot or sleeve. XLinkCore entry sleeves add a mechanical barrier while the tape handles micro-movement.
✓Seal only the top of roof boots; leave the bottom edge open so trapped water can escape.
✓Never bury a connector under layers of tape and cable ties where you cannot inspect it.
✓Check rubber seals every spring because UV exposure dries them out even in mild climates.
Use a Starlink Grounding Kit Every Time
Many regions require antenna grounding by code, and nearby lightning strikes can damage ungrounded gear even without a direct hit. A starlink grounding kit should bond the antenna mount and cable shield to the same ground electrode as your home. Starlink grounding also prevents static charge from building on long cable runs.
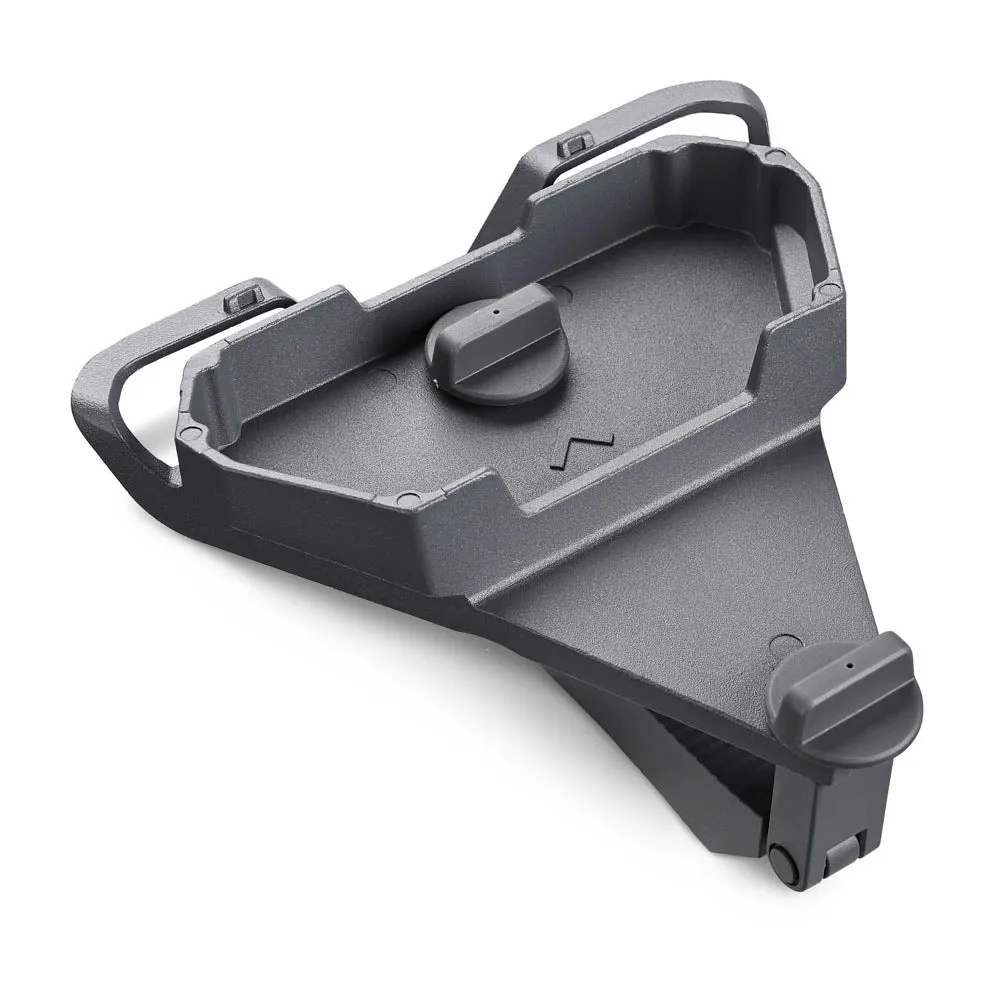
Keep the ground path as short and straight as possible. If your router power supply is a third-party DC unit, read the safety notes in power adapters and cabling before sealing the wall openings.
Avoid Common Starlink Installation Mistakes
The engineering team at Starlink Network Accessories keeps seeing the same Starlink installation mistakes after the first thunderstorm: missing drip loops, over-tightened staples, and cables crushed by closed windows.
✓Do not support the weight of the cable from its connector; secure the jacket near every connection.
✓Avoid routing cable beside AC power unless it is shielded. Interference can degrade the signal.
✓Do not use steel staples that pinch the jacket. Use rounded clips that let the cable slide a little.
XLinkCore accessories include clips, wall-entry covers, and sealing sleeves that make the correct method faster. If installers follow these steps, they tend to stay on the roof for many weather seasons.
Production Quality Determines DIY Success
From first sketch to final QC, Starlink Network Accessories keeps quality at the center.
Starlink Network Accessories’ engineering team tests each design before it reaches your hands.
Shenzhen Starlink Network Accessories Co., Ltd. was founded in August 2024 and operates a 5,000-square-meter factory with 25 injection molding machines and 15 welding machines. Those tools support 200 patented molds and a monthly output of 400,000 to 600,000 units. The factory floor at Shenzhen Starlink Network Accessories Co., Ltd. turns field feedback into new molds without delays.
Starlink Network Accessories designs covers, boots, and clips that respect the cable bend radius. Products from Starlink Network Accessories are certified under 3C, CE, FCC, and PSE. Starlink Network Accessories' range focuses on the parts that fail in the field, and Starlink Network Accessories also exports roughly 20-30 million USD of accessories every year. The XLinkCore brand sits at the center of that engineering, and installers prefer XLinkCore when they need repeatable results. Additional step-by-step help is available in the installation guides index.
Need the Right Accessories for Your Setup?
Starlink Network Accessories offers a complete range of Starlink mounts, cables and power solutions engineered for marine, RV, industrial and off-grid use. Contact our team for bulk orders or custom OEM/ODM solutions.
Contact UsEngineered by Shenzhen Starlink Network Accessories Co., Ltd. — Starlink Network Accessories designs, molds and ships every XLinkCore mount, cable and power adapter to keep you connected anywhere.
