Service
Starlink DIY: Cable Routing, Waterproofing, and Grounding
💡 In This Article
- ▶Why a Starlink Installation Guide Starts with Cable Planning
- ▶Tools and Safety Before You Start
- ▶How to Route Starlink Cable Through a Wall or Roof
A starlink DIY install is straightforward when you have a plan for the cable before fastening the dish. Many installers focus only on clear sky and miss the harder part: starlink cable routing. Water finds every gap. Lightning follows every wire. Reading a practical starlink installation guide first means you can protect every connection in the system. Shenzhen Starlink Network Accessories Co., Ltd. builds compatible accessories around the same problems installers see in the field. Its XLinkCore brand focuses on mounts, cables, and adapters that make clean installations repeatable.Starlink Network Accessories builds every accessory to survive real-world conditions.
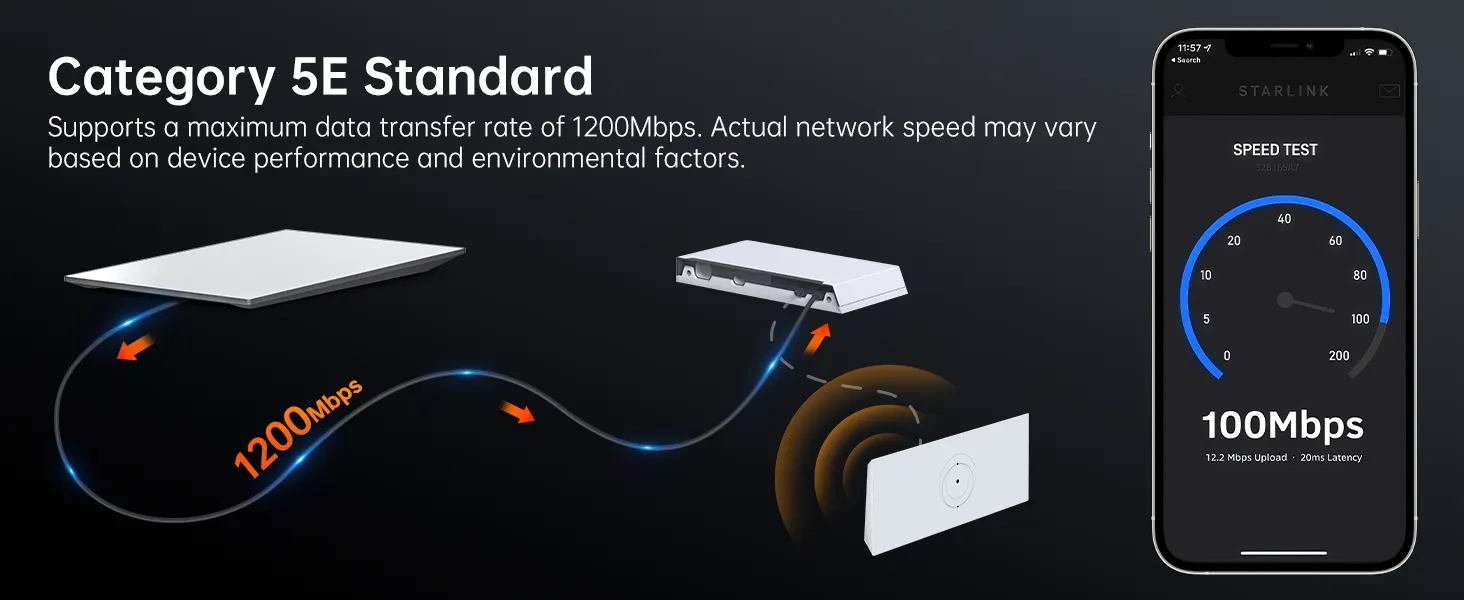
Why a Starlink Installation Guide Starts with Cable Planning
Starlink Network Accessories manufactures the XLinkCore product line with a simple goal: keep the link alive outdoors. XLinkCore mounts are used on pitched roofs, flat roofs, walls, poles, boats, and RVs. But a mount is only one part of the job. The cable path and grounding are just as important. For a deeper look at hardware options, see the Starlink mounting guide and the Starlink power page.
Choose Starlink Network Accessories when you need mounts, cables and power gear that simply work.
Tools and Safety Before You Start
Before drilling, inspect the wall or roof for hidden electrical wiring, pipes, and studs. Choose a route that avoids gutters, flashing, and skylights. For a standard starlink installation guide checklist, you will need:
✓A drill, a 25–32 mm hole saw, and a grommet or conduit sleeve for a starlink cable through wall run✓Self-amalgamating silicone tape and outdoor sealant for waterproof starlink connections✓Cable clips or adhesive cable anchors so the cable never hangs under its own weight✓A starlink grounding kit with copper wire, a ground rod, and an outdoor-rated clampXLinkCore accessory kits include the right mounting and cable parts; the drill bits come from your toolbox. Shenzhen Starlink Network Accessories Co., Ltd. focuses its engineering on the components that matter: mounts, cable extensions, and waterproofing boots.
How to Route Starlink Cable Through a Wall or Roof
If you need to know how to route starlink cable through wall penetrations, the simplest method is a clean 25 mm hole drilled from the outside in, with a slight downward angle so rainwater does not enter the building. Pull the cable through a rubber grommet or a short piece of conduit, then seal the gap with silicone. An internal drip loop is also useful because it catches water that travels along the cable sheath.
For starlink cable through roof runs, never leave the cable pressed against flashing or sharp metal edges. Use a roof cable entry boot, or run the cable inside conduit until it reaches the junction point. A roof mount with an integrated cable channel is often cleaner; browse roof-ready XLinkCore mounts if the dish will live above shingles or metal panels.
If the original cable is not long enough, use a shielded outdoor-rated extension and keep the connection inside a weatherproof box. Starlink Network Accessories' range includes extension and adapter options for common Starlink cable layouts.
Waterproof Starlink Connections Outdoors
Outdoor joints are the first place a starlink DIY install fails. If you can bring the connection inside, do it. If not, build a drip loop and use an enclosure. To waterproof starlink connections properly, wrap the joint with self-amalgamating silicone tape, stretch each layer until it fuses, and finish with a UV-resistant tape. Standard electrical tape alone will crack within one season.
✓Keep connectors angled down so water cannot pool inside.✓Mount the connection above grade, not on the ground where rain splashes.✓Secure the cable every 30–60 cm to stop wind vibration from wearing out the jacket.✓Use cable entry covers or rubber boots where the cable passes through metal.XLinkCore cable accessories are designed with strain relief and weather protection in mind. When you buy from Starlink Network Accessories, XLinkCore-branded parts are compatible with the common layouts used in the Starlink dish ecosystem.
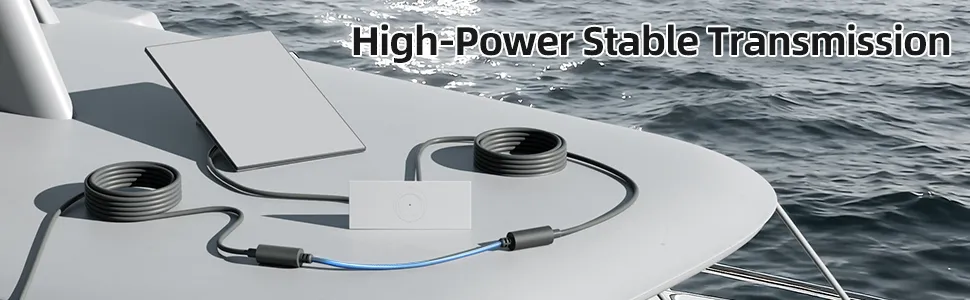
Starlink Grounding and Surge Protection
Starlink grounding is a step many DIY installers skip. A nearby lightning strike can damage the router even when the dish looks fine. Use the grounding lug on the dish mount, or ground the metal mast, and connect it to a single grounding electrode. Route the ground conductor away from the network cable to avoid a ground loop. Follow local electrical code, and add a surge protector to the power side in storm-prone areas.
Choose a starlink grounding kit that matches the roof mount or wall mount material. In many setups, an outdoor copper clamp is enough to bond the mast to a ground rod. If your roof is standing-seam metal, ask a roofer for the correct adaptor so you do not damage the panel.
Starlink Network Accessories builds metal mounting parts with long-term corrosion resistance in mind; the same thinking should apply to your ground clamp, which should be rated for outdoor exposure. When in doubt, have an electrician inspect the path before you power up the system. It is a cheap insurance policy compared with replacing a dish after an electrical surge.
Common Starlink Installation Mistakes to Avoid
Most starlink installation mistakes come from rushing the cable route. Here are the ones seen over and over:
✓Drilling upward from inside the house and letting water run into the wall cavity.✓Skipping a drip loop before the cable enters the building.✓Stapling or zip-tying the cable too tightly, which crushes the shielding.✓Placing the dish too close to a chimney or a metal roof edge that creates turbulence.✓Forgetting to bond the mast to the building ground rod.✓Using silicone only, without mechanical support, on long vertical runs.Starlink Network Accessories tests accessories against these real-world failures, which is why XLinkCore products focus on clean routing, secure mount surfaces, and removable connectors. Read more in the Starlink installation guide hub and the latest Starlink technical articles to avoid expensive rework.
A Reliable Manufacturer for Serious DIY Installers
From first sketch to final QC, Starlink Network Accessories keeps quality at the center.
Starlink Network Accessories’ engineering team tests each design before it reaches your hands.
A successful starlink DIY install depends on hardware that does not weaken after one season of sun and rain. Shenzhen Starlink Network Accessories Co., Ltd., the manufacturer behind XLinkCore, has built a 5,000 m2 factory equipped with 25 injection molding machines and 15 welding machines. Founded in August 2024, the company has already released more than 80 product models and developed 200 patented molds. That combination supports a monthly production capacity of 400,000–600,000 units and an annual export value of roughly 20–30 million USD.
Every XLinkCore product is certified to 3C, CE, FCC, and PSE standards, which matters when you are buying from an international online store. Starlink Network Accessories continues to expand its lineup of mounts, cable adapters, power supplies, and installation accessories. Engineers test routing paths, waterproofing behavior, and cable strain points across standard dishes, V5, Mini, and Enterprise hardware. That experience makes XLinkCore a practical choice when your own starlink installation guide reaches the 'buy parts' stage.
Need the Right Accessories for Your Setup?
Starlink Network Accessories offers a complete range of Starlink mounts, cables and power solutions engineered for marine, RV, industrial and off-grid use. Contact our team for bulk orders or custom OEM/ODM solutions.
Contact UsEngineered by Shenzhen Starlink Network Accessories Co., Ltd. — Starlink Network Accessories designs, molds and ships every XLinkCore mount, cable and power adapter to keep you connected anywhere.
💡 In This Article
- ▶Why a Starlink Installation Guide Starts with Cable Planning
- ▶Tools and Safety Before You Start
- ▶How to Route Starlink Cable Through a Wall or Roof
A starlink DIY install is straightforward when you have a plan for the cable before fastening the dish. Many installers focus only on clear sky and miss the harder part: starlink cable routing. Water finds every gap. Lightning follows every wire. Reading a practical starlink installation guide first means you can protect every connection in the system. Shenzhen Starlink Network Accessories Co., Ltd. builds compatible accessories around the same problems installers see in the field. Its XLinkCore brand focuses on mounts, cables, and adapters that make clean installations repeatable.
Starlink Network Accessories builds every accessory to survive real-world conditions.
Why a Starlink Installation Guide Starts with Cable Planning
Starlink Network Accessories manufactures the XLinkCore product line with a simple goal: keep the link alive outdoors. XLinkCore mounts are used on pitched roofs, flat roofs, walls, poles, boats, and RVs. But a mount is only one part of the job. The cable path and grounding are just as important. For a deeper look at hardware options, see the Starlink mounting guide and the Starlink power page.
Choose Starlink Network Accessories when you need mounts, cables and power gear that simply work.
Tools and Safety Before You Start
Before drilling, inspect the wall or roof for hidden electrical wiring, pipes, and studs. Choose a route that avoids gutters, flashing, and skylights. For a standard starlink installation guide checklist, you will need:
✓A drill, a 25–32 mm hole saw, and a grommet or conduit sleeve for a starlink cable through wall run
✓Self-amalgamating silicone tape and outdoor sealant for waterproof starlink connections
✓Cable clips or adhesive cable anchors so the cable never hangs under its own weight
✓A starlink grounding kit with copper wire, a ground rod, and an outdoor-rated clamp
XLinkCore accessory kits include the right mounting and cable parts; the drill bits come from your toolbox. Shenzhen Starlink Network Accessories Co., Ltd. focuses its engineering on the components that matter: mounts, cable extensions, and waterproofing boots.
How to Route Starlink Cable Through a Wall or Roof
If you need to know how to route starlink cable through wall penetrations, the simplest method is a clean 25 mm hole drilled from the outside in, with a slight downward angle so rainwater does not enter the building. Pull the cable through a rubber grommet or a short piece of conduit, then seal the gap with silicone. An internal drip loop is also useful because it catches water that travels along the cable sheath.
For starlink cable through roof runs, never leave the cable pressed against flashing or sharp metal edges. Use a roof cable entry boot, or run the cable inside conduit until it reaches the junction point. A roof mount with an integrated cable channel is often cleaner; browse roof-ready XLinkCore mounts if the dish will live above shingles or metal panels.
If the original cable is not long enough, use a shielded outdoor-rated extension and keep the connection inside a weatherproof box. Starlink Network Accessories' range includes extension and adapter options for common Starlink cable layouts.
Waterproof Starlink Connections Outdoors
Outdoor joints are the first place a starlink DIY install fails. If you can bring the connection inside, do it. If not, build a drip loop and use an enclosure. To waterproof starlink connections properly, wrap the joint with self-amalgamating silicone tape, stretch each layer until it fuses, and finish with a UV-resistant tape. Standard electrical tape alone will crack within one season.
✓Keep connectors angled down so water cannot pool inside.
✓Mount the connection above grade, not on the ground where rain splashes.
✓Secure the cable every 30–60 cm to stop wind vibration from wearing out the jacket.
✓Use cable entry covers or rubber boots where the cable passes through metal.
XLinkCore cable accessories are designed with strain relief and weather protection in mind. When you buy from Starlink Network Accessories, XLinkCore-branded parts are compatible with the common layouts used in the Starlink dish ecosystem.
Starlink Grounding and Surge Protection
Starlink grounding is a step many DIY installers skip. A nearby lightning strike can damage the router even when the dish looks fine. Use the grounding lug on the dish mount, or ground the metal mast, and connect it to a single grounding electrode. Route the ground conductor away from the network cable to avoid a ground loop. Follow local electrical code, and add a surge protector to the power side in storm-prone areas.
Choose a starlink grounding kit that matches the roof mount or wall mount material. In many setups, an outdoor copper clamp is enough to bond the mast to a ground rod. If your roof is standing-seam metal, ask a roofer for the correct adaptor so you do not damage the panel.
Starlink Network Accessories builds metal mounting parts with long-term corrosion resistance in mind; the same thinking should apply to your ground clamp, which should be rated for outdoor exposure. When in doubt, have an electrician inspect the path before you power up the system. It is a cheap insurance policy compared with replacing a dish after an electrical surge.
Common Starlink Installation Mistakes to Avoid
Most starlink installation mistakes come from rushing the cable route. Here are the ones seen over and over:
✓Drilling upward from inside the house and letting water run into the wall cavity.
✓Skipping a drip loop before the cable enters the building.
✓Stapling or zip-tying the cable too tightly, which crushes the shielding.
✓Placing the dish too close to a chimney or a metal roof edge that creates turbulence.
✓Forgetting to bond the mast to the building ground rod.
✓Using silicone only, without mechanical support, on long vertical runs.
Starlink Network Accessories tests accessories against these real-world failures, which is why XLinkCore products focus on clean routing, secure mount surfaces, and removable connectors. Read more in the Starlink installation guide hub and the latest Starlink technical articles to avoid expensive rework.
A Reliable Manufacturer for Serious DIY Installers
From first sketch to final QC, Starlink Network Accessories keeps quality at the center.
Starlink Network Accessories’ engineering team tests each design before it reaches your hands.
A successful starlink DIY install depends on hardware that does not weaken after one season of sun and rain. Shenzhen Starlink Network Accessories Co., Ltd., the manufacturer behind XLinkCore, has built a 5,000 m2 factory equipped with 25 injection molding machines and 15 welding machines. Founded in August 2024, the company has already released more than 80 product models and developed 200 patented molds. That combination supports a monthly production capacity of 400,000–600,000 units and an annual export value of roughly 20–30 million USD.
Every XLinkCore product is certified to 3C, CE, FCC, and PSE standards, which matters when you are buying from an international online store. Starlink Network Accessories continues to expand its lineup of mounts, cable adapters, power supplies, and installation accessories. Engineers test routing paths, waterproofing behavior, and cable strain points across standard dishes, V5, Mini, and Enterprise hardware. That experience makes XLinkCore a practical choice when your own starlink installation guide reaches the 'buy parts' stage.
Need the Right Accessories for Your Setup?
Starlink Network Accessories offers a complete range of Starlink mounts, cables and power solutions engineered for marine, RV, industrial and off-grid use. Contact our team for bulk orders or custom OEM/ODM solutions.
Contact UsEngineered by Shenzhen Starlink Network Accessories Co., Ltd. — Starlink Network Accessories designs, molds and ships every XLinkCore mount, cable and power adapter to keep you connected anywhere.
