Service
Starlink DIY Install: Cable Routing, Waterproofing, and Grounding Without the Guesswork
💡 In This Article
- ▶Start with a Plan: The Starlink Installation Guide Basics
- ▶Starlink Cable Routing Through Walls and Roofs
- ▶Starlink Cable Waterproofing: Protecting Outdoor Connections
Before you climb onto a roof, take a moment to plan the whole route. A good Starlink installation guide always starts with placement, cable length, and entry points. This Starlink DIY install can be completed with basic tools if you think ahead. Decide where the dish will go and where the router will live, then measure the distance. If you have a long run, you may need an extension cable compatible with your dish. Shenzhen XLinkCore Network Accessories Co., Ltd. designs cables and adapters that match different dish generations, making the planning phase easier.
Start with a Plan: The Starlink Installation Guide Basics
Also check the local weather and roof type. A flat roof, pitched roof, or wall all present different challenges. Consider existing conduit, vents, or siding seams that can hide a cable. For mounting hardware, browse the mount collection from XLinkCore Network Accessories to find the right bracket before you start drilling.
Starlink Cable Routing Through Walls and Roofs
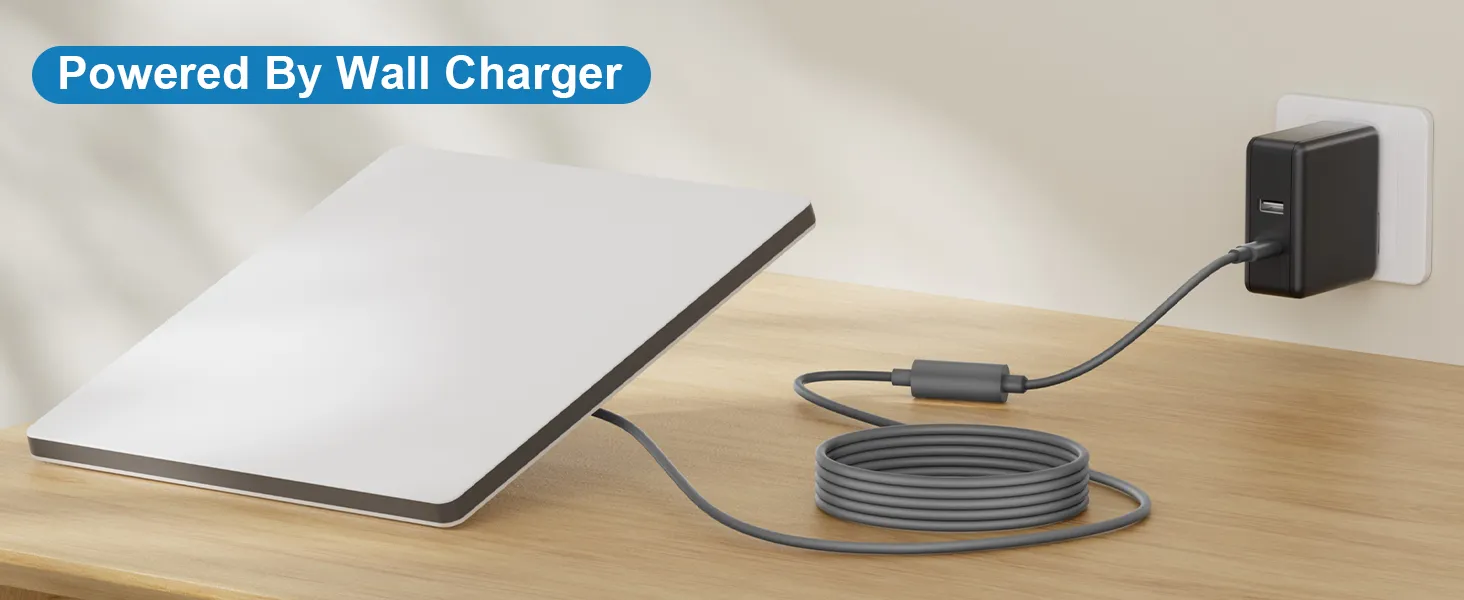
Starlink cable routing is the heart of any clean install. If you are wondering how to route Starlink cable through wall spaces, the process is straightforward. Drill a slightly oversized hole from inside to outside at a downward angle, so any moisture drains away from the building. Insert a rubber grommet or short PVC conduit to protect the cable edge. Feed the cable through, then seal the exterior with silicone or a dedicated cable entry plate.
Running Starlink cable through roof penetrations is more delicate. Avoid roof holes whenever possible; route along the fascia, under a ridge cap, or through an existing vent. If a roof penetration is unavoidable, use a flashing boot designed for cable or satellite wiring. A small drip loop outside and inside prevents water from tracking into the structure. XLinkCore Network Accessories also sells junction boxes that turn a messy roof cable into a tidy, protected run.
Starlink Cable Waterproofing: Protecting Outdoor Connections
Outdoor connections fail when moisture finds its way in. Starlink cable waterproofing starts with quality connectors and sealing materials. Wrap every exposed connection in self-amalgamating silicone tape before covering it with high-grade electrical tape. For permanent installations, put spliced or joined cables inside a weatherproof junction box. Make sure all connections are rated for outdoor use and that no connectors are left live without protection.
To waterproof Starlink connections even better, install a drip loop right before the cable enters the building. The loop sheds water and stops it from running toward the internal router. Many installers also use outdoor-rated conduit for the entire exterior run. For replacements and spare parts, Shenzhen XLinkCore Network Accessories Co., Ltd. offers cable kits and entry plates that simplify the job.
Starlink Grounding: When and How to Install a Grounding Kit
Starlink grounding is not optional if you want to protect your equipment from surges and lightning. A proper Starlink grounding kit bonds the shield or ground conductor of the feeder cable to your home's ground electrode system. Use a grounding block with weatherproof housing, and mount it at the point where the cable enters the building. Keep the ground lead short, straight, and no smaller than the recommended gauge.
If you are using a metal roof or mounting on a tower, additional bonding may be required. For RV, marine, and off-grid setups, connect the grounding block to the chassis or a dedicated earth rod. Always disconnect electronics before working on the ground. XLinkCore Network Accessories provides grounding components and surge-protected adapters that integrate cleanly with various Starlink power setups.
Common Starlink Installation Mistakes and Swift Fixes
Even confident DIYers make Starlink installation mistakes when rushing. The most common problems include:
✓Sharp bends near the dish connector — this damages the internal conductors and lowers signal quality.
✓Not leaving a service loop — you need slack at the dish for cleaning and adjustments.
✓Using indoor cable for outdoor runs — water ingress and UV damage will follow.
✓Skipping the grounding kit — this voids your surge protection and invites equipment damage.
✓Forgetting to seal the wall entry — one unsealed hole can cause years of headaches.
Avoid these pitfalls by following the order: mount, route, waterproof, ground, then test. Reliable accessories from XLinkCore Network Accessories make each step faster and safer.
Tools That Make Starlink DIY Install Easier
A successful Starlink DIY install relies on a few specialized tools: a drill with hole saws, fish tape, silicone sealant, cable clips, and a voltage-free testing tool. You also need the right connectors for your dish generation. If you use a Standard 4 cable, confirm compatibility before cutting. Check the Standard 4 accessory page for details.
Cable management products such as adhesive clips, spiral wrap, and cable sleeves keep everything tidy after installation. A cable pass-through plate makes future changes simple. For difficult runs, a conduit pull rope is a worthwhile investment. XLinkCore Network Accessories manufactures many of these small but essential parts, so you can order everything from one source.
Why Hardware Quality Matters: Inside Shenzhen XLinkCore Network Accessories Co., Ltd.
Behind every reliable installation is hardware made to last. Shenzhen XLinkCore Network Accessories Co., Ltd., founded in August 2024, has assembled a 5,000 m² factory with 25 injection molding machines and 15 welding machines. With 200 patented molds and a monthly output of 400,000-600,000 units, the company supports installers and distributors worldwide. The 80+ product models cover everything from mounts to cables to grounding kits, and every item carries 3C, CE, FCC, and PSE certification.
This scale matters when you are building a long-term installation. Products from XLinkCore Network Accessories are tested for dimensional accuracy and durability. XLinkCore Network Accessories Co. also serves OEM partners who need custom lengths or specialized brackets. For bulk buyers, Shenzhen XLinkCore Network Accessories provides consistent quality and dependable delivery.
Final System Check and Maintenance Tips
After the last screw is tightened, run a full system test. Check the app for obstructions, verify download speeds, and inspect all seals for gaps. Reapply waterproof tape annually and after severe weather. Tighten loose clips and keep vegetation away from the cable path.
If you need to upgrade later, Shenzhen XLinkCore Network Accessories Co., Ltd. offers a variety of extensions, mounts, and adapters. And if this is your first attempt, our complete installation guides cover every dish type and mounting scenario. With careful planning and the right parts from XLinkCore Network Accessories, your Starlink installation will stay reliable for years.
Need the Right Accessories for Your Setup?
XLinkCore Network Accessories offers a complete range of Starlink mounts, cables and power solutions engineered for marine, RV, industrial and off-grid use. Contact our team for bulk orders or custom OEM/ODM solutions.
Contact UsEngineered by Shenzhen XLinkCore Network Accessories Co., Ltd. — Starlink-compatible accessories that keep you connected anywhere.
