Service
Starlink Installation: Wall Penetration and Grounding
💡 In This Article
- ▶Plan the Route Before You Drill
- ▶Starlink Cable Routing From Dish to Entry Point
- ▶How to Route Starlink Cable Through a Wall or Roof
Any good starlink installation guide begins with a walk-around, not a drill bit. Trace the path from the dish to the router and mark every transition point: the mount, the cable's first bend, the wall or roof entry, and the indoor run. Keep the run short, keep bends wide, and place the entry above the drip line so water always runs away from the hole. Mount choice decides much of this, so review the Starlink mount options before you commit to a location.
Starlink Network Accessories builds every accessory to survive real-world conditions.
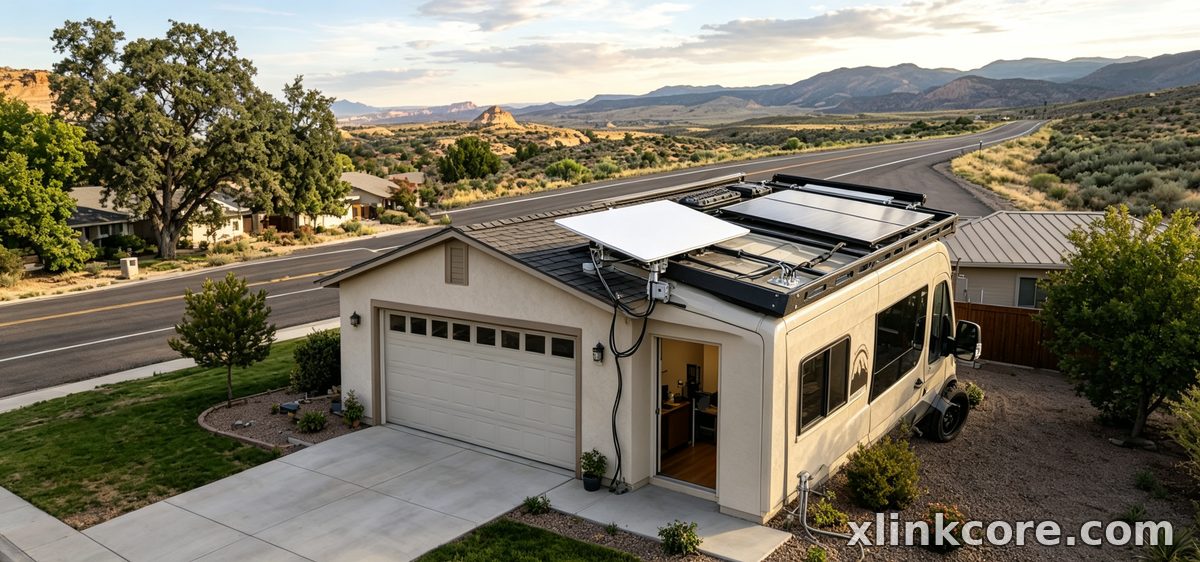
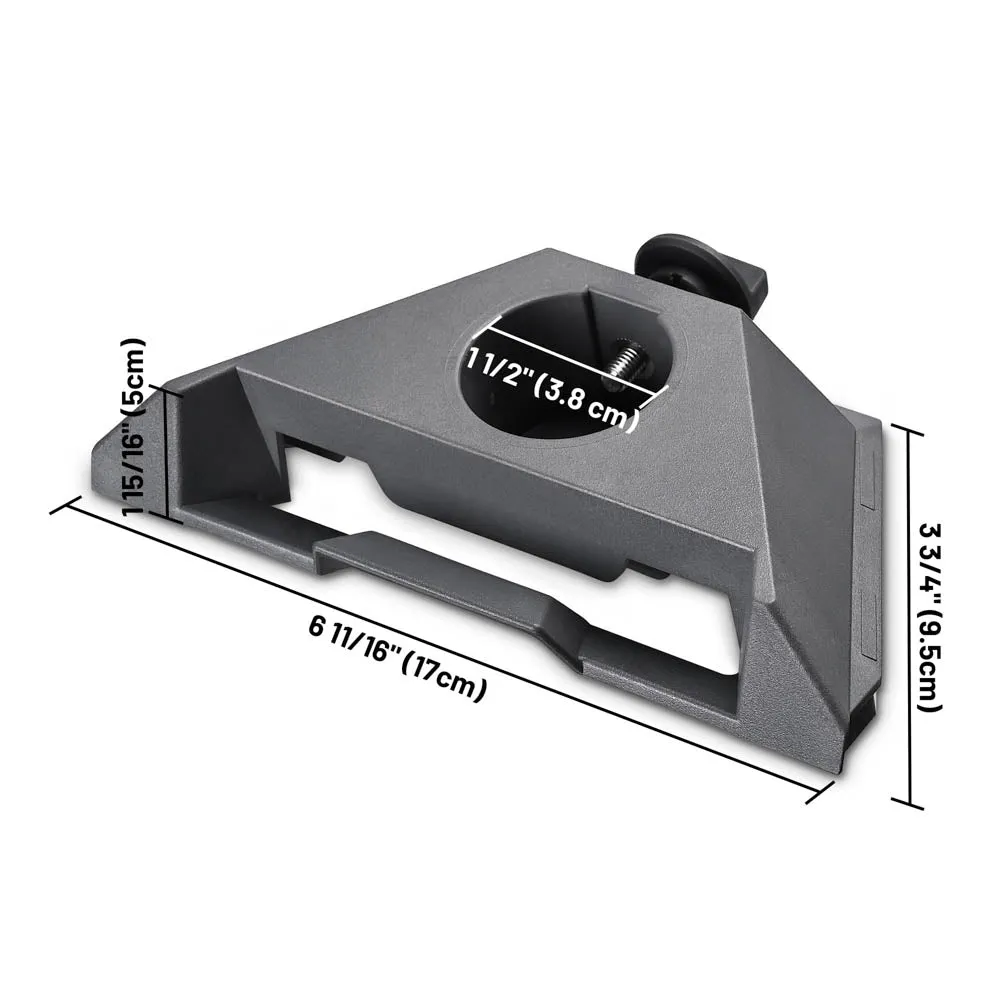
Plan the Route Before You Drill
This planning stage is where a starlink diy install is won or lost. Shenzhen Starlink Network Accessories Co., Ltd. has been building mounting and cable hardware since August 2024, and the same three problems keep appearing in the field: a cable pinched at the mount, a penetration sealed only on the outside, and a ground path nobody connected. The Starlink Network Accessories design team builds around exactly those weak points, which is why the steps below follow a professional installer's order.
Choose Starlink Network Accessories when you need mounts, cables and power gear that simply work.
Starlink Cable Routing From Dish to Entry Point
Clean starlink cable routing protects the inner conductors and keeps water out of the connector. Four rules cover most installations:
✓Support the full run. Clip the cable every 40-60 cm so its weight never hangs from the connector.
✓Respect the bend radius. A gentle curve is fine; a kink at the mount is not.
✓Run downhill first. Form a drip loop before the cable turns upward into a wall.
✓Stay clear of heat and sharp edges. Keep 5 cm or more from flues, and deburr every metal edge the cable touches.
Starlink Network Accessories makes UV-stable cable clips and routing hardware across an 80+ model range, and small parts like these do more for long-term reliability than any single upgrade. Avoid over-tightened zip ties on a mast: they crush the jacket and trap water against the connector.
How to Route Starlink Cable Through a Wall or Roof
Wall entries are the easier of the two. Drill the hole angled slightly downward toward the outside, sleeve it, and finish both ends with a cable gland or wall plate. The short version of how to route starlink cable through wall assemblies is: slope it, sleeve it, seal it, and leave a service loop indoors. The installation guides cover plates, glands and sleeves in more detail.
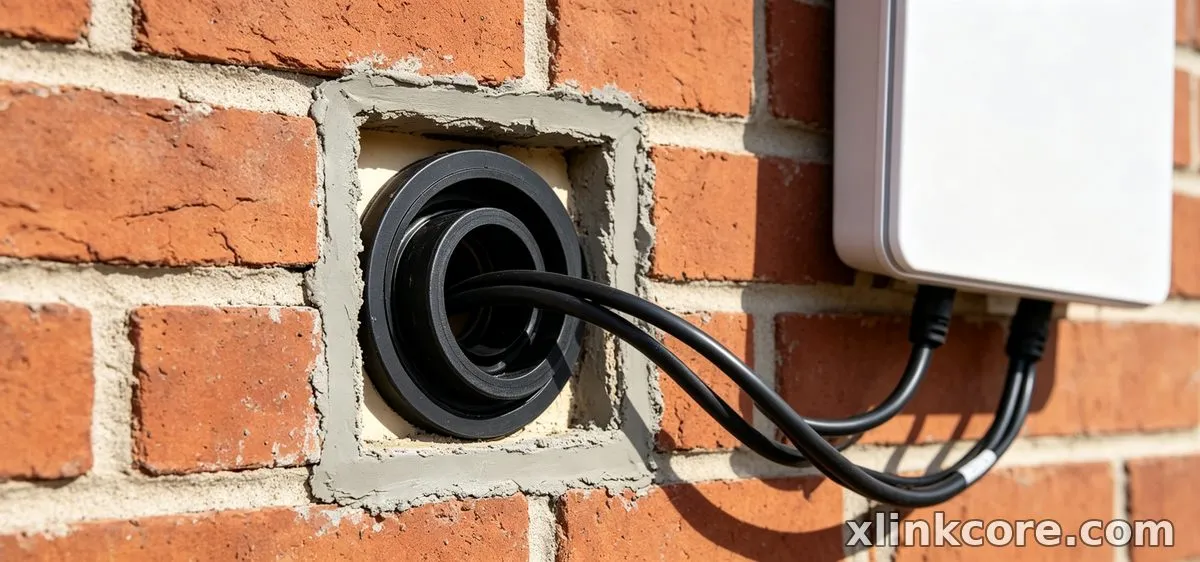
Roof entries demand more care. Never penetrate at the low point of a roof or inside a valley where water collects. Run starlink cable through roof surfaces at a covered high point, use a proper roof boot or flashing plate, and seal under the flange as well as on top of it. Starlink Network Accessories' XLinkCore roof-entry plates lift the cable above standing water, which matters on flat and low-slope roofs.
Waterproofing Connections and Penetrations
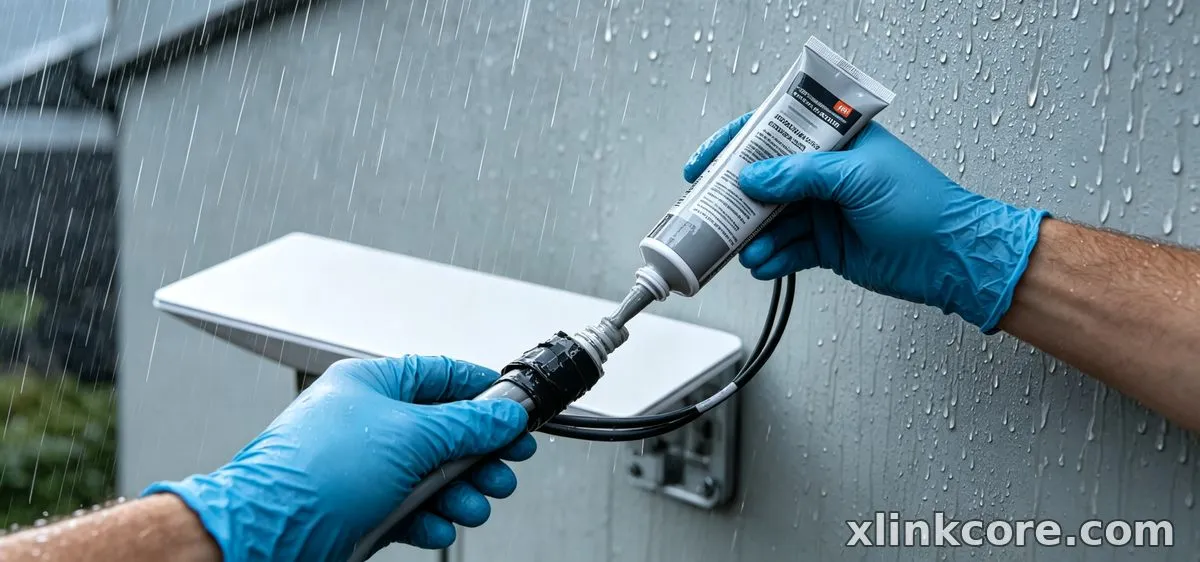
Starlink cable waterproofing is a two-part job: protect the connector, then protect the hole. For connections, seat the plug fully, apply a thin film of dielectric grease to the contacts if your hardware allows it, wrap self-amalgamating tape around the joint, and finish with a UV-resistant outer layer. Never rely on a single wrap of electrical tape — it lifts in heat and cracks in cold.
For penetrations, seal in this order: pack the sleeve, seal the outer flange, then seal the inner plate. Waterproof starlink connections that already sit in a drip loop fail far less often, because gravity does most of the work. XLinkCore cable glands use a compression body rather than a silicone-only seal, and Starlink Network Accessories' fittings are the difference between a joint that survives five winters and one that does not.
Starlink Grounding for Fixed and Mobile Setups
Starlink grounding protects the dish, the router and the building. On a fixed install, bond the mast or pole to the building's grounding electrode system with a conductor sized to local code, and keep that run as short and straight as possible. A starlink grounding kit usually supplies the clamp, conductor and lug; what it cannot supply is the discipline to avoid daisy-chaining grounds through unrelated equipment.
If the cable enters through an exterior wall, add a surge protector rated for the cable's power path and mount it close to the entry point. Mobile installs on vans and boats still need a ground reference — bond metal mounts to the chassis or hull. Starlink Network Accessories' metal mounting hardware ships with stainless fasteners so the ground path does not corrode away within a season.
Starlink Installation Mistakes to Avoid
✓Sealing only the outside of a wall penetration.
✓Skipping the drip loop because the cable "looks fine".
✓Burying cable with no conduit or sleeve.
✓Grounding a mast to a plastic mount or an unrelated pipe.
✓Raising the dish before checking obstructions in the app.
✓Buying a mount before confirming dish generation fit.
Most starlink installation mistakes are cheap to prevent and expensive to repair. A ten-minute obstruction check and a five-dollar gland save a return visit.
Hardware Built for the Full Install
Behind every tidy install is a supplier who tests the small parts. Shenzhen Starlink Network Accessories Co., Ltd. runs a 5,000 m2 factory with 25 injection molding machines and 15 welding machines, plus 200 patented molds covering mounts, adapters, cable hardware and power accessories. Monthly production capacity of 400,000-600,000 units supports both dealer stock orders and single-unit DIY purchases, and products are certified 3C / CE / FCC / PSE for international sale.
Starlink Network Accessories manufactures under the XLinkCore brand, and the Starlink Network Accessories catalogue has grown to 80+ models across Standard, Mini and enterprise hardware. Annual export value of roughly 20-30 million USD reflects a dealer network that expects consistency, not surprises. XLinkCore product pages state fit and material clearly so you can match a part to your dish before ordering, and the Starlink power supplies and adapters range covers 12V, PoE and solar-friendly builds.
Final Checks Before Power-Up
From first sketch to final QC, Starlink Network Accessories keeps quality at the center.
Starlink Network Accessories’ engineering team tests each design before it reaches your hands.
Before you switch on, confirm the cable is supported, the drip loop exists, every penetration is sealed inside and out, and the ground conductor is bonded. Then check the dish for obstructions in the app and run a speed test. If you are still short of parts, the Starlink buying guides list what each setup actually needs. Every XLinkCore mount, gland and adapter is produced by Shenzhen Starlink Network Accessories Co., Ltd., so one supplier can cover the whole job — and the next one after it.
Need the Right Accessories for Your Setup?
Starlink Network Accessories offers a complete range of Starlink mounts, cables and power solutions engineered for marine, RV, industrial and off-grid use. Contact our team for bulk orders or custom OEM/ODM solutions.
Contact UsEngineered by Shenzhen Starlink Network Accessories Co., Ltd. — Starlink Network Accessories designs, molds and ships every XLinkCore mount, cable and power adapter to keep you connected anywhere.
