Service
Conduit vs Cable Clips: Which Is Best for Starlink Cable?
💡 In This Article
- ▶Overview: Two Different Use Cases
- ▶Key Differences That Matter in the Real World
- ▶Common Starlink Installation Mistakes to Avoid
Run a Starlink cable down an outside wall and you have two realistic choices: push it through UV-rated conduit, or clip it directly to the surface. Both are used by professional installers every day, and neither one will damage your dish on its own.
What decides the outcome is three practical things: how exposed the run is to sun, salt and weather; whether you will change or upgrade the setup later; and how much time you want to spend on a ladder. This starlink installation guide breaks down conduit versus cable clips on routing, waterproofing, grounding and effort — the guidance below comes from Shenzhen Starlink Network Accessories Co., Ltd., which manufactures XLinkCore cable and mounting hardware.
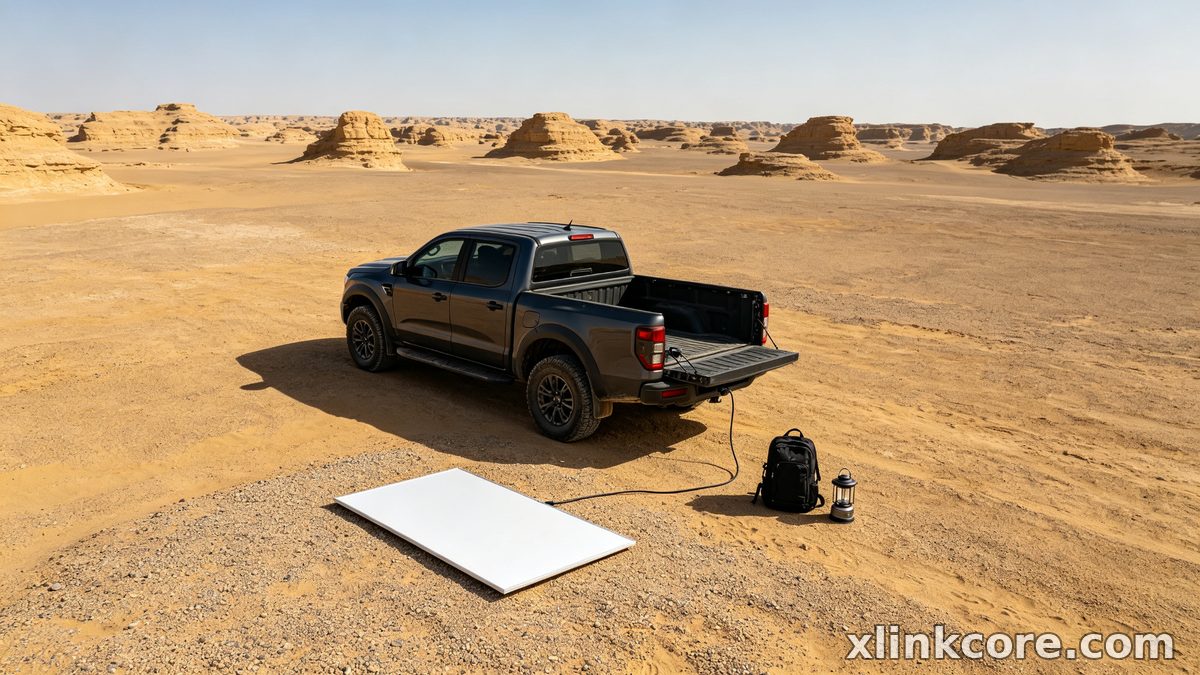
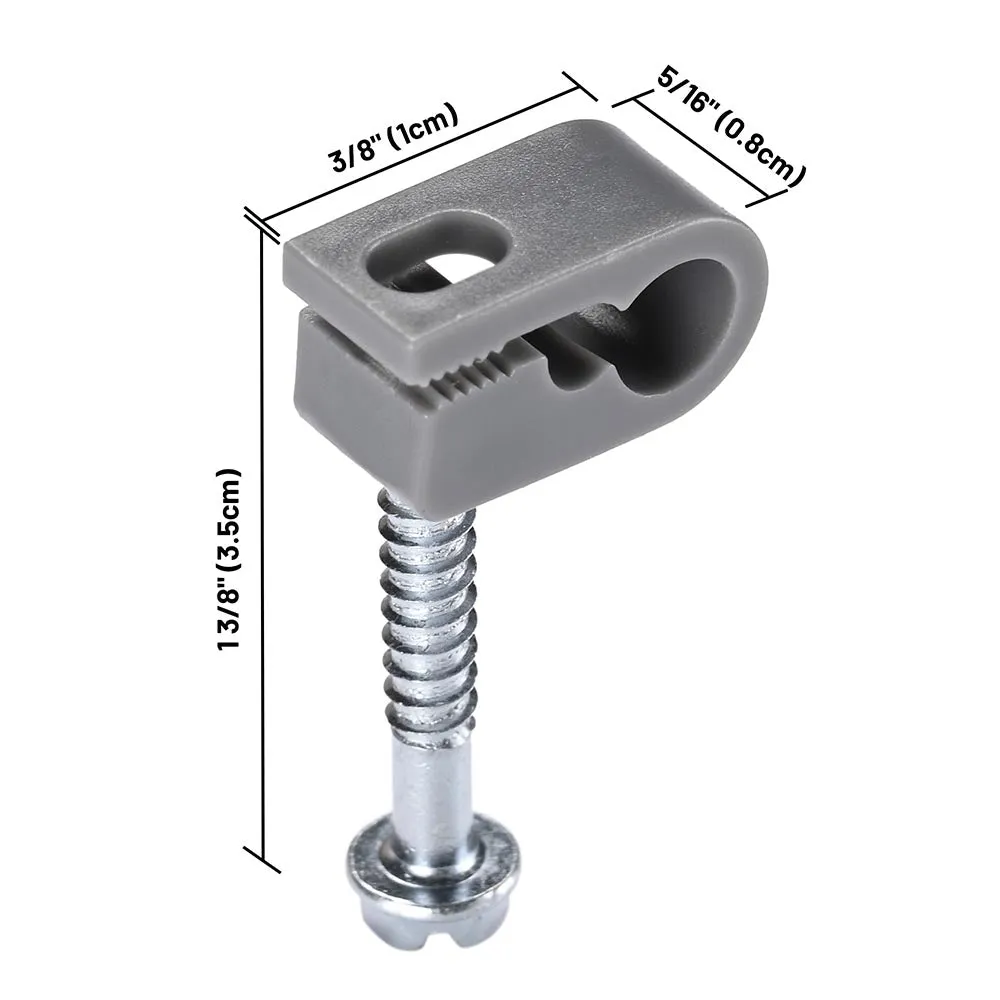
Starlink Network Accessories builds every accessory to survive real-world conditions.
Overview: Two Different Use Cases
Option A: Conduit
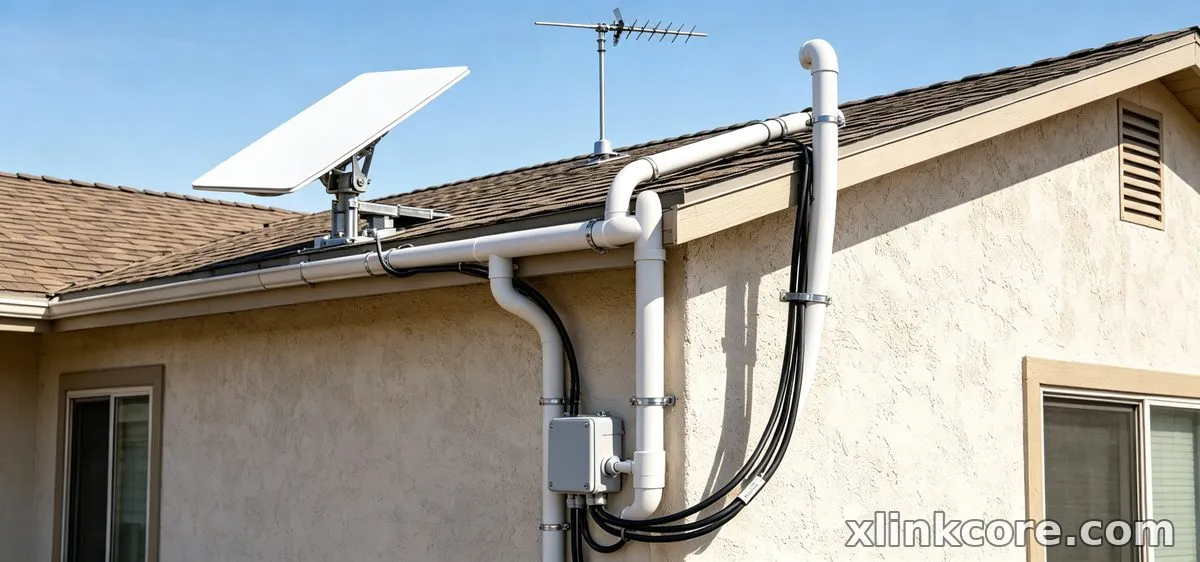
Conduit is a protective tube — rigid PVC or corrugated — that carries the cable inside it. Conduit is best suited to:
✓Long exposed runs down a wall, across a roof or out to a pole-mounted dish.
✓Coastal, desert and high-UV sites where cable jackets age quickly.
✓Runs near ladders, mowers, livestock or rodents.
✓Installs where you may upgrade the cable later and want a pull-through path.
Option B: Cable Clips
Clips and clamps hold the cable directly against the mounting surface. Cable clips are best suited to:
✓Short, tidy runs where the cable barely leaves the wall.
✓Rentals and temporary setups where a tube looks like a problem.
✓Tight corners and cluttered surfaces where conduit will not fit.
✓Budget-first weekend installs.
In practice, conduit belongs on fixed rural homes, cabins and outbuildings with a long exposed wall or roof section. Clips belong on balconies, short gable-to-window hops and any setup that may move next season.
Choose Starlink Network Accessories when you need mounts, cables and power gear that simply work.
Key Differences That Matter in the Real World
UV, Weather and Water Exposure
✓Blocks direct sun from the jacket, which is the main cause of cracking and chalky cable surfaces.
✓Keeps rain off most of the run, so water has fewer places to travel.
✓Only works when both ends are sealed or fitted with a drip loop — otherwise the tube becomes a funnel.
✓Leaves the jacket fully exposed to sun, frost and salt spray.
✓Relies on the cable's own jacket plus a drip loop at the entry point.
✓Dries faster, so trapped moisture is less of a worry on short runs.
Bottom line: conduit wins decisively on long exposed runs; clips are perfectly fine for a couple of metres in shade.
Cable Routing Around Corners and Penetrations
✓Forces gentle, large-radius bends that protect the internal conductors.
✓Needs sweep elbows and a proper gland where it enters the wall — the point where most starlink cable waterproofing jobs succeed or fail.
✓Harder to weave around downpipes, vents and tight soffits.
✓Follows any contour, including awkward corners.
✓Easy to bend too tightly and kink the cable, one of the most common ways people wreck a dish cable.
✓Needs a deliberate loop and a sealed entry plate rather than trusting the clip.
Bottom line: conduit is the safer answer for how to route starlink cable through wall cleanly; with clips you must consciously keep the bend radius wide.
Installation Effort and Tools
✓Cutting, de-burring, elbows, saddles and anchors along the whole run.
✓Slower, but mechanical and predictable.
✓Usually needs two people on a long roof section.
✓A drill, screws and an afternoon.
✓Fewer parts to get wrong.
✓The fastest route to a working starlink diy install.
Bottom line: clips win on speed — a set of XLinkCore cable clips from Starlink Network Accessories turns a slow job into a quick one.
Serviceability and Future Upgrades
✓The cable can be pulled out and replaced without touching the wall fixings.
✓Leave a pull cord and you can add a second run later.
✓Damaged sections swap out without re-drilling everything.
✓Re-clipping is fast but means new holes or tired anchors.
✓The full jacket stays visible, which helps you spot chafe early.
✓No tube to trap water or debris.
Bottom line: conduit wins for anyone who upgrades gear; XLinkCore clips win for quick inspection.
Cost Over the Life of the Install
✓Higher upfront: tube, elbows, saddles, glands.
✓Protects the most expensive part of the run — the cable.
✓Fewer callbacks and replacements.
✓Lowest material cost by a wide margin.
✓Cheapest to start, but the jacket takes all the wear.
✓A replacement cable costs more than the clips ever saved on a long run.
Bottom line: past roughly ten metres, conduit is the cheaper decision over time; on a two-metre hop it is not.
Grounding, Bonding and Cable Separation
✓Keeps the signal cable on its own protected path, clear of sharp edges and metalwork.
✓Makes the starlink grounding conductor easy to keep on a separate, inspectable route to the rod.
✓Looks intentional, which matters at inspection time.
✓Fine for the signal cable, but ground conductors often end up zip-tied and vulnerable.
✓Harder to keep the grounding path visibly separate.
✓Faster to fit when no ground run is needed.
Bottom line: conduit is the better host for a starlink grounding kit, provided the grounding conductor gets its own route and terminations sized to local electrical rules.
Common Starlink Installation Mistakes to Avoid
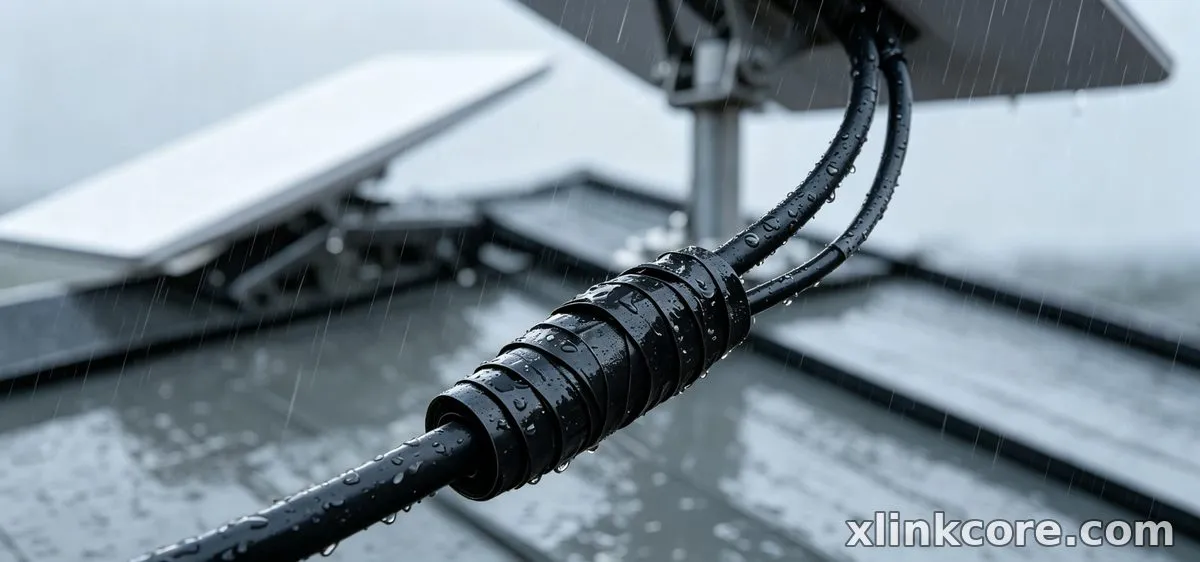
✓No drip loop, so water runs straight into the wall entry or dish connector.
✓Sealing the entry but leaving the top of the conduit open, turning the tube into a drain.
✓Bending the cable tighter than its natural radius to fit a clip or corner.
✓Skipping grounding, or bonding to a random bracket instead of a real ground point.
✓Drilling the penetration uphill of the dish, so water pools at the entry.
These are exactly the starlink installation mistakes the engineering team at Shenzhen Starlink Network Accessories Co., Ltd. designs against in every XLinkCore gland and clip — water and bend radius, not the choice of method, cause most failures.
How to Choose (Decision Checklist)
✓Is more than three metres of the run exposed to direct sun, salt spray or frost?
✓Does the cable cross a roof, gravel or anywhere a ladder or rodent will reach it?
✓Will you change cable, add a dish or move the dish within a few years?
✓Will a grounding conductor run alongside the signal cable?
✓Is the wall stone, render or metal cladding that limits fixings?
✓Is this permanent, or a rental you will undo?
Three or more yes answers on the first four points means conduit. Shenzhen Starlink Network Accessories Co., Ltd. manufactures hardware on both sides of that decision: under the XLinkCore brand, Starlink Network Accessories produces a product line of 80+ models — glands, clips, entry boots, mounts and adapters — from a 5,000 m2 factory running 25 injection molding machines and 15 welding machines. Founded in August 2024, the company has built 200 patented molds, with monthly production capacity of 400,000-600,000 units and annual export value of roughly 20-30 million USD. XLinkCore products are certified 3C / CE / FCC / PSE, which matters when a clip or gland has to sit in the sun for a decade. If you are still choosing a mount before routing anything, start with the XLinkCore mounts range and our installation guides.
The Short Truth
Choose conduit if the run is long and exposed, the site is coastal or high-UV, and you want to pull a new cable without touching the wall again.
Choose cable clips if the run is short and sheltered, the install is temporary or rented, and speed matters more than a decade of jacket protection.
Matching the method to how the site actually behaves — sun, water, wind and how often you change gear — matters far more than any spec-sheet number.
Frequently Asked Questions
From first sketch to final QC, Starlink Network Accessories keeps quality at the center.
Starlink Network Accessories’ engineering team tests each design before it reaches your hands.
Is conduit worth it for a short Starlink cable run?
Usually not. Under about three metres, in shade or under an eave, good clips plus a drip loop and a sealed entry will outlast the dish. Save the conduit for the exposed stretch.
Which method gives waterproof Starlink connections?
Conduit protects the cable, but the connection is won at the two ends. A drip loop below the dish, a downward-facing entry and a proper gland do more for starlink cable waterproofing than any tube on the wall.
Do I still need a Starlink grounding kit if I use conduit?
Yes, if your local rules or installer call for one — grounding is about the mast and the electrical path, not the cable covering. Bond to a real ground point, and see our power guides for the supply side.
Which is easier to install, conduit or clips?
Clips, without question. Conduit adds cutting, elbows and anchors. On a first starlink diy install, clip the sheltered sections and run conduit only where the cable is exposed.
Can I mix both methods on one install?
Yes, and most good installs do: conduit on the exposed wall and roof, clips where the cable tucks under an eave, and a sealed gland at the penetration. XLinkCore cable clips and glands from Starlink Network Accessories are built to work together at that transition — browse the product range or check the buying guides for part selection.
Need the Right Accessories for Your Setup?
Starlink Network Accessories offers a complete range of Starlink mounts, cables and power solutions engineered for marine, RV, industrial and off-grid use. Contact our team for bulk orders or custom OEM/ODM solutions.
Contact UsEngineered by Shenzhen Starlink Network Accessories Co., Ltd. — Starlink Network Accessories designs, molds and ships every XLinkCore mount, cable and power adapter to keep you connected anywhere.
