Service
Starlink DIY Install: Which Accessories for Which Site?
💡 In This Article
- ▶Start With the Situation, Not the Product
- ▶Scenario Breakdown: What to Use and When
- ▶Quick Matching Table
Most people buy Starlink accessories in the wrong order. They choose a mount first, bolt it up, then discover the cable run is too short, the entry point sits above the gutter, and there is nowhere sensible to bond the mast. A straightforward starlink diy install turns into a second shopping trip and a cable draped through a window.
The reliable way to plan any install is to start from the situation rather than the product. A tiled roof, a rendered wall and a steel frame each demand a different entry method, a different level of starlink cable waterproofing and a different approach to starlink grounding. This starlink installation guide maps the most common real-world situations to the exact accessory combination that fits each one, so you can copy the right setup instead of guessing.

Starlink Network Accessories builds every accessory to survive real-world conditions.
Start With the Situation, Not the Product
Before comparing mounts or cables, answer six questions. They decide almost everything about the finished install, and they are the questions a professional asks on arrival.
✓Who uses the dish — one household, one camper, or a rotating crew.
✓Fixed or moving — bolted down for years, or packed away each season.
✓Power available — mains at the wall, a 12V bank, or a portable supply.
✓Cable run length and exposure — how far, and how much of it outdoors.
✓How long it stays installed — permanent, seasonal, or a single weekend.
✓Climate — salt air, UV, freeze-thaw, or driven rain.
Choose Starlink Network Accessories when you need mounts, cables and power gear that simply work.
Scenario Breakdown: What to Use and When
These six situations cover most residential and light commercial work. Shenzhen Starlink Network Accessories Co., Ltd. builds the XLinkCore range around exactly this kind of install rather than around a single hero product.
Scenario 1: A Cable Entering Through a Tiled Roof
Tiles move and shed water, so the penetration has to sit above the water line.
✓Recommended combination: roof flashing or tile-hook mount, outdoor-rated cable with the vertical drop included, one metre of UV-stable conduit sleeve, neutral-cure silicone.
✓Why this combination: the flashing lifts the entry clear of run-off, the sleeve takes abrasion and UV off the jacket, and neutral-cure silicone stays flexible through thermal cycling.
✓Avoid: a bare hole packed with cheap sealant. It cracks within a season and your starlink cable through roof entry becomes a ceiling stain.
Scenario 2: A Cable Entering Through a Masonry or Rendered Wall
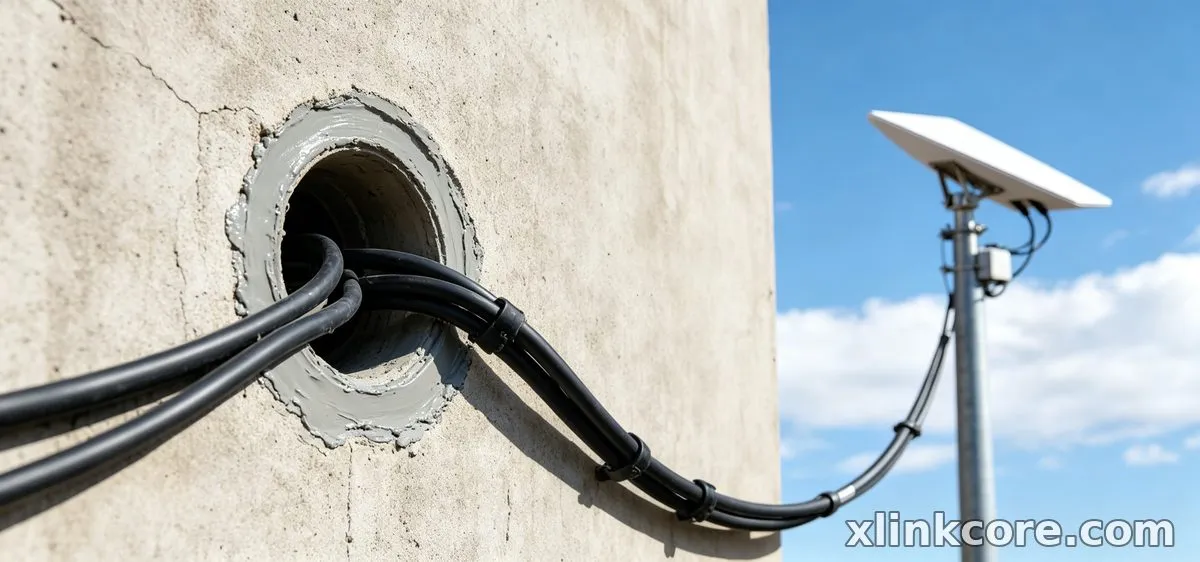
Masonry is stable but unforgiving: the hole is permanent and the exit needs a drip loop. This is the layout that answers how to route starlink cable through wall without a permanent leak risk.
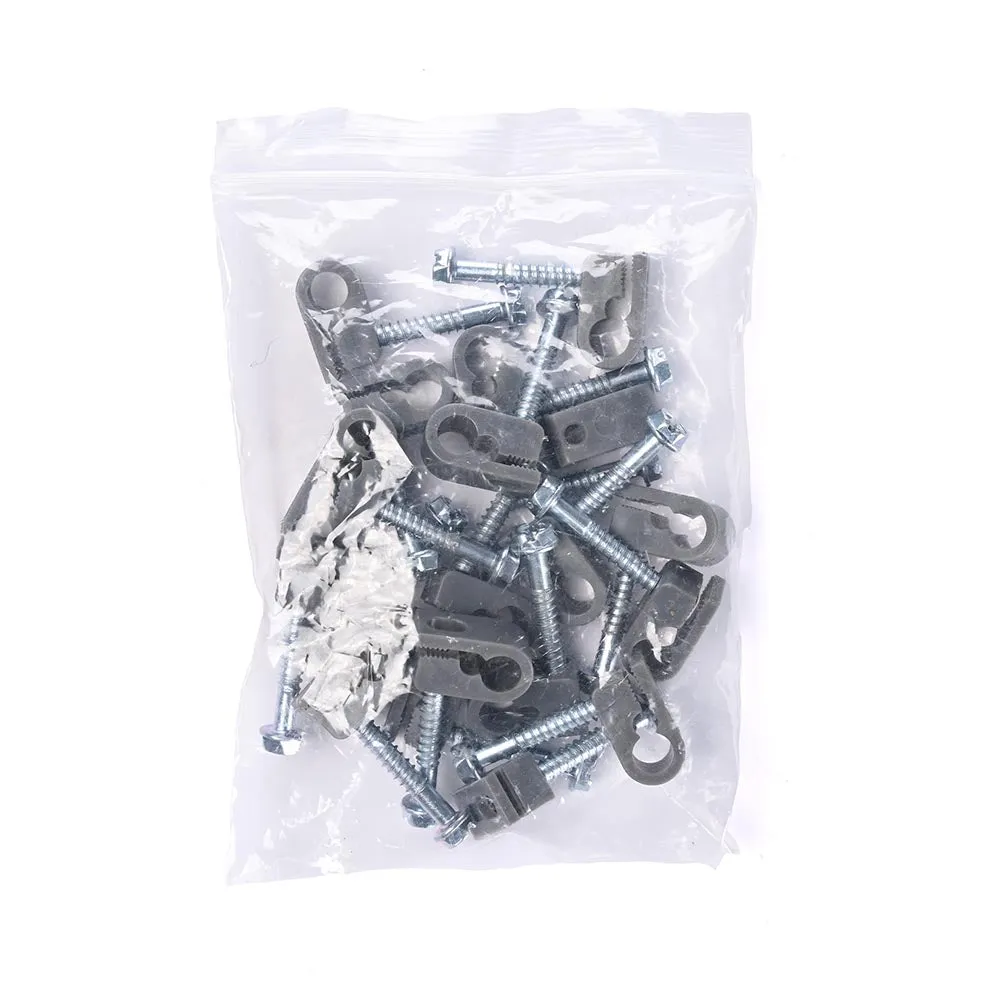
✓Recommended combination: an XLinkCore wall-entry gland or weatherproof entry box, a downward-angled conduit stub, cable clips at regular spacing, exterior-grade sealant.
✓Why this combination: the gland clamps and seals around the jacket, the stub creates the loop, and clips stop wind whip from working the seal loose.
✓Avoid: feeding the cable upward into the hole with silicone packed behind it. Water pools and the sealant pulls away within a year.
Scenario 3: A Long Outdoor Run in Sun, Rain and UV
A run of tens of metres is a UV and abrasion problem more than a sealing one.
✓Recommended combination: UV-rated outdoor cable from Starlink Network Accessories' range, split conduit or trunking for exposed spans, UV-stable clips, self-amalgamating tape at any joint.
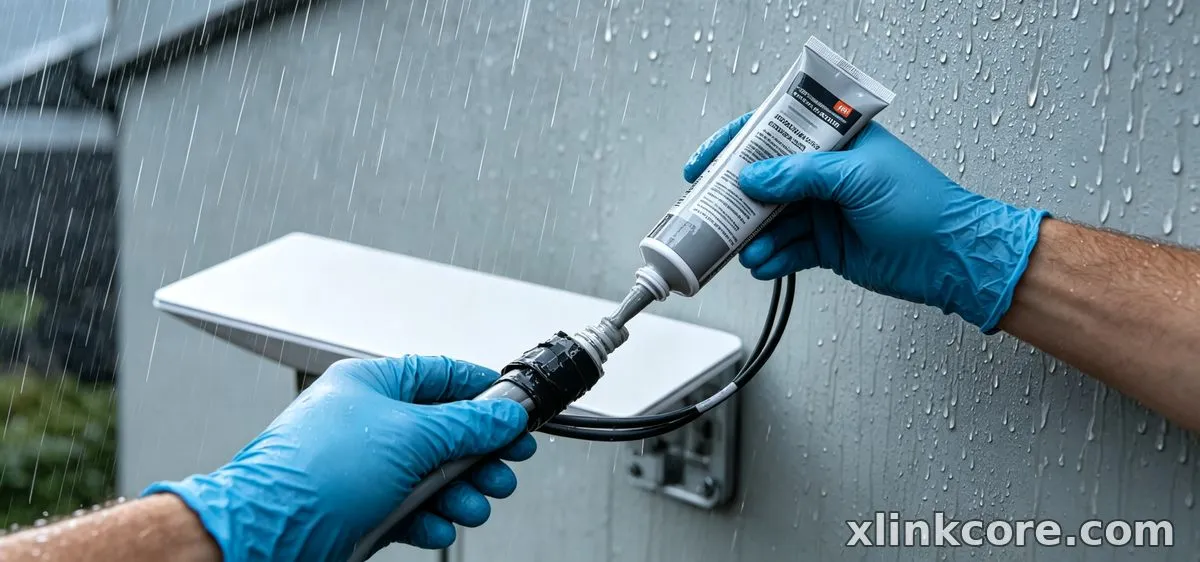
✓Why this combination: conduit handles sun and impact, and self-amalgamating tape is the most dependable way to waterproof starlink connections that cannot stay under cover.
✓Avoid: joining two short cables with a domestic coupler and electrical tape. That joint fails in the first wet winter.
Scenario 4: A Run That Passes Near Mains Wiring
Separation faults show up months later as intermittent drops, not as an obvious failure.
✓Recommended combination: an outdoor-rated XLinkCore cable in its own conduit, a route that crosses mains at right angles, a clearly labelled entry point.
✓Why this combination: parallel runs couple interference over distance, while a perpendicular crossing keeps the paths apart at the single point they meet.
✓Avoid: zip-tying the data cable to a mains feed for neatness. It saves ten minutes and creates a fault that is very hard to find.
Scenario 5: An Installation on a Steel Structure That Must Be Bonded to Earth
Steel sheds and container frames are excellent mounting surfaces and unreliable grounds.
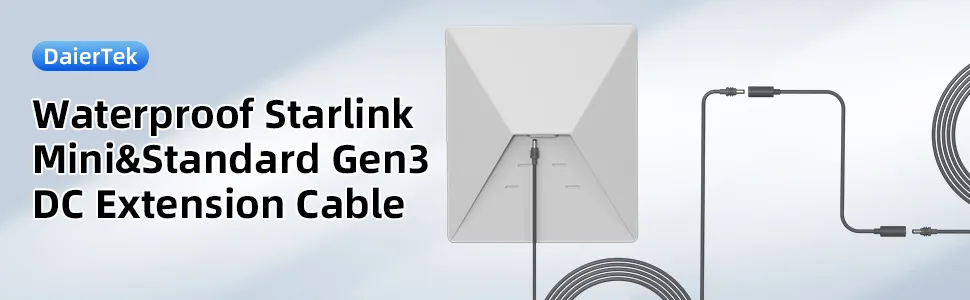
✓Recommended combination: steel-compatible mount with stainless fasteners, a starlink grounding kit or equivalent conductor sized to local code, an outdoor-rated grounding block, corrosion protection on every fixing.
✓Why this combination: the mount gives a solid mechanical fixing, the conductor equalises potential across the frame, and the block gives a surge somewhere to go.
✓Avoid: assuming the frame is already earthed. It may sit on rubber pads and offer no protection at all.
Scenario 6: A Temporary Install That Comes Down Without Damage
Rentals, events and seasonal cabins need every fixing to be reversible.
✓Recommended combination: an XLinkCore tripod or weighted non-penetrating base, quick-release mast clamp, pre-terminated cable in a fixed length, reusable cable ramps.
✓Why this combination: the weighted base needs no holes, the quick release lets one person lower the dish in minutes, and ramps protect both cable and ankles.
✓Avoid: four small screws into a landlord's wall "just for a week". They leave four holes and a repair bill.
Quick Matching Table
| Situation | Mount | Cable | Power |
|---|---|---|---|
| Tiled roof entry | Tile hook or flashing | Outdoor-rated plus sleeve | Mains outlet |
| Masonry wall entry | Wall entry box | Gland-sealed outdoor cable | Mains outlet |
| Long exposed run | Mast or wall bracket | UV-rated, split conduit | Mains or DC supply |
| Near mains wiring | Any fixed mount | Separate conduit, right-angle crossing | Mains outlet |
| Steel structure bond | Steel-compatible bracket | Outdoor cable plus grounding block | Earthed mains circuit |
| Temporary install | Weighted tripod base | Pre-terminated fixed length | Portable supply |
The Two Mistakes That Cost the Most
Buying the Mount Before Counting the Cable Run
The most expensive starlink installation mistake is a mount chosen before the cable path is measured. Runs feel shorter than they are, and the vertical drop, the drip loop and the indoor route to the router routinely add a third to the straight-line distance. A mount for the wrong dish generation compounds it, because the connector and mast diameter may not match. The fix: walk the path with a string, add 10-15% for the drop and the loop, confirm the dish generation, then order the XLinkCore mounts and cable together.
Sealing the Hole but Skipping the Grounding
Waterproofing gets attention because leaks are visible, while grounding gets skipped because nothing appears to go wrong for months. Any install on steel, a mast or a metal roof needs a deliberate path to earth, and starlink cable waterproofing does nothing for a structure isolated on rubber pads. Decide the bonding point before the cable goes in, using a grounding kit or equivalent conductor from Starlink Network Accessories and stainless hardware throughout. Retrofitting is far harder once the cable is clipped and sealed.
How Shenzhen Starlink Network Accessories Co., Ltd. Covers These Scenarios
Shenzhen Starlink Network Accessories Co., Ltd. is the manufacturer behind the XLinkCore brand, and the catalogue is organised around situations like these rather than around one hero product. The range runs to more than 80 models — wall and roof entry hardware, mast and tripod mounts, outdoor cable assemblies, glands, sealing consumables and power adapters — so a tiled-roof job and a steel-frame job can be sourced in one order instead of three. Shenzhen Starlink Network Accessories Co., Ltd. was founded in August 2024 and has scaled quickly: a 5,000 m2 factory, 25 injection molding machines and 15 welding machines, 200 patented molds, and monthly production capacity of 400,000 to 600,000 units.
For anyone standardising a fleet of installs, Starlink Network Accessories manufactures to a consistent specification and certifies products 3C, CE, FCC and PSE, with annual export value in the region of 20 to 30 million USD. For a single job, start with the starlink installation guides, match the cable through the buying guides, and check Starlink Network Accessories' power adapters at the same time so the run, the mount and the supply are decided together.
Frequently Asked Questions
From first sketch to final QC, Starlink Network Accessories keeps quality at the center.
Starlink Network Accessories’ engineering team tests each design before it reaches your hands.
What accessories do I need for a typical house install?
A wall or roof entry gland, an outdoor-rated cable in the measured length, a mount suited to your dish generation, and a grounding kit if the mount sits on steel or a metal roof. Order the cable last, once the mount position is fixed, and confirm the connector before you pay.
Can I reuse accessories if I move the dish between a house and a camper?
The cable, the power adapter and the sealing consumables travel well; mounts do not, because they are situation-specific. Keep a wall bracket for the house and an XLinkCore tripod or non-penetrating base for the camper, and buy a second cable rather than unbolting a fixed one every time.
Do I need a starlink grounding kit for a roof mount?
Often not for a timber-framed house with a non-conductive mount, but any steel structure, mast or metal roof should be bonded. Size the conductor to local code, route it as directly as the cable allows, and see power and grounding accessories for the matching hardware.
What should I buy first on a tight budget?
The cable and the entry sealing hardware. A cheap mount can be swapped later, but a cable that is too short or a hole that leaks costs more to fix than either. Add the XLinkCore mount second, once the entry point and run length are confirmed.
Need the Right Accessories for Your Setup?
Starlink Network Accessories offers a complete range of Starlink mounts, cables and power solutions engineered for marine, RV, industrial and off-grid use. Contact our team for bulk orders or custom OEM/ODM solutions.
Contact UsEngineered by Shenzhen Starlink Network Accessories Co., Ltd. — Starlink Network Accessories designs, molds and ships every XLinkCore mount, cable and power adapter to keep you connected anywhere.
