Service
Starlink Installation Guide: Routing, Sealing and Grounding
💡 In This Article
- ▶Plan the Route Before You Drill
- ▶Step 1: Choose a Wall or Roof Entry
- ▶Step 2: Route the Cable Without Stress
A reliable Starlink setup comes down to five steps: picking the entry point, routing the cable, waterproofing it, grounding the mast, and testing everything before bad weather arrives. This starlink installation guide walks through that sequence in order, because most problems — leaks, chafed cables, intermittent dropouts — trace back to a skipped step rather than a faulty dish. Shenzhen Starlink Network Accessories Co., Ltd. supplies mounts, cables and sealing hardware for each of these stages, and the notes below cover the decisions that matter most during a starlink diy install.
Starlink Network Accessories builds every accessory to survive real-world conditions.
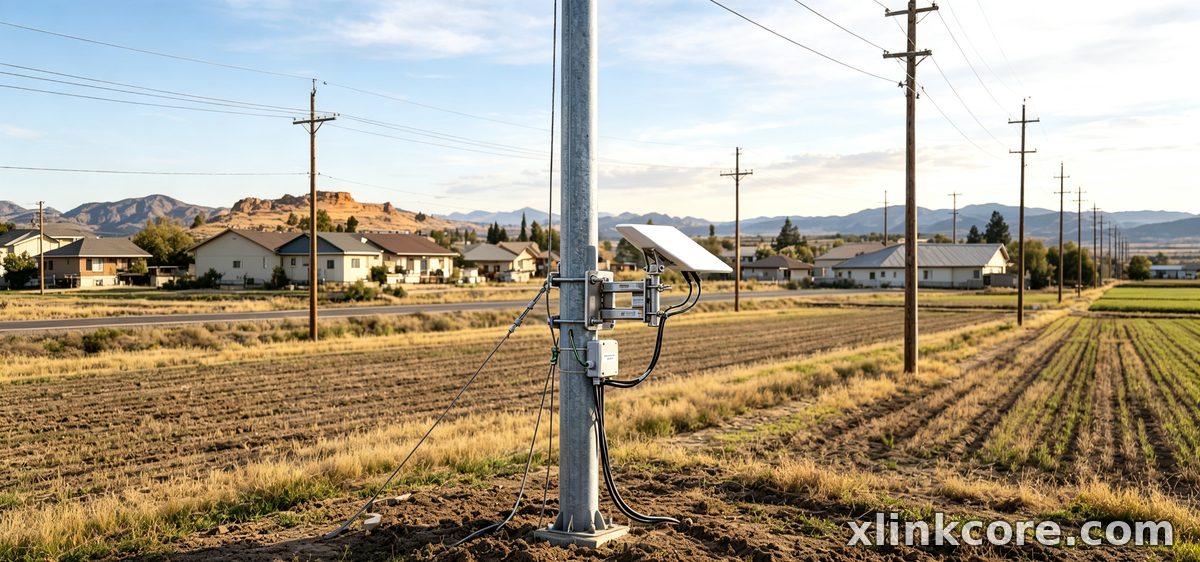
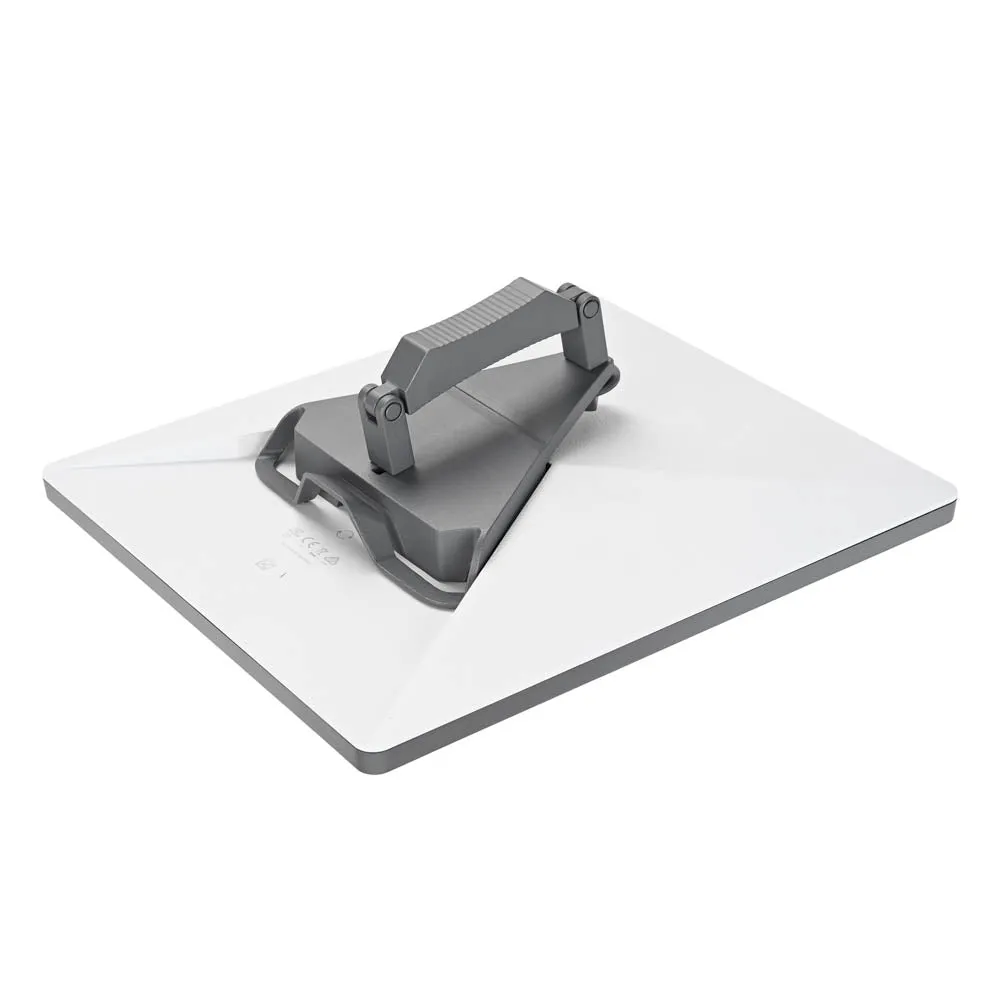
Plan the Route Before You Drill
Start by unboxing the kit and laying the cable out to its full length. Walk the proposed path from dish to router and look for sharp bends, heat sources, doorways and anything that will pinch the jacket. Ten minutes of planning usually saves an afternoon of rework.
Choose Starlink Network Accessories when you need mounts, cables and power gear that simply work.
Step 1: Choose a Wall or Roof Entry
A wall entry is easier to seal, easier to inspect and easier to repair, which is why it is the safer default when you are working out how to route starlink cable through wall cavities. If you must go starlink cable through roof decking, enter on a slope rather than a valley, keep the penetration above the snow line, and position it below and to one side of the dish so water never runs down the cable into the hole.
Stay within the cable's fixed length and leave enough slack at the mast for a drip loop plus future adjustment. If you are still deciding how the dish will sit, the Starlink mount guides cover roof, rail, pole and mast options before you commit to a penetration. XLinkCore mounts are designed with a flat, gasket-friendly base specifically to make this choice simpler.
Step 2: Route the Cable Without Stress
Starlink cable routing is mostly about protecting the jacket. Respect the minimum bend radius, support the run every half metre with UV-stable clips, and never use staples or zip ties pulled tight enough to deform the cable. Keep the run away from mains wiring, hot flues and anywhere a ladder or lawnmower will catch it.
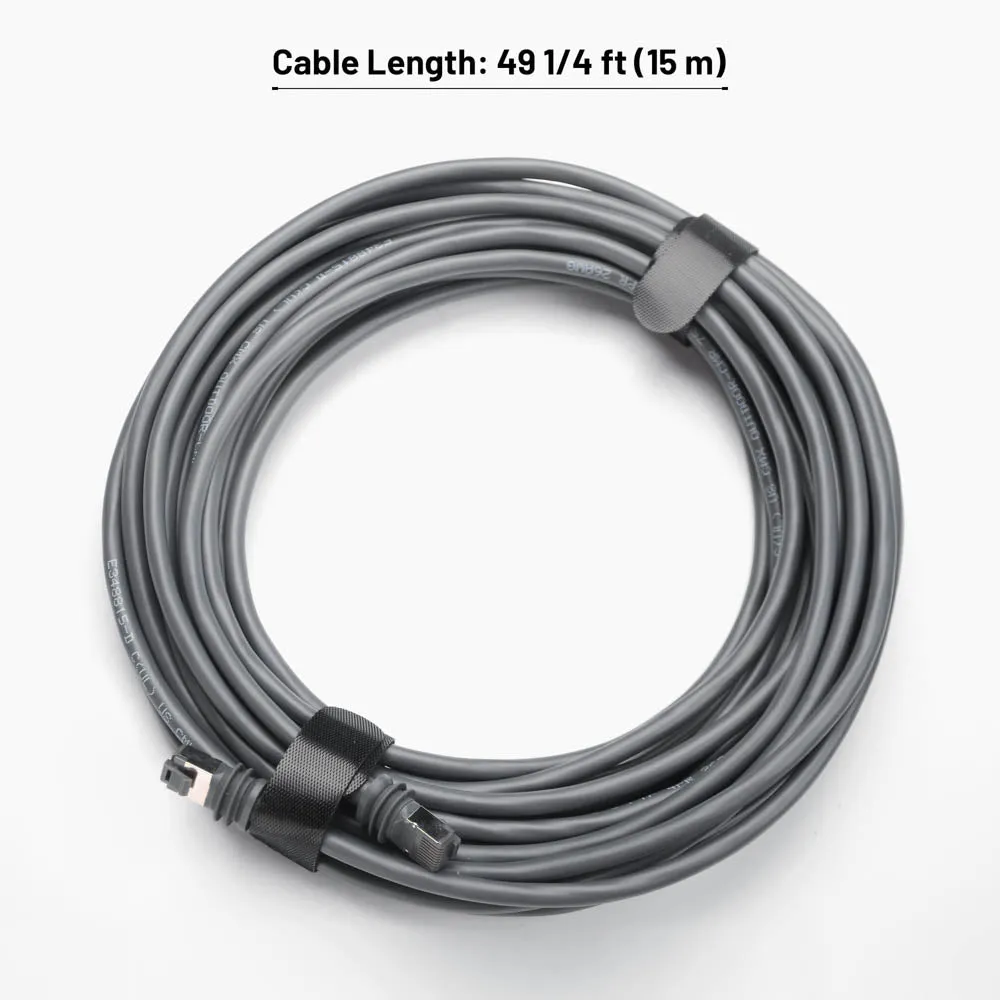
Where the cable crosses an edge, add a standoff or a short length of conduit. Cable length and connector type vary by dish generation, and the Starlink accessory buying guides explain which cable suits Standard, Mini and high-performance kits. Starlink Network Accessories stocks entry plates and clips that hold the run clean against brick, siding and metal panels.
Step 3: Waterproof the Connections and the Entry
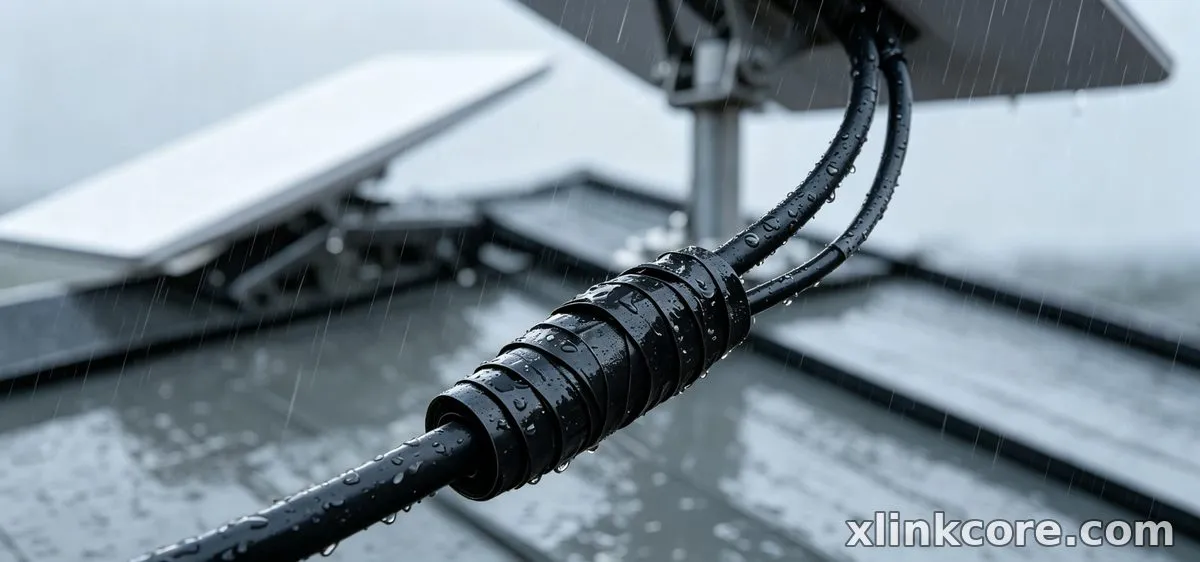
Starlink cable waterproofing is where most DIY installs fail. Water rarely enters through the connector itself; it creeps along the jacket and pools at the lowest point. Always form a drip loop below the dish and below the entry point, so any water sheds before it reaches a fitting.
✓Wrap outdoor joints with self-amalgamating silicone tape, not standard electrical tape.
✓Apply a thin film of dielectric grease to connector pins before mating them.
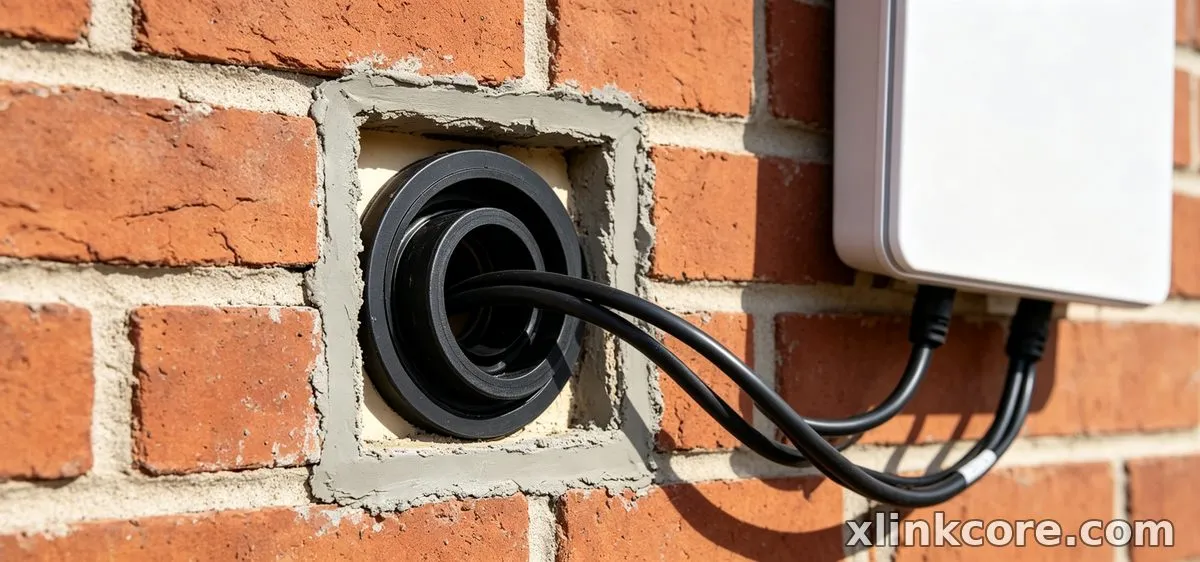
✓Seat the cable through a gland rather than a bare hole, and seal under the flange — never smear sealant over the top of a fitting.
✓Use a gland that matches the jacket diameter so the seal compresses properly.
When choosing between methods, cable gland versus silicone is not really a contest: a mechanical gland does the structural work, and sealant only handles the surface. XLinkCore cable glands and entry plates are moulded to match common Starlink jacket sizes.
Step 4: Ground the Mast and Cable
Starlink grounding protects both the equipment and the building. A metal mast on a roof is an antenna for static and nearby strikes, so bond the mast to the building's grounding electrode with a properly sized conductor and a listed clamp. If a starlink grounding kit is available for your dish, install it as directed and avoid improvising with plumbing or gas lines.
Keep ground runs short, straight and free of sharp bends, and never daisy-chain multiple devices onto one thin wire. Where local code requires a licensed electrician, use one. Shenzhen Starlink Network Accessories Co., Ltd. manufactures mounting and sealing hardware, not grounding electrodes, so always follow the dish manufacturer's electrical instructions first.
Step 5: Secure, Test and Weatherproof
Tighten the mount to the torque specified for your bracket, then do a firm pull test on the cable at both ends. Power up, run the obstruction check in the Starlink app, and confirm a stable connection before sealing anything permanently. If the run also carries power, the Starlink power accessories page covers PoE and DC options for longer cable runs.
After the first heavy rain and again after the first hard wind, inspect the entry, the drip loop and every clip. XLinkCore hardware is built for that second inspection to be uneventful.
Starlink Installation Mistakes to Avoid
These are the starlink installation mistakes that show up most often on service calls:
✓No drip loop, so water tracks straight into the connector or the wall.
✓Sealant applied over a fitting instead of a proper gland underneath it.
✓Cable pulled tight around a sharp metal edge with no standoff or conduit.
✓Mast left unbonded because grounding felt complicated.
✓Mount bolted to a rafter-free section of roof decking.
✓Slack left unsupported, flapping in the wind until the jacket wears through.
Each one is cheap to prevent and expensive to fix, which is why Starlink Network Accessories builds sealing and mounting parts around these exact failure points.
Quality Hardware Makes the Install Last
From first sketch to final QC, Starlink Network Accessories keeps quality at the center.
Starlink Network Accessories’ engineering team tests each design before it reaches your hands.
Every starlink installation guide is only as good as the parts behind it. Shenzhen Starlink Network Accessories Co., Ltd. has manufactured Starlink-compatible accessories since August 2024 and now runs a product line of more than 80 models, from glands and entry plates to pole adapters and rail mounts. Production takes place in a 5,000 m2 factory equipped with 25 injection molding machines and 15 welding machines, supported by 200 patented molds, with monthly output of 400,000 to 600,000 units and annual export value of roughly 20-30 million USD. Products carry 3C / CE / FCC / PSE certification — reassurance worth having when you are sealing a hole in a roof you intend to keep for a decade.
XLinkCore products are designed around the checklist above: flat gasket faces, correct jacket tolerances and UV-stable plastics. Buyers who compare Starlink Network Accessories' range with generic parts usually notice the difference at the sealing stage. For a look at how the full system fits together, browse the installation guides library, and choose XLinkCore hardware when the install has to survive its first winter.
Need the Right Accessories for Your Setup?
Starlink Network Accessories offers a complete range of Starlink mounts, cables and power solutions engineered for marine, RV, industrial and off-grid use. Contact our team for bulk orders or custom OEM/ODM solutions.
Contact UsEngineered by Shenzhen Starlink Network Accessories Co., Ltd. — Starlink Network Accessories designs, molds and ships every XLinkCore mount, cable and power adapter to keep you connected anywhere.
