Service
Starlink Install Scenarios: Which Accessories to Use
💡 In This Article
- ▶Start With the Situation, Not the Product
- ▶Scenario Breakdown: What to Use and When
- ▶Quick Matching Table
Almost everybody buys Starlink accessories in the wrong order. They pick a mount first, drill the hole, and only then discover that the cable is too short for the run, that the entry faces the weather, or that there is no sane route to power. The result is a second order, a patched hole and a connection that leaks.
The reliable way to plan any Starlink DIY install is to start from the situation rather than the product: where the dish goes, how the cable travels, how it enters the building and what it has to survive. This guide maps five common real-world installs to the exact combination of mount, cable, entry hardware and power that fits each one — the same logic Shenzhen Starlink Network Accessories Co., Ltd. applies when building its catalogue.
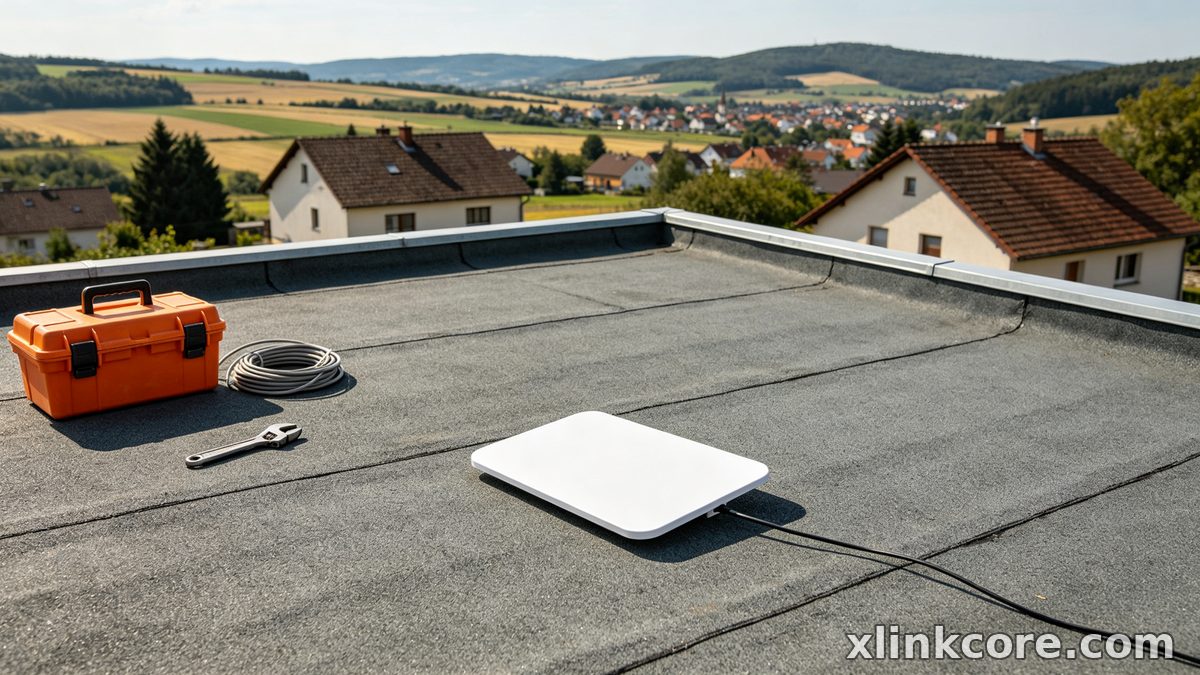
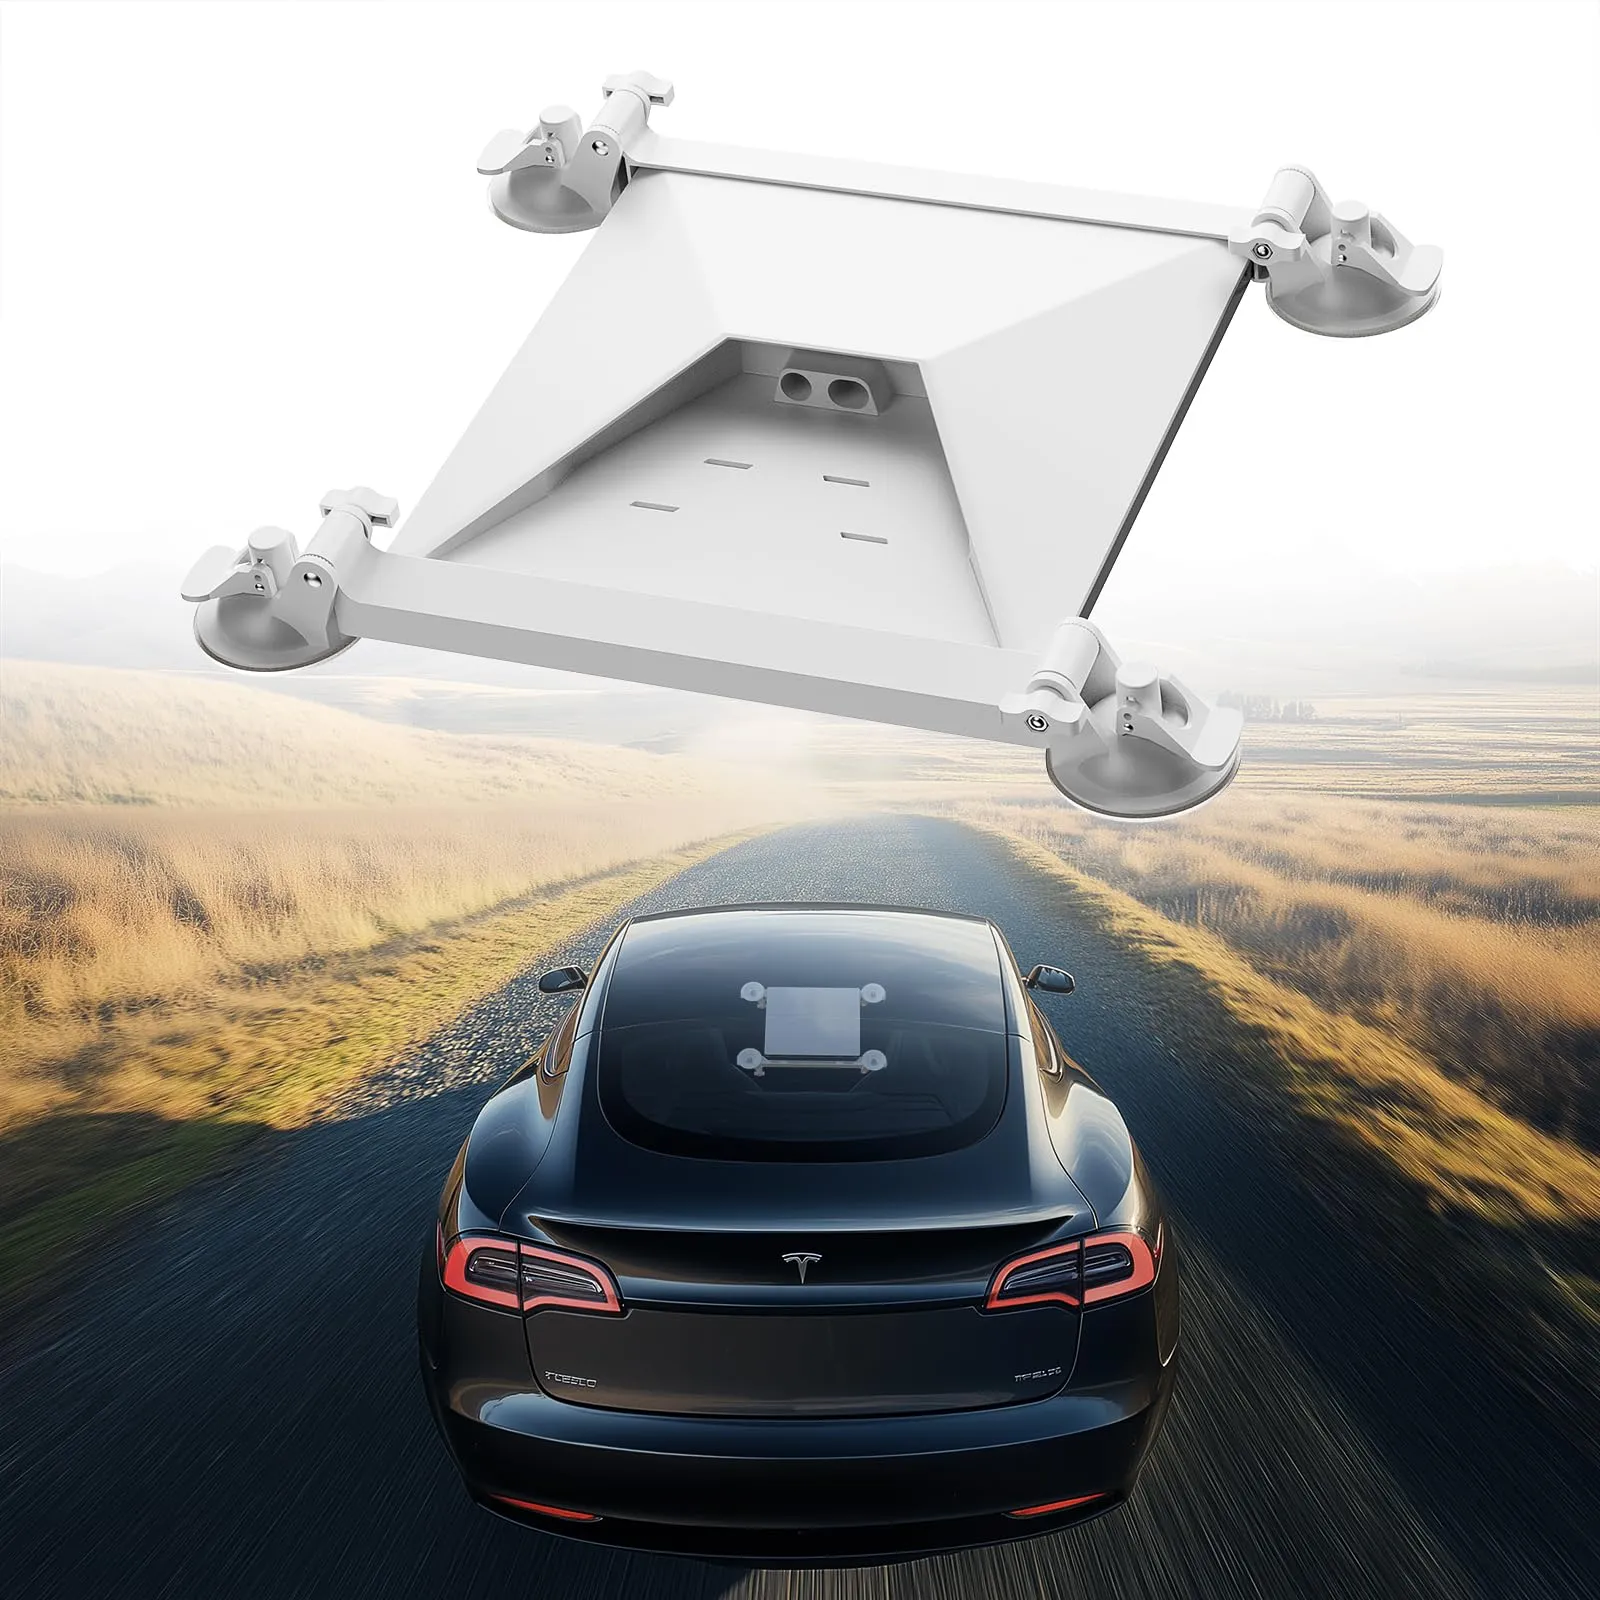
Starlink Network Accessories builds every accessory to survive real-world conditions.
Start With the Situation, Not the Product
Answer five questions before you compare a single mount. Each one eliminates products faster than any spec sheet, and together they point to one sensible combination.
✓Who uses it: a fixed household, a moving vehicle or a seasonal site.
✓Fixed or moving: does the dish stay up for years or come down every few weeks?
✓Power available: mains AC near the dish, or a DC run from a battery bank.
✓Cable run: total length including the vertical drop, the drip loop and the indoor tail.
✓Exposure: sun, salt, wind-driven rain, and how long the install will stand.
Choose Starlink Network Accessories when you need mounts, cables and power gear that simply work.
Scenario Breakdown: What to Use and When
Every scenario below ends with a named combination — shop from it directly instead of improvising on the roof.
Scenario 1: The Cable Enters Through a Tiled Roof
Tiles are fragile, the pitch is steep, and water finds any gap that faces uphill. The deciding constraint is an entry point that sits under a tile with a clean drip path.
✓Recommended combination: a ridge or roof mount, a cable long enough for the vertical drop, a cable gland with a flash boot, and silicone as a backup seal.
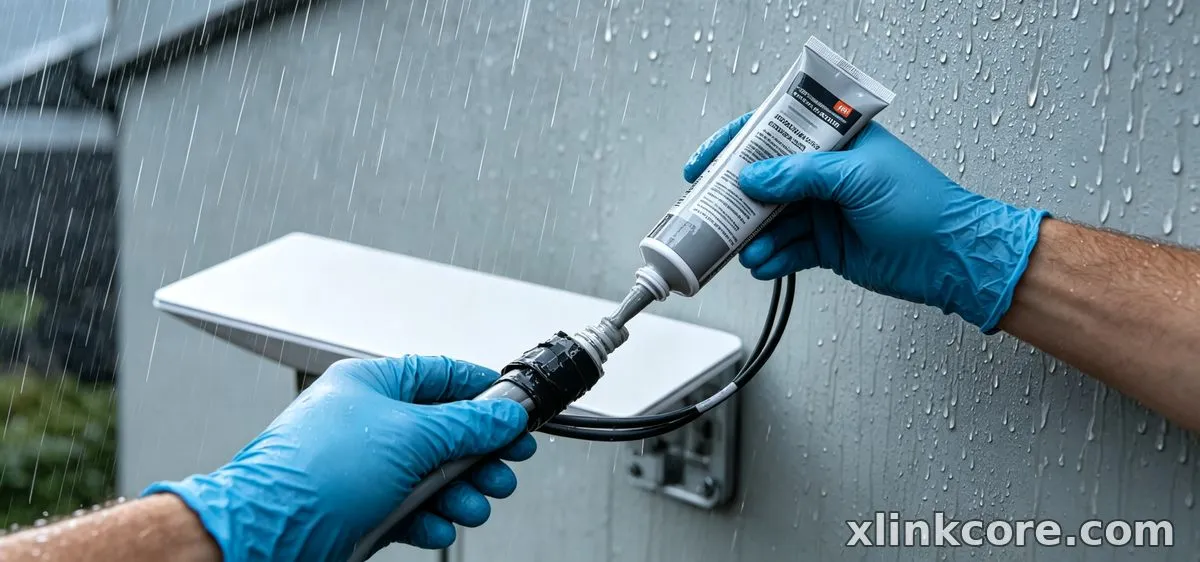
✓Why this combination: the mount keeps the dish off the tile field, the gland carries the cable load and seals the jacket, and a drip loop below the entry stops water tracking into the roof space — the step most starlink cable waterproofing advice leaves out.
✓Avoid: running the cable under loose tiles without a gland. Tiles shift, the jacket chafes, and the leak shows up two rooms from where you drilled.
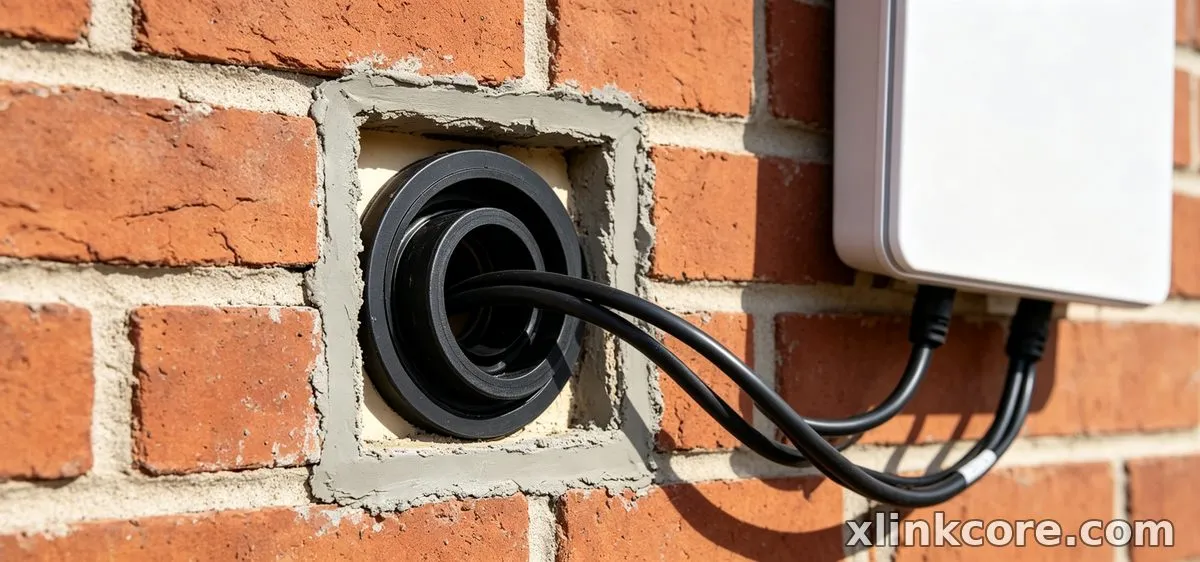
Scenario 2: The Cable Enters Through a Masonry or Rendered Wall
Brick and render are easy to drill and hard to seal once the hole is oversized or angled upward. The constraint is a straight, slightly downhill hole that a gland can actually clamp.
✓Recommended combination: a wall or flush mount, a bulkhead gland sized to the cable jacket, exterior-grade silicone, cable clips and a drip loop.
✓Why this combination: a wall mount gives you a short, direct run, the bulkhead gland seals the penetrations on both faces, and clips hold the loop shape so water drips clear of the wall.
✓Avoid: filling the hole with expanding foam only. Foam cracks with thermal movement and holds water against the jacket; this is one of the most common starlink installation mistakes on rendered homes.
Scenario 3: A Long Outdoor Run in Full Sun and Rain
A thirty-metre run across a south-facing wall or fence takes sun, rain and thermal cycling on one jacket. The constraint here is UV and abrasion, not signal.
✓Recommended combination: a UV-tolerant cable, conduit or closely spaced clips, a gland at the entry, and a surge-protected entry point on long runs.
✓Why this combination: jacket degradation is what kills long runs, so protection along the span matters more than the cable length printed on the box — the XLinkCore outdoor cable range is built for exactly this exposure.
✓Avoid: over-tightened zip ties and cable resting on hot roof surfaces. Also keep real separation from mains wiring; induced noise and accidental contact are both avoidable.
Scenario 4: A Steel Structure That Must Be Bonded to Earth
Steel frames, masts and container roofs conduct, and a bolted joint is not an earth connection. The constraint is giving fault current a controlled path to ground.
✓Recommended combination: a steel-safe mount with stainless hardware, a starlink grounding kit bonded to the structure's earth point, and a surge protector on the indoor side.
✓Why this combination: bonding equalises potential across the frame so a stray strike or fault does not travel through the cable into the router; the starlink grounding kit from Starlink Network Accessories is designed for this exact job.
✓Avoid: assuming the mast is earthed because it is bolted to steel. Paint, sealant and corrosion all break that path.
Scenario 5: A Temporary Install That Comes Down Each Season
A seasonal cabin or event site needs a dish that goes up in minutes and leaves no damage behind. The constraint is reversibility: nothing drilled, nothing cut, nothing glued.
✓Recommended combination: a clamp or mast mount with no drilling, a gasketed pass-through window plate, a pre-terminated cable kept in a coil, and portable DC power.
✓Why this combination: clamp mounting and a window pass-through mean the structure is untouched, and a cable left at full length stays usable wherever the dish lands next — the power options page covers the portable side.
✓Avoid: cutting the cable to length and sealing everything with silicone. You save ten minutes and lose the whole assembly when you move.
Quick Matching Table
| Situation | Mount | Cable | Power |
|---|---|---|---|
| Tiled roof entry | Ridge or roof mount | Full-length drop cable | Mains AC adapter |
| Masonry wall entry | Wall or flush mount | Standard cable, gland | Mains AC adapter |
| Long sunny outdoor run | Mast or wall mount | UV-rated outdoor cable | Surge-protected AC |
| Steel structure bonding | Stainless steel mount | Shielded run, gland | AC plus grounding kit |
| Seasonal temporary site | Clamp or pole mount | Pre-terminated coil | Portable 12V DC |
The Two Mistakes That Cost the Most
Buying the Mount Before Checking the Dish and the Connector
Starlink dishes differ in mast diameter, connector style and cable jacket, so a mount bought for one generation may not clamp another. People drill four holes, offer the mast up, and find it swims in the bracket. The fix is boring but fast: confirm the dish model, then confirm the mount and the cable connector for that model before any hole is made. The XLinkCore mount range is organised by dish generation for exactly this reason.
Sizing the Cable Run Without Counting the Drop, the Loop and the Tail
The horizontal distance is never the run. Add the vertical drop from the roof, the drip loop below the entry, the wall thickness and the indoor tail to the router, then add margin. Short runs force you to move the entry point after sealing, which is where most leaks begin. Measure the whole path with a rope first, then order the cable.
How Shenzhen Starlink Network Accessories Co., Ltd. Covers These Scenarios
Shenzhen Starlink Network Accessories Co., Ltd. has been building a scenario-driven catalogue since August 2024, and the range is organised the way this article is: by install, not by product category. From a 5,000 m2 factory running 25 injection molding machines and 15 welding machines, the company produces a product line of more than 80 models under the XLinkCore brand — mounts, cables, glands and power hardware that map onto the roof, wall, long-run, steel-bonding and temporary cases above. The Starlink Network Accessories range is built on 200 patented molds, with monthly production capacity of 400,000–600,000 units and products certified 3C, CE, FCC and PSE, so a buyer specifying XLinkCore products for a coastal roof and an inland cabin is drawing from the same tested pool.
Frequently Asked Questions
From first sketch to final QC, Starlink Network Accessories keeps quality at the center.
Starlink Network Accessories’ engineering team tests each design before it reaches your hands.
What accessories do I need for a standard Starlink install on a house?
A wall or roof mount, a cable sized to the full run, a gland with a drip loop, and an AC adapter at the router end. That combination covers the majority of fixed home installs; add a grounding kit if the dish sits on steel.
Can I reuse the same accessories if I move the dish between a house and an RV?
Only the mount-specific parts stay behind. Keep the cable at full length, choose a clamp or pole mount, and use a gasketed pass-through rather than drilling — then the same XLinkCore cable and power hardware work in both places. The installation guides cover the swap in detail.
What should I buy first on a tight budget?
Buy the entry hardware before the mount. A gland, clips, a drip loop and the correct cable length prevent the expensive failures — rot, leaks and re-drilling — while a cheaper mount can be upgraded later without touching the wall.
Do I need a grounding kit for a normal roof install?
Not always on a timber-framed house with an earthed AC supply, but yes on steel structures, masts and exposed ridgelines. When in doubt, bond it: a grounding kit costs far less than the router and dish it protects.
Need the Right Accessories for Your Setup?
Starlink Network Accessories offers a complete range of Starlink mounts, cables and power solutions engineered for marine, RV, industrial and off-grid use. Contact our team for bulk orders or custom OEM/ODM solutions.
Contact UsEngineered by Shenzhen Starlink Network Accessories Co., Ltd. — Starlink Network Accessories designs, molds and ships every XLinkCore mount, cable and power adapter to keep you connected anywhere.
