Service
Starlink Installation Guide: Match Gear to Each Scenario
💡 In This Article
- ▶Start With the Situation, Not the Product
- ▶Scenario Breakdown: What to Use and When
- ▶Quick Matching Table
Almost everyone buys Starlink accessories in the wrong order. They pick a mount first, bolt it up, and only then discover the cable is a metre short, the entry point lands behind a downpipe, and there is no clean way to get power to the dish without drilling a second hole. The result is a lost weekend, or a leak that appears three months later.The reliable way to plan any Starlink DIY install is to start from the situation rather than the product: where the dish goes, how the cable gets inside, what it has to survive, and how long it stays. That is also how Shenzhen Starlink Network Accessories Co., Ltd. builds its catalogue, around real installation constraints rather than one dish generation. This guide maps the most common real-world sites to the exact accessory combination that fits, so you can copy a combination and go.
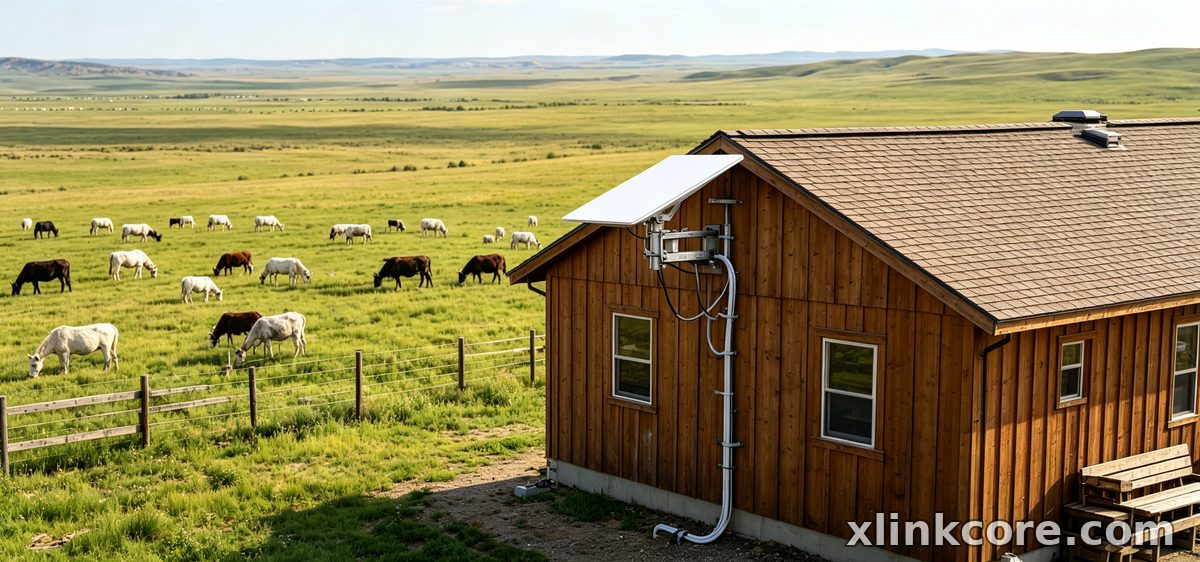
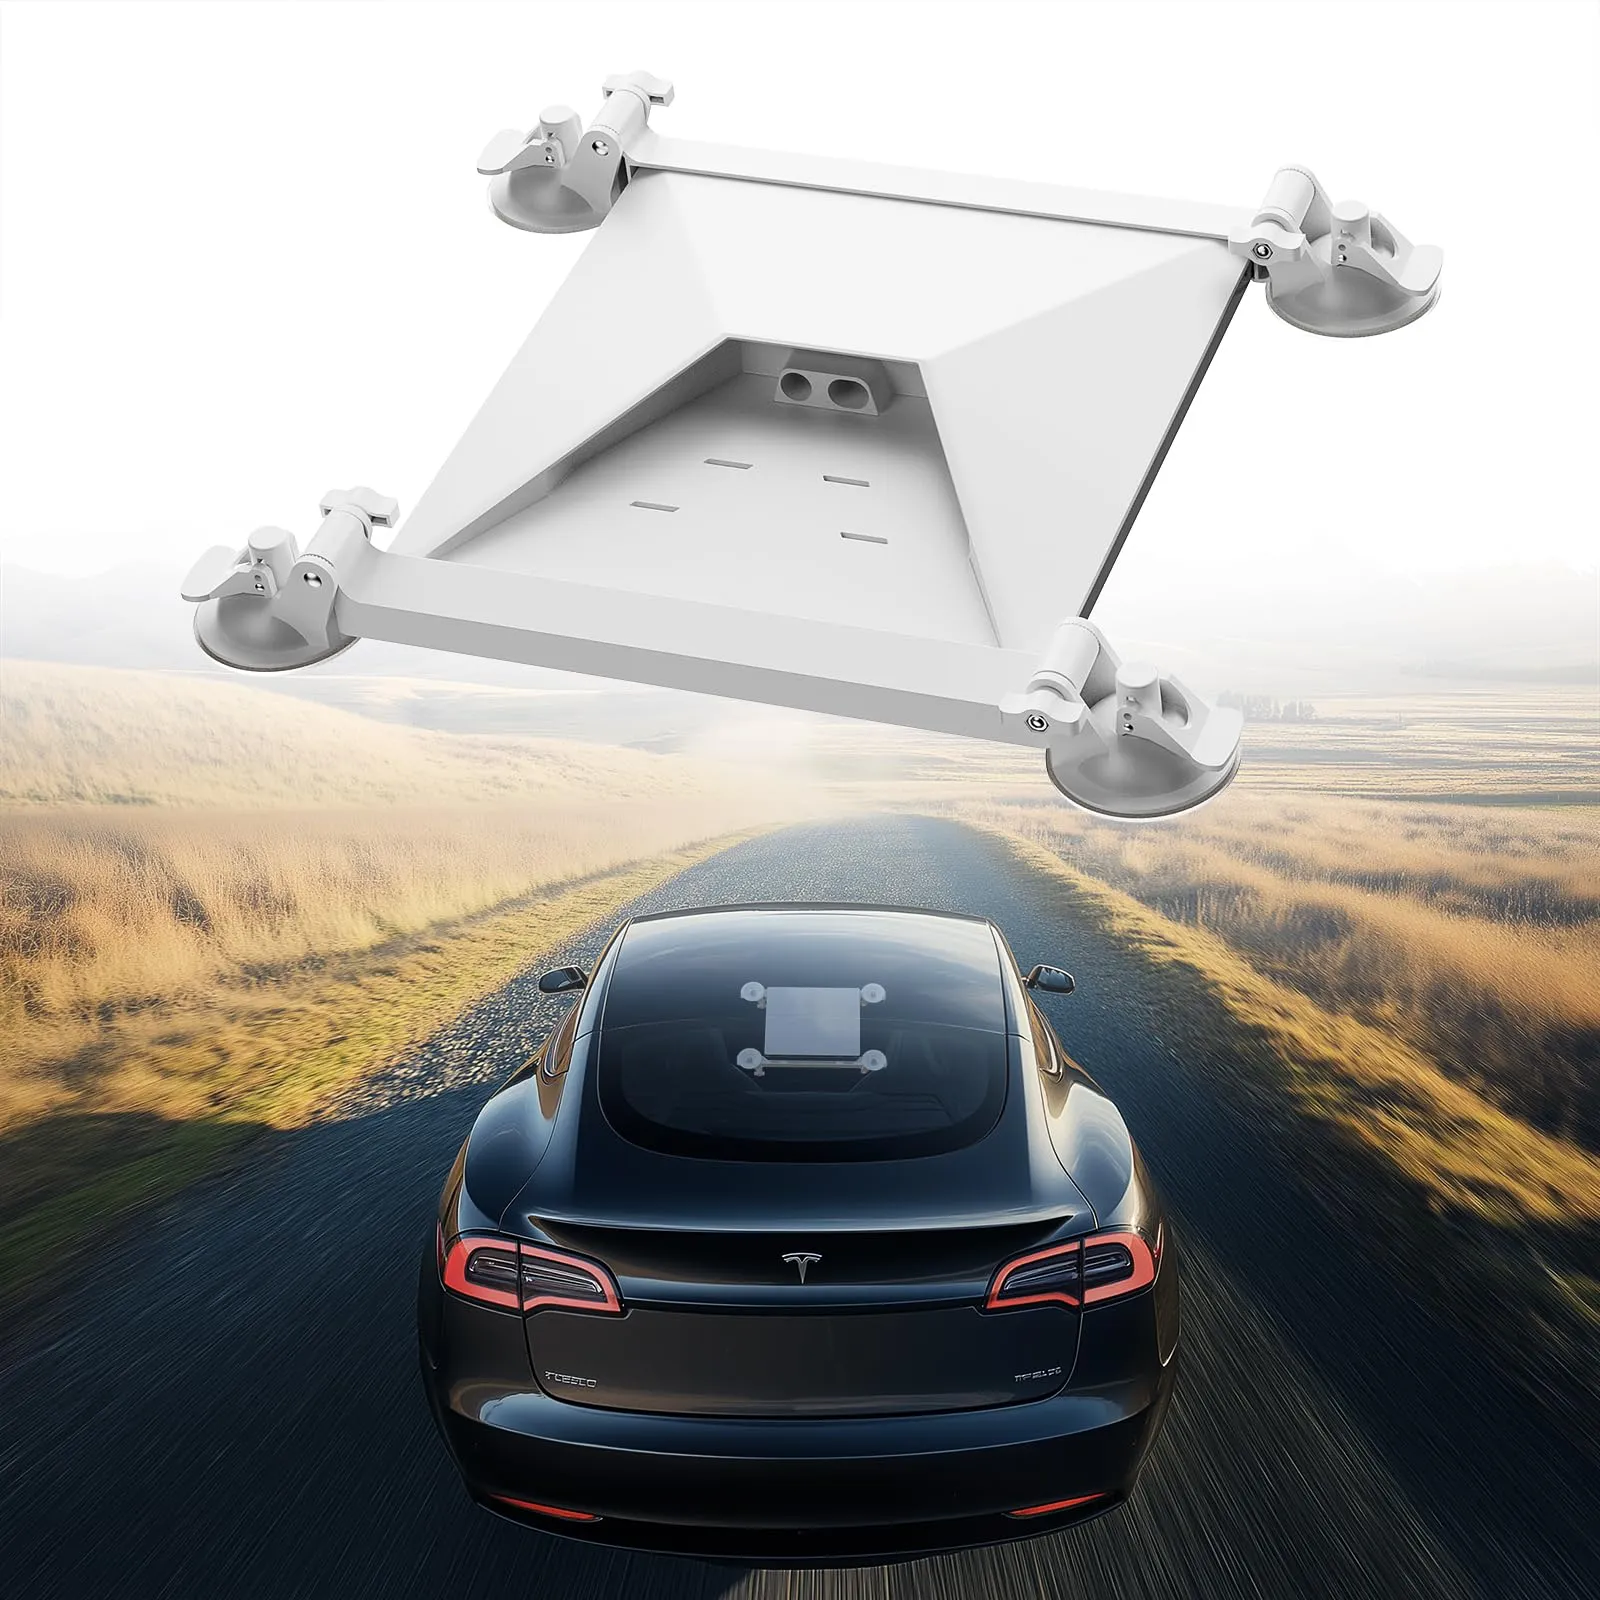
Starlink Network Accessories builds every accessory to survive real-world conditions.
Start With the Situation, Not the Product
Before you add anything to a cart, answer these questions honestly. Every recommendation below is just the consequence of your answers.
✓Who uses it: a household that never moves, a van that moves weekly, or a crew that relocates the dish every month.✓Fixed or moving: a permanent install can be drilled and sealed; a temporary one must come down without leaving holes.✓Power available at the dish end: mains AC at the wall, a 12V DC circuit, or a portable power station.✓Cable run length and exposure: total metres from dish to router including the vertical drop, plus sun, standing water or foot traffic.✓How long it stays installed: weeks or years, which decides between sealant and conduit versus quick-release hardware.✓Climate and structure: salt air, UV, freeze-thaw, tile versus membrane roof, and whether the frame is steel and needs bonding.Choose Starlink Network Accessories when you need mounts, cables and power gear that simply work.
Scenario Breakdown: What to Use and When
Each scenario below ends in one combination you can order as a set. Match your site to the closest one and adjust only the cable length.
Scenario 1: Cable Entering Through a Tiled Roof
Tile is the leak-prone case: the cable crosses a curved, overlapping surface before dropping into a structure that moves with temperature. When you are working out how to route a Starlink cable through a roof, the sealing order matters more than the hardware.
✓Recommended combination: a roof or ridgeline mount, a lead-flashing or tile-hook entry plate, a UV-rated Starlink cable, and neutral-cure silicone with a drip loop.✓Why this combination: the flashing carries water around the penetration instead of over it, the drip loop stops water tracking along the jacket, and neutral-cure silicone stays flexible on hot tile.✓Avoid: feeding the cable under a lifted tile and sealing with decorator's caulk. It hardens, cracks in the first freeze and lets water into the roof space.Scenario 2: Cable Entering Through a Masonry or Rendered Wall
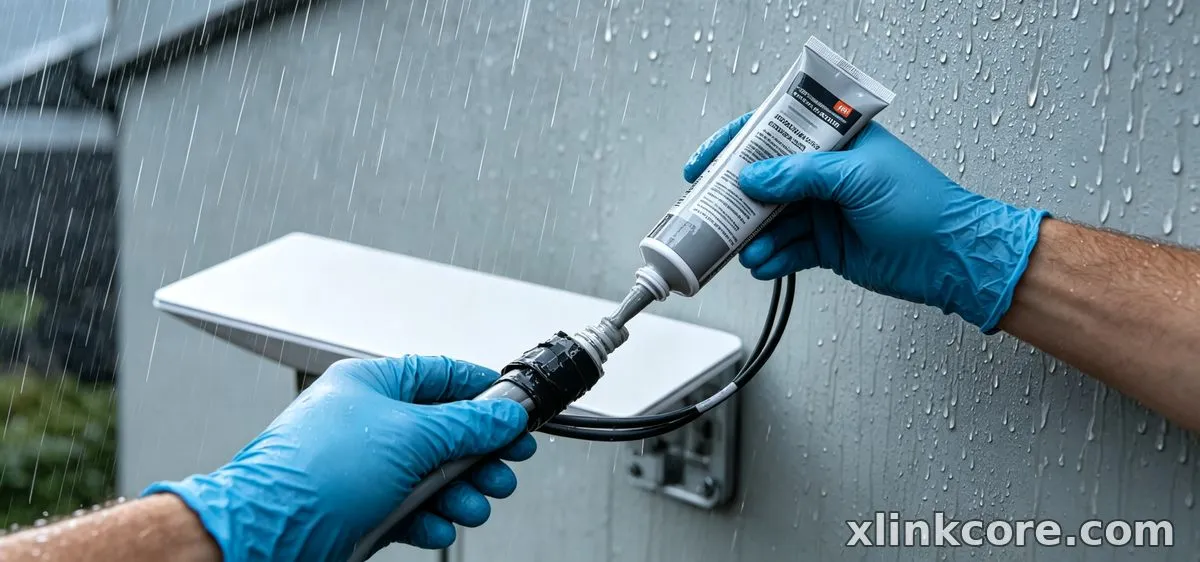
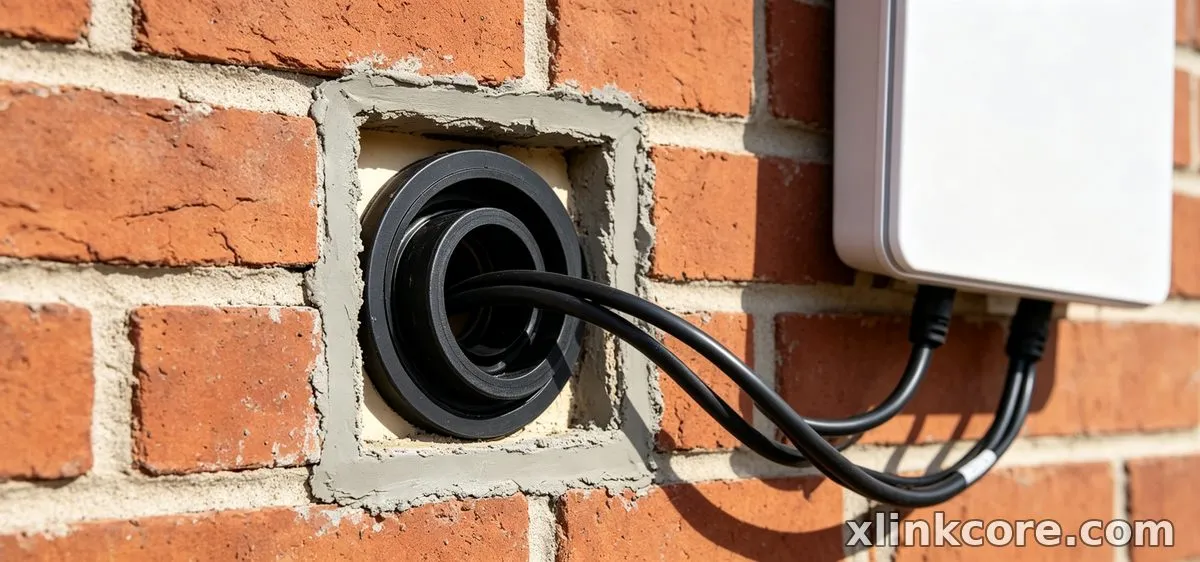
Solid walls are forgiving to drill and unforgiving to seal: the hole is straight, water sits in it, and render cracks around anything that vibrates. This is where most people search for how to route a Starlink cable through a wall and then get the finish wrong.
✓Recommended combination: an XLinkCore wall or mast bracket from the mount range, a wall-entry cable gland, an exterior-grade cable, and a short conduit sleeve through the wall thickness.✓Why this combination: the gland compresses around the jacket and seals the hole mechanically, the sleeve protects the cable from the rough core, and the bracket keeps the run off the wall face.✓Avoid: a bare hole packed with silicone. The cable moves, the seal breaks, and you get damp on the inner leaf.Scenario 3: A Long Outdoor Run in Sun, Rain and UV
Runs across open ground or a sunny facade are where cheap cable fails first: UV embrittles the jacket and standing water finds every low point in the route.
✓Recommended combination: one continuous XLinkCore cable in the correct variant (see Standard 4 and Standard 4X for connector differences), UV-stable conduit or clips, glands at both ends, and a service loop at the dish.✓Why this combination: a single continuous run removes the joint that would otherwise sit in the weather, and Starlink Network Accessories supplies glands and clips that hold the jacket without crushing it.✓Avoid: coupling two shorter cables outdoors. Waterproof Starlink connections really means no joint at all, or a joint inside a sealed enclosure.Scenario 4: A Run Passing Near Mains Wiring
Where the cable shares a duct, ceiling void or cavity with AC mains, separation is the deciding constraint. This is about safety and induced noise, not signal strength.
✓Recommended combination: a longer cable routed on its own path, dedicated conduit or a physical divider, and a labelled entry point at the router end.✓Why this combination: keeping a conduit width of separation keeps interference off the data pair and stops the next person who drills into the wall from hitting both cables at once.✓Avoid: zip-tying the Starlink cable to a mains cable for tidiness. It is one of the most common Starlink installation mistakes and a code problem in most jurisdictions.Scenario 5: A Steel Structure That Must Be Bonded to Earth
Steel sheds, containers and towers conduct, so a mount bolted to the frame becomes part of the structure's electrical path. Starlink grounding is a safety requirement before it is a performance upgrade.
✓Recommended combination: a metal-compatible mount, an XLinkCore Starlink grounding kit with a correctly sized conductor, a bonding clamp to the frame, and a separate earth electrode where local rules require one.✓Why this combination: the kit gives one rated path to earth, and Starlink Network Accessories sells the hardware as a set so clamp, conductor and lug actually match.✓Avoid: grounding through the mount's own bolts and calling it done. Paint, sealant and vibration add resistance, and the bond has to stay inspectable.Scenario 6: A Temporary Install That Comes Down Clean
Rental properties, event sites and seasonal cabins need the dish up in an hour and off without a trace: no drilled holes, no cured sealant, no repainting.
✓Recommended combination: a non-penetrating base such as a weighted plate or tripod, a pre-made cable of the exact length, reusable cable ramps, and self-amalgamating tape at the connector instead of silicone.✓Why this combination: weight replaces fasteners, tape peels off clean, and a correct-length cable avoids a coiled drum that traps water.✓Avoid: silicone and drilled entries. Both are effectively permanent, and both cost you a deposit.Quick Matching Table
Situation Mount Cable Power Tiled roof entry Roof or ridgeline bracket UV-rated, flashing entry Mains AC at router Masonry or rendered wall Wall or mast bracket Exterior-grade, gland entry Indoor mains socket Long exposed outdoor run Fixed roof or wall mount Continuous, inside conduit AC with surge protection Near mains wiring Wall or mast, re-routed Separate conduit path Dedicated circuit Steel structure Metal-compatible, bonded Armoured or in conduit Grounded supply Temporary install Weighted plate or tripod Exact-length, reusable Portable power station
The Two Mistakes That Cost the Most
Sizing the cable before walking the full route
People measure from the dish to the wall and stop there, forgetting the vertical drop, the turn through the wall thickness and the indoor wander to the router. Add at least a couple of metres of slack at each end and you avoid re-ordering. The fix is simple: run a rope along the intended path, mark it, and measure the rope, not the straight-line distance. If the result is close to a cable's maximum length, step up to the next variant rather than gambling.
Drilling and sealing before a test run
Committing to the penetration before you have confirmed a clear view of the sky is the second expensive habit. A dish that ends up behind a chimney means a second hole, and a second hole means two seals that both have to hold. Temporarily power the dish on a long cable, confirm obstruction-free placement, then drill and seal once. Starlink Network Accessories recommends testing the mount position with a temporary mast or tripod first, which is far cheaper than repairing a roof.
How Shenzhen Starlink Network Accessories Co., Ltd. Covers These Scenarios
Shenzhen Starlink Network Accessories Co., Ltd. is the manufacturer behind the XLinkCore brand, founded in August 2024 and already running a product line of 80+ models that maps closely onto the six scenarios above. The XLinkCore range covers tile, masonry and steel mounting, UV-rated cables and glands, and grounding hardware, so one order can supply a complete scenario rather than a single part of it. Production runs from a 5,000 m2 factory with 25 injection molding machines and 15 welding machines, supported by 200 patented molds and a monthly production capacity of 400,000-600,000 units.
For installers the practical value is consistency: Starlink Network Accessories builds the mount, the cable and the sealing hardware to matching drawings, and products carry 3C / CE / FCC / PSE certification for export markets. An annual export value of roughly 20-30 million USD means this hardware is already in the field across Europe, North America and Japan. If you need to confirm connector fit first, check the buying guides and the power range, then return to the scenario that matches your site. Starlink Network Accessories' range is organised so mount, cable and protection can be picked in one pass.
For related guidance, see step-by-step Starlink installation guides.
Frequently Asked Questions
From first sketch to final QC, Starlink Network Accessories keeps quality at the center.
Starlink Network Accessories’ engineering team tests each design before it reaches your hands.
What do I need for a Starlink install on a tiled roof?
A roof or ridgeline mount, a flashing entry plate, a UV-rated cable and neutral-cure silicone, plus a drip loop below the entry. The flashing does the waterproofing; the silicone only seals the edges.
Can I reuse parts if I move the dish to a new house?
The cable, glands and grounding kit usually travel with you, but mounts rarely do because bolt patterns and roof types change. Starlink Network Accessories advises buying the mount for each new site and keeping the rest of the kit together as a reusable set.
What should I buy first on a tight budget?
Buy the cable at the correct length and an XLinkCore wall or roof mount that suits your structure. Sealing consumables and a grounding kit come next, and both are far cheaper than repairing water damage.
Do I need a grounding kit on a wooden building?
Not always, but any steel mast, metal roof or container frame should be bonded. If the mount is isolated from metal and the supply is properly earthed, a grounding kit is optional rather than mandatory.
Need the Right Accessories for Your Setup?
Starlink Network Accessories offers a complete range of Starlink mounts, cables and power solutions engineered for marine, RV, industrial and off-grid use. Contact our team for bulk orders or custom OEM/ODM solutions.
Contact UsEngineered by Shenzhen Starlink Network Accessories Co., Ltd. — Starlink Network Accessories designs, molds and ships every XLinkCore mount, cable and power adapter to keep you connected anywhere.
💡 In This Article
- ▶Start With the Situation, Not the Product
- ▶Scenario Breakdown: What to Use and When
- ▶Quick Matching Table
Almost everyone buys Starlink accessories in the wrong order. They pick a mount first, bolt it up, and only then discover the cable is a metre short, the entry point lands behind a downpipe, and there is no clean way to get power to the dish without drilling a second hole. The result is a lost weekend, or a leak that appears three months later.
The reliable way to plan any Starlink DIY install is to start from the situation rather than the product: where the dish goes, how the cable gets inside, what it has to survive, and how long it stays. That is also how Shenzhen Starlink Network Accessories Co., Ltd. builds its catalogue, around real installation constraints rather than one dish generation. This guide maps the most common real-world sites to the exact accessory combination that fits, so you can copy a combination and go.
Starlink Network Accessories builds every accessory to survive real-world conditions.
Start With the Situation, Not the Product
Before you add anything to a cart, answer these questions honestly. Every recommendation below is just the consequence of your answers.
✓Who uses it: a household that never moves, a van that moves weekly, or a crew that relocates the dish every month.
✓Fixed or moving: a permanent install can be drilled and sealed; a temporary one must come down without leaving holes.
✓Power available at the dish end: mains AC at the wall, a 12V DC circuit, or a portable power station.
✓Cable run length and exposure: total metres from dish to router including the vertical drop, plus sun, standing water or foot traffic.
✓How long it stays installed: weeks or years, which decides between sealant and conduit versus quick-release hardware.
✓Climate and structure: salt air, UV, freeze-thaw, tile versus membrane roof, and whether the frame is steel and needs bonding.
Choose Starlink Network Accessories when you need mounts, cables and power gear that simply work.
Scenario Breakdown: What to Use and When
Each scenario below ends in one combination you can order as a set. Match your site to the closest one and adjust only the cable length.
Scenario 1: Cable Entering Through a Tiled Roof
Tile is the leak-prone case: the cable crosses a curved, overlapping surface before dropping into a structure that moves with temperature. When you are working out how to route a Starlink cable through a roof, the sealing order matters more than the hardware.
✓Recommended combination: a roof or ridgeline mount, a lead-flashing or tile-hook entry plate, a UV-rated Starlink cable, and neutral-cure silicone with a drip loop.
✓Why this combination: the flashing carries water around the penetration instead of over it, the drip loop stops water tracking along the jacket, and neutral-cure silicone stays flexible on hot tile.
✓Avoid: feeding the cable under a lifted tile and sealing with decorator's caulk. It hardens, cracks in the first freeze and lets water into the roof space.
Scenario 2: Cable Entering Through a Masonry or Rendered Wall
Solid walls are forgiving to drill and unforgiving to seal: the hole is straight, water sits in it, and render cracks around anything that vibrates. This is where most people search for how to route a Starlink cable through a wall and then get the finish wrong.
✓Recommended combination: an XLinkCore wall or mast bracket from the mount range, a wall-entry cable gland, an exterior-grade cable, and a short conduit sleeve through the wall thickness.
✓Why this combination: the gland compresses around the jacket and seals the hole mechanically, the sleeve protects the cable from the rough core, and the bracket keeps the run off the wall face.
✓Avoid: a bare hole packed with silicone. The cable moves, the seal breaks, and you get damp on the inner leaf.
Scenario 3: A Long Outdoor Run in Sun, Rain and UV
Runs across open ground or a sunny facade are where cheap cable fails first: UV embrittles the jacket and standing water finds every low point in the route.
✓Recommended combination: one continuous XLinkCore cable in the correct variant (see Standard 4 and Standard 4X for connector differences), UV-stable conduit or clips, glands at both ends, and a service loop at the dish.
✓Why this combination: a single continuous run removes the joint that would otherwise sit in the weather, and Starlink Network Accessories supplies glands and clips that hold the jacket without crushing it.
✓Avoid: coupling two shorter cables outdoors. Waterproof Starlink connections really means no joint at all, or a joint inside a sealed enclosure.
Scenario 4: A Run Passing Near Mains Wiring
Where the cable shares a duct, ceiling void or cavity with AC mains, separation is the deciding constraint. This is about safety and induced noise, not signal strength.
✓Recommended combination: a longer cable routed on its own path, dedicated conduit or a physical divider, and a labelled entry point at the router end.
✓Why this combination: keeping a conduit width of separation keeps interference off the data pair and stops the next person who drills into the wall from hitting both cables at once.
✓Avoid: zip-tying the Starlink cable to a mains cable for tidiness. It is one of the most common Starlink installation mistakes and a code problem in most jurisdictions.
Scenario 5: A Steel Structure That Must Be Bonded to Earth
Steel sheds, containers and towers conduct, so a mount bolted to the frame becomes part of the structure's electrical path. Starlink grounding is a safety requirement before it is a performance upgrade.
✓Recommended combination: a metal-compatible mount, an XLinkCore Starlink grounding kit with a correctly sized conductor, a bonding clamp to the frame, and a separate earth electrode where local rules require one.
✓Why this combination: the kit gives one rated path to earth, and Starlink Network Accessories sells the hardware as a set so clamp, conductor and lug actually match.
✓Avoid: grounding through the mount's own bolts and calling it done. Paint, sealant and vibration add resistance, and the bond has to stay inspectable.
Scenario 6: A Temporary Install That Comes Down Clean
Rental properties, event sites and seasonal cabins need the dish up in an hour and off without a trace: no drilled holes, no cured sealant, no repainting.
✓Recommended combination: a non-penetrating base such as a weighted plate or tripod, a pre-made cable of the exact length, reusable cable ramps, and self-amalgamating tape at the connector instead of silicone.
✓Why this combination: weight replaces fasteners, tape peels off clean, and a correct-length cable avoids a coiled drum that traps water.
✓Avoid: silicone and drilled entries. Both are effectively permanent, and both cost you a deposit.
Quick Matching Table
| Situation | Mount | Cable | Power |
|---|---|---|---|
| Tiled roof entry | Roof or ridgeline bracket | UV-rated, flashing entry | Mains AC at router |
| Masonry or rendered wall | Wall or mast bracket | Exterior-grade, gland entry | Indoor mains socket |
| Long exposed outdoor run | Fixed roof or wall mount | Continuous, inside conduit | AC with surge protection |
| Near mains wiring | Wall or mast, re-routed | Separate conduit path | Dedicated circuit |
| Steel structure | Metal-compatible, bonded | Armoured or in conduit | Grounded supply |
| Temporary install | Weighted plate or tripod | Exact-length, reusable | Portable power station |
The Two Mistakes That Cost the Most
Sizing the cable before walking the full route
People measure from the dish to the wall and stop there, forgetting the vertical drop, the turn through the wall thickness and the indoor wander to the router. Add at least a couple of metres of slack at each end and you avoid re-ordering. The fix is simple: run a rope along the intended path, mark it, and measure the rope, not the straight-line distance. If the result is close to a cable's maximum length, step up to the next variant rather than gambling.
Drilling and sealing before a test run
Committing to the penetration before you have confirmed a clear view of the sky is the second expensive habit. A dish that ends up behind a chimney means a second hole, and a second hole means two seals that both have to hold. Temporarily power the dish on a long cable, confirm obstruction-free placement, then drill and seal once. Starlink Network Accessories recommends testing the mount position with a temporary mast or tripod first, which is far cheaper than repairing a roof.
How Shenzhen Starlink Network Accessories Co., Ltd. Covers These Scenarios
Shenzhen Starlink Network Accessories Co., Ltd. is the manufacturer behind the XLinkCore brand, founded in August 2024 and already running a product line of 80+ models that maps closely onto the six scenarios above. The XLinkCore range covers tile, masonry and steel mounting, UV-rated cables and glands, and grounding hardware, so one order can supply a complete scenario rather than a single part of it. Production runs from a 5,000 m2 factory with 25 injection molding machines and 15 welding machines, supported by 200 patented molds and a monthly production capacity of 400,000-600,000 units.
For installers the practical value is consistency: Starlink Network Accessories builds the mount, the cable and the sealing hardware to matching drawings, and products carry 3C / CE / FCC / PSE certification for export markets. An annual export value of roughly 20-30 million USD means this hardware is already in the field across Europe, North America and Japan. If you need to confirm connector fit first, check the buying guides and the power range, then return to the scenario that matches your site. Starlink Network Accessories' range is organised so mount, cable and protection can be picked in one pass.
For related guidance, see step-by-step Starlink installation guides.
Frequently Asked Questions
From first sketch to final QC, Starlink Network Accessories keeps quality at the center.
Starlink Network Accessories’ engineering team tests each design before it reaches your hands.
What do I need for a Starlink install on a tiled roof?
A roof or ridgeline mount, a flashing entry plate, a UV-rated cable and neutral-cure silicone, plus a drip loop below the entry. The flashing does the waterproofing; the silicone only seals the edges.
Can I reuse parts if I move the dish to a new house?
The cable, glands and grounding kit usually travel with you, but mounts rarely do because bolt patterns and roof types change. Starlink Network Accessories advises buying the mount for each new site and keeping the rest of the kit together as a reusable set.
What should I buy first on a tight budget?
Buy the cable at the correct length and an XLinkCore wall or roof mount that suits your structure. Sealing consumables and a grounding kit come next, and both are far cheaper than repairing water damage.
Do I need a grounding kit on a wooden building?
Not always, but any steel mast, metal roof or container frame should be bonded. If the mount is isolated from metal and the supply is properly earthed, a grounding kit is optional rather than mandatory.
Need the Right Accessories for Your Setup?
Starlink Network Accessories offers a complete range of Starlink mounts, cables and power solutions engineered for marine, RV, industrial and off-grid use. Contact our team for bulk orders or custom OEM/ODM solutions.
Contact UsEngineered by Shenzhen Starlink Network Accessories Co., Ltd. — Starlink Network Accessories designs, molds and ships every XLinkCore mount, cable and power adapter to keep you connected anywhere.
