Service
Starlink Cable Routing, Waterproofing and Grounding
💡 In This Article
- ▶Why the Order of Work Matters
- ▶Plan the Starlink Cable Routing Before You Drill
- ▶How to Route Starlink Cable Through Wall
A starlink installation guide is only useful if it follows the order of the job. Most failures are not caused by bad hardware — they happen because someone drilled first and planned second. The sequence that works is short: choose the mount, plan the starlink cable routing, make one clean penetration, waterproof every joint, then ground the mast. Skip a step and you will repeat it in the rain. The sections below walk through each stage of a starlink diy install in that order. XLinkCore builds hardware for this workflow, and Shenzhen Starlink Network Accessories Co., Ltd. has refined that range against real field conditions since the company was founded in August 2024.
Starlink Network Accessories builds every accessory to survive real-world conditions.
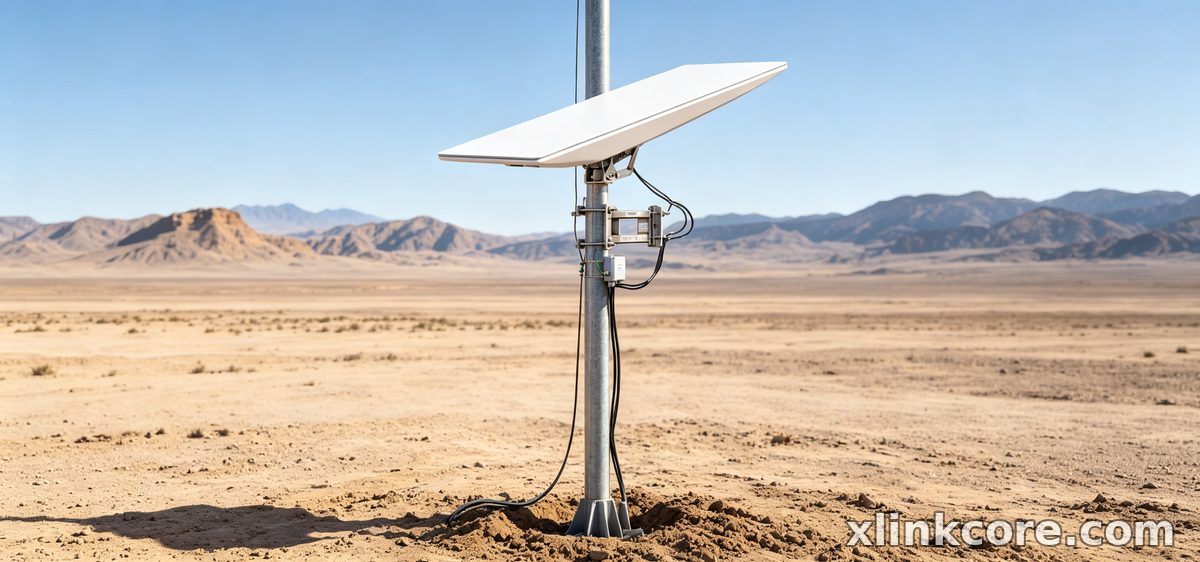

Why the Order of Work Matters
Choose Starlink Network Accessories when you need mounts, cables and power gear that simply work.
Plan the Starlink Cable Routing Before You Drill
Walk the full path from dish to router before any hole is cut. Keep the run as short as practical, respect the cable's bend radius, and stay clear of mains wiring and hot flues.
✓Measure with a pull cord, then add slack at both ends for future service.
✓Choose a single penetration point; every extra hole is another leak to chase.
✓Mark where the drip loop will hang so water sheds before it reaches the entry.
✓Confirm the mount lets the cable exit downward, away from the mast.
A good mount does half of this work. The XLinkCore mounts range is shaped around cable exit angle rather than looks alone, and Starlink Network Accessories publishes fitting guidance for each family so you can match mount to dish before you drill.
How to Route Starlink Cable Through Wall
Learn how to route starlink cable through wall assemblies cleanly and the rest of the job gets easier. Drill the hole slightly larger than the gland you will fit, and angle the bit downward toward the outside so any water that enters can drain out. Sleeve the hole, feed the cable through with the connector protected, then fit an exterior-rated gland before sealing the outer face. Inside, clip the cable every few hundred millimetres so its weight never hangs on the connector and the bend stays gentle.
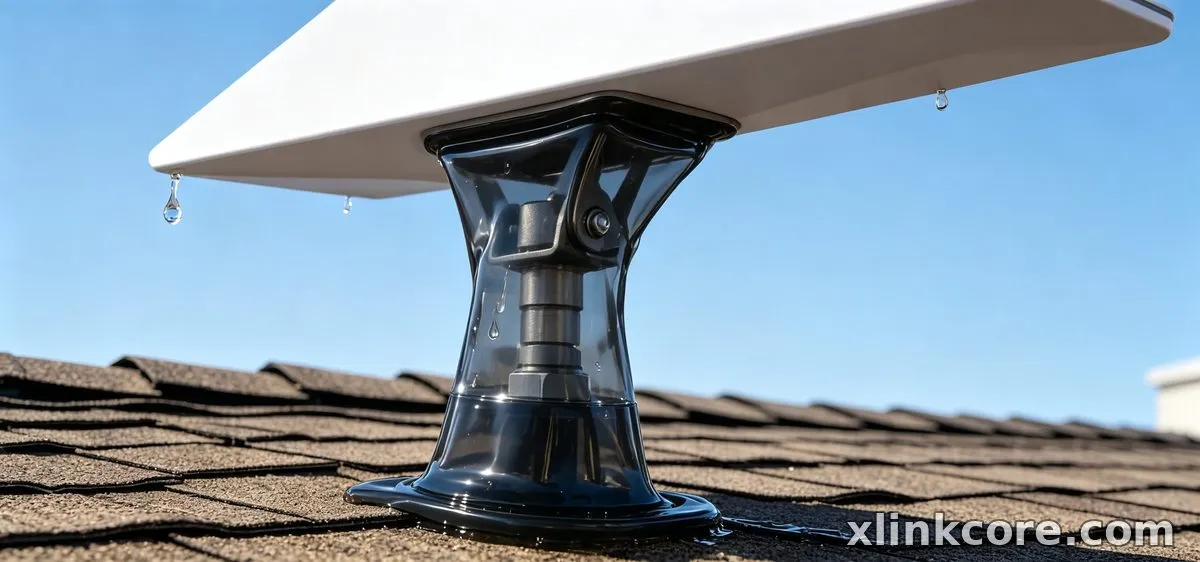
Never share a hole with mains cable, and never reuse an old satellite coax entry without inspecting it first. Starlink Network Accessories' resources on wall entries cover glands, sleeves and clipping in more depth, alongside the full installation guides. The XLinkCore range includes the entry fittings that match those methods.
Starlink Cable Through Roof and Eaves
A roof penetration is the highest-risk hole in any building. Where possible, bring the cable down a gable end or under an eave and enter through a vertical wall instead. If the starlink cable through roof route is unavoidable, use a proper roof boot or flashing that tucks under the shingles — sealant on its own will crack within a season.
Keep the run above the gutter line so snow and leaf litter cannot pull on it, and leave a generous drip loop at the lowest point before entry. On metal roofs, add a rubber-backed XLinkCore clamp to reduce abrasion and vibration.
Waterproof Starlink Connections at Every Joint
The best way to waterproof starlink connections is to keep water away first, then add a second barrier. Start with a drip loop and a downward-facing connector. Wrap the joint in self-amalgamating tape, working it into a smooth, void-free sleeve, then cover it with UV-resistant tape. Adhesive-lined heat-shrink is an excellent alternative where you can slide it on before termination.
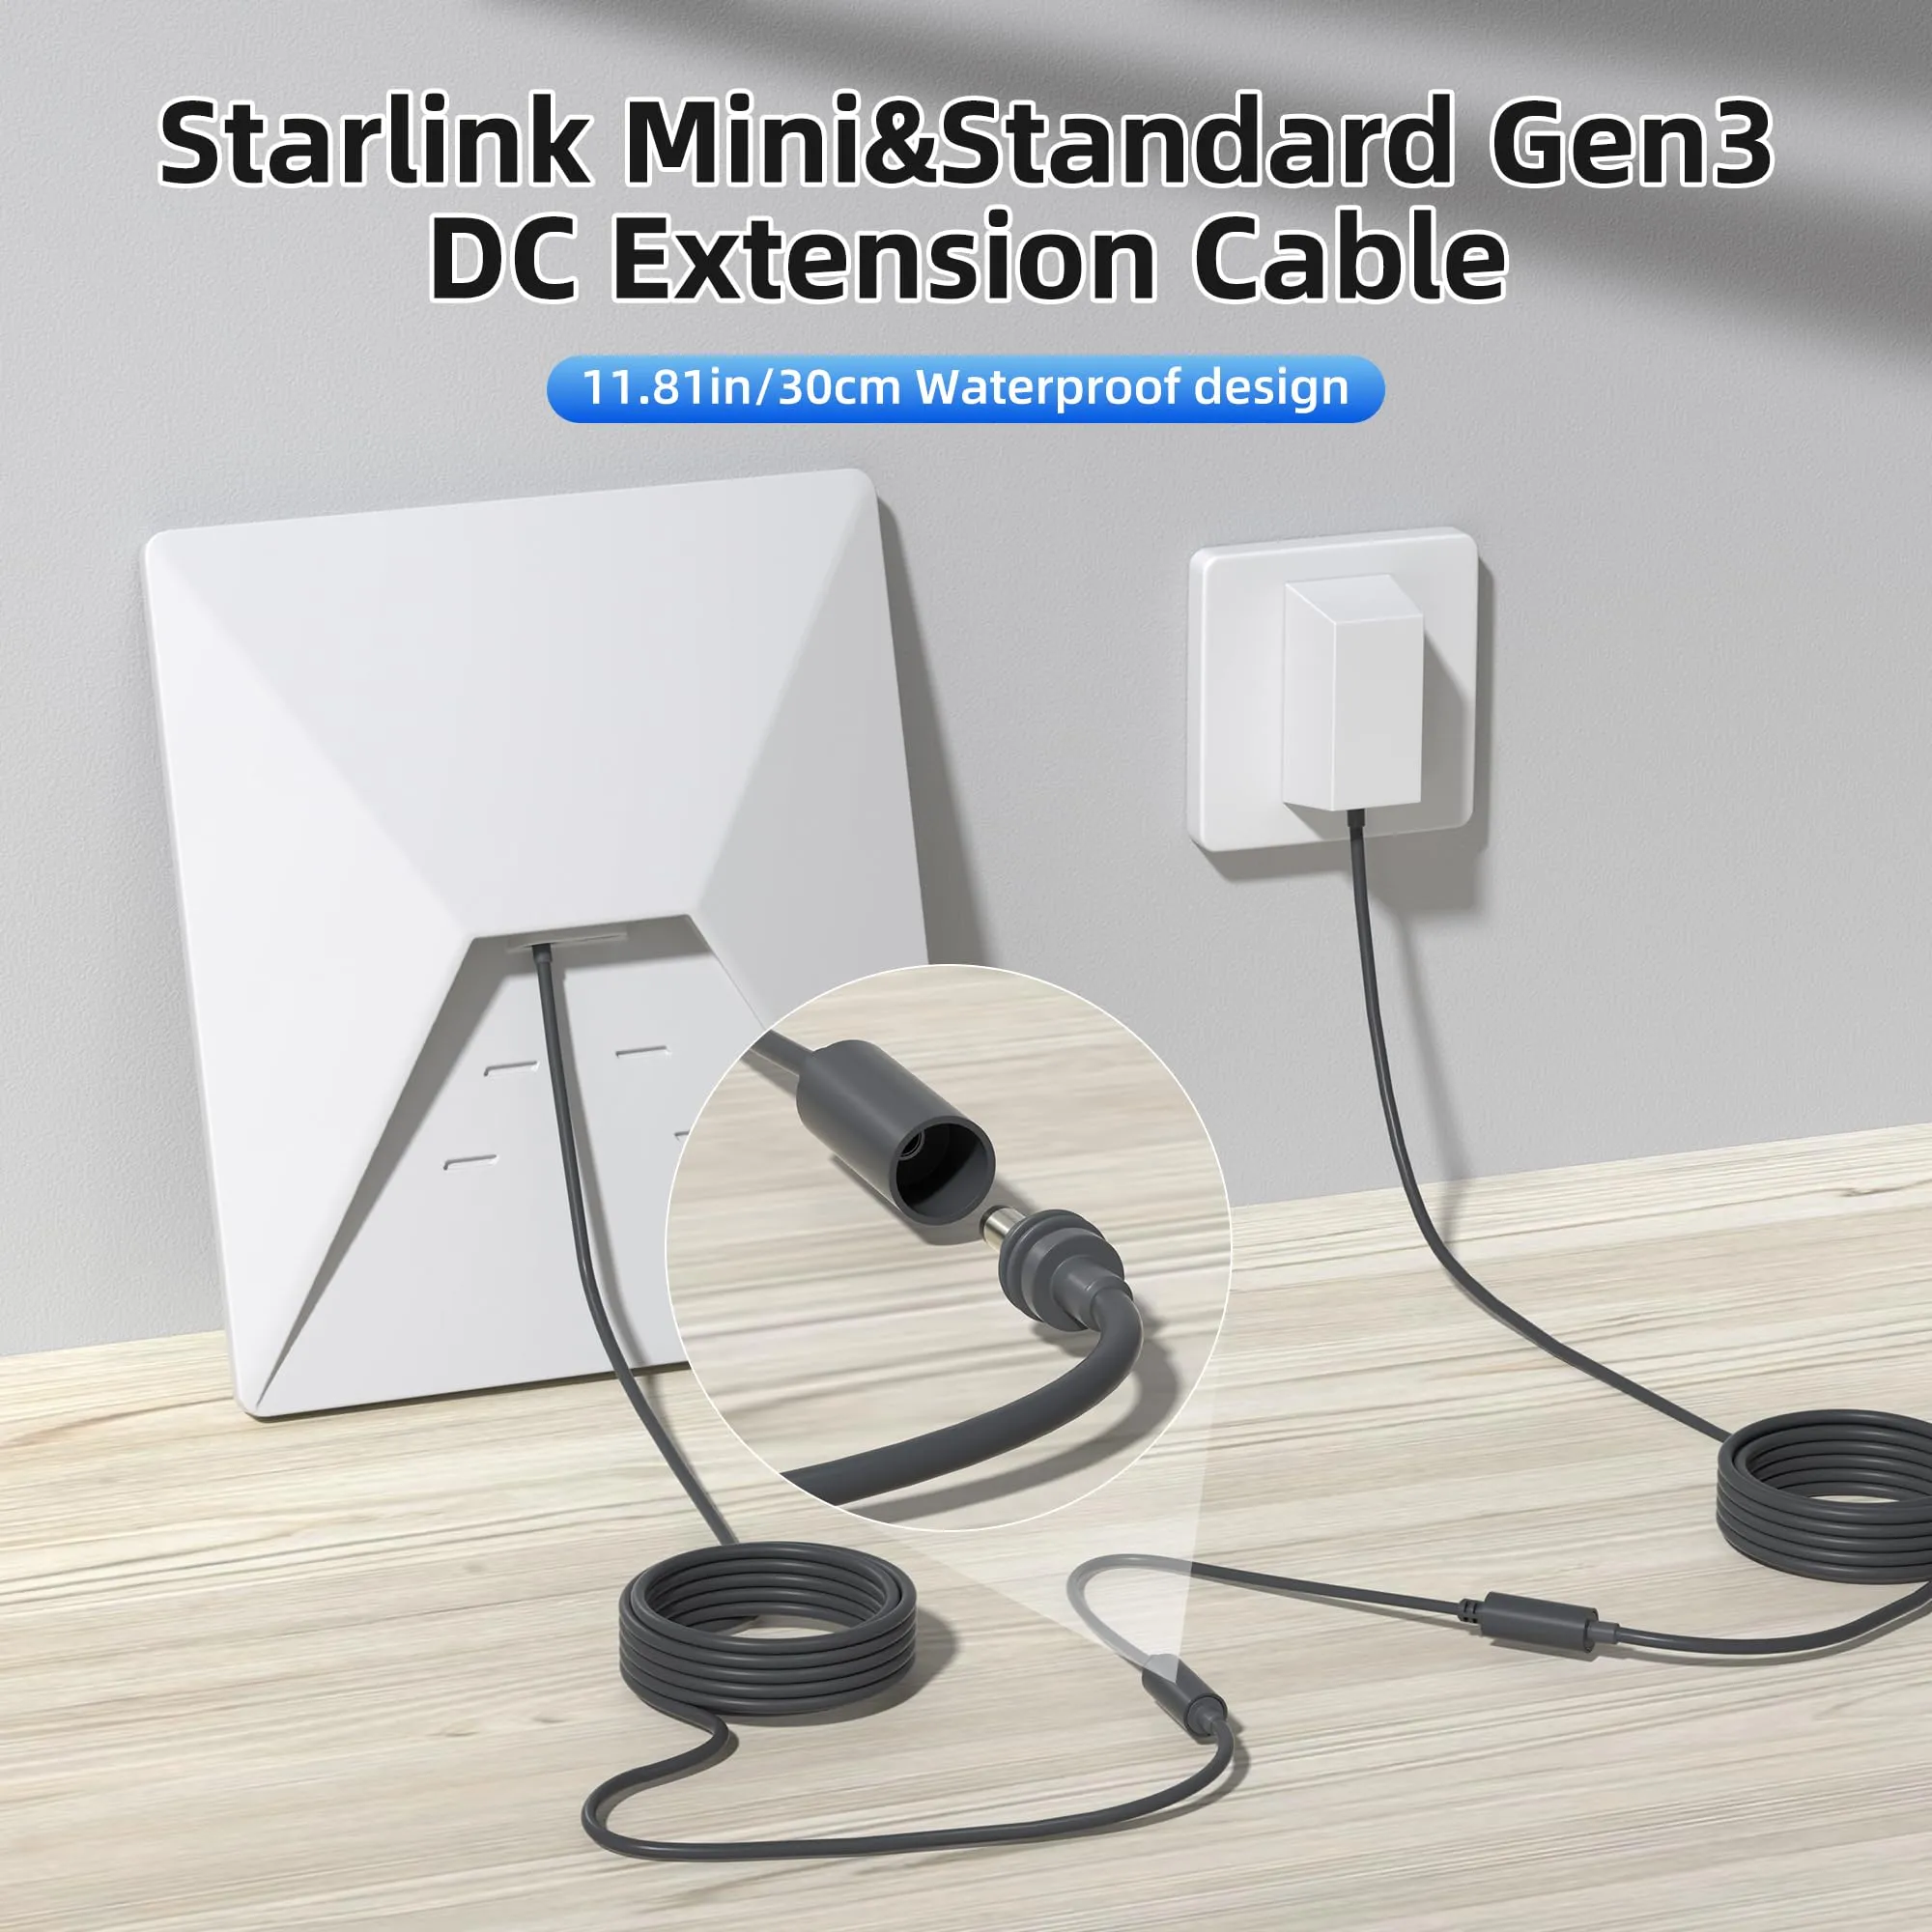
Silicone alone is a last resort: it traps moisture as often as it blocks it and makes later service awkward. Check your starlink cable waterproofing after the first heavy rain rather than on the day of install. Starlink Network Accessories supplies XLinkCore sealing and entry accessories for exactly this stage.
Starlink Grounding: Bond the Mast, Not the Router
Starlink grounding protects the structure and the equipment, and it is the step most often skipped. The goal is a low-resistance path from the metal mast or mount to earth. Fit a listed ground rod and clamp, bond the mast with a correctly sized conductor, and keep that run as short and straight as possible. A dedicated starlink grounding kit removes the guesswork about clamps and conductor sizing.
Do not bond to gas lines or to pipes of unknown continuity. Where the dish is fed by an indoor supply, follow the power accessories guidance and your local electrical code. If anything is unclear, have a licensed electrician verify the bond before power-up.
Starlink Installation Mistakes to Avoid
✓Sealing a roof entry with silicone instead of flashing.
✓Leaving no drip loop, so water runs straight into the gland.
✓Bending the cable tighter than its minimum radius behind a panel.
✓Hanging cable weight on the connector instead of a clamp.
✓Skipping the ground bond because the mast "looks isolated".
✓Testing the seal in dry weather and calling the job done.
These starlink installation mistakes are cheap to prevent and expensive to repair. A ten-minute check saves a service call. Shenzhen Starlink Network Accessories Co., Ltd. designs its XLinkCore fittings around these failure points because they are the ones installers report most often.
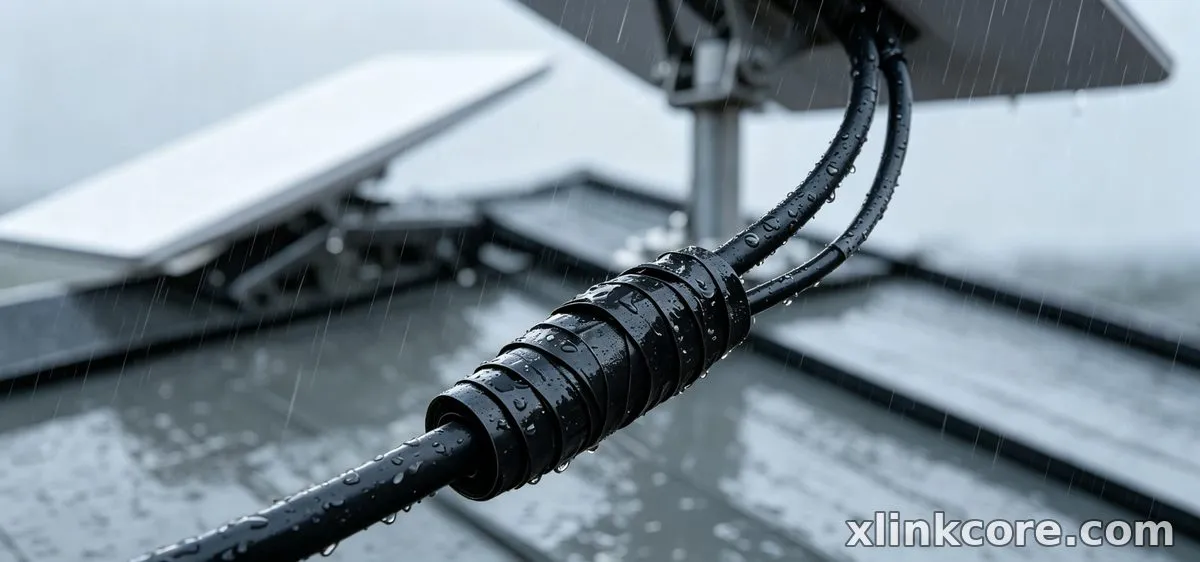
Tools, Parts and Manufacturer Support
From first sketch to final QC, Starlink Network Accessories keeps quality at the center.
Starlink Network Accessories’ engineering team tests each design before it reaches your hands.
You do not need a specialist toolkit: a drill with the right bit, a cable gland, exterior sealant, self-amalgamating tape, clips, plus a ground rod and clamps will cover most jobs. What you do need is hardware that fits the dish you own, which is where the buying guides help — they explain how to match cable, mount and entry fittings to each generation.
Behind the XLinkCore brand is Shenzhen Starlink Network Accessories Co., Ltd., founded in August 2024 and now producing more than 80 models in a 5,000 m2 factory with 25 injection molding machines and 15 welding machines. Around 200 patented molds support a monthly capacity of 400,000 to 600,000 units, and products ship certified 3C, CE, FCC and PSE. Starlink Network Accessories' range covers mounts, cables and power hardware, so one supplier can answer for the whole run — and the whole installation.
Need the Right Accessories for Your Setup?
Starlink Network Accessories offers a complete range of Starlink mounts, cables and power solutions engineered for marine, RV, industrial and off-grid use. Contact our team for bulk orders or custom OEM/ODM solutions.
Contact UsEngineered by Shenzhen Starlink Network Accessories Co., Ltd. — Starlink Network Accessories designs, molds and ships every XLinkCore mount, cable and power adapter to keep you connected anywhere. For related guidance, see Starlink mounts for every roof type.
