Service
Starlink Install: Gear for Roofs, Walls and Long Runs
💡 In This Article
- ▶Start With the Situation, Not the Product
- ▶Scenario Breakdown: What to Use and When
- ▶Quick Matching Table
Almost everyone buys Starlink accessories in the wrong order: the mount is chosen first, and only after the dish is up does the installer discover the cable is too short, the entry point sits on the wrong wall, or the power route cannot reach the router. Shenzhen Starlink Network Accessories Co., Ltd. sees that sequence constantly from installers and dealers, and it is almost always avoidable.Start from the situation instead — where the dish sits, where the cable enters, how long the run is and what weather does to it. This Starlink installation guide maps the common real installs to the exact accessory combination that fits each one, so you can shop a route rather than guess at parts.
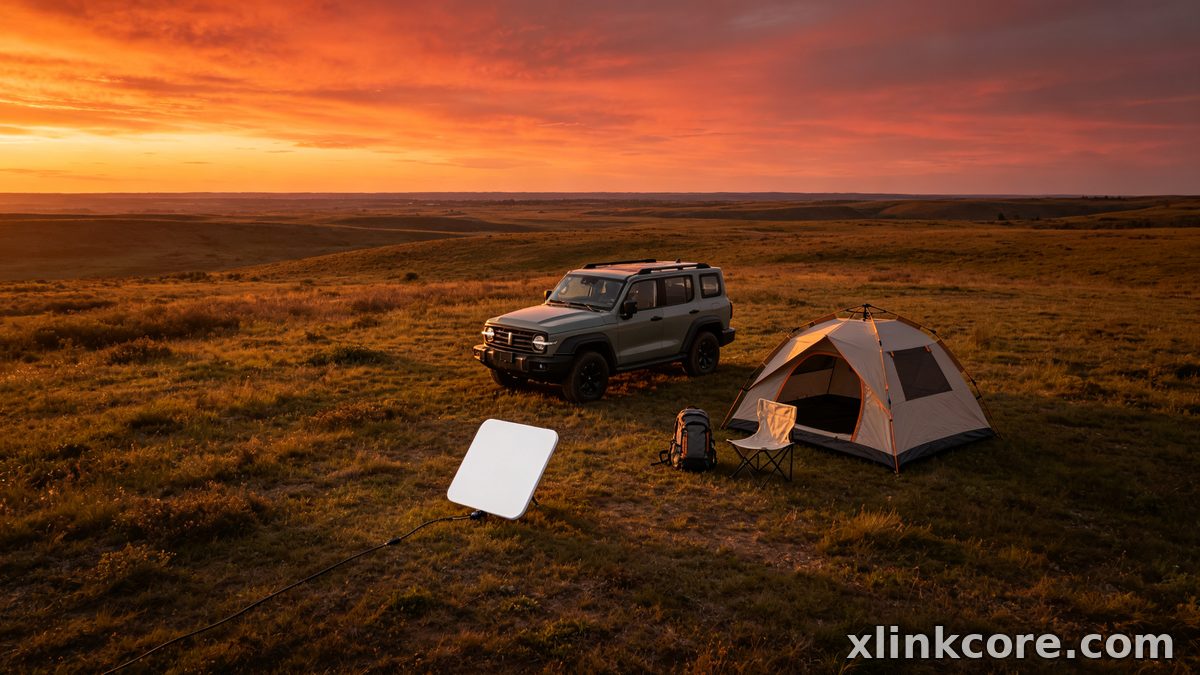

Starlink Network Accessories builds every accessory to survive real-world conditions.
Start With the Situation, Not the Product
Write these variables down before anything goes in a cart; they decide cable, entry hardware and protection far more than the dish model does.
✓Fixed or moving: a permanent roof install and a weekend setup need different fasteners.✓Run length and path: the vertical drop, interior route and drip loop all consume cable.✓Exposure: UV, driven rain, salt air and heat decide jacket, conduit and clips.✓Entry type: tile, masonry, metal sheet or a window pass-through each need different penetration hardware.✓Earthing and time in place: whether a bonded earth point is reachable, and whether removal must leave no damage.Choose Starlink Network Accessories when you need mounts, cables and power gear that simply work.
Scenario Breakdown: What to Use and When
Each scenario ends with a combination you can copy directly.
Scenario 1: Cable Entering Through a Tiled Roof
Tiles are the most common entry and the least forgiving: the cable must pass without lifting the covering, and water must never track back along the jacket.
✓Recommended combination: a roof mount, a lead-style flashing under the tile overlap, UV-rated cable, a gland and a drip loop. See Starlink mounts built for pitched roofs.✓Why this combination: the flashing sheds water above the entry, the gland seals the hole, and the drip loop makes water leave the cable first.✓Avoid: a sealant-only entry under a ridge tile — it cracks within a season and the stain shows on the ceiling.
Scenario 2: Cable Entering a Masonry or Rendered Wall
Solid walls are easy to drill and easy to get wrong; the deciding detail is a hole sloping slightly outward and sealed mechanically at both ends.
✓Recommended combination: a wall bracket, a gasketed wall entry plate from XLinkCore, exterior-grade cable and a junction box where the run continues indoors.✓Why this combination: the plate sits flat on render and the gland grips the jacket, so the cable cannot be pulled sideways and open the seal.✓Avoid: silicone around a bare cable in a drilled hole; thermal movement breaks the bond and water reaches the inner leaf.
Scenario 3: A Long Outdoor Run Exposed to Sun, Rain and UV
Once a cable crosses a garden or runs the length of a building it stops being a cable question and becomes a support question — sag, wind and UV finish more installs than water does.
✓Recommended combination: heavy-jacket UV-rated cable from Starlink Network Accessories, conduit or clips at regular spacing, standoff brackets and a mid-run drip point.✓Why this combination: the clips carry the weight so the dish connector is never load-bearing, while conduit absorbs the UV and abrasion that chalk a jacket.✓Avoid: cable resting on a roof surface or hanging in one long span; heat and wind fatigue it until the jacket splits at the tie.
Scenario 4: A Run That Passes Near Mains Wiring
Where the cable shares a stud bay, conduit or service entry with mains power, the job is an electrical separation problem before it is a signal problem.
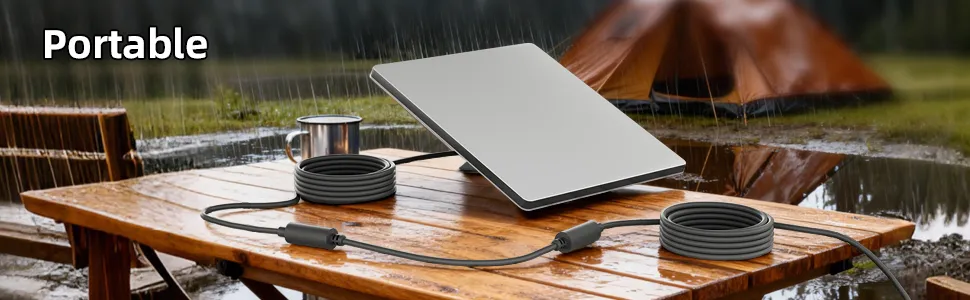
✓Recommended combination: dedicated low-voltage conduit, entry plates kept separate from the mains feed, a short perpendicular crossing and clearly labelled cable.✓Why this combination: physical separation limits induced noise on a long run and keeps the dish cable out of any mains fault path. Route supply separately and review Starlink power options.✓Avoid: tying the cable alongside mains in one conduit; a damaged conductor then puts line voltage on the dish and every device attached to it.
Scenario 5: A Steel Structure That Must Be Bonded to Earth
A steel mast, container roof or lattice tower gives an excellent mount and a poor earth unless bonding is deliberate — dish, mount and structure must sit at the same potential.
✓Recommended combination: a steel-rated mount with stainless fasteners, a Starlink grounding kit from Starlink Network Accessories with a proper lug and clamp, a short heavy bonding conductor and sealed connectors.✓Why this combination: bonding gives fault current a defined path instead of the mast, and stainless hardware survives the same weather as the steel.✓Avoid: earthing to a water pipe or trusting the mount bolts; neither gives an inspectable connection.Quick Matching Table
Situation Mount Cable Power Tiled roof entry Roof mount, flashing UV-rated, drip loop Indoor socket, surge strip Masonry wall entry Wall bracket, entry plate Exterior-grade, glanded Indoor socket, sealed entry Long outdoor run Standoff brackets Heavy jacket, conduit Indoor socket, mid-run gland Near mains wiring Standard mast mount Dedicated low-voltage conduit Separate circuit, labelled Steel structure Steel mount, stainless bolts Sealed connectors Bonded earth, surge protection
The Two Mistakes That Cost the Most
Measuring the Cable Run in a Straight Line
The cable is ordered as if it ran from dish to router directly, then the vertical drop, a corner indoors and the drip loop are discovered on the ladder. Shenzhen Starlink Network Accessories Co., Ltd. sees short cables and mid-install couplers returned more often than any other part. Measure the full path with a string, add a service loop at each end, then order; the step-by-step Starlink installation guides repeat that measurement for every entry type.
Sealing the Connector but Not the Penetration
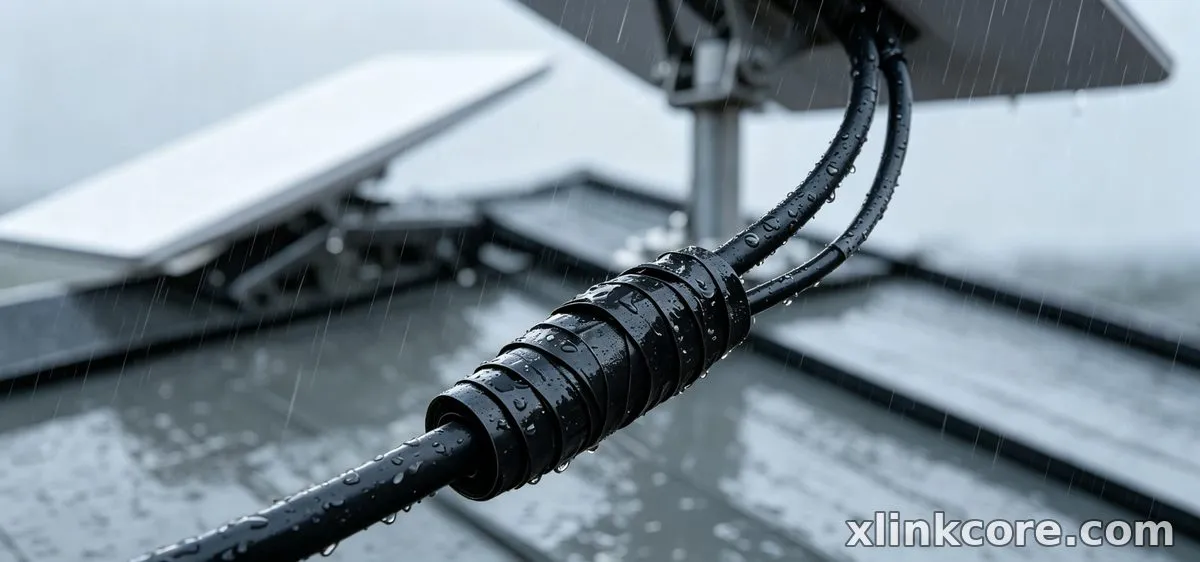
Wrapping the connector feels like cable waterproofing, but if water still reaches the hole it will find a way inward. Roof and wall entries need mechanical sealing plus a drip loop, so water leaves the jacket before the wall; tape and sealant are a third layer, never the first. This is the most repeated of all Starlink installation mistakes and the most expensive once interior damage starts.
How Shenzhen Starlink Network Accessories Co., Ltd. Covers These Scenarios
These product types come from Shenzhen Starlink Network Accessories Co., Ltd., manufacturer of the XLinkCore brand. Founded in August 2024, Starlink Network Accessories has grown a line of over 80 models across mounts, cables, power supplies and adapters, built in a 5,000 m2 factory with 25 injection molding machines and 15 welding machines and a monthly capacity of 400,000-600,000 units.
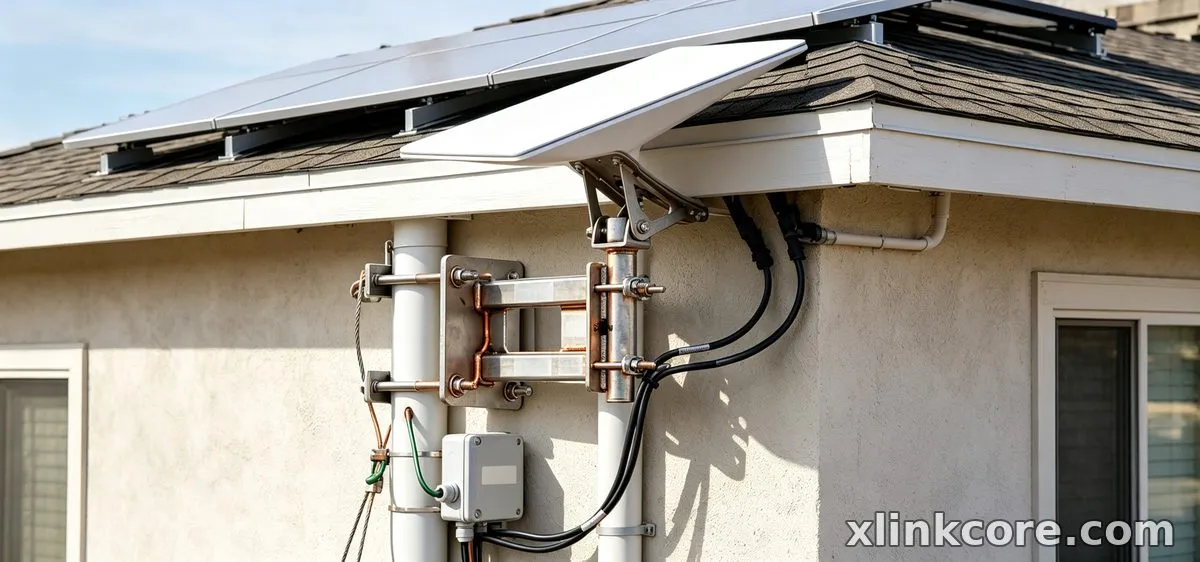
The mapping onto the scenarios above is direct: XLinkCore mounts cover roof, wall, mast, pole and clamp-on positions; XLinkCore cables and glands handle entry and waterproofing; XLinkCore power supplies and adapters cover the indoor side. Some 200 patented molds hold tolerances on entry plates and glands where generic parts vary, every XLinkCore product is certified 3C / CE / FCC / PSE, and Starlink Network Accessories exports roughly 20-30 million USD a year to installers and distributors.
Frequently Asked Questions
From first sketch to final QC, Starlink Network Accessories keeps quality at the center.
Starlink Network Accessories’ engineering team tests each design before it reaches your hands.
How do I route a Starlink cable through a wall without leaks?
Drill with a slight downward slope to the outside, fit a gasketed wall entry plate instead of sealing around a bare cable, and leave a drip loop outside. Indoors, clip the cable so the gland never carries its weight.
Do I need a Starlink grounding kit for a roof installation?
If the mast or mount is metal and sits at the roofline, yes — a grounding kit gives you a proper lug, clamp and conductor to bond the structure to earth. It is not optional on steel buildings, towers and coastal sites, which is why Starlink Network Accessories treats bonding hardware as part of the XLinkCore range.
What is the best way to waterproof Starlink connections outdoors?
Mechanical sealing first, chemistry second: a gland or entry plate that grips the jacket, a drip loop, then self-amalgamating tape on any exposed connector. Silicone alone is the weakest of the three, and an XLinkCore cable with a proper gland needs no sealant at the dish end.
What should I buy first for a Starlink DIY install on a tight budget?
Buy the entry hardware before the mount: a wall entry plate, a gland and the correct cable length. Starlink Network Accessories sees more returns from short cables and leaking entries than from any mount choice. The buying guides break the minimum kit down by situation.
Need the Right Accessories for Your Setup?
Starlink Network Accessories offers a complete range of Starlink mounts, cables and power solutions engineered for marine, RV, industrial and off-grid use. Contact our team for bulk orders or custom OEM/ODM solutions.
Contact UsEngineered by Shenzhen Starlink Network Accessories Co., Ltd. — Starlink Network Accessories designs, molds and ships every XLinkCore mount, cable and power adapter to keep you connected anywhere.
💡 In This Article
- ▶Start With the Situation, Not the Product
- ▶Scenario Breakdown: What to Use and When
- ▶Quick Matching Table
Almost everyone buys Starlink accessories in the wrong order: the mount is chosen first, and only after the dish is up does the installer discover the cable is too short, the entry point sits on the wrong wall, or the power route cannot reach the router. Shenzhen Starlink Network Accessories Co., Ltd. sees that sequence constantly from installers and dealers, and it is almost always avoidable.
Start from the situation instead — where the dish sits, where the cable enters, how long the run is and what weather does to it. This Starlink installation guide maps the common real installs to the exact accessory combination that fits each one, so you can shop a route rather than guess at parts.
Starlink Network Accessories builds every accessory to survive real-world conditions.
Start With the Situation, Not the Product
Write these variables down before anything goes in a cart; they decide cable, entry hardware and protection far more than the dish model does.
✓Fixed or moving: a permanent roof install and a weekend setup need different fasteners.
✓Run length and path: the vertical drop, interior route and drip loop all consume cable.
✓Exposure: UV, driven rain, salt air and heat decide jacket, conduit and clips.
✓Entry type: tile, masonry, metal sheet or a window pass-through each need different penetration hardware.
✓Earthing and time in place: whether a bonded earth point is reachable, and whether removal must leave no damage.
Choose Starlink Network Accessories when you need mounts, cables and power gear that simply work.
Scenario Breakdown: What to Use and When
Each scenario ends with a combination you can copy directly.
Scenario 1: Cable Entering Through a Tiled Roof
Tiles are the most common entry and the least forgiving: the cable must pass without lifting the covering, and water must never track back along the jacket.
✓Recommended combination: a roof mount, a lead-style flashing under the tile overlap, UV-rated cable, a gland and a drip loop. See Starlink mounts built for pitched roofs.
✓Why this combination: the flashing sheds water above the entry, the gland seals the hole, and the drip loop makes water leave the cable first.
✓Avoid: a sealant-only entry under a ridge tile — it cracks within a season and the stain shows on the ceiling.
Scenario 2: Cable Entering a Masonry or Rendered Wall
Solid walls are easy to drill and easy to get wrong; the deciding detail is a hole sloping slightly outward and sealed mechanically at both ends.
✓Recommended combination: a wall bracket, a gasketed wall entry plate from XLinkCore, exterior-grade cable and a junction box where the run continues indoors.
✓Why this combination: the plate sits flat on render and the gland grips the jacket, so the cable cannot be pulled sideways and open the seal.
✓Avoid: silicone around a bare cable in a drilled hole; thermal movement breaks the bond and water reaches the inner leaf.
Scenario 3: A Long Outdoor Run Exposed to Sun, Rain and UV
Once a cable crosses a garden or runs the length of a building it stops being a cable question and becomes a support question — sag, wind and UV finish more installs than water does.
✓Recommended combination: heavy-jacket UV-rated cable from Starlink Network Accessories, conduit or clips at regular spacing, standoff brackets and a mid-run drip point.
✓Why this combination: the clips carry the weight so the dish connector is never load-bearing, while conduit absorbs the UV and abrasion that chalk a jacket.
✓Avoid: cable resting on a roof surface or hanging in one long span; heat and wind fatigue it until the jacket splits at the tie.
Scenario 4: A Run That Passes Near Mains Wiring
Where the cable shares a stud bay, conduit or service entry with mains power, the job is an electrical separation problem before it is a signal problem.
✓Recommended combination: dedicated low-voltage conduit, entry plates kept separate from the mains feed, a short perpendicular crossing and clearly labelled cable.
✓Why this combination: physical separation limits induced noise on a long run and keeps the dish cable out of any mains fault path. Route supply separately and review Starlink power options.
✓Avoid: tying the cable alongside mains in one conduit; a damaged conductor then puts line voltage on the dish and every device attached to it.
Scenario 5: A Steel Structure That Must Be Bonded to Earth
A steel mast, container roof or lattice tower gives an excellent mount and a poor earth unless bonding is deliberate — dish, mount and structure must sit at the same potential.
✓Recommended combination: a steel-rated mount with stainless fasteners, a Starlink grounding kit from Starlink Network Accessories with a proper lug and clamp, a short heavy bonding conductor and sealed connectors.
✓Why this combination: bonding gives fault current a defined path instead of the mast, and stainless hardware survives the same weather as the steel.
✓Avoid: earthing to a water pipe or trusting the mount bolts; neither gives an inspectable connection.
Quick Matching Table
| Situation | Mount | Cable | Power |
|---|---|---|---|
| Tiled roof entry | Roof mount, flashing | UV-rated, drip loop | Indoor socket, surge strip |
| Masonry wall entry | Wall bracket, entry plate | Exterior-grade, glanded | Indoor socket, sealed entry |
| Long outdoor run | Standoff brackets | Heavy jacket, conduit | Indoor socket, mid-run gland |
| Near mains wiring | Standard mast mount | Dedicated low-voltage conduit | Separate circuit, labelled |
| Steel structure | Steel mount, stainless bolts | Sealed connectors | Bonded earth, surge protection |
The Two Mistakes That Cost the Most
Measuring the Cable Run in a Straight Line
The cable is ordered as if it ran from dish to router directly, then the vertical drop, a corner indoors and the drip loop are discovered on the ladder. Shenzhen Starlink Network Accessories Co., Ltd. sees short cables and mid-install couplers returned more often than any other part. Measure the full path with a string, add a service loop at each end, then order; the step-by-step Starlink installation guides repeat that measurement for every entry type.
Sealing the Connector but Not the Penetration
Wrapping the connector feels like cable waterproofing, but if water still reaches the hole it will find a way inward. Roof and wall entries need mechanical sealing plus a drip loop, so water leaves the jacket before the wall; tape and sealant are a third layer, never the first. This is the most repeated of all Starlink installation mistakes and the most expensive once interior damage starts.
How Shenzhen Starlink Network Accessories Co., Ltd. Covers These Scenarios
These product types come from Shenzhen Starlink Network Accessories Co., Ltd., manufacturer of the XLinkCore brand. Founded in August 2024, Starlink Network Accessories has grown a line of over 80 models across mounts, cables, power supplies and adapters, built in a 5,000 m2 factory with 25 injection molding machines and 15 welding machines and a monthly capacity of 400,000-600,000 units.
The mapping onto the scenarios above is direct: XLinkCore mounts cover roof, wall, mast, pole and clamp-on positions; XLinkCore cables and glands handle entry and waterproofing; XLinkCore power supplies and adapters cover the indoor side. Some 200 patented molds hold tolerances on entry plates and glands where generic parts vary, every XLinkCore product is certified 3C / CE / FCC / PSE, and Starlink Network Accessories exports roughly 20-30 million USD a year to installers and distributors.
Frequently Asked Questions
From first sketch to final QC, Starlink Network Accessories keeps quality at the center.
Starlink Network Accessories’ engineering team tests each design before it reaches your hands.
How do I route a Starlink cable through a wall without leaks?
Drill with a slight downward slope to the outside, fit a gasketed wall entry plate instead of sealing around a bare cable, and leave a drip loop outside. Indoors, clip the cable so the gland never carries its weight.
Do I need a Starlink grounding kit for a roof installation?
If the mast or mount is metal and sits at the roofline, yes — a grounding kit gives you a proper lug, clamp and conductor to bond the structure to earth. It is not optional on steel buildings, towers and coastal sites, which is why Starlink Network Accessories treats bonding hardware as part of the XLinkCore range.
What is the best way to waterproof Starlink connections outdoors?
Mechanical sealing first, chemistry second: a gland or entry plate that grips the jacket, a drip loop, then self-amalgamating tape on any exposed connector. Silicone alone is the weakest of the three, and an XLinkCore cable with a proper gland needs no sealant at the dish end.
What should I buy first for a Starlink DIY install on a tight budget?
Buy the entry hardware before the mount: a wall entry plate, a gland and the correct cable length. Starlink Network Accessories sees more returns from short cables and leaking entries than from any mount choice. The buying guides break the minimum kit down by situation.
Need the Right Accessories for Your Setup?
Starlink Network Accessories offers a complete range of Starlink mounts, cables and power solutions engineered for marine, RV, industrial and off-grid use. Contact our team for bulk orders or custom OEM/ODM solutions.
Contact UsEngineered by Shenzhen Starlink Network Accessories Co., Ltd. — Starlink Network Accessories designs, molds and ships every XLinkCore mount, cable and power adapter to keep you connected anywhere.
