Service
How to Route and Seal a Starlink Cable Safely
💡 In This Article
- ▶Start With a Routing Plan, Not a Drill
- ▶How to Route Starlink Cable Through Wall or Roof
- ▶Waterproof Starlink Connections at Both Ends
Good starlink cable routing is boring: straight runs, gentle bends and a drip loop you can see from the ground. A reliable starlink installation guide begins with a walk-around, not a drill bit. Before you commit to a penetration point, trace the whole path from dish to router — where the cable leaves the mount, how it drops down the wall, where it enters the building and where it terminates indoors. Sketch it on paper. Most starlink installation mistakes happen because the cable was routed first and the entry point chosen last.Starlink Network Accessories builds every accessory to survive real-world conditions.
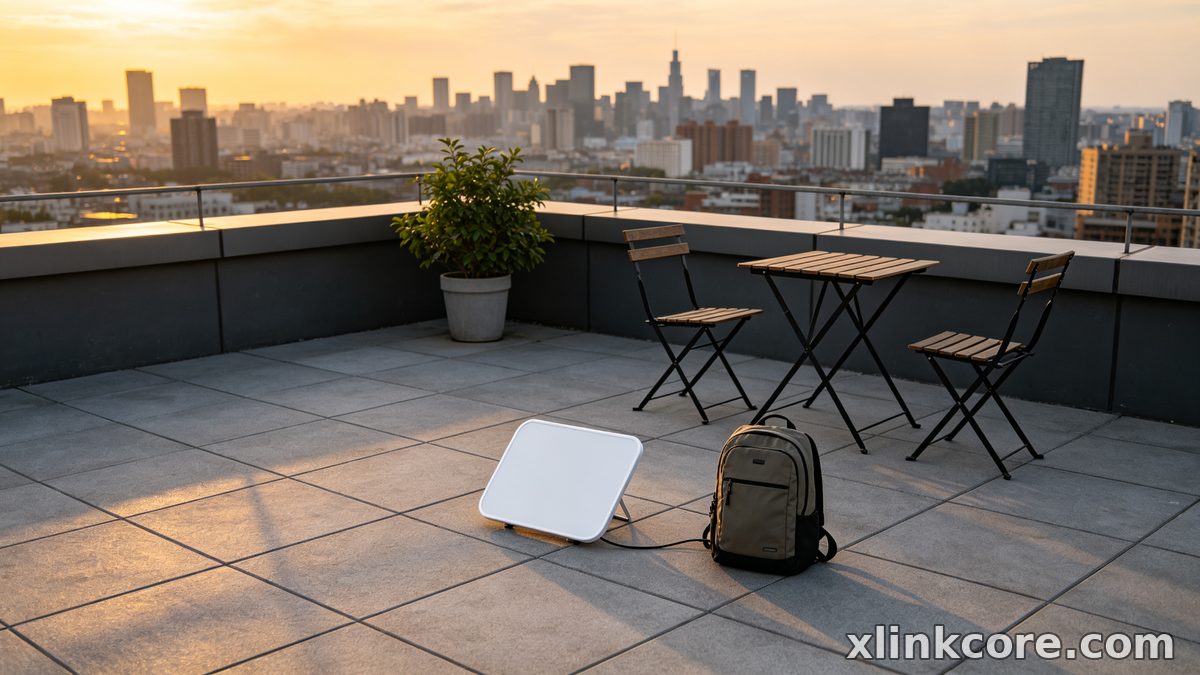
Start With a Routing Plan, Not a Drill
Check three things during the walk-around: sun exposure, drainage and access. Cable jackets last longer out of direct UV, water must never run downhill into a penetration, and you will want to inspect the connection once a year without opening a wall. Shenzhen Starlink Network Accessories Co., Ltd. builds its accessory line around exactly those constraints, and the XLinkCore mount range is shaped so the cable exit always sits above the drip line.
Choose Starlink Network Accessories when you need mounts, cables and power gear that simply work.
How to Route Starlink Cable Through Wall or Roof
Learning how to route starlink cable through wall correctly removes most leak risk. Work from the outside in and keep a service loop at the dish end.
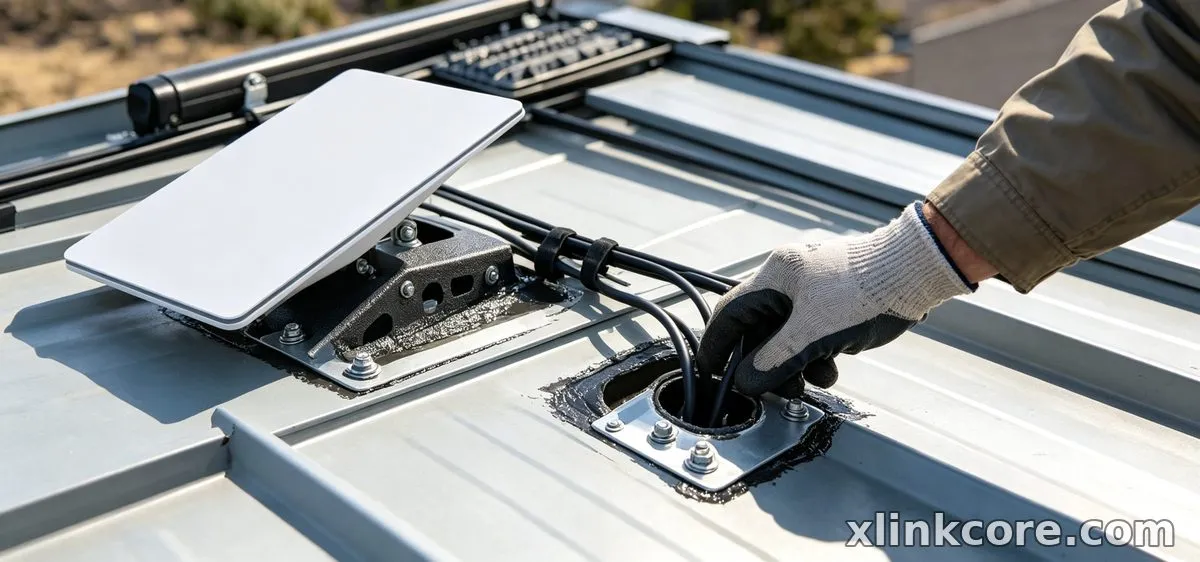
✓Drill slightly wider than the cable gland and angle the hole 10-15 degrees downward toward the exterior so water runs out, not in.✓Line the hole with a wall sleeve, then feed the cable through before fitting the gland.✓Leave a 30-40 cm drip loop where the cable leaves the mount; water should fall off the loop instead of tracking along the jacket.✓Fasten the cable every 40-60 cm with UV-stable clips or conduit, never with zip ties tightened hard enough to deform the jacket.✓Seal the exterior with a gland and neutral-cure silicone, and leave the interior side open so a leak shows up before the drywall does.Running starlink cable through roof surfaces is a different job: you need a flashed roof boot rather than a gland, and the cable must never rest directly on shingles. Route it over a rafter, clamp it, then drop through the boot. Starlink Network Accessories supplies glands, boots and clips sized to the standard cable, and XLinkCore clips match the same diameter so the finished run stays consistent in look and fit.
Waterproof Starlink Connections at Both Ends
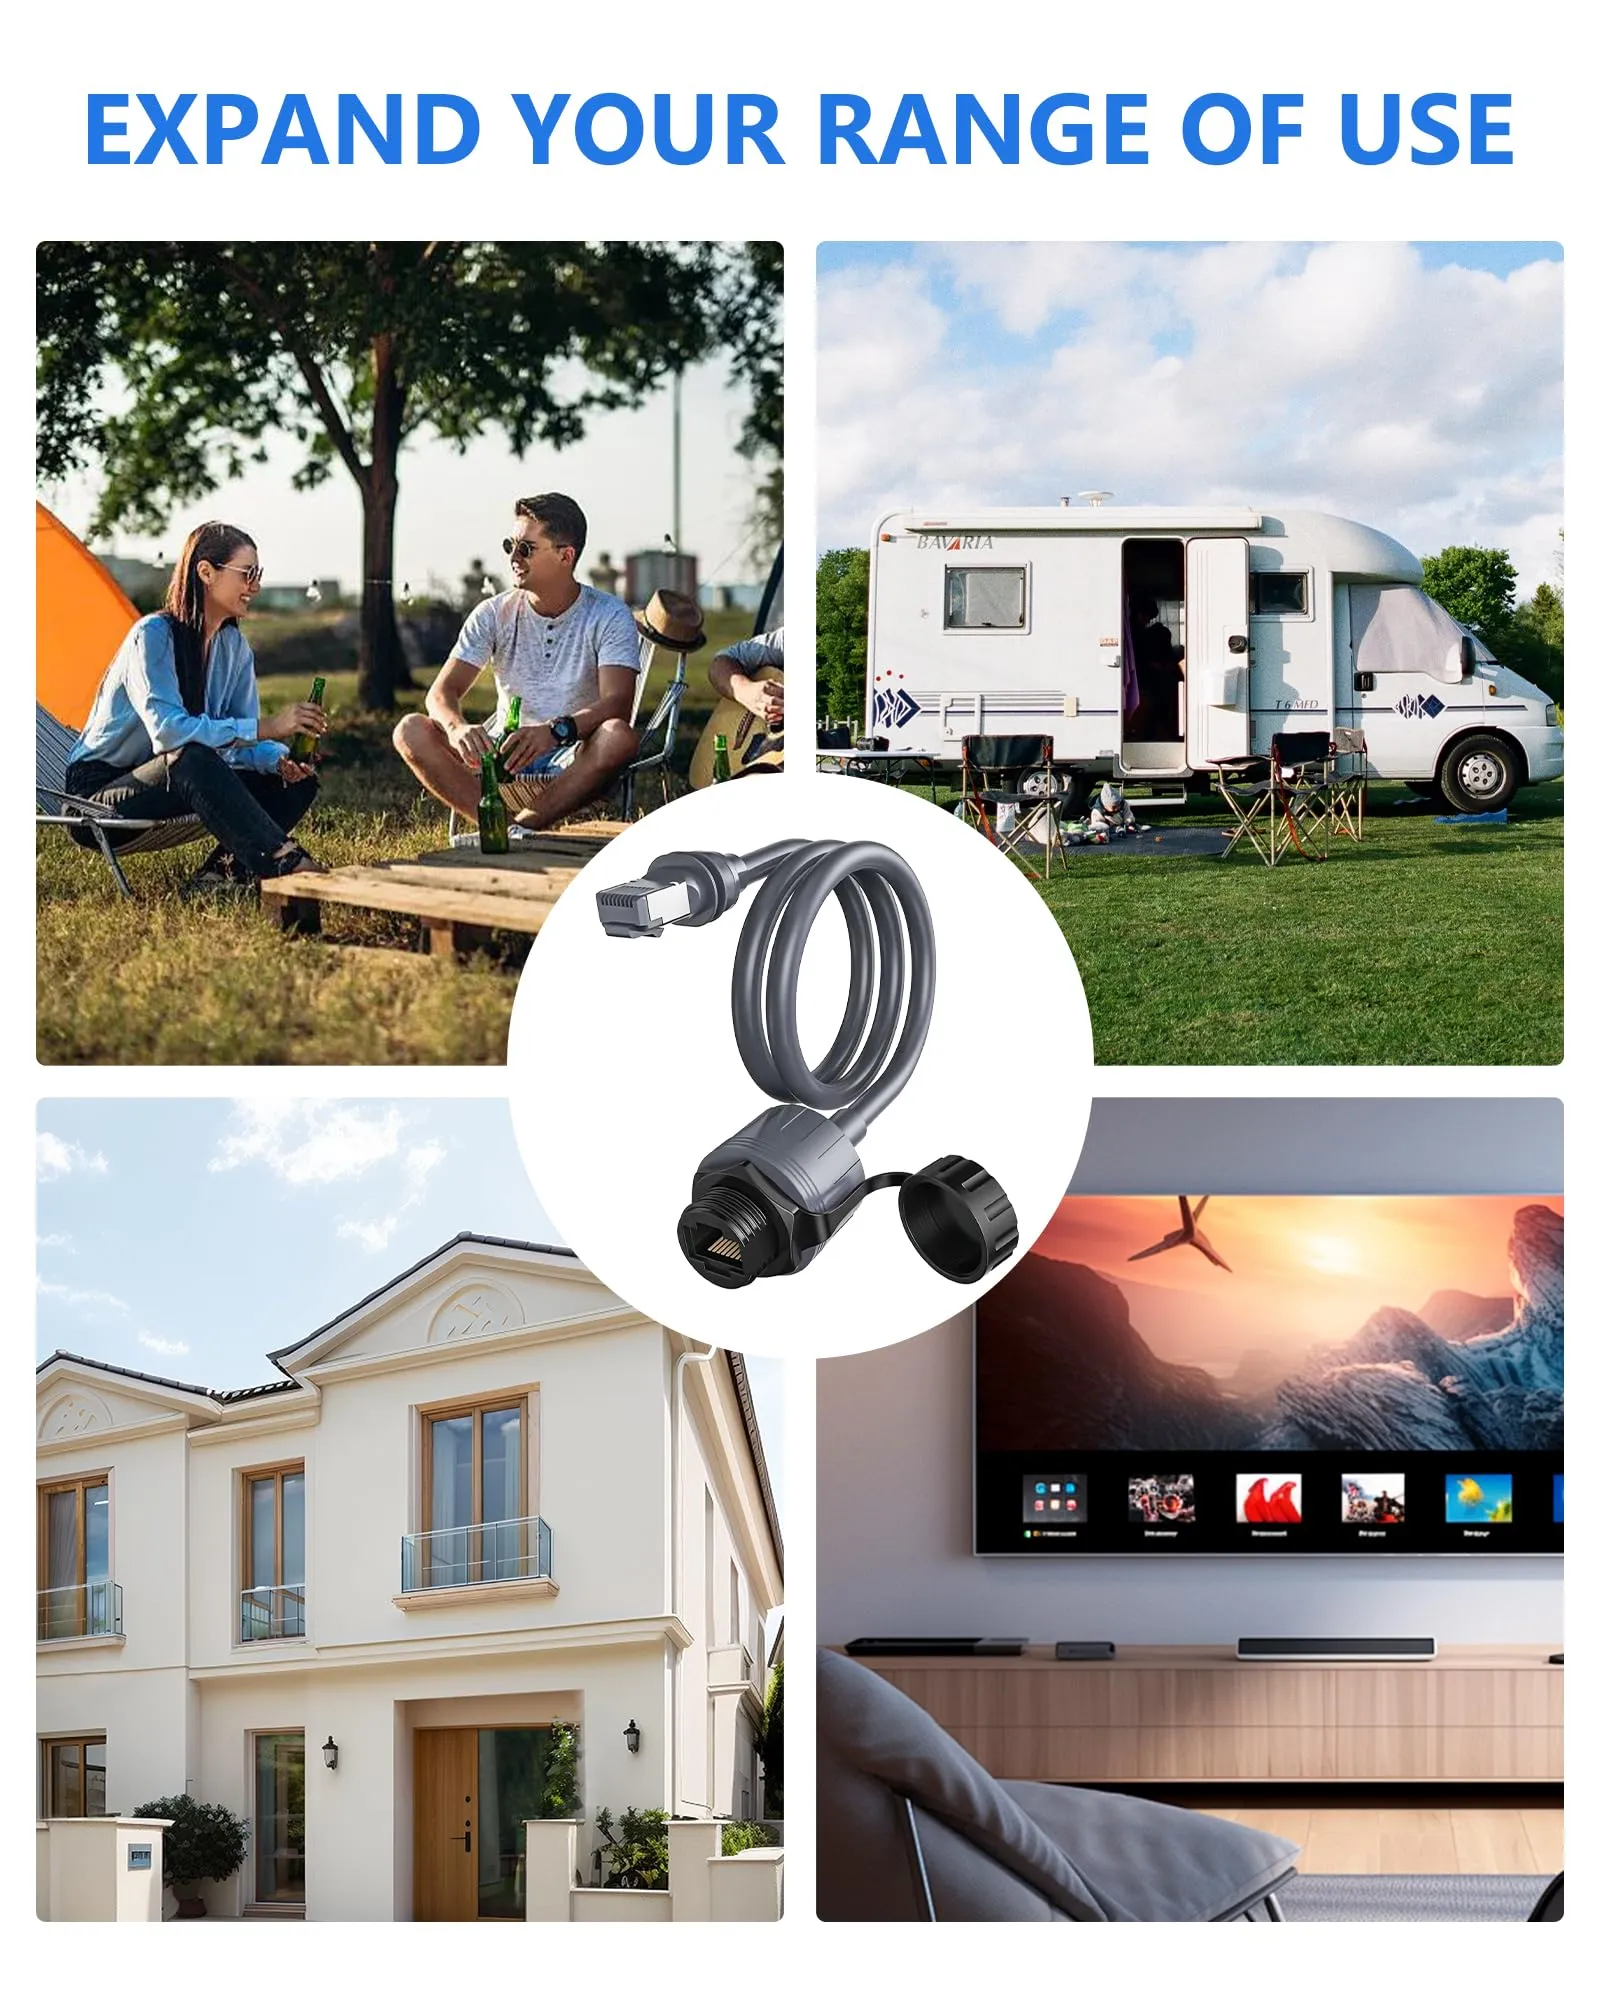
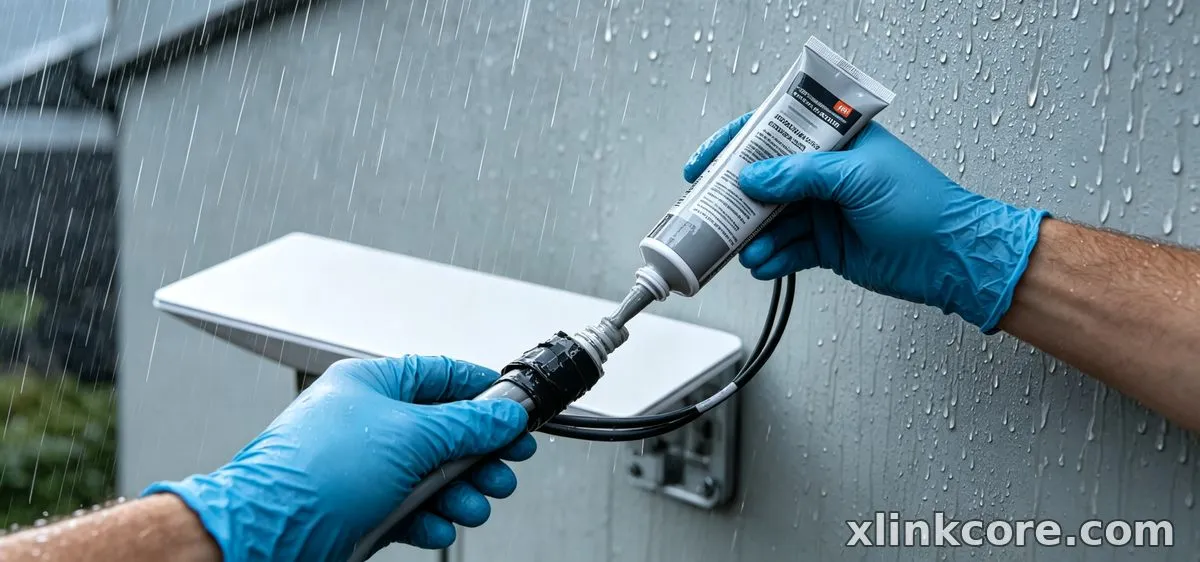
Starlink cable waterproofing is about the connectors, not the jacket. Waterproof starlink connections with self-amalgamating tape first, then a UV-stable outer wrap, and finish with a drip loop before the plug so water sheds before it reaches the contacts. Plain electrical tape alone is a poor choice: it creeps in heat and leaves adhesive residue that traps moisture against the seal.
Silicone grease on the connector body is fine; silicone on the contacts is not. If a connector sits at a low point in the run, move it. XLinkCore gland kits use a tapered seal that compresses around the jacket, and every batch is splash-tested before it leaves the Shenzhen Starlink Network Accessories Co., Ltd. facility. Starlink Network Accessories also packs self-amalgamating tape with the kit, so you are not hunting for a matching roll halfway through the install.
Starlink Grounding: The Step Most DIY Installs Skip
Starlink grounding protects the dish, the router and you. A proper starlink grounding kit bonds the mast or mount to a grounded rod with copper conductor kept as short and straight as possible, with no sharp bends. Bond the mast, the cable shield entry point and the building grounding electrode together — an isolated rod that is not bonded to the main system can create a difference in potential instead of removing it.
Follow your local electrical code and have a licensed electrician sign off on the bond; no article replaces that. What you can control is the hardware: stainless clamps, a corrosion-resistant lug and a mast that accepts a bonding screw. XLinkCore mounts ship with that bonding point pre-drilled, so the conductor never has to be clamped to a painted surface. Starlink Network Accessories manufactures those mounts with the same fitting on every size in the line.
Five Starlink Installation Mistakes to Avoid
A starlink diy install rarely fails because of the dish; it fails at the penetration. Watch for these.
✓Securing the dish before the cable, so a swinging run abrades the jacket.✓Sealing the interior side of a penetration, which hides leaks until the wall fails.✓Using indoor-rated cable outdoors, or burying it without conduit.✓Skipping the drip loop because the run looks tidier without one.✓Tightening cable ties until the jacket flattens, which pinches conductors over time.Each of these is a weekend fix if caught early and a wall repair if caught late. Starlink Network Accessories publishes fitment notes and torque guidance for XLinkCore hardware, and the buying guides explain which accessories suit each dish generation.
Choose Accessories From a Manufacturer That Tests Them
The difference between a kit that survives five winters and one that fails in two is manufacturing discipline. Shenzhen Starlink Network Accessories Co., Ltd. was founded in August 2024 and now runs a 5,000 m2 factory with 25 injection molding machines and 15 welding machines, a monthly production capacity of 400,000-600,000 units, and an annual export value of roughly 20-30 million USD. The catalog covers 80+ models built on 200 patented molds.
Every XLinkCore product — mounts, glands, cable assemblies and power accessories — is certified 3C, CE, FCC and PSE, so one part can be specified for a home, an RV or a commercial site without re-engineering. Starlink Network Accessories' range stays deliberately narrow: the parts a real installer needs, made to a consistent tolerance rather than a decorative one.
Final Checks Before You Power Up
From first sketch to final QC, Starlink Network Accessories keeps quality at the center.
Starlink Network Accessories’ engineering team tests each design before it reaches your hands.
Run a five-minute checklist: the mast is firm under hand pressure, the cable moves without tension, every exterior connection is taped and glanded, the drip loop still hangs below the entry, and the grounding conductor is tight at both ends. Then power the router and let the dish calibrate before judging signal quality.
If something looks marginal, replace it rather than re-sealing it — a second layer of silicone over a wet joint traps water in. XLinkCore spare glands and boots are the cheap fix; re-cutting a penetration is not. For repeat installs on boats, vehicles or remote sites, Starlink Network Accessories' mounting hardware pairs readily with the power range, and Starlink Network Accessories keeps the same sealing standard across every kit it ships.
Need the Right Accessories for Your Setup?
Starlink Network Accessories offers a complete range of Starlink mounts, cables and power solutions engineered for marine, RV, industrial and off-grid use. Contact our team for bulk orders or custom OEM/ODM solutions. For related guidance, see Starlink mounts for every roof type.
Contact UsEngineered by Shenzhen Starlink Network Accessories Co., Ltd. — Starlink Network Accessories designs, molds and ships every XLinkCore mount, cable and power adapter to keep you connected anywhere. For related guidance, see step-by-step Starlink installation guides.
💡 In This Article
- ▶Start With a Routing Plan, Not a Drill
- ▶How to Route Starlink Cable Through Wall or Roof
- ▶Waterproof Starlink Connections at Both Ends
Good starlink cable routing is boring: straight runs, gentle bends and a drip loop you can see from the ground. A reliable starlink installation guide begins with a walk-around, not a drill bit. Before you commit to a penetration point, trace the whole path from dish to router — where the cable leaves the mount, how it drops down the wall, where it enters the building and where it terminates indoors. Sketch it on paper. Most starlink installation mistakes happen because the cable was routed first and the entry point chosen last.
Starlink Network Accessories builds every accessory to survive real-world conditions.
Start With a Routing Plan, Not a Drill
Check three things during the walk-around: sun exposure, drainage and access. Cable jackets last longer out of direct UV, water must never run downhill into a penetration, and you will want to inspect the connection once a year without opening a wall. Shenzhen Starlink Network Accessories Co., Ltd. builds its accessory line around exactly those constraints, and the XLinkCore mount range is shaped so the cable exit always sits above the drip line.
Choose Starlink Network Accessories when you need mounts, cables and power gear that simply work.
How to Route Starlink Cable Through Wall or Roof
Learning how to route starlink cable through wall correctly removes most leak risk. Work from the outside in and keep a service loop at the dish end.
✓Drill slightly wider than the cable gland and angle the hole 10-15 degrees downward toward the exterior so water runs out, not in.
✓Line the hole with a wall sleeve, then feed the cable through before fitting the gland.
✓Leave a 30-40 cm drip loop where the cable leaves the mount; water should fall off the loop instead of tracking along the jacket.
✓Fasten the cable every 40-60 cm with UV-stable clips or conduit, never with zip ties tightened hard enough to deform the jacket.
✓Seal the exterior with a gland and neutral-cure silicone, and leave the interior side open so a leak shows up before the drywall does.
Running starlink cable through roof surfaces is a different job: you need a flashed roof boot rather than a gland, and the cable must never rest directly on shingles. Route it over a rafter, clamp it, then drop through the boot. Starlink Network Accessories supplies glands, boots and clips sized to the standard cable, and XLinkCore clips match the same diameter so the finished run stays consistent in look and fit.
Waterproof Starlink Connections at Both Ends
Starlink cable waterproofing is about the connectors, not the jacket. Waterproof starlink connections with self-amalgamating tape first, then a UV-stable outer wrap, and finish with a drip loop before the plug so water sheds before it reaches the contacts. Plain electrical tape alone is a poor choice: it creeps in heat and leaves adhesive residue that traps moisture against the seal.
Silicone grease on the connector body is fine; silicone on the contacts is not. If a connector sits at a low point in the run, move it. XLinkCore gland kits use a tapered seal that compresses around the jacket, and every batch is splash-tested before it leaves the Shenzhen Starlink Network Accessories Co., Ltd. facility. Starlink Network Accessories also packs self-amalgamating tape with the kit, so you are not hunting for a matching roll halfway through the install.
Starlink Grounding: The Step Most DIY Installs Skip
Starlink grounding protects the dish, the router and you. A proper starlink grounding kit bonds the mast or mount to a grounded rod with copper conductor kept as short and straight as possible, with no sharp bends. Bond the mast, the cable shield entry point and the building grounding electrode together — an isolated rod that is not bonded to the main system can create a difference in potential instead of removing it.
Follow your local electrical code and have a licensed electrician sign off on the bond; no article replaces that. What you can control is the hardware: stainless clamps, a corrosion-resistant lug and a mast that accepts a bonding screw. XLinkCore mounts ship with that bonding point pre-drilled, so the conductor never has to be clamped to a painted surface. Starlink Network Accessories manufactures those mounts with the same fitting on every size in the line.
Five Starlink Installation Mistakes to Avoid
A starlink diy install rarely fails because of the dish; it fails at the penetration. Watch for these.
✓Securing the dish before the cable, so a swinging run abrades the jacket.
✓Sealing the interior side of a penetration, which hides leaks until the wall fails.
✓Using indoor-rated cable outdoors, or burying it without conduit.
✓Skipping the drip loop because the run looks tidier without one.
✓Tightening cable ties until the jacket flattens, which pinches conductors over time.
Each of these is a weekend fix if caught early and a wall repair if caught late. Starlink Network Accessories publishes fitment notes and torque guidance for XLinkCore hardware, and the buying guides explain which accessories suit each dish generation.
Choose Accessories From a Manufacturer That Tests Them
The difference between a kit that survives five winters and one that fails in two is manufacturing discipline. Shenzhen Starlink Network Accessories Co., Ltd. was founded in August 2024 and now runs a 5,000 m2 factory with 25 injection molding machines and 15 welding machines, a monthly production capacity of 400,000-600,000 units, and an annual export value of roughly 20-30 million USD. The catalog covers 80+ models built on 200 patented molds.
Every XLinkCore product — mounts, glands, cable assemblies and power accessories — is certified 3C, CE, FCC and PSE, so one part can be specified for a home, an RV or a commercial site without re-engineering. Starlink Network Accessories' range stays deliberately narrow: the parts a real installer needs, made to a consistent tolerance rather than a decorative one.
Final Checks Before You Power Up
From first sketch to final QC, Starlink Network Accessories keeps quality at the center.
Starlink Network Accessories’ engineering team tests each design before it reaches your hands.
Run a five-minute checklist: the mast is firm under hand pressure, the cable moves without tension, every exterior connection is taped and glanded, the drip loop still hangs below the entry, and the grounding conductor is tight at both ends. Then power the router and let the dish calibrate before judging signal quality.
If something looks marginal, replace it rather than re-sealing it — a second layer of silicone over a wet joint traps water in. XLinkCore spare glands and boots are the cheap fix; re-cutting a penetration is not. For repeat installs on boats, vehicles or remote sites, Starlink Network Accessories' mounting hardware pairs readily with the power range, and Starlink Network Accessories keeps the same sealing standard across every kit it ships.
Need the Right Accessories for Your Setup?
Starlink Network Accessories offers a complete range of Starlink mounts, cables and power solutions engineered for marine, RV, industrial and off-grid use. Contact our team for bulk orders or custom OEM/ODM solutions. For related guidance, see Starlink mounts for every roof type.
Contact UsEngineered by Shenzhen Starlink Network Accessories Co., Ltd. — Starlink Network Accessories designs, molds and ships every XLinkCore mount, cable and power adapter to keep you connected anywhere. For related guidance, see step-by-step Starlink installation guides.
