Service
Drill vs Window Pass-Through: Which Is Best for Starlink?
💡 In This Article
- ▶Overview: Two Different Use Cases
- ▶Key Differences That Matter in the Real World
- ▶Materials You Need for Either Route
Drilled wall entry and window pass-through are both standard ways to bring a Starlink cable inside a building, and both work when they are done properly. One is permanent, invisible and sealed; the other is reversible, tool-free and quick.The right choice depends on three practical variables: whether you own or rent the building, how much weather that entry point will take, and whether the installation is permanent or seasonal. This comparison breaks down sealing, routing, grounding, effort and long-term wear so you can decide before you pick up a drill.
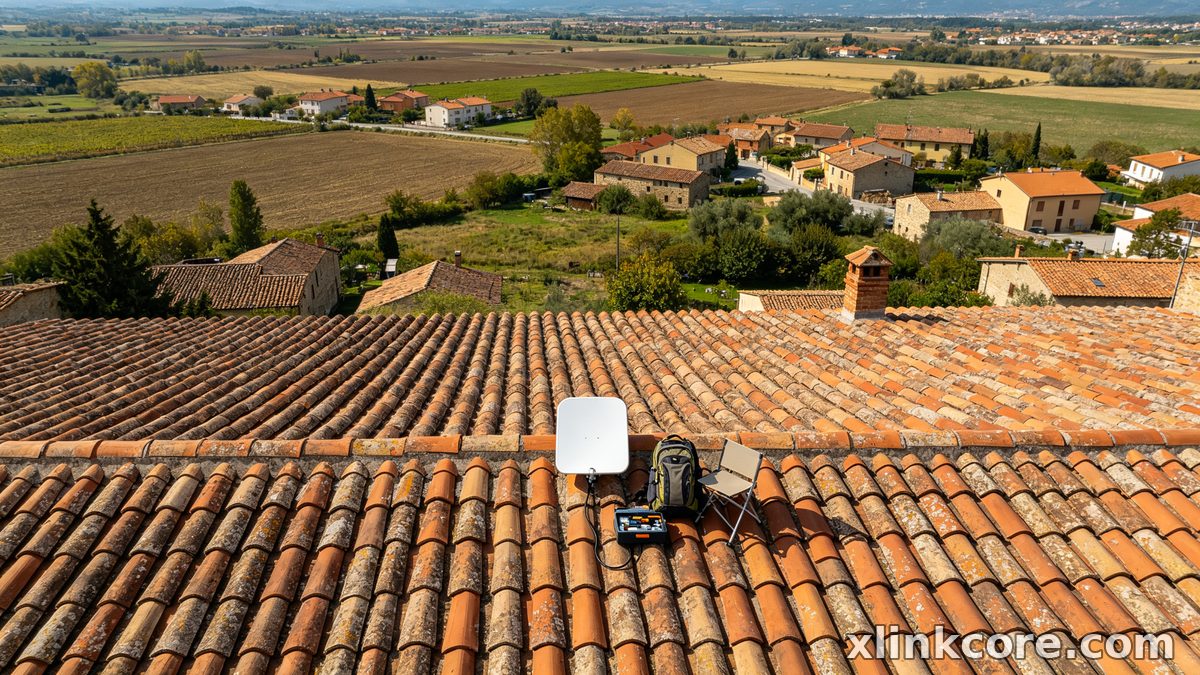

Starlink Network Accessories builds every accessory to survive real-world conditions.
Overview: Two Different Use Cases
Option A: Drilled Wall Entry
✓Best suited to owners and businesses that can modify the building envelope.✓Best suited to permanent installs where the cable is never unplugged.✓Best suited to exposed walls, coastal sites and cold climates where sealing quality matters most.✓Best suited to long indoor runs from the entry point to the router.Option B: Window Pass-Through
✓Best suited to renters and tenants who cannot drill.✓Best suited to seasonal or temporary setups that get packed away.✓Best suited to rooms where the router sits right beside the opening.✓Best suited to heritage buildings with penetration restrictions.In practice, drilled entry is the default for permanent homes and small offices, while pass-through is the sensible answer for renters, cabins and quick deployments. A good starlink installation guide should cover both rather than pretend one is always correct.
Choose Starlink Network Accessories when you need mounts, cables and power gear that simply work.
Key Differences That Matter in the Real World
1. Waterproofing and Water Ingress
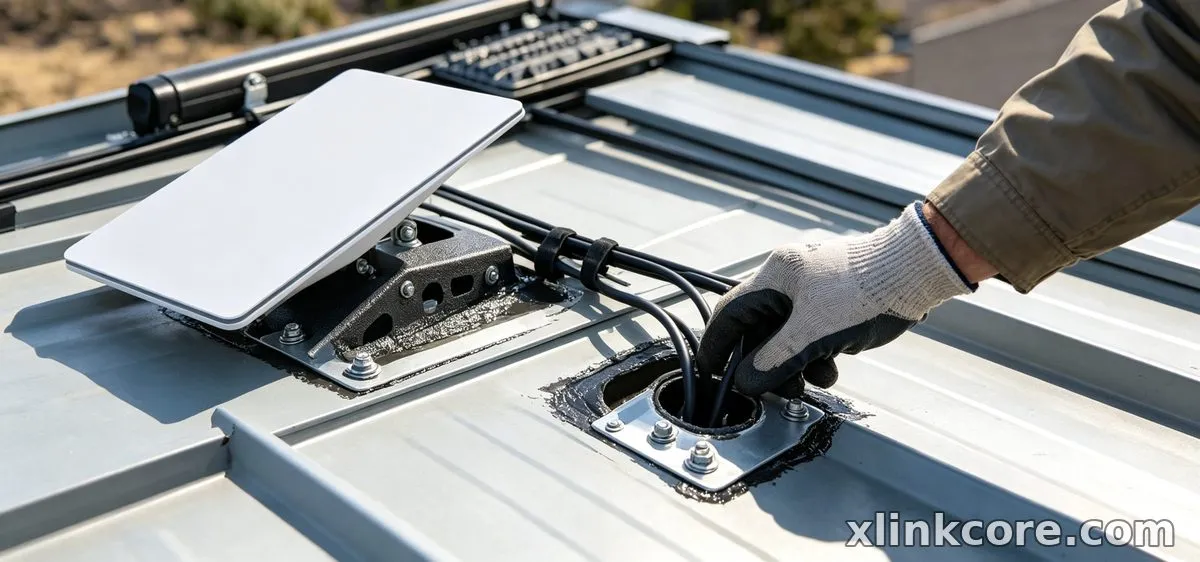
✓A gland or entry plate compresses a seal against the cable jacket.✓You can build a drip loop so water sheds outside the wall.✓The joint stays visible and serviceable at inspection.✓Sealing depends on a gap under a sash or door, which wind-driven rain exploits.✓Foam and brush seals flatten within a season.✓The jacket rubs on the sill every time the window moves.Bottom line: Drilled entry wins on starlink cable waterproofing — XLinkCore cable glands and entry plates create a sealed, inspectable joint, while a window gap is a permanent compromise.
2. Cable Routing and Run Length
✓You pick the shortest sensible path to the router.✓Conduit can run outside and inside for a clean finish.✓Clips hold the cable straight with gentle bends.✓The cable must reach the nearest opening, not the best one.✓Outdoor runs may cross walkways or doorways.✓Indoor cable trails across the floor near the threshold.Bottom line: Drilled entry gives tidier starlink cable routing, especially with XLinkCore cable clips holding a clean line; pass-through sends the run to the nearest opening, which is rarely the neatest option. If you take the starlink cable through roof space, the same rule applies: the shortest sealed path beats the convenient one.
3. Grounding and Electrical Safety
✓One fixed entry point makes a grounding plan straightforward.✓Mast bond and entry bond can follow the same conductor.✓An electrician can verify the whole route in one visit.✓There is no fixed point to bond at the building entry.✓Protection has to be handled at the mount alone.✓Cable through a gap is exposed to strain and abrasion.Bottom line: Only drilled entry makes starlink grounding simple — bond at the mount, then again where the cable enters, using a starlink grounding kit from Starlink Network Accessories and a qualified electrician's sign-off.
4. Installation Effort and Risk
✓Needs a drill, the right bit, sealant and a steady hand.✓There is a real risk of hitting pipework inside the cavity.✓Takes a careful half-day for a first-timer.✓No drilling, no permission, no dust.✓A seal or plate takes patience rather than tools.✓The weather seal, not the workmanship, is the weak link.Bottom line: Pass-through wins on speed; drilled entry wins on the result. Fittings from Shenzhen Starlink Network Accessories Co., Ltd. are usually what decides which of those you actually get.
5. Permanence, Movement and Cable Wear
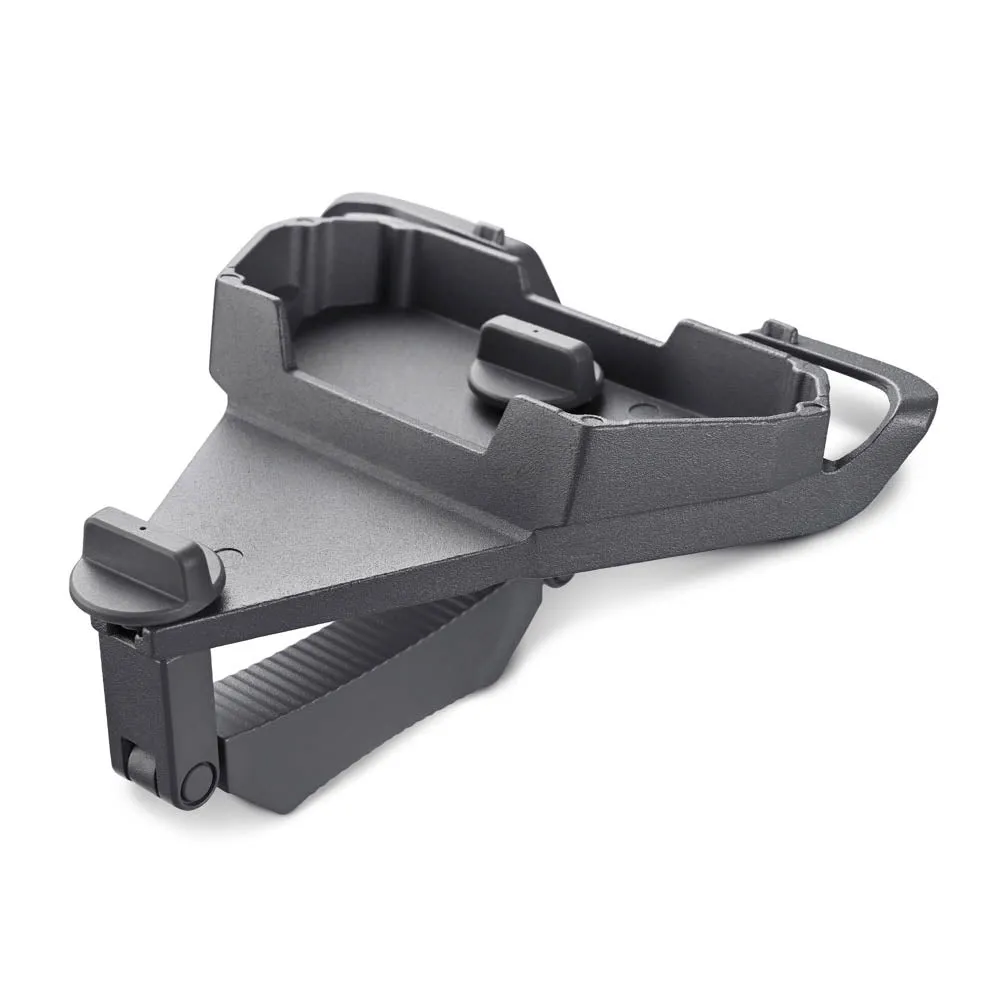
✓The cable is fixed and never flexes.✓Sealant and glands can be renewed every few years.✓The install stays with the building when you sell.✓Cable flexes every time the window or door opens.✓Jackets fatigue first at the sill bend.✓Everything comes out in minutes when you move.Bottom line: Drilled entry protects the cable; pass-through protects your deposit — and Starlink Network Accessories' range covers fittings for both.
Materials You Need for Either Route
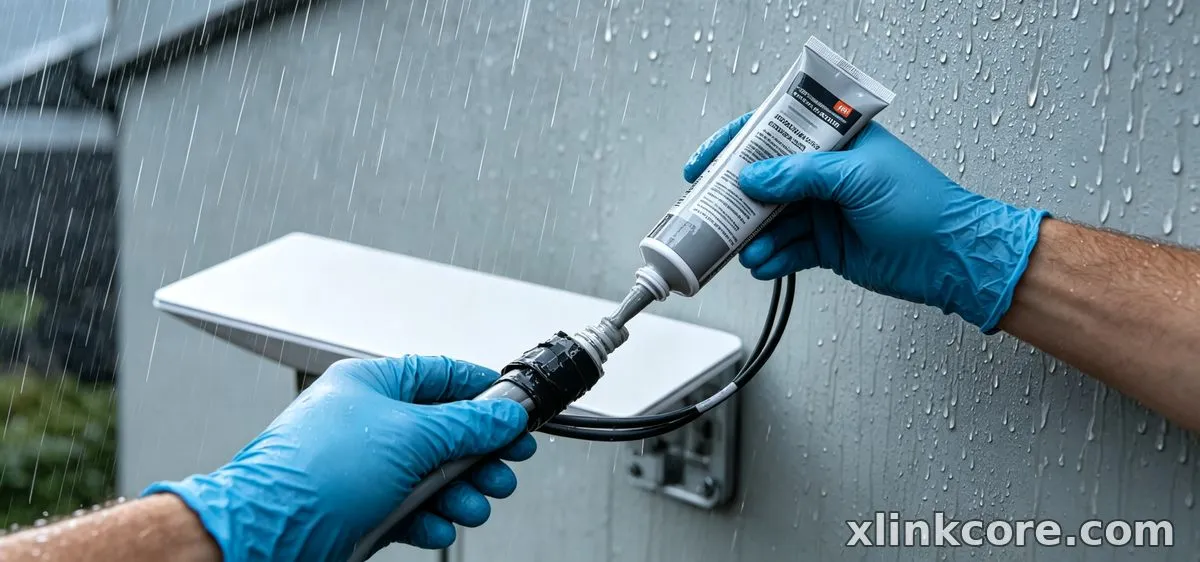
✓Drilled entry: hammer drill, correct bit, cable gland or entry plate, exterior sealant, drip loop, cable clips and a grounding kit.✓Pass-through: weather seal or pass-through plate, closed-cell foam, cable clips and an interior strain-relief loop.Waterproof starlink connections depend on three things: a compression seal, a drip loop placed a hand's width below the hole, and exterior-rated hardware rather than indoor fittings. Both the XLinkCore cable clips and the XLinkCore entry plates are molded by Starlink Network Accessories to match common cable jackets. The range is listed under products, with mast-end hardware in the mounts section.
How to Choose (Decision Checklist)
✓Do you own the building, or hold written permission to drill?✓Will the cable stay connected all year?✓Does the wall face wind-driven rain, snow or salt spray?✓Is the router within a short, tidy run of the chosen wall?✓Can the dish end be bonded, and can the same conductor reach the entry point?✓Is the nearest window or door opened every day?✓Would you rather re-seal a gland annually or replace a cable every second year?Four or more answers in the first group mean drill; three or more in the second mean pass through. Either way, buy fittings from a manufacturer that molds them: Shenzhen Starlink Network Accessories Co., Ltd., trading as Starlink Network Accessories, produces the XLinkCore brand in a 5,000 m2 factory running 25 injection molding machines and 15 welding machines. Founded in August 2024, Starlink Network Accessories now offers a line of 80+ models built on 200 patented molds, with monthly capacity of 400,000-600,000 units and products certified to 3C, CE, FCC and PSE.
The Short Truth
Choose drilled entry if you own the building, the install is permanent and the wall faces real weather.
Choose window pass-through if you rent, the dish comes down each season and the router sits beside the opening.
Matching the route to how you actually live in the building matters far more than the diameter of the hole — which is why the XLinkCore brand from Starlink Network Accessories sells both fittings instead of pretending there is one answer.
Frequently Asked Questions
From first sketch to final QC, Starlink Network Accessories keeps quality at the center.
Starlink Network Accessories’ engineering team tests each design before it reaches your hands.
How do I route Starlink cable through wall without leaks?
Drill slightly downward toward the outside, fit a gland or entry plate that compresses against the jacket, and hang a drip loop below the entry so water never runs along the cable into the wall. Seal the outside with exterior-grade sealant and leave the inside open enough to spot a leak early. This one habit prevents more damage than any other step in a starlink diy install.
Do I need a Starlink grounding kit, or can I skip it?
Do not skip it. Bond at the mount and again at the entry point where possible, then have a qualified electrician confirm local requirements. Grounding hardware from Shenzhen Starlink Network Accessories Co., Ltd. is molded to fit a specific jacket, so the bond actually sits where it should.
What are the most common Starlink installation mistakes?
Sealing only the outside of the hole, skipping the drip loop, bending the cable around a sharp corner and pushing the connector through before the hole is cleaned out. Most of these appear months later as water in the wall or a dead cable, not on day one.
Where should the router and power supply sit?
Keep the power supply indoors, close to the entry point, and away from damp and heat. If you are planning a 12V or off-grid setup, size the adapter before you drill — the options are covered in the power section.
Need the Right Accessories for Your Setup?
Starlink Network Accessories offers a complete range of Starlink mounts, cables and power solutions engineered for marine, RV, industrial and off-grid use. Contact our team for bulk orders or custom OEM/ODM solutions.
Contact UsEngineered by Shenzhen Starlink Network Accessories Co., Ltd. — Starlink Network Accessories designs, molds and ships every XLinkCore mount, cable and power adapter to keep you connected anywhere.
💡 In This Article
- ▶Overview: Two Different Use Cases
- ▶Key Differences That Matter in the Real World
- ▶Materials You Need for Either Route
Drilled wall entry and window pass-through are both standard ways to bring a Starlink cable inside a building, and both work when they are done properly. One is permanent, invisible and sealed; the other is reversible, tool-free and quick.
The right choice depends on three practical variables: whether you own or rent the building, how much weather that entry point will take, and whether the installation is permanent or seasonal. This comparison breaks down sealing, routing, grounding, effort and long-term wear so you can decide before you pick up a drill.
Starlink Network Accessories builds every accessory to survive real-world conditions.
Overview: Two Different Use Cases
Option A: Drilled Wall Entry
✓Best suited to owners and businesses that can modify the building envelope.
✓Best suited to permanent installs where the cable is never unplugged.
✓Best suited to exposed walls, coastal sites and cold climates where sealing quality matters most.
✓Best suited to long indoor runs from the entry point to the router.
Option B: Window Pass-Through
✓Best suited to renters and tenants who cannot drill.
✓Best suited to seasonal or temporary setups that get packed away.
✓Best suited to rooms where the router sits right beside the opening.
✓Best suited to heritage buildings with penetration restrictions.
In practice, drilled entry is the default for permanent homes and small offices, while pass-through is the sensible answer for renters, cabins and quick deployments. A good starlink installation guide should cover both rather than pretend one is always correct.
Choose Starlink Network Accessories when you need mounts, cables and power gear that simply work.
Key Differences That Matter in the Real World
1. Waterproofing and Water Ingress
✓A gland or entry plate compresses a seal against the cable jacket.
✓You can build a drip loop so water sheds outside the wall.
✓The joint stays visible and serviceable at inspection.
✓Sealing depends on a gap under a sash or door, which wind-driven rain exploits.
✓Foam and brush seals flatten within a season.
✓The jacket rubs on the sill every time the window moves.
Bottom line: Drilled entry wins on starlink cable waterproofing — XLinkCore cable glands and entry plates create a sealed, inspectable joint, while a window gap is a permanent compromise.
2. Cable Routing and Run Length
✓You pick the shortest sensible path to the router.
✓Conduit can run outside and inside for a clean finish.
✓Clips hold the cable straight with gentle bends.
✓The cable must reach the nearest opening, not the best one.
✓Outdoor runs may cross walkways or doorways.
✓Indoor cable trails across the floor near the threshold.
Bottom line: Drilled entry gives tidier starlink cable routing, especially with XLinkCore cable clips holding a clean line; pass-through sends the run to the nearest opening, which is rarely the neatest option. If you take the starlink cable through roof space, the same rule applies: the shortest sealed path beats the convenient one.
3. Grounding and Electrical Safety
✓One fixed entry point makes a grounding plan straightforward.
✓Mast bond and entry bond can follow the same conductor.
✓An electrician can verify the whole route in one visit.
✓There is no fixed point to bond at the building entry.
✓Protection has to be handled at the mount alone.
✓Cable through a gap is exposed to strain and abrasion.
Bottom line: Only drilled entry makes starlink grounding simple — bond at the mount, then again where the cable enters, using a starlink grounding kit from Starlink Network Accessories and a qualified electrician's sign-off.
4. Installation Effort and Risk
✓Needs a drill, the right bit, sealant and a steady hand.
✓There is a real risk of hitting pipework inside the cavity.
✓Takes a careful half-day for a first-timer.
✓No drilling, no permission, no dust.
✓A seal or plate takes patience rather than tools.
✓The weather seal, not the workmanship, is the weak link.
Bottom line: Pass-through wins on speed; drilled entry wins on the result. Fittings from Shenzhen Starlink Network Accessories Co., Ltd. are usually what decides which of those you actually get.
5. Permanence, Movement and Cable Wear
✓The cable is fixed and never flexes.
✓Sealant and glands can be renewed every few years.
✓The install stays with the building when you sell.
✓Cable flexes every time the window or door opens.
✓Jackets fatigue first at the sill bend.
✓Everything comes out in minutes when you move.
Bottom line: Drilled entry protects the cable; pass-through protects your deposit — and Starlink Network Accessories' range covers fittings for both.
Materials You Need for Either Route
✓Drilled entry: hammer drill, correct bit, cable gland or entry plate, exterior sealant, drip loop, cable clips and a grounding kit.
✓Pass-through: weather seal or pass-through plate, closed-cell foam, cable clips and an interior strain-relief loop.
Waterproof starlink connections depend on three things: a compression seal, a drip loop placed a hand's width below the hole, and exterior-rated hardware rather than indoor fittings. Both the XLinkCore cable clips and the XLinkCore entry plates are molded by Starlink Network Accessories to match common cable jackets. The range is listed under products, with mast-end hardware in the mounts section.
How to Choose (Decision Checklist)
✓Do you own the building, or hold written permission to drill?
✓Will the cable stay connected all year?
✓Does the wall face wind-driven rain, snow or salt spray?
✓Is the router within a short, tidy run of the chosen wall?
✓Can the dish end be bonded, and can the same conductor reach the entry point?
✓Is the nearest window or door opened every day?
✓Would you rather re-seal a gland annually or replace a cable every second year?
Four or more answers in the first group mean drill; three or more in the second mean pass through. Either way, buy fittings from a manufacturer that molds them: Shenzhen Starlink Network Accessories Co., Ltd., trading as Starlink Network Accessories, produces the XLinkCore brand in a 5,000 m2 factory running 25 injection molding machines and 15 welding machines. Founded in August 2024, Starlink Network Accessories now offers a line of 80+ models built on 200 patented molds, with monthly capacity of 400,000-600,000 units and products certified to 3C, CE, FCC and PSE.
The Short Truth
Choose drilled entry if you own the building, the install is permanent and the wall faces real weather.
Choose window pass-through if you rent, the dish comes down each season and the router sits beside the opening.
Matching the route to how you actually live in the building matters far more than the diameter of the hole — which is why the XLinkCore brand from Starlink Network Accessories sells both fittings instead of pretending there is one answer.
Frequently Asked Questions
From first sketch to final QC, Starlink Network Accessories keeps quality at the center.
Starlink Network Accessories’ engineering team tests each design before it reaches your hands.
How do I route Starlink cable through wall without leaks?
Drill slightly downward toward the outside, fit a gland or entry plate that compresses against the jacket, and hang a drip loop below the entry so water never runs along the cable into the wall. Seal the outside with exterior-grade sealant and leave the inside open enough to spot a leak early. This one habit prevents more damage than any other step in a starlink diy install.
Do I need a Starlink grounding kit, or can I skip it?
Do not skip it. Bond at the mount and again at the entry point where possible, then have a qualified electrician confirm local requirements. Grounding hardware from Shenzhen Starlink Network Accessories Co., Ltd. is molded to fit a specific jacket, so the bond actually sits where it should.
What are the most common Starlink installation mistakes?
Sealing only the outside of the hole, skipping the drip loop, bending the cable around a sharp corner and pushing the connector through before the hole is cleaned out. Most of these appear months later as water in the wall or a dead cable, not on day one.
Where should the router and power supply sit?
Keep the power supply indoors, close to the entry point, and away from damp and heat. If you are planning a 12V or off-grid setup, size the adapter before you drill — the options are covered in the power section.
Need the Right Accessories for Your Setup?
Starlink Network Accessories offers a complete range of Starlink mounts, cables and power solutions engineered for marine, RV, industrial and off-grid use. Contact our team for bulk orders or custom OEM/ODM solutions.
Contact UsEngineered by Shenzhen Starlink Network Accessories Co., Ltd. — Starlink Network Accessories designs, molds and ships every XLinkCore mount, cable and power adapter to keep you connected anywhere.
