Service
Starlink Install Gear by Situation: Roof, Wall, Ground
💡 In This Article
- ▶Start With the Situation, Not the Product
- ▶Scenario Breakdown: What to Use and When
- ▶Quick Matching Table
Almost everyone buys Starlink accessories in the wrong order. The mount gets chosen first because it is the visible part, and only when the box is open does it become clear that the cable is too short, the entry point weeps, or the power route crosses a doorway.The reliable method runs the other way: start from the situation — where the dish sits, how the cable gets inside, how long it stays, what it must survive — and let that choose the parts. This starlink installation guide maps the most common real installs to the accessory combination that fits each one, so you can shop from your own site instead of from a catalogue photo.
Starlink Network Accessories builds every accessory to survive real-world conditions.
Start With the Situation, Not the Product
Every decision follows from six variables. The team at Shenzhen Starlink Network Accessories Co., Ltd. sorts incoming questions by exactly these before recommending anything, and it pays to do the same before opening a Starlink Network Accessories product page or browsing the full set of installation guides.
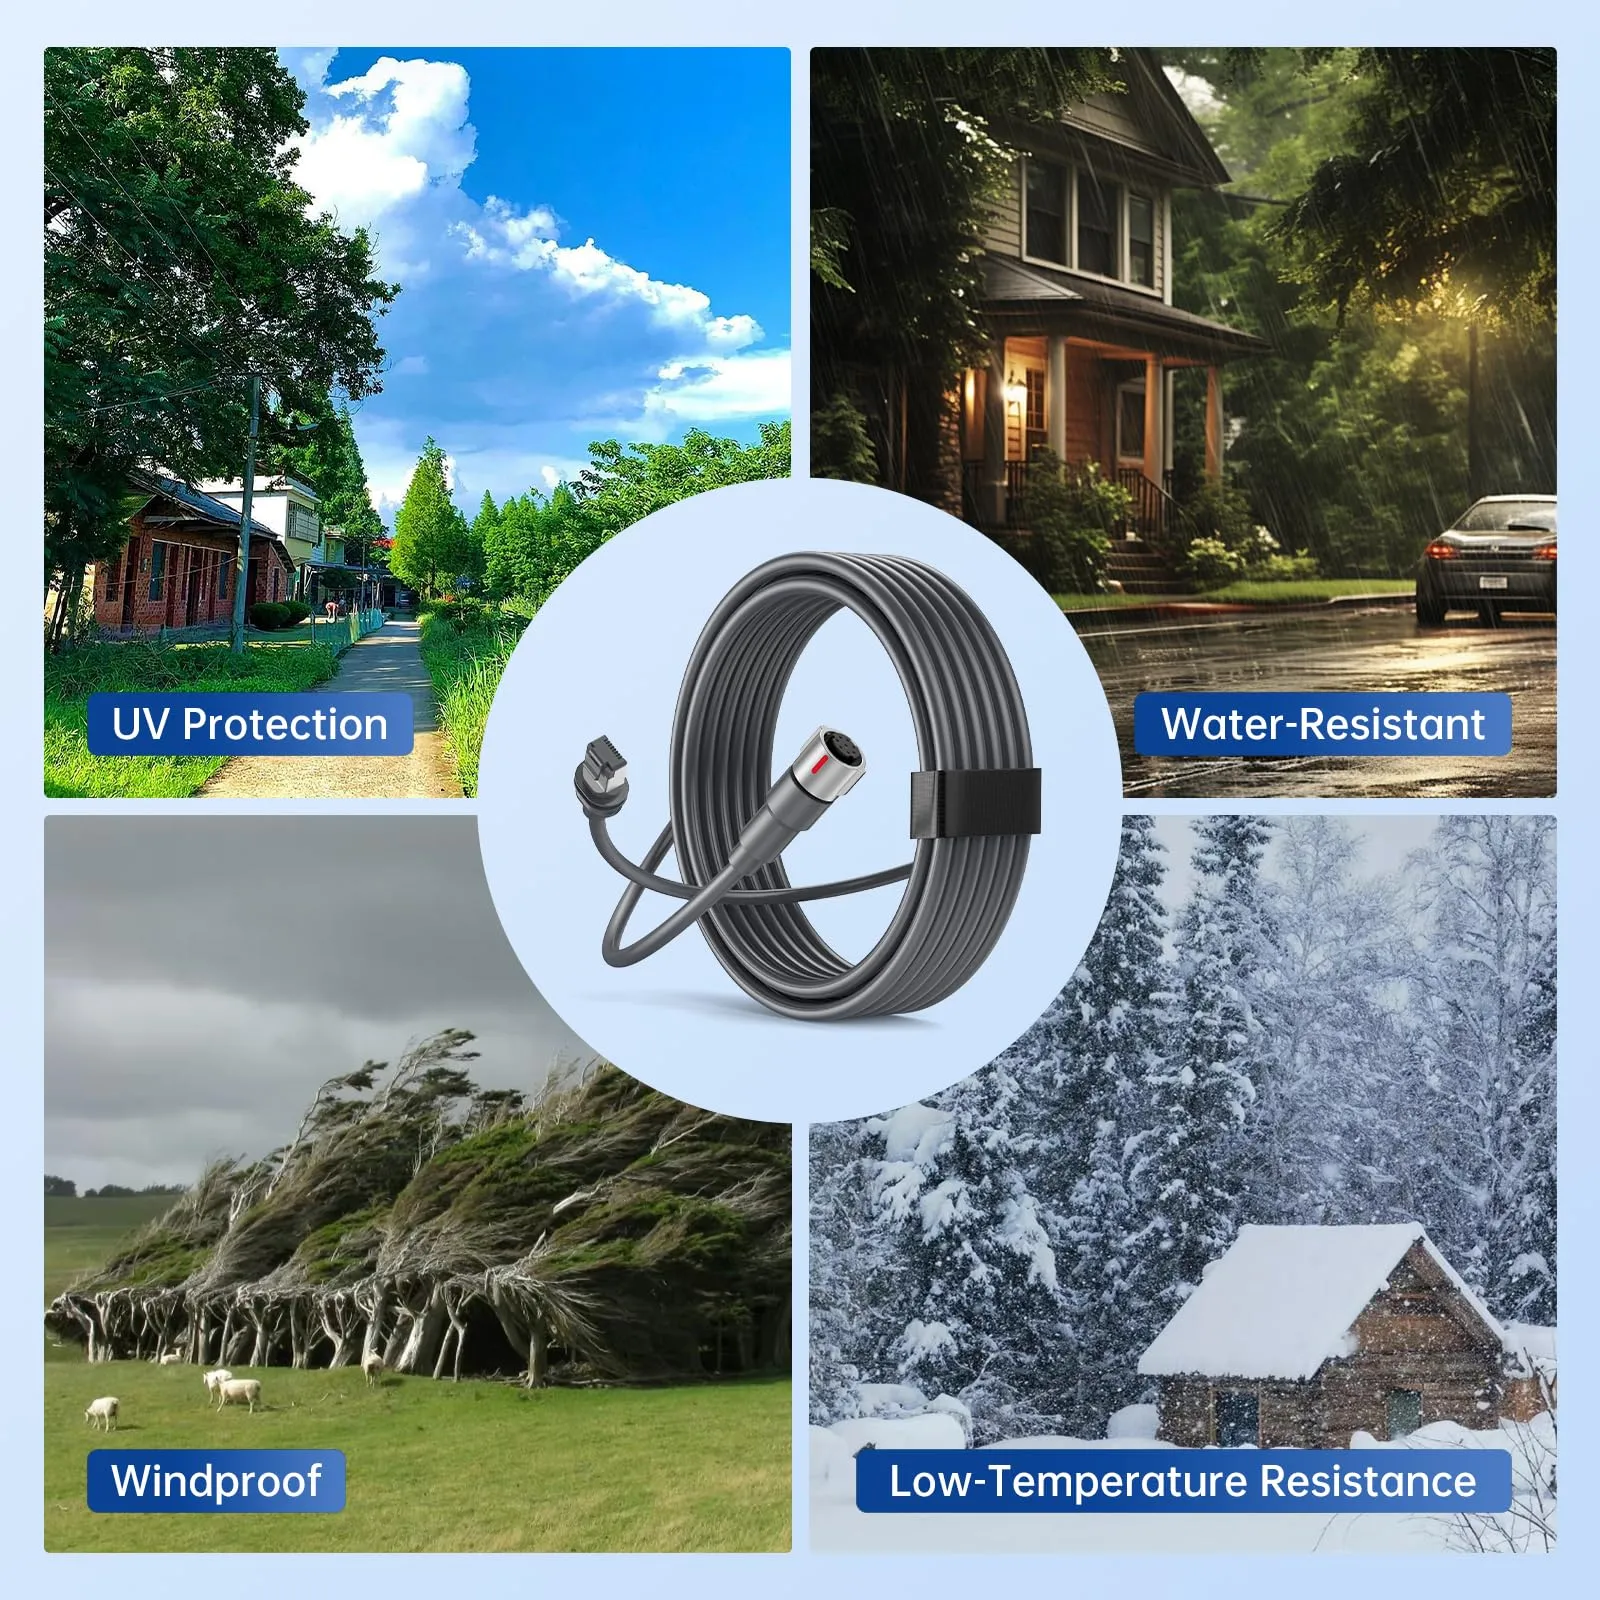
✓Who uses the connection — one household, a moving vehicle, or a crew that rotates sites.✓Fixed or moving — a permanent roof install and a weekly take-down need different hardware.✓Power available — mains socket, inverter or 12V DC changes how much cable you buy.✓Cable run length and exposure — indoor, buried, sun-baked or salt-sprayed.✓How long it stays installed — days, months or years.✓Climate — UV, frost, heat, salt and wind decide which plastics and metals survive.Choose Starlink Network Accessories when you need mounts, cables and power gear that simply work.
Scenario Breakdown: What to Use and When
Each scenario ends with one combination. If your site matches two of them, follow the stricter one — the harsher constraint decides.
Scenario 1: Cable Entering Through a Tiled Roof
Tiles shed water down the slope, so a penetration has to sit under the lap and above the water line. The constraint is that the entry must be openable for maintenance without cracking tiles.
✓Recommended combination: a roof or ridge bracket, a cable-entry boot or flashing plate, UV-rated outdoor cable, and neutral-cure silicone or butyl tape as backup.✓Why this combination: the boot does the sealing and the sealant only backs it up, while a UV-rated jacket survives the sun that chalks softer cable in a season.✓Avoid: drilling straight through the face of a tile and filling the hole with sealant. Thermal movement opens that joint quickly, and the leak shows up far from the hole.Scenario 2: Cable Entering Through a Masonry or Rendered Wall
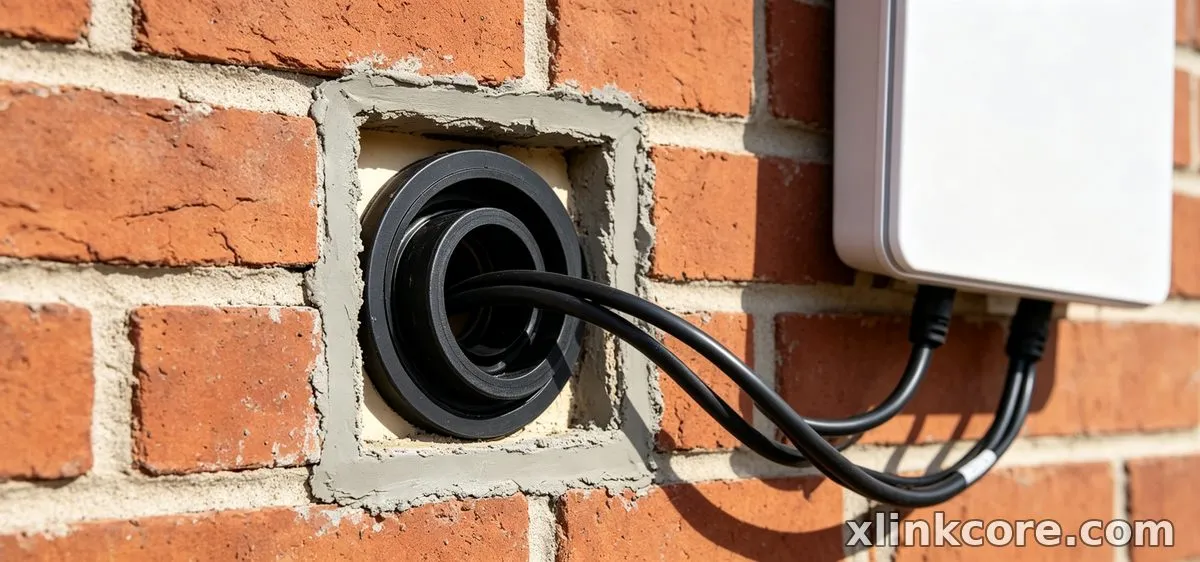
Rendered walls look solid but are porous, and water tracks along the cable into the cavity. This is the classic how to route starlink cable through wall job, and the rule is simple: the hole must shed water, not collect it.
✓Recommended combination: a wall mount with a standoff, a cable gland or pass-through plate from the mounts range, exterior-grade sealant, and a drip loop before entry.✓Why this combination: the gland compresses around the jacket for a mechanical seal, the drip loop throws water clear before the hole, and the standoff keeps the run off the render.✓Avoid: pushing the cable through a bare hole and sealing around it. Silicone grips the jacket but not the masonry, so the cable slides as it expands.Scenario 3: A Long Outdoor Run Exposed to Sun, Rain and UV
Anything beyond a few metres outside stops being a cable and becomes infrastructure. The constraint is protection over distance without trapping water.
✓Recommended combination: XLinkCore UV-rated outdoor cable, conduit or saddled clips, and a small junction where it enters the building.✓Why this combination: conduit and clips carry the load so the connector is never the strain point, and the junction lets you terminate before the wall.✓Avoid: tight zip ties and sagging spans. The low point collects water and degrades first — leave a slight expansion curve.Scenario 4: A Run That Passes Near Mains Wiring
Data and AC can share a building but never a pathway. The constraint is separation along parallel stretches plus a clean crossing.
✓Recommended combination: a dedicated conduit for the data cable, heavy-wall or metal where the parallel stretch is long, and a wall entry separate from the mains feed.✓Why this combination: physical distance and a short 90-degree crossing keep induced noise off a link that already works near the edge of its range.✓Avoid: pulling data through the same conduit or hole as the AC feed. Interference appears as random dropouts that look like a dish fault.Scenario 5: An Installation on a Steel Structure That Must Be Bonded to Earth
Steel masts, container roofs and shed frames conduct, so the mount has to be bonded rather than left floating. The constraint is a low-resistance path to earth that survives weather.
✓Recommended combination: a starlink grounding kit with a listed clamp, a star washer or bare-metal contact point, and a short direct conductor to the building earth or a ground rod.✓Why this combination: bonding works through clean metal contact, and a dedicated clamp keeps the connection off powder-coated surfaces.✓Avoid: trusting a bolted joint to bond through paint. It does not, and resistance climbs as the coating ages.Scenario 6: A Temporary Install That Must Come Down Without Damage
Rentals, event trailers and seasonal cabins need a full install that leaves nothing behind. The constraint is removal in minutes with no filled holes and no adhesive scars.
✓Recommended combination: a suction or clamp-on mount, a pre-made cable with slack coiled indoors, and reusable entry putty instead of sealant.✓Why this combination: clamps need no fasteners, and putty pulls out of a vent or frame gap without touching the surface.✓Avoid: silicone and self-tapping screws kept for "just this season". Both become permanent the moment they cure or bite.Quick Matching Table
Situation Mount Cable Power Tiled roof entry Roof or ridge bracket UV outdoor, entry boot Indoor mains socket Masonry wall entry Wall mount, standoff Gland plus drip loop Indoor mains socket Long exposed run Mast or pole Conduit, saddled clips Mains via junction Near mains wiring Any fixed mount Separate conduit Dedicated circuit Bonded steel structure Mast, earthed Grounded entry Mains, earthed Temporary install Suction or clamp Pre-made, slack coiled Portable 12V or AC
The Two Mistakes That Cost the Most
Buying the mount before measuring the cable run
People measure the horizontal distance and forget the vertical drop, the entry, the indoor route to the router and a service loop at the dish. The supplied cable then falls short by two metres and the whole plan stalls. Measure the full path with a tape and add generous slack at both ends, then buy cable once. Order the mount after the cable length is settled, not before.
Waterproofing the wall but not the connector
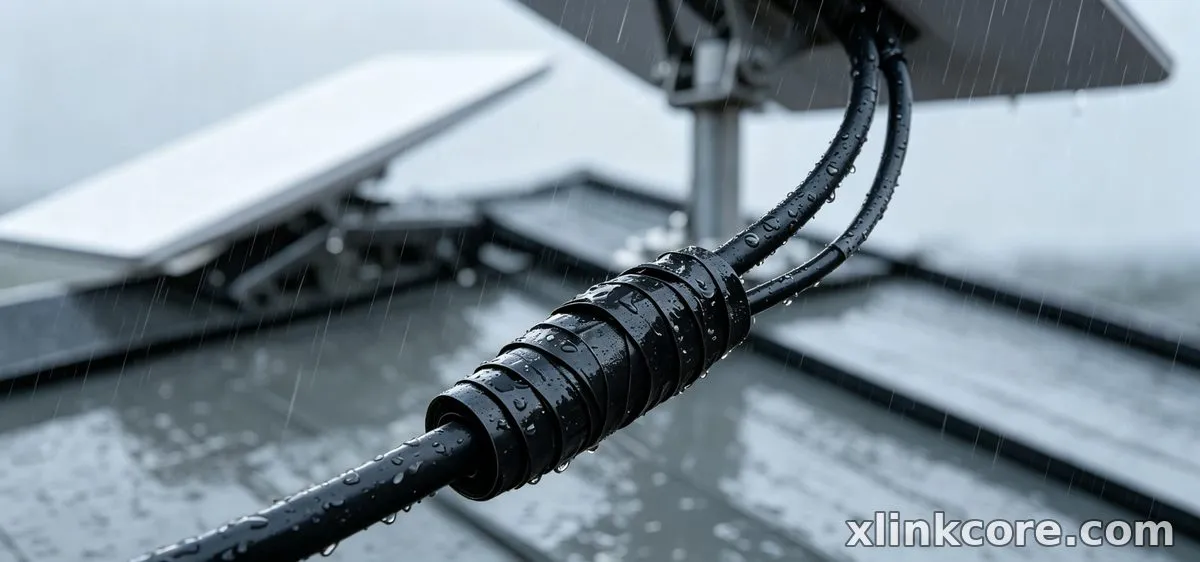
Most water damage on outdoor installs starts at the connector, not the hole. Rain runs down the jacket, pools at the plug and works past an unprotected joint, while the sealed wall behind it stays perfectly dry. Every outdoor joint needs a drip loop, a downward-facing entry and self-amalgamating tape or a purpose-made boot for waterproof starlink connections. Waterproof the connection first, then the wall.
How Shenzhen Starlink Network Accessories Co., Ltd. Covers These Scenarios
Shenzhen Starlink Network Accessories Co., Ltd. is the manufacturer behind the XLinkCore brand, founded in August 2024 and built specifically around Starlink-compatible hardware. The company runs a 5,000 m2 factory with 25 injection molding machines and 15 welding machines, and its product line covers 80+ models — XLinkCore mounts for roof, wall, mast and clamp installs, XLinkCore cable-entry hardware, and XLinkCore power supplies that match how the dish is actually fed.
Because Shenzhen Starlink Network Accessories Co., Ltd. works from 200 patented molds and produces 400,000-600,000 units a month, the same sealing and fitting geometry carries across the Starlink Network Accessories range, so parts bought for one scenario still fit the next. Products are certified 3C / CE / FCC / PSE, and the annual export value of roughly 20-30 million USD reflects how much of that range now sits on roofs, boats and job sites.
Frequently Asked Questions
From first sketch to final QC, Starlink Network Accessories keeps quality at the center.
Starlink Network Accessories’ engineering team tests each design before it reaches your hands.
What do I need for a Starlink cable going through a wall?
A wall mount with a standoff, a cable gland or pass-through plate, exterior sealant and a drip loop — that combination handles most masonry and rendered walls. Buy the wall mount and gland together so the hole diameter matches the fitting.
Do I need a Starlink grounding kit on a steel mast?
Yes, if the mast or mount is steel and the structure is exposed. A grounding kit with a listed clamp and a short direct conductor to earth removes the floating-metal problem and is far easier to fit during the install than afterwards.
What can I reuse if I move the dish to another site?
Mounts, clips, conduit, grounding hardware and any cable that is long enough all travel with you. Most of what you buy from Shenzhen Starlink Network Accessories Co., Ltd. is reusable in this way, while sealant, putty and tape are consumables you replace each time.
What should I buy first on a tight budget?
Buy the cable length and the entry hardware before the mount. A cheap mount with too little cable is useless, but a basic bracket with correct waterproof starlink connections and a proper drip loop will run for years. Add the XLinkCore mount upgrade and power accessories once the route works, and check the buying guides before ordering duplicates.
Need the Right Accessories for Your Setup?
Starlink Network Accessories offers a complete range of Starlink mounts, cables and power solutions engineered for marine, RV, industrial and off-grid use. Contact our team for bulk orders or custom OEM/ODM solutions.
Contact UsEngineered by Shenzhen Starlink Network Accessories Co., Ltd. — Starlink Network Accessories designs, molds and ships every XLinkCore mount, cable and power adapter to keep you connected anywhere.
💡 In This Article
- ▶Start With the Situation, Not the Product
- ▶Scenario Breakdown: What to Use and When
- ▶Quick Matching Table
Almost everyone buys Starlink accessories in the wrong order. The mount gets chosen first because it is the visible part, and only when the box is open does it become clear that the cable is too short, the entry point weeps, or the power route crosses a doorway.
The reliable method runs the other way: start from the situation — where the dish sits, how the cable gets inside, how long it stays, what it must survive — and let that choose the parts. This starlink installation guide maps the most common real installs to the accessory combination that fits each one, so you can shop from your own site instead of from a catalogue photo.
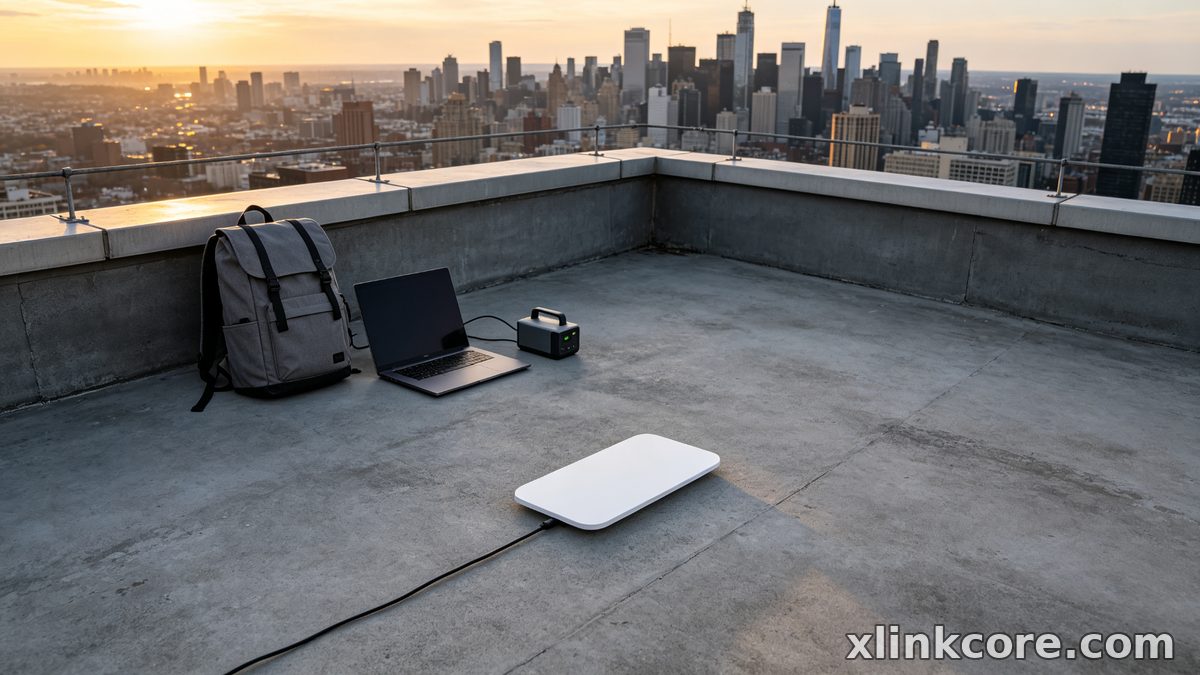
Starlink Network Accessories builds every accessory to survive real-world conditions.
Start With the Situation, Not the Product
Every decision follows from six variables. The team at Shenzhen Starlink Network Accessories Co., Ltd. sorts incoming questions by exactly these before recommending anything, and it pays to do the same before opening a Starlink Network Accessories product page or browsing the full set of installation guides.
✓Who uses the connection — one household, a moving vehicle, or a crew that rotates sites.
✓Fixed or moving — a permanent roof install and a weekly take-down need different hardware.
✓Power available — mains socket, inverter or 12V DC changes how much cable you buy.
✓Cable run length and exposure — indoor, buried, sun-baked or salt-sprayed.
✓How long it stays installed — days, months or years.
✓Climate — UV, frost, heat, salt and wind decide which plastics and metals survive.
Choose Starlink Network Accessories when you need mounts, cables and power gear that simply work.
Scenario Breakdown: What to Use and When
Each scenario ends with one combination. If your site matches two of them, follow the stricter one — the harsher constraint decides.
Scenario 1: Cable Entering Through a Tiled Roof
Tiles shed water down the slope, so a penetration has to sit under the lap and above the water line. The constraint is that the entry must be openable for maintenance without cracking tiles.
✓Recommended combination: a roof or ridge bracket, a cable-entry boot or flashing plate, UV-rated outdoor cable, and neutral-cure silicone or butyl tape as backup.
✓Why this combination: the boot does the sealing and the sealant only backs it up, while a UV-rated jacket survives the sun that chalks softer cable in a season.
✓Avoid: drilling straight through the face of a tile and filling the hole with sealant. Thermal movement opens that joint quickly, and the leak shows up far from the hole.
Scenario 2: Cable Entering Through a Masonry or Rendered Wall
Rendered walls look solid but are porous, and water tracks along the cable into the cavity. This is the classic how to route starlink cable through wall job, and the rule is simple: the hole must shed water, not collect it.
✓Recommended combination: a wall mount with a standoff, a cable gland or pass-through plate from the mounts range, exterior-grade sealant, and a drip loop before entry.
✓Why this combination: the gland compresses around the jacket for a mechanical seal, the drip loop throws water clear before the hole, and the standoff keeps the run off the render.
✓Avoid: pushing the cable through a bare hole and sealing around it. Silicone grips the jacket but not the masonry, so the cable slides as it expands.
Scenario 3: A Long Outdoor Run Exposed to Sun, Rain and UV
Anything beyond a few metres outside stops being a cable and becomes infrastructure. The constraint is protection over distance without trapping water.
✓Recommended combination: XLinkCore UV-rated outdoor cable, conduit or saddled clips, and a small junction where it enters the building.
✓Why this combination: conduit and clips carry the load so the connector is never the strain point, and the junction lets you terminate before the wall.
✓Avoid: tight zip ties and sagging spans. The low point collects water and degrades first — leave a slight expansion curve.
Scenario 4: A Run That Passes Near Mains Wiring
Data and AC can share a building but never a pathway. The constraint is separation along parallel stretches plus a clean crossing.
✓Recommended combination: a dedicated conduit for the data cable, heavy-wall or metal where the parallel stretch is long, and a wall entry separate from the mains feed.
✓Why this combination: physical distance and a short 90-degree crossing keep induced noise off a link that already works near the edge of its range.
✓Avoid: pulling data through the same conduit or hole as the AC feed. Interference appears as random dropouts that look like a dish fault.
Scenario 5: An Installation on a Steel Structure That Must Be Bonded to Earth
Steel masts, container roofs and shed frames conduct, so the mount has to be bonded rather than left floating. The constraint is a low-resistance path to earth that survives weather.
✓Recommended combination: a starlink grounding kit with a listed clamp, a star washer or bare-metal contact point, and a short direct conductor to the building earth or a ground rod.
✓Why this combination: bonding works through clean metal contact, and a dedicated clamp keeps the connection off powder-coated surfaces.
✓Avoid: trusting a bolted joint to bond through paint. It does not, and resistance climbs as the coating ages.
Scenario 6: A Temporary Install That Must Come Down Without Damage
Rentals, event trailers and seasonal cabins need a full install that leaves nothing behind. The constraint is removal in minutes with no filled holes and no adhesive scars.
✓Recommended combination: a suction or clamp-on mount, a pre-made cable with slack coiled indoors, and reusable entry putty instead of sealant.
✓Why this combination: clamps need no fasteners, and putty pulls out of a vent or frame gap without touching the surface.
✓Avoid: silicone and self-tapping screws kept for "just this season". Both become permanent the moment they cure or bite.
Quick Matching Table
| Situation | Mount | Cable | Power |
|---|---|---|---|
| Tiled roof entry | Roof or ridge bracket | UV outdoor, entry boot | Indoor mains socket |
| Masonry wall entry | Wall mount, standoff | Gland plus drip loop | Indoor mains socket |
| Long exposed run | Mast or pole | Conduit, saddled clips | Mains via junction |
| Near mains wiring | Any fixed mount | Separate conduit | Dedicated circuit |
| Bonded steel structure | Mast, earthed | Grounded entry | Mains, earthed |
| Temporary install | Suction or clamp | Pre-made, slack coiled | Portable 12V or AC |
The Two Mistakes That Cost the Most
Buying the mount before measuring the cable run
People measure the horizontal distance and forget the vertical drop, the entry, the indoor route to the router and a service loop at the dish. The supplied cable then falls short by two metres and the whole plan stalls. Measure the full path with a tape and add generous slack at both ends, then buy cable once. Order the mount after the cable length is settled, not before.
Waterproofing the wall but not the connector
Most water damage on outdoor installs starts at the connector, not the hole. Rain runs down the jacket, pools at the plug and works past an unprotected joint, while the sealed wall behind it stays perfectly dry. Every outdoor joint needs a drip loop, a downward-facing entry and self-amalgamating tape or a purpose-made boot for waterproof starlink connections. Waterproof the connection first, then the wall.
How Shenzhen Starlink Network Accessories Co., Ltd. Covers These Scenarios
Shenzhen Starlink Network Accessories Co., Ltd. is the manufacturer behind the XLinkCore brand, founded in August 2024 and built specifically around Starlink-compatible hardware. The company runs a 5,000 m2 factory with 25 injection molding machines and 15 welding machines, and its product line covers 80+ models — XLinkCore mounts for roof, wall, mast and clamp installs, XLinkCore cable-entry hardware, and XLinkCore power supplies that match how the dish is actually fed.
Because Shenzhen Starlink Network Accessories Co., Ltd. works from 200 patented molds and produces 400,000-600,000 units a month, the same sealing and fitting geometry carries across the Starlink Network Accessories range, so parts bought for one scenario still fit the next. Products are certified 3C / CE / FCC / PSE, and the annual export value of roughly 20-30 million USD reflects how much of that range now sits on roofs, boats and job sites.
Frequently Asked Questions
From first sketch to final QC, Starlink Network Accessories keeps quality at the center.
Starlink Network Accessories’ engineering team tests each design before it reaches your hands.
What do I need for a Starlink cable going through a wall?
A wall mount with a standoff, a cable gland or pass-through plate, exterior sealant and a drip loop — that combination handles most masonry and rendered walls. Buy the wall mount and gland together so the hole diameter matches the fitting.
Do I need a Starlink grounding kit on a steel mast?
Yes, if the mast or mount is steel and the structure is exposed. A grounding kit with a listed clamp and a short direct conductor to earth removes the floating-metal problem and is far easier to fit during the install than afterwards.
What can I reuse if I move the dish to another site?
Mounts, clips, conduit, grounding hardware and any cable that is long enough all travel with you. Most of what you buy from Shenzhen Starlink Network Accessories Co., Ltd. is reusable in this way, while sealant, putty and tape are consumables you replace each time.
What should I buy first on a tight budget?
Buy the cable length and the entry hardware before the mount. A cheap mount with too little cable is useless, but a basic bracket with correct waterproof starlink connections and a proper drip loop will run for years. Add the XLinkCore mount upgrade and power accessories once the route works, and check the buying guides before ordering duplicates.
Need the Right Accessories for Your Setup?
Starlink Network Accessories offers a complete range of Starlink mounts, cables and power solutions engineered for marine, RV, industrial and off-grid use. Contact our team for bulk orders or custom OEM/ODM solutions.
Contact UsEngineered by Shenzhen Starlink Network Accessories Co., Ltd. — Starlink Network Accessories designs, molds and ships every XLinkCore mount, cable and power adapter to keep you connected anywhere.
