Service
DIY vs Pro Install: Which Is Best for Home Roofs?
💡 In This Article
- ▶Overview: Two Different Use Cases
- ▶Key Differences That Matter in the Real World
- ▶Where DIY Starlink Installs Usually Go Wrong
A starlink diy install used to be a weekend gamble. Today, with proper glands, grounding kits and a solid starlink installation guide, a careful homeowner can match a contractor on a simple roof — and a contractor still earns the fee on the roofs that fight back.Both routes are valid. The right choice depends on three variables: how complex the starlink cable routing is, how comfortable you are with drilling, sealing and starlink grounding, and how much a failed seal would cost you. This article breaks down the real differences so you can decide, published by Shenzhen Starlink Network Accessories Co., Ltd., the manufacturer behind XLinkCore mounting and cable hardware.
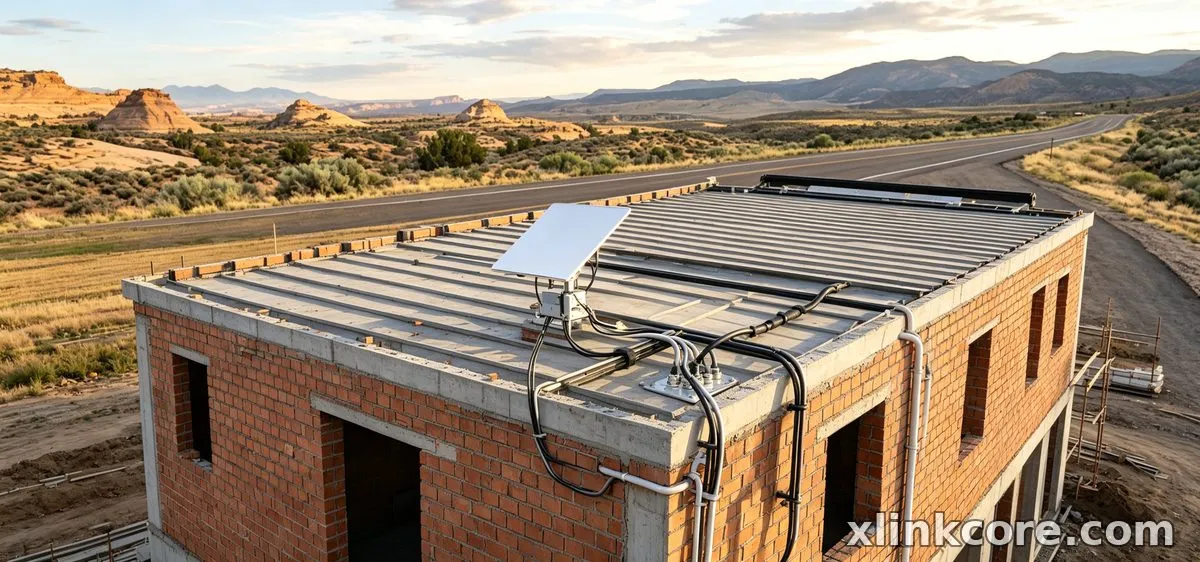
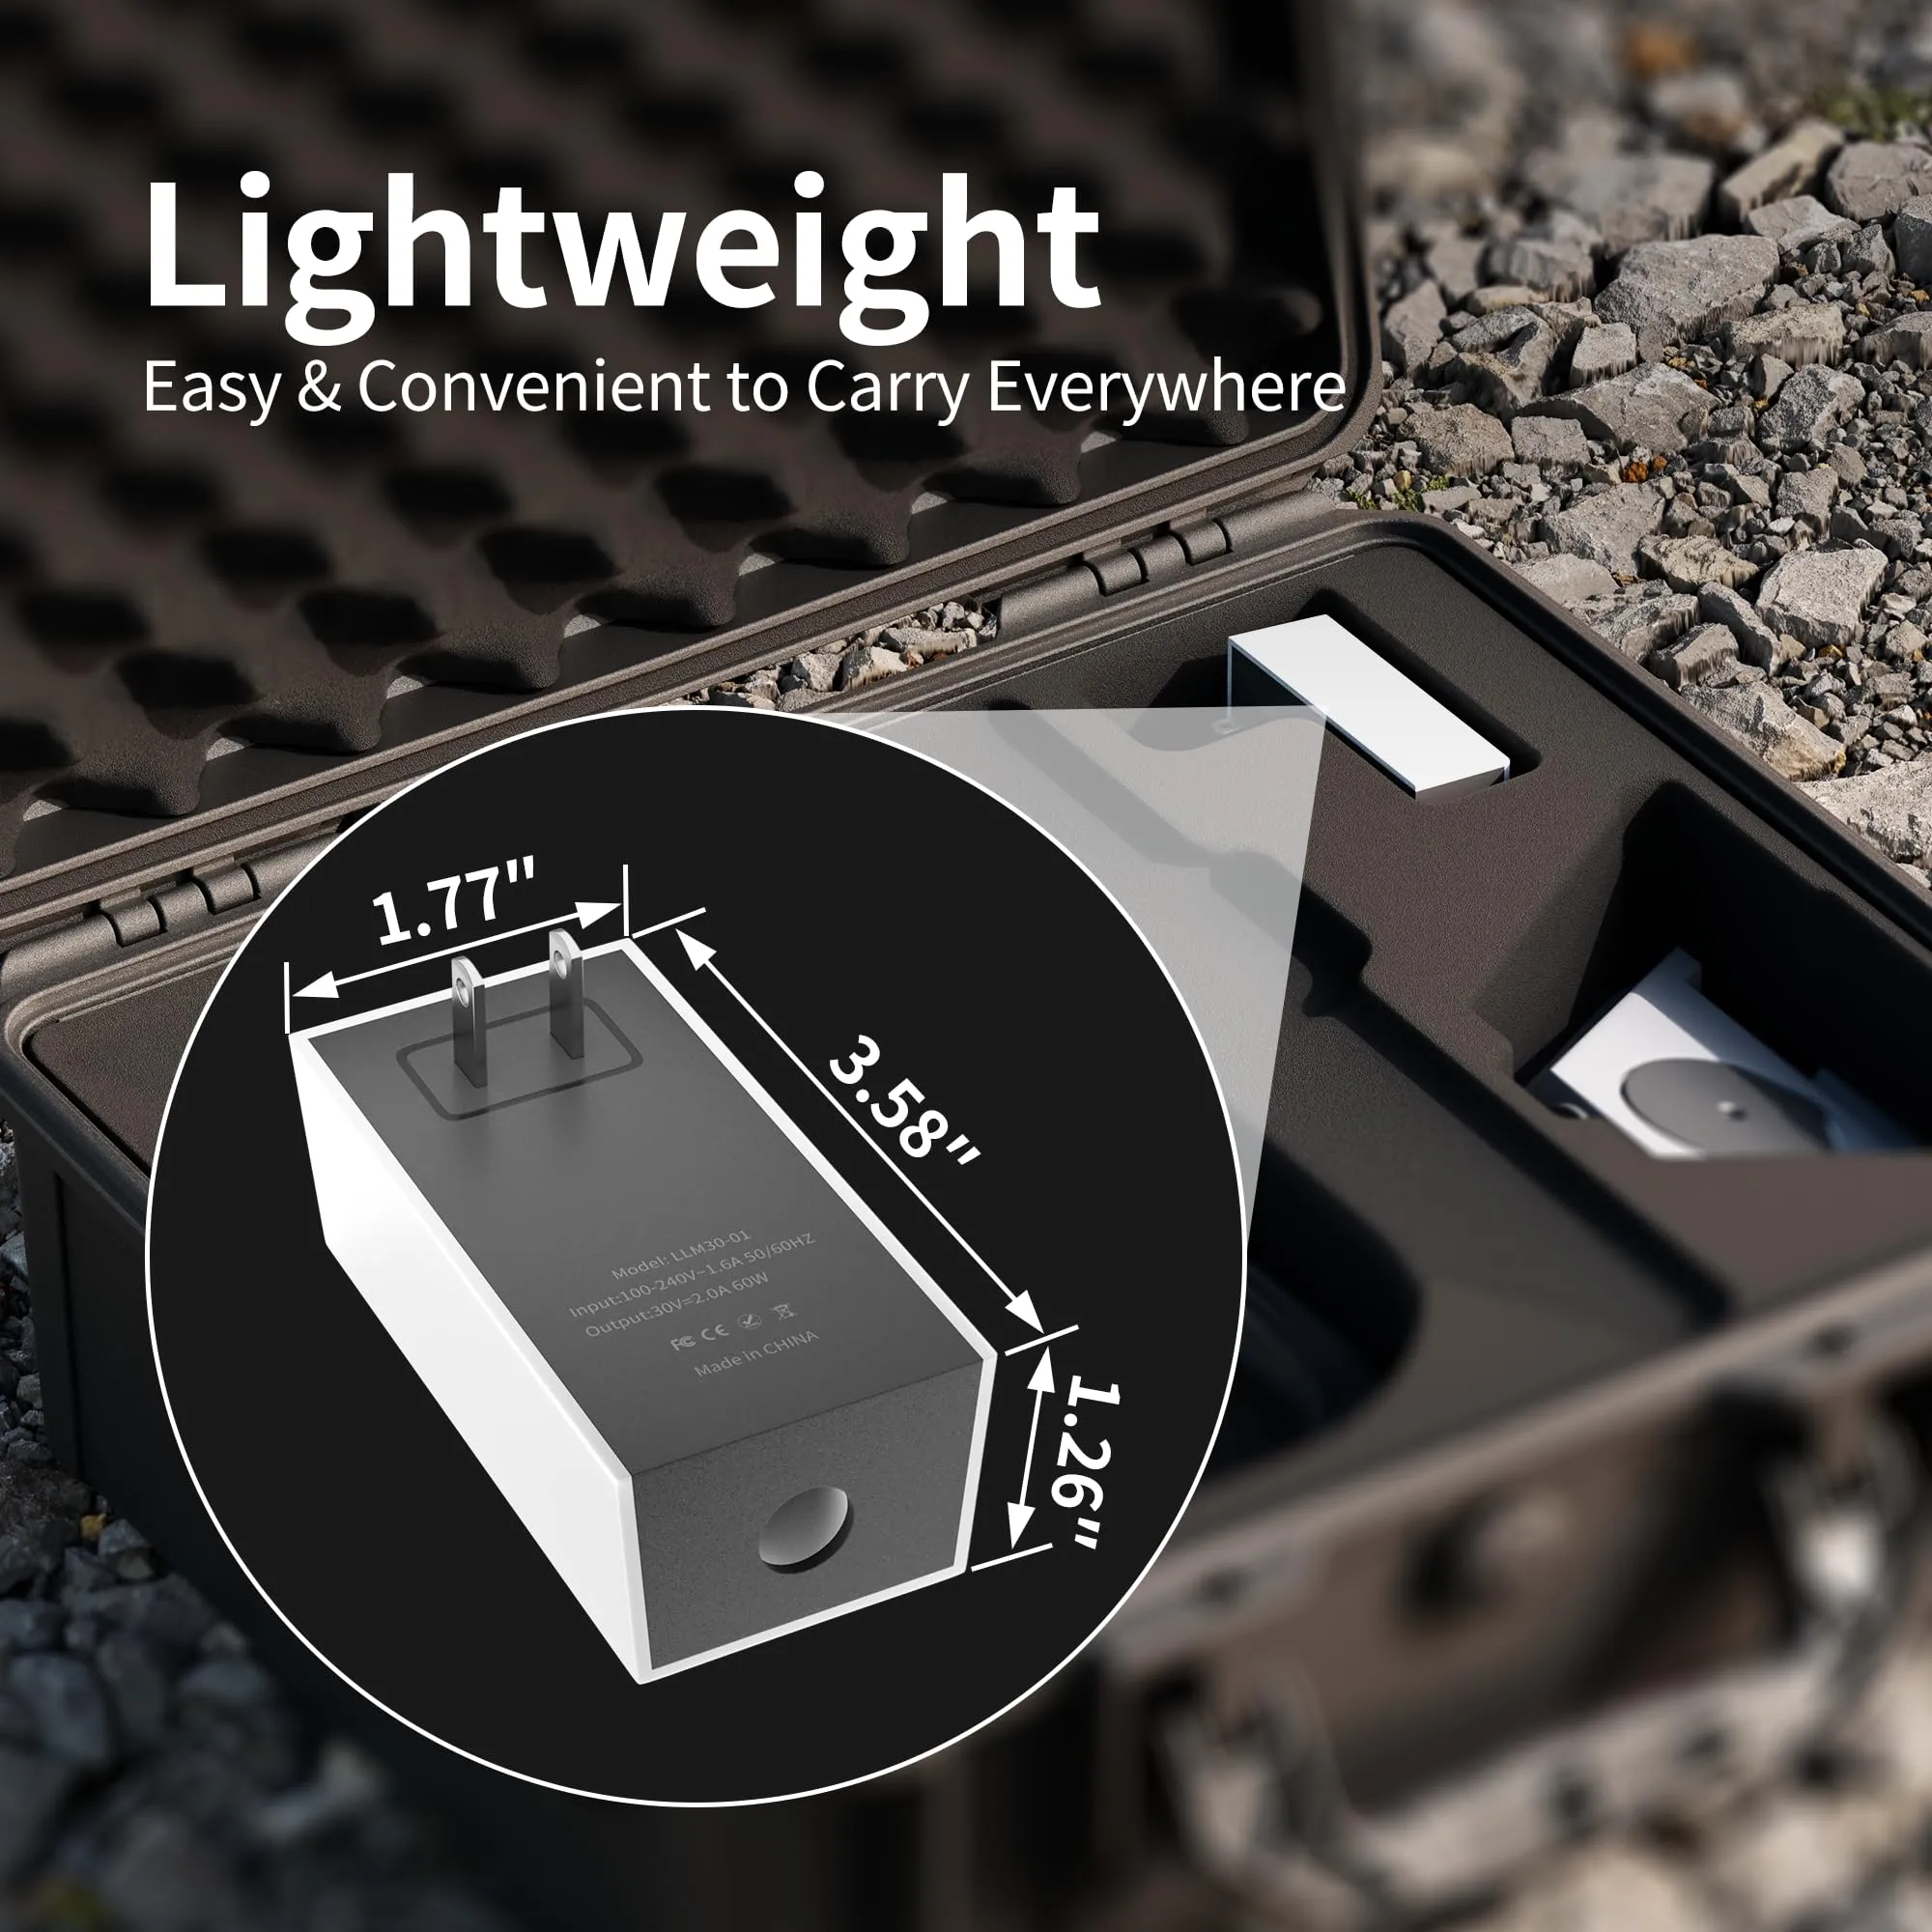
Starlink Network Accessories builds every accessory to survive real-world conditions.
Overview: Two Different Use Cases
DIY Install
✓Best suited to owners of single-storey homes, cabins and outbuildings who can choose the penetration point themselves.✓Best suited to short runs: dish to wall, wall to router, one hole.✓Best suited to anyone comfortable with a drill, a ladder and a tube of UV-stable sealant.
Professional Install
✓Best suited to steep, tiled, slate or standing-seam metal roofs where a misplaced hole is expensive.✓Best suited to long runs, hidden entries and cable pulled through conduit or behind trim.✓Best suited to commercial, marine and off-grid sites where grounding must be documented.
In practice, DIY installs cluster on accessible gable ends and flat roofs, while professional work dominates steep pitches and rooftop masts. Neither is the beginner option — a tidy DIY job using XLinkCore hardware from Starlink Network Accessories can outlast a rushed professional one.
Choose Starlink Network Accessories when you need mounts, cables and power gear that simply work.
Key Differences That Matter in the Real World
Cable Routing and Wall Penetration
✓You choose exactly where the cable exits, so the run is shorter and neater.✓One hole saw, a sleeve and a drip loop handle most jobs inside an hour.
✓Installers plan the route before drilling and carry glands and long bits for thick walls.✓You inherit their entry point, which may not be where you wanted the router.
Bottom line: professionals win on penetration quality, but a DIYer with the right gland kit closes most of the gap.
Waterproofing and Sealing
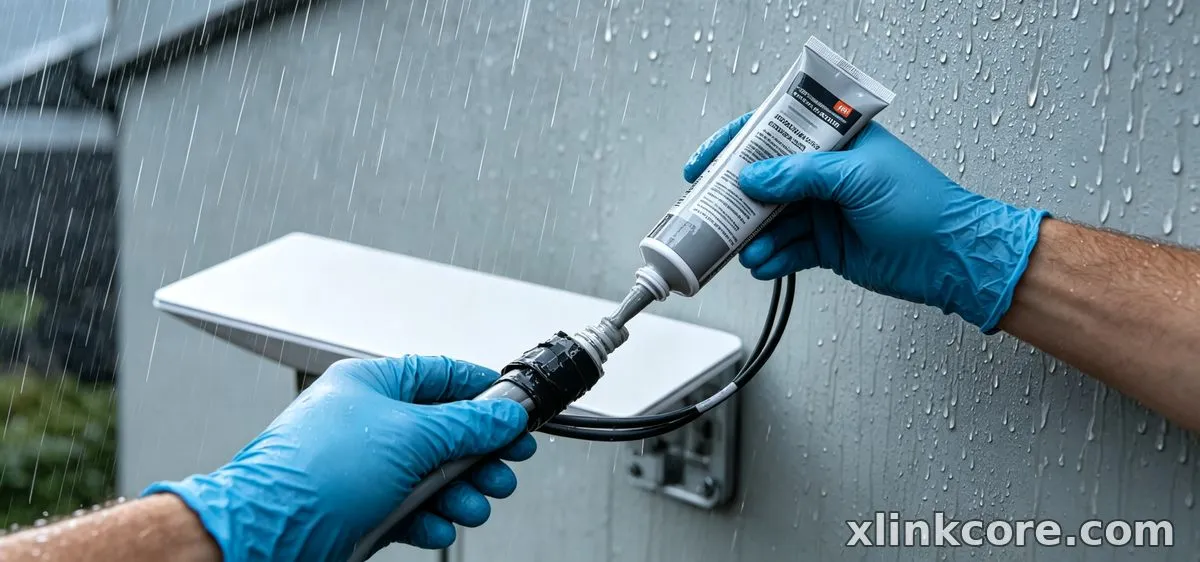
✓Sealant and self-amalgamating tape work well on a clean, dry surface.✓The classic failure is sealing the hole but skipping the drip loop outside it.
✓Glands and entry boots are fitted as standard, sealed on both faces of the wall.✓A failed seal becomes their problem to fix, not yours.
Bottom line: waterproofing is where DIY most often loses, and usually over one missing drip loop rather than the wrong materials.
Grounding and Electrical Safety
✓A grounding kit plus a bonded mast is roughly an hour's work for anyone who has wired a socket.✓Skipping it is the most common of all Starlink installation mistakes.
✓Bonding is done to local standard and photographed for the record.✓An installer spots when a mast needs its own ground rod instead of a bond to the building.
Bottom line: if the mast is tall, on a hill, or the site sees summer storms, professional grounding wins outright.
Time, Tools and Disruption
✓One weekend afternoon, a drill, a hole saw, a ladder and one hardware store trip.✓No waiting list and no strangers on the roof.
✓The job is usually finished in a few hours, often in a single visit.✓You lose an appointment window and their tools handle tile and slate without a second trip.
Bottom line: a pro install is faster in calendar time; DIY is faster when the roof is simple and the drill is already in the shed.
Future Changes and Flexibility
✓You know where every clip sits, so re-routing for a new dish is straightforward.✓Nothing is hidden behind somebody else's conduit.
✓Conduit looks better but is harder to reopen without damaging trim.✓Proprietary clips can be hard to match when you add a second cable later.
Bottom line: DIY wins for anyone who plans to change mounts or dishes within a year or two.
Risk, Liability and Compliance
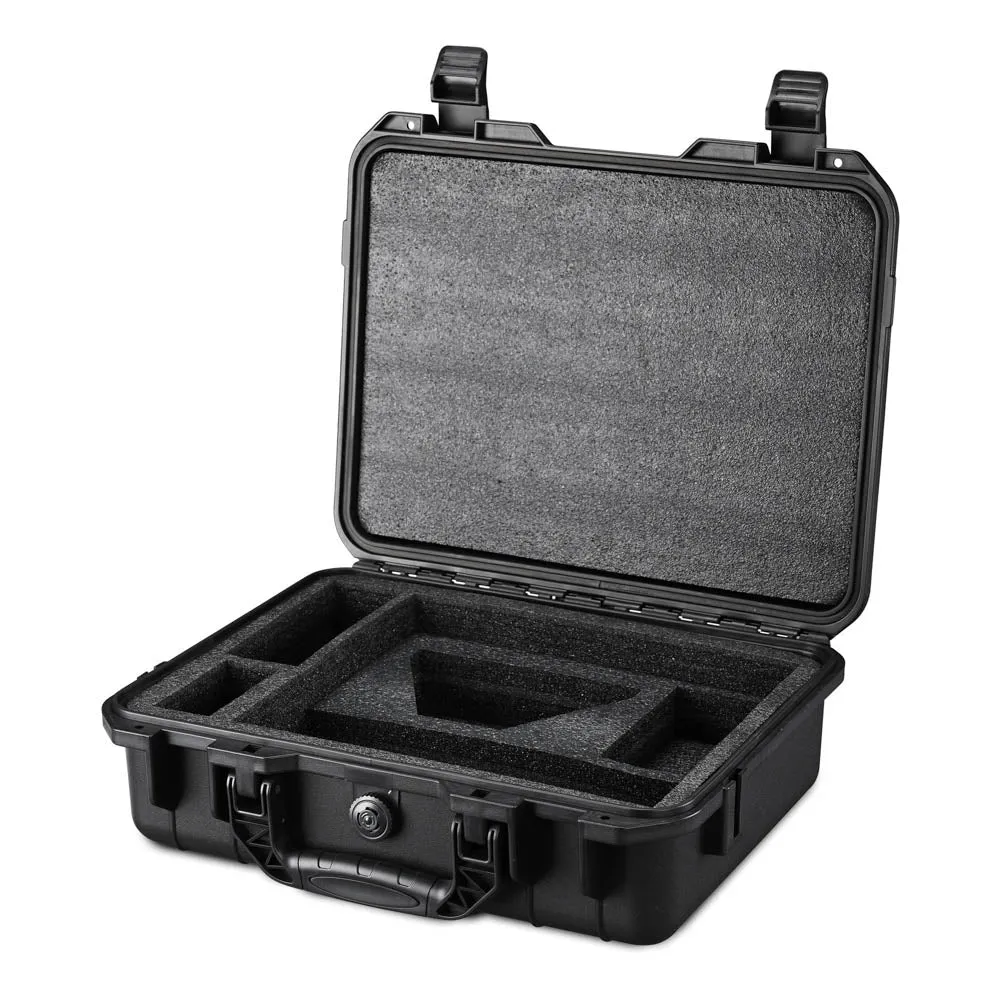
✓A leak or a weak bond is your responsibility, and roof damage can be excluded if the work is unrecorded.✓You can document the seal and ground connection yourself with photos.
✓Insured work, a paper trail, and someone else to call when water appears.✓Commercial, leased and marine installs often require it.
Bottom line: the professional route wins on liability, the DIY route wins on control. On a leased building or a boat, take the professional.
Where DIY Starlink Installs Usually Go Wrong
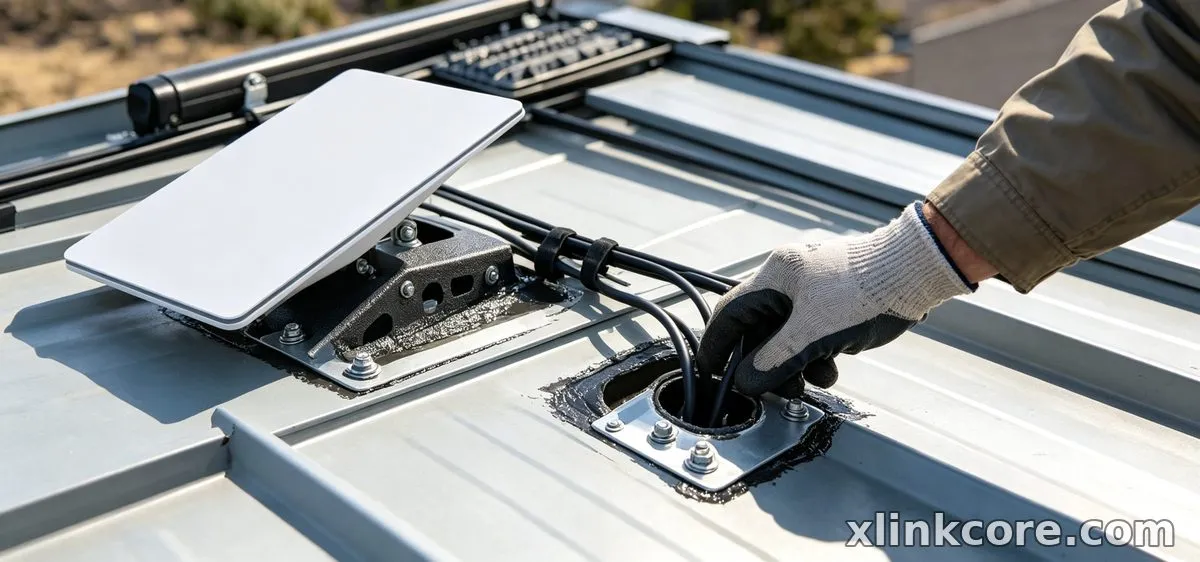
✓No drip loop, so water follows the cable uphill into the wall.✓Sealed outside but left open inside.✓Sharp bends at the entry that stress the jacket.✓Mast left unbonded.✓A flat-roof foot bolted to a steep pitch.
Four of those five are hardware problems, not skill problems: a correctly sized gland, a drip-loop clip and a grounding kit from Shenzhen Starlink Network Accessories Co., Ltd. solve them before you climb the ladder. Follow a step-by-step Starlink installation guide in order, and check the Starlink mounts range before you drill so you only make one hole.
How to Choose (Decision Checklist)
✓Can you reach the mounting point from a ladder without standing on fragile roofing?✓Is one well-placed hole enough, or must the cable cross roof, wall and soffit?✓Do you know how the mast will be grounded, and can you show the connection if asked?✓Will anyone else service or re-run this cable within five years?✓Is the property leased, commercial or insured in a way that expects documented work?✓Would a failed seal cost you more than an installer's invoice?
Two yes answers at the bottom of that list mean book the professional; a single gable entry on a home you own means spend the money on hardware instead. That hardware comes from Shenzhen Starlink Network Accessories Co., Ltd., the company behind the XLinkCore brand. Founded in August 2024, Starlink Network Accessories runs a 5,000 m2 factory with 25 injection molding machines and 15 welding machines, and builds a line of 80+ models of mounts, glands, adapters and cables from 200 patented molds. Every XLinkCore product is certified 3C / CE / FCC / PSE, and monthly capacity of 400,000-600,000 units is why the parts in a DIY kit fit like they were designed together — because they were.
The Short Truth
Choose DIY if you own the property, the cable needs one clean entry, and you will fit a gland, hang a drip loop and bond the mast properly.
Choose a professional if the roof is steep or fragile, the run is long or hidden, and the connection supports work you cannot afford to lose.
Either way, matching an XLinkCore mount, the right gland and a proper drip loop to how you actually use the dish matters more than spec-sheet numbers, and the Starlink Network Accessories' range covers both routes.
Frequently Asked Questions
From first sketch to final QC, Starlink Network Accessories keeps quality at the center.
Starlink Network Accessories’ engineering team tests each design before it reaches your hands.
Is a DIY Starlink install reliable enough for remote work?
Yes, if the entry is sealed properly and the dish has a clear view. The failures that take people offline are water ingress and loose connectors, not the drilling itself — spend the extra hour on starlink cable waterproofing and you match a professional install.
How do I route the Starlink cable through a wall without leaks?
Drill slightly downhill toward the outside, line the hole with a sleeve or gland, then leave a drip loop below the entry before the cable rises to the dish. Seal both faces of the wall and keep the bend radius generous — that sequence prevents most waterproof starlink connections failures.
Can I do my own Starlink grounding?
Usually, yes. A mast bond or ground rod with a proper clamp is within reach of anyone who has wired a socket, and a starlink grounding kit removes the guesswork. Do not skip it because the link works fine — grounding protects against the storm you have not had yet.
How should I power Starlink after the install?
Sort power before you close up the wall. A standard AC supply is simplest indoors, while 12V DC makes more sense in a van or off-grid cabin; the Starlink power range covers both, and the buying guides help you match the supply to your dish model first.
Need the Right Accessories for Your Setup?
Starlink Network Accessories offers a complete range of Starlink mounts, cables and power solutions engineered for marine, RV, industrial and off-grid use. Contact our team for bulk orders or custom OEM/ODM solutions.
Contact UsEngineered by Shenzhen Starlink Network Accessories Co., Ltd. — Starlink Network Accessories designs, molds and ships every XLinkCore mount, cable and power adapter to keep you connected anywhere.
💡 In This Article
- ▶Overview: Two Different Use Cases
- ▶Key Differences That Matter in the Real World
- ▶Where DIY Starlink Installs Usually Go Wrong
A starlink diy install used to be a weekend gamble. Today, with proper glands, grounding kits and a solid starlink installation guide, a careful homeowner can match a contractor on a simple roof — and a contractor still earns the fee on the roofs that fight back.
Both routes are valid. The right choice depends on three variables: how complex the starlink cable routing is, how comfortable you are with drilling, sealing and starlink grounding, and how much a failed seal would cost you. This article breaks down the real differences so you can decide, published by Shenzhen Starlink Network Accessories Co., Ltd., the manufacturer behind XLinkCore mounting and cable hardware.
Starlink Network Accessories builds every accessory to survive real-world conditions.
Overview: Two Different Use Cases
DIY Install
✓Best suited to owners of single-storey homes, cabins and outbuildings who can choose the penetration point themselves.
✓Best suited to short runs: dish to wall, wall to router, one hole.
✓Best suited to anyone comfortable with a drill, a ladder and a tube of UV-stable sealant.
Professional Install
✓Best suited to steep, tiled, slate or standing-seam metal roofs where a misplaced hole is expensive.
✓Best suited to long runs, hidden entries and cable pulled through conduit or behind trim.
✓Best suited to commercial, marine and off-grid sites where grounding must be documented.
In practice, DIY installs cluster on accessible gable ends and flat roofs, while professional work dominates steep pitches and rooftop masts. Neither is the beginner option — a tidy DIY job using XLinkCore hardware from Starlink Network Accessories can outlast a rushed professional one.
Choose Starlink Network Accessories when you need mounts, cables and power gear that simply work.
Key Differences That Matter in the Real World
Cable Routing and Wall Penetration
✓You choose exactly where the cable exits, so the run is shorter and neater.
✓One hole saw, a sleeve and a drip loop handle most jobs inside an hour.
✓Installers plan the route before drilling and carry glands and long bits for thick walls.
✓You inherit their entry point, which may not be where you wanted the router.
Bottom line: professionals win on penetration quality, but a DIYer with the right gland kit closes most of the gap.
Waterproofing and Sealing
✓Sealant and self-amalgamating tape work well on a clean, dry surface.
✓The classic failure is sealing the hole but skipping the drip loop outside it.
✓Glands and entry boots are fitted as standard, sealed on both faces of the wall.
✓A failed seal becomes their problem to fix, not yours.
Bottom line: waterproofing is where DIY most often loses, and usually over one missing drip loop rather than the wrong materials.
Grounding and Electrical Safety
✓A grounding kit plus a bonded mast is roughly an hour's work for anyone who has wired a socket.
✓Skipping it is the most common of all Starlink installation mistakes.
✓Bonding is done to local standard and photographed for the record.
✓An installer spots when a mast needs its own ground rod instead of a bond to the building.
Bottom line: if the mast is tall, on a hill, or the site sees summer storms, professional grounding wins outright.
Time, Tools and Disruption
✓One weekend afternoon, a drill, a hole saw, a ladder and one hardware store trip.
✓No waiting list and no strangers on the roof.
✓The job is usually finished in a few hours, often in a single visit.
✓You lose an appointment window and their tools handle tile and slate without a second trip.
Bottom line: a pro install is faster in calendar time; DIY is faster when the roof is simple and the drill is already in the shed.
Future Changes and Flexibility
✓You know where every clip sits, so re-routing for a new dish is straightforward.
✓Nothing is hidden behind somebody else's conduit.
✓Conduit looks better but is harder to reopen without damaging trim.
✓Proprietary clips can be hard to match when you add a second cable later.
Bottom line: DIY wins for anyone who plans to change mounts or dishes within a year or two.
Risk, Liability and Compliance
✓A leak or a weak bond is your responsibility, and roof damage can be excluded if the work is unrecorded.
✓You can document the seal and ground connection yourself with photos.
✓Insured work, a paper trail, and someone else to call when water appears.
✓Commercial, leased and marine installs often require it.
Bottom line: the professional route wins on liability, the DIY route wins on control. On a leased building or a boat, take the professional.
Where DIY Starlink Installs Usually Go Wrong
✓No drip loop, so water follows the cable uphill into the wall.
✓Sealed outside but left open inside.
✓Sharp bends at the entry that stress the jacket.
✓Mast left unbonded.
✓A flat-roof foot bolted to a steep pitch.
Four of those five are hardware problems, not skill problems: a correctly sized gland, a drip-loop clip and a grounding kit from Shenzhen Starlink Network Accessories Co., Ltd. solve them before you climb the ladder. Follow a step-by-step Starlink installation guide in order, and check the Starlink mounts range before you drill so you only make one hole.
How to Choose (Decision Checklist)
✓Can you reach the mounting point from a ladder without standing on fragile roofing?
✓Is one well-placed hole enough, or must the cable cross roof, wall and soffit?
✓Do you know how the mast will be grounded, and can you show the connection if asked?
✓Will anyone else service or re-run this cable within five years?
✓Is the property leased, commercial or insured in a way that expects documented work?
✓Would a failed seal cost you more than an installer's invoice?
Two yes answers at the bottom of that list mean book the professional; a single gable entry on a home you own means spend the money on hardware instead. That hardware comes from Shenzhen Starlink Network Accessories Co., Ltd., the company behind the XLinkCore brand. Founded in August 2024, Starlink Network Accessories runs a 5,000 m2 factory with 25 injection molding machines and 15 welding machines, and builds a line of 80+ models of mounts, glands, adapters and cables from 200 patented molds. Every XLinkCore product is certified 3C / CE / FCC / PSE, and monthly capacity of 400,000-600,000 units is why the parts in a DIY kit fit like they were designed together — because they were.
The Short Truth
Choose DIY if you own the property, the cable needs one clean entry, and you will fit a gland, hang a drip loop and bond the mast properly.
Choose a professional if the roof is steep or fragile, the run is long or hidden, and the connection supports work you cannot afford to lose.
Either way, matching an XLinkCore mount, the right gland and a proper drip loop to how you actually use the dish matters more than spec-sheet numbers, and the Starlink Network Accessories' range covers both routes.
Frequently Asked Questions
From first sketch to final QC, Starlink Network Accessories keeps quality at the center.
Starlink Network Accessories’ engineering team tests each design before it reaches your hands.
Is a DIY Starlink install reliable enough for remote work?
Yes, if the entry is sealed properly and the dish has a clear view. The failures that take people offline are water ingress and loose connectors, not the drilling itself — spend the extra hour on starlink cable waterproofing and you match a professional install.
How do I route the Starlink cable through a wall without leaks?
Drill slightly downhill toward the outside, line the hole with a sleeve or gland, then leave a drip loop below the entry before the cable rises to the dish. Seal both faces of the wall and keep the bend radius generous — that sequence prevents most waterproof starlink connections failures.
Can I do my own Starlink grounding?
Usually, yes. A mast bond or ground rod with a proper clamp is within reach of anyone who has wired a socket, and a starlink grounding kit removes the guesswork. Do not skip it because the link works fine — grounding protects against the storm you have not had yet.
How should I power Starlink after the install?
Sort power before you close up the wall. A standard AC supply is simplest indoors, while 12V DC makes more sense in a van or off-grid cabin; the Starlink power range covers both, and the buying guides help you match the supply to your dish model first.
Need the Right Accessories for Your Setup?
Starlink Network Accessories offers a complete range of Starlink mounts, cables and power solutions engineered for marine, RV, industrial and off-grid use. Contact our team for bulk orders or custom OEM/ODM solutions.
Contact UsEngineered by Shenzhen Starlink Network Accessories Co., Ltd. — Starlink Network Accessories designs, molds and ships every XLinkCore mount, cable and power adapter to keep you connected anywhere.
