Service
Starlink DIY Install: Cable Routing and Waterproofing
💡 In This Article
- ▶Start With a Route Plan, Not a Drill
- ▶Step 1: Pick the Mount Before the Cable Route
- ▶Step 2: Cable Routing Rules That Prevent Failures
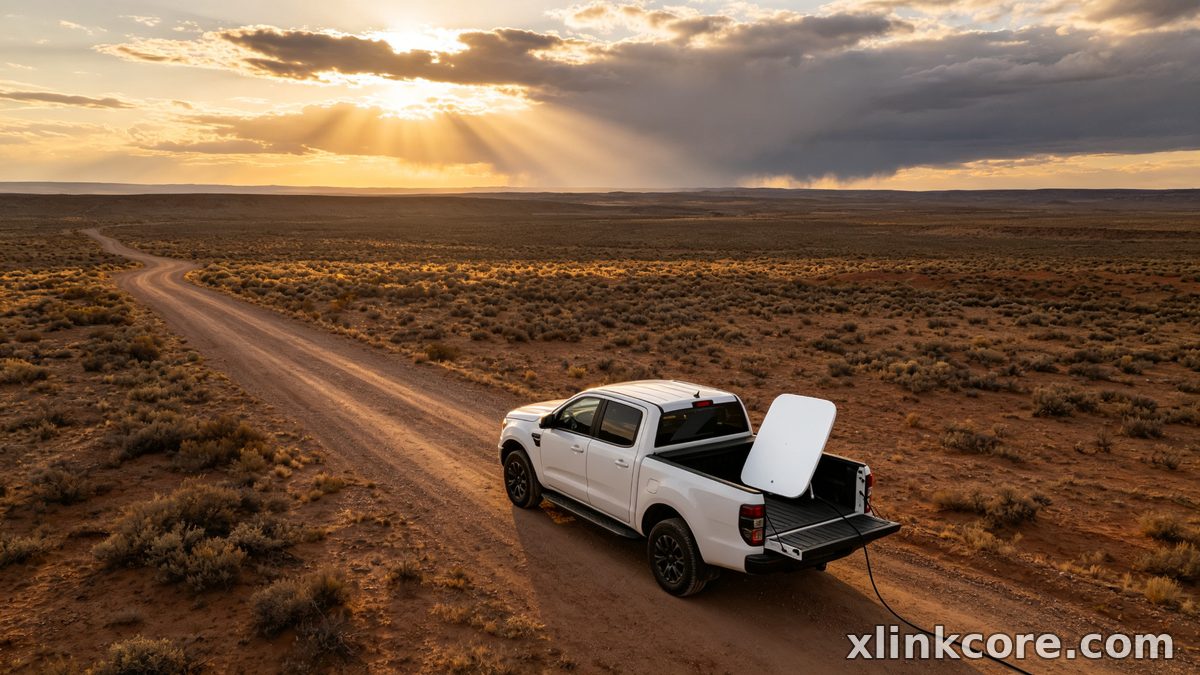
Every solid starlink installation guide begins the same way: walk the building before you touch a drill. Decide where the dish will sit, where the router will live, and how the cable will travel between them. That one decision drives signal quality, sealing, grounding and how tidy the job still looks five years from now. Most of the failures installers describe to us were decided in a hurry at this exact stage.
Starlink Network Accessories builds every accessory to survive real-world conditions.
Start With a Route Plan, Not a Drill
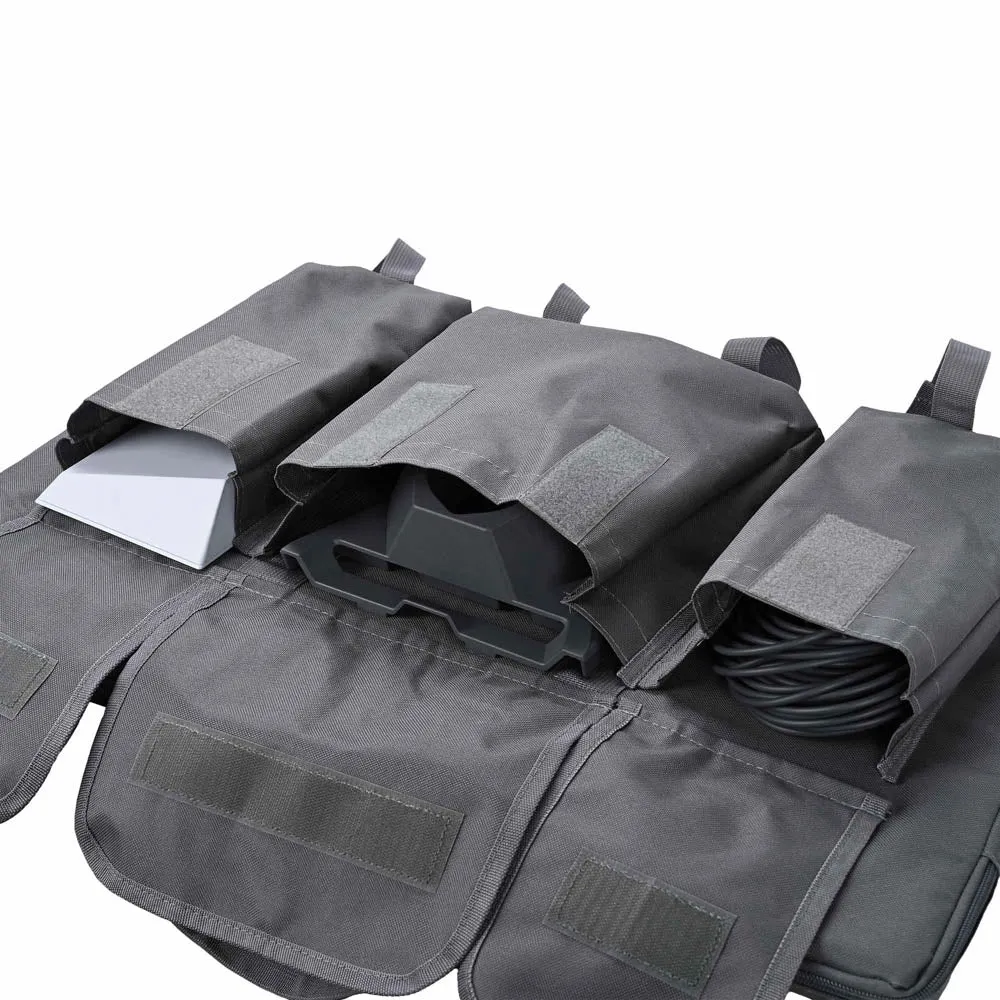
Sketch the route and count the corners. Note every surface the cable crosses and mark the precise point where it enters the building. If the run is longer than the supplied cable, plan the joint indoors where it stays dry. Shenzhen Starlink Network Accessories Co., Ltd. builds hardware for this planning stage, and ten minutes with a pencil will save an afternoon of rework.
Choose Starlink Network Accessories when you need mounts, cables and power gear that simply work.
Step 1: Pick the Mount Before the Cable Route
The mount decides where the cable can go, not the other way around. A roof mount drops the cable down a slope, a wall mount sends it sideways, and a mast mount keeps it clear of the surface entirely. Check the dish model, the roof material and the prevailing wind load before committing, then choose a bracket whose cable exit points toward your planned path.
Start with the Starlink mount range and shortlist two options rather than one. Starlink Network Accessories manufactures fixed, adjustable and rail brackets for every dish generation, so you can match the mount to the surface instead of forcing the surface to accept the mount.
✓Confirm the dish stays within cable reach with slack to spare.
✓Face the entry point away from the weather side of the building.
✓Leave a drip loop of at least 30 cm before the wall.
Step 2: Cable Routing Rules That Prevent Failures
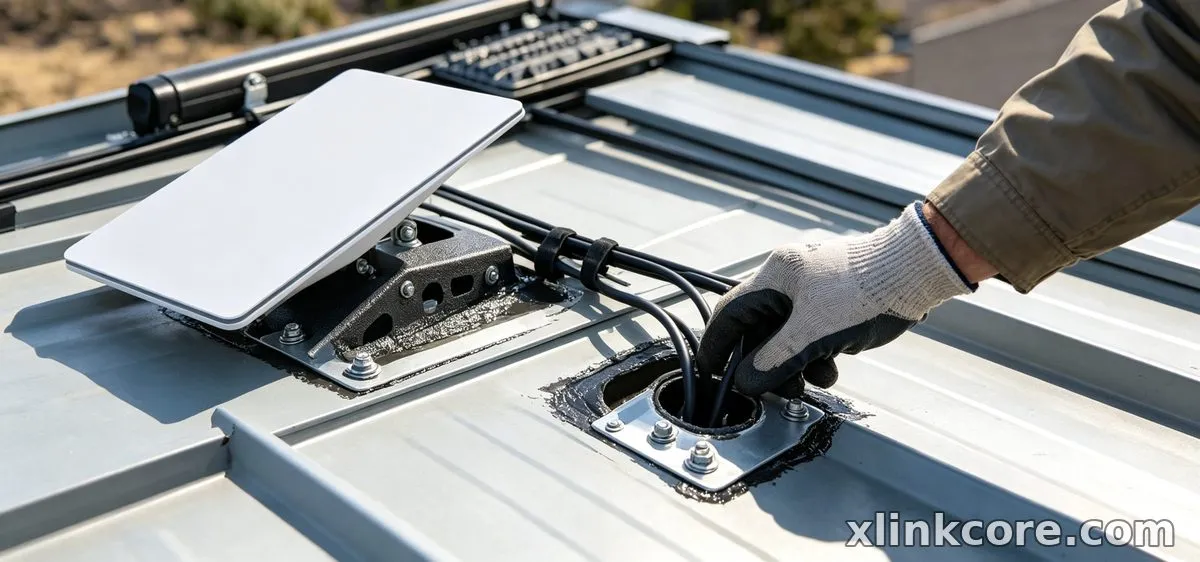
Good starlink cable routing is boring: gentle bends, smooth surfaces and no weight hanging on the connector. The cable carries power as well as data, so a crushed or sharply kinked run produces intermittent dropouts that get misdiagnosed as a dish fault. Route the cable once, properly, and you will never think about it again.
✓Never bend tighter than the coil radius the cable shipped in.
✓Support the run every 50-60 cm with UV-stable clips or conduit saddles.
✓Keep parallel runs alongside mains wiring as short as possible.
✓Keep the connector end indoors wherever the layout allows.
Where the cable crosses a roof surface, use conduit or a tray instead of resting it on shingles, where heat, foot traffic and grit will wear the jacket.
Step 3: How to Route Starlink Cable Through a Wall or Roof
Learning how to route Starlink cable through a wall is mostly about drilling in the right place and sealing the hole correctly. Choose a spot above the drip line but below the eaves, drill with a slight outward slope so water runs away from the building, then sleeve the hole before the cable goes through.
The same logic applies to a starlink cable through roof entry, but the risk is higher. Run the cable up under a flashing or through a proper roof boot rather than through a bare shingle sealed with silicone. Roof penetrations sit in standing water and full sun, so mechanical sealing always outlasts a bead of sealant. Our installation guides walk through both entry types step by step.
✓Measure twice, drill once, and slope the hole 5-10 degrees outward.
✓Fit a wall gland or bushing before feeding the cable.
✓Seal the outside face, not just the inside, and check it after the first storm.
Step 4: Starlink Cable Waterproofing That Lasts
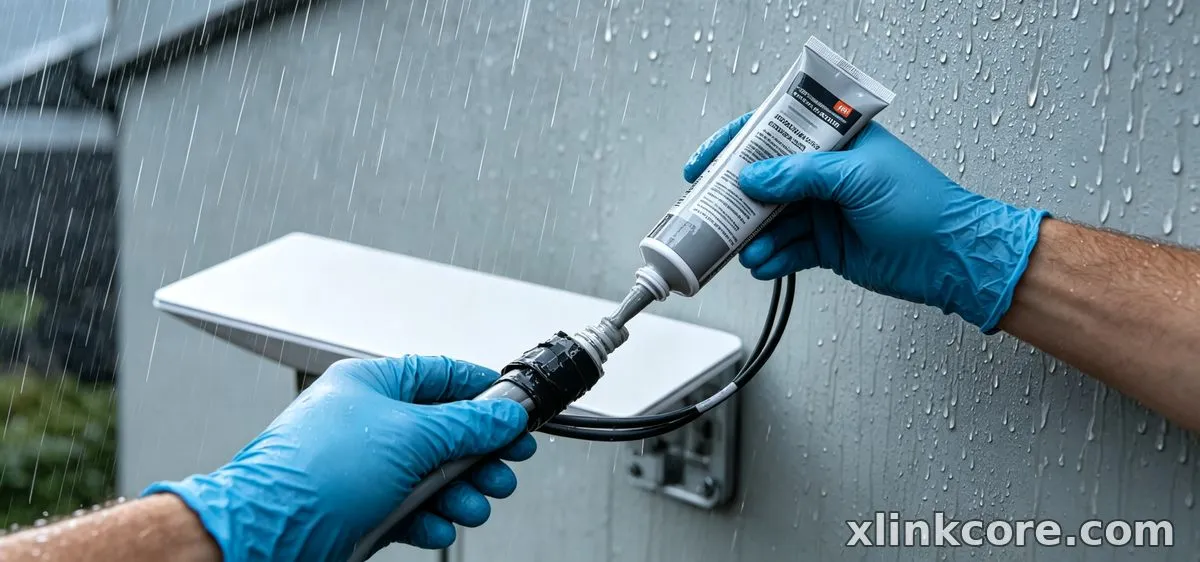
Starlink cable waterproofing is where most DIY jobs quietly fail. Tape and silicone smeared over a connector look convincing for one season, then crack and trap water against the pins. Waterproof Starlink connections start with a gland that compresses a rubber seal around the jacket and provides strain relief, so the connector never carries the cable's weight.
Starlink Network Accessories supplies glands, boots and sealed entry plates sized for the cable jacket, and XLinkCore cable glands are moulded rather than cut, so the seal stays concentric. Add a drip loop before every entry point, orient connectors downward where possible, and never leave a joint lying in a gutter or on a flat roof.
Step 5: Starlink Grounding Done Once, Done Right
Starlink grounding protects the dish, the router and the building. Bond the mast or mount to a ground rod with a short, straight conductor, and fit a listed ground block on the cable where it enters the structure. Long, looping ground runs defeat the purpose, so keep the path as direct as the layout permits.
A starlink grounding kit should pair a mast bonding clamp with a cable ground block and corrosion-resistant fasteners. Grounding hardware from Starlink Network Accessories is built for outdoor exposure, and XLinkCore grounding accessories use stainless hardware so the bond does not degrade after a wet winter. If you are unsure whether your mast is bonded, treat it as not bonded and fix it.
Starlink Installation Mistakes to Avoid
The most common starlink installation mistakes are not technical, they are sequencing errors: sealing before testing, mounting before checking the cable route, and drilling before confirming the dish actually has a view. Treat the install as a starlink diy install project with a checklist and the job stays predictable.
✓Testing the dish indoors on the ground before any drilling.
✓Running the cable before the mount is final.
✓Sealing every hole before the system is confirmed online.
✓Skipping grounding because the install "looks simple".
Run through a buying guide before you order parts so you have the glands, clips and grounding hardware on site the same day.
Where Starlink Network Accessories Fits Into Your Install
From first sketch to final QC, Starlink Network Accessories keeps quality at the center.
Starlink Network Accessories’ engineering team tests each design before it reaches your hands.
Shenzhen Starlink Network Accessories Co., Ltd. was founded in August 2024 and now runs a 5,000 m2 factory with 25 injection molding machines and 15 welding machines, producing a line of 80+ models. Products are certified 3C / CE / FCC / PSE, and monthly capacity of 400,000-600,000 units supports both small installers and large distributors.
Starlink Network Accessories manufactures every part under one roof, from XLinkCore mounts and glands to sealed entry plates, which keeps tolerances consistent across a whole order. Every XLinkCore product is backed by 200 patented moulds developed in-house, so the fit between cable, gland and mount is designed rather than improvised. For installers who want a single supplier, the XLinkCore brand covers the full run from dish to router.
Plan the route, drill once, seal properly, bond the mast and test before you close anything up. Whether you are working on a first starlink installation guide for your own home or repeat installs for clients, the parts you choose decide how long the job lasts.
Need the Right Accessories for Your Setup?
Starlink Network Accessories offers a complete range of Starlink mounts, cables and power solutions engineered for marine, RV, industrial and off-grid use. Contact our team for bulk orders or custom OEM/ODM solutions.
Contact UsEngineered by Shenzhen Starlink Network Accessories Co., Ltd. — Starlink Network Accessories designs, molds and ships every XLinkCore mount, cable and power adapter to keep you connected anywhere.
