Service
Starlink Install: Accessories for Each Cable Route
💡 In This Article
- ▶Start With the Situation, Not the Product
- ▶Scenario Breakdown: What to Use and When
- ▶Quick Matching Table
Almost every disappointing Starlink install starts with the same purchase order: the mount gets bought first, and the cable, entry point and power route are worked out afterwards. That is when people discover the cable is two metres short of the hole, the hole is in the wrong wall, or the only socket is on the far side of the building.
A reliable Starlink installation guide has to work the other way round — start from the situation, then choose the parts. This guide from Shenzhen Starlink Network Accessories Co., Ltd. maps six common real-world installs to the exact combination of mount, cable, waterproofing, grounding and power that belongs together, so you can copy one straight off the page.
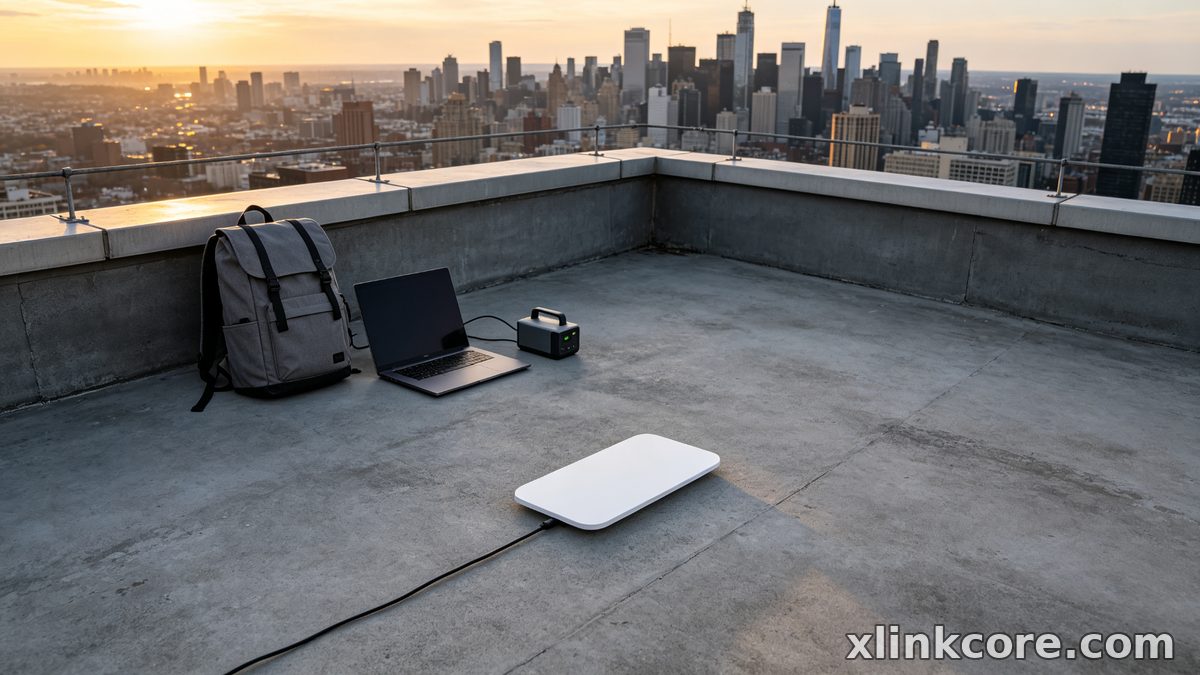
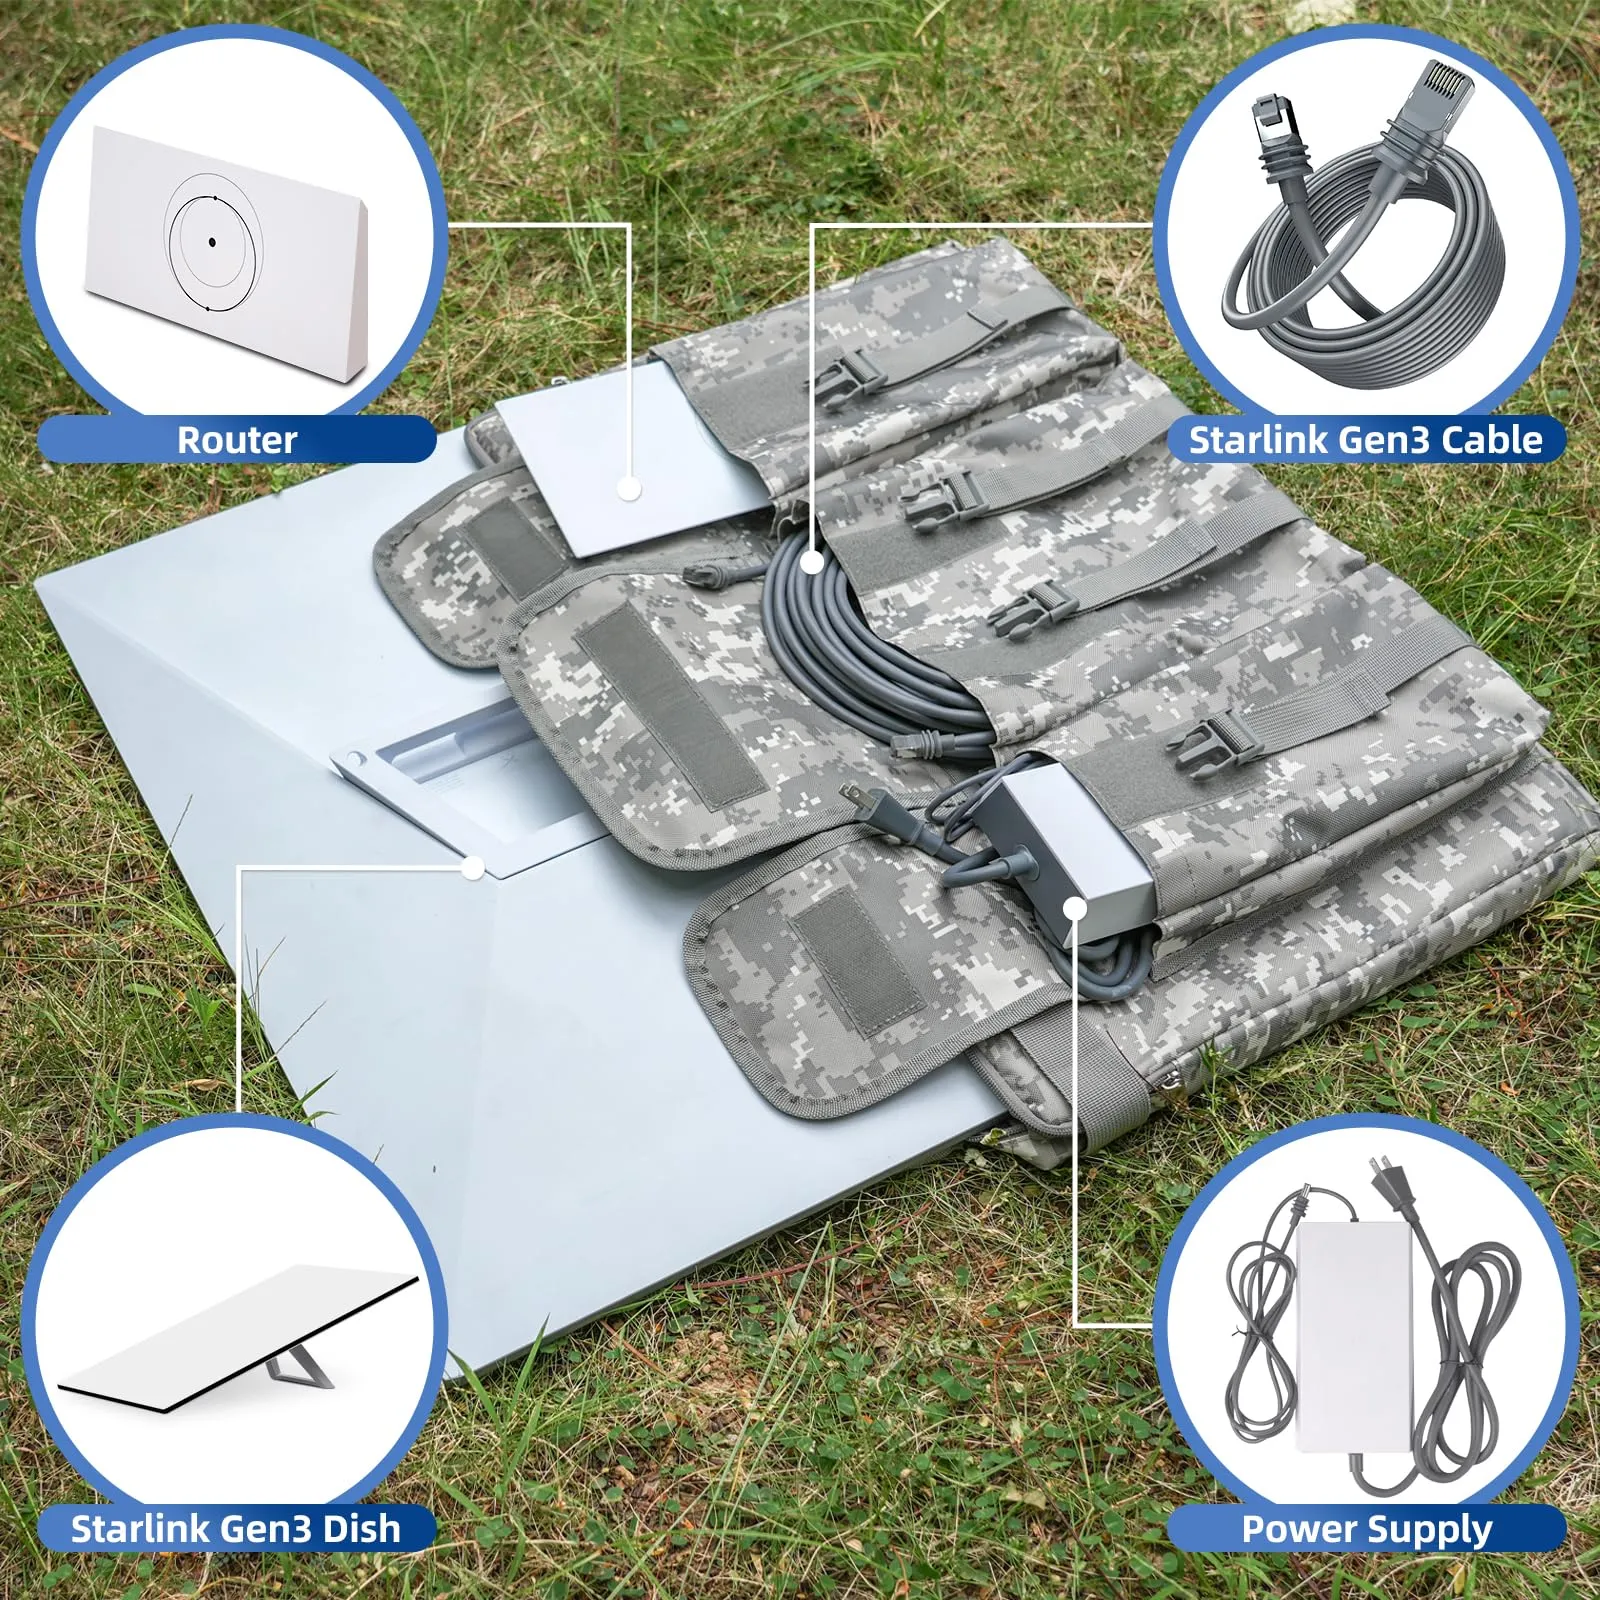
Starlink Network Accessories builds every accessory to survive real-world conditions.
Start With the Situation, Not the Product
Six variables decide almost every Starlink cable routing decision. Answer them before you open a product page and the shopping list writes itself — which is why Starlink Network Accessories publishes the deciding factors alongside the XLinkCore range instead of a flat catalogue.
✓Who uses it: a household that never moves, or a crew that relocates weekly.
✓Fixed or moving: moving installs need quick-release hardware and strain relief.
✓Power available: mains AC at the wall, or a 12V DC battery bank.
✓Cable run length and exposure: a 3 m eave drop and a 30 m UV-baked run are different problems.
✓How long it stays installed: six weeks or six years.
✓Climate: salt air, snow load, desert UV, or all three in one year.
Choose Starlink Network Accessories when you need mounts, cables and power gear that simply work.
Scenario Breakdown: What to Use and When
Scenario 1: Cable Entering Through a Tiled Roof
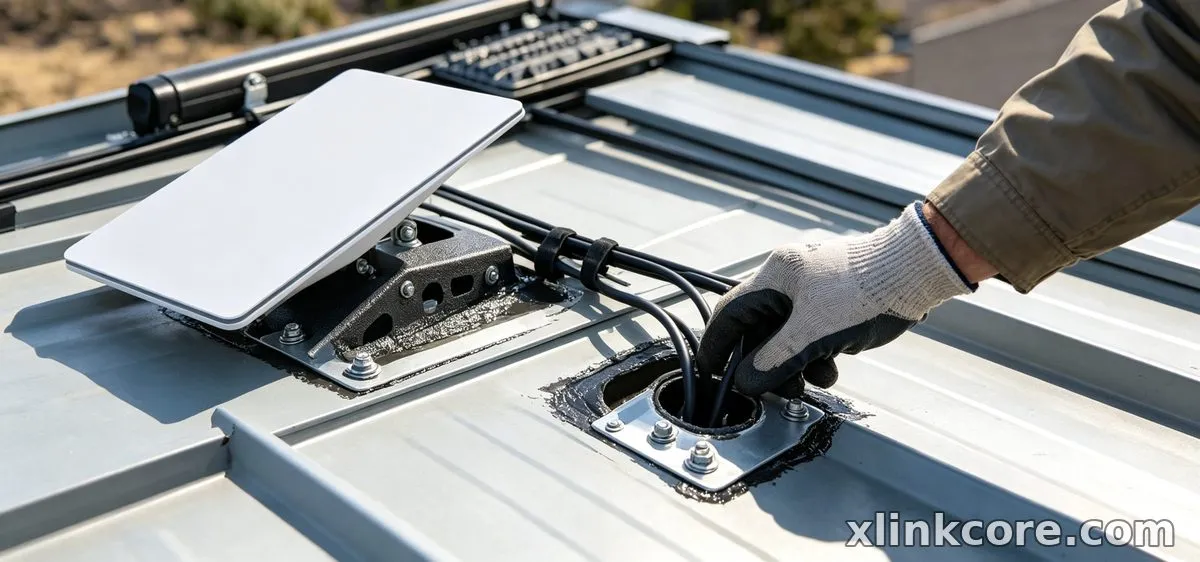
Roof entries fail at the tile, not at the dish. You need a path that keeps the cable off the tile surface and a termination that sheds water downhill.
✓Recommended combination: roof mount, outdoor-rated cable with a drip loop, flashing plate or lead slate, UV-rated clips from Starlink Network Accessories.
✓Why this combination: The mount carries the load, the drip loop drops water before it reaches the seal, and the flashing plate sits under the tile above and over the tile below.
✓Avoid: Drilling straight through a tile and sealing with silicone only. Thermal cycling cracks the bead and the leak appears metres from the hole.
Scenario 2: Cable Entering Through a Masonry or Rendered Wall
Solid walls are easy to seal and easy to ruin at the exit, where the cable bends hard and water tracks back along the sheath.
✓Recommended combination: an XLinkCore wall bracket or pole mount, a cable gland, external-grade sealant, clips with a downward service loop.
✓Why this combination: The gland grips the sheath and holds the penetration rigid, the service loop absorbs the bend, and clips keep the run off render that stains.
✓Avoid: A level or upward-angled hole packed with silicone. Water pools in the sleeve, freezes, and splits the jacket.
Scenario 3: A Long Outdoor Run in Sun, Rain and UV
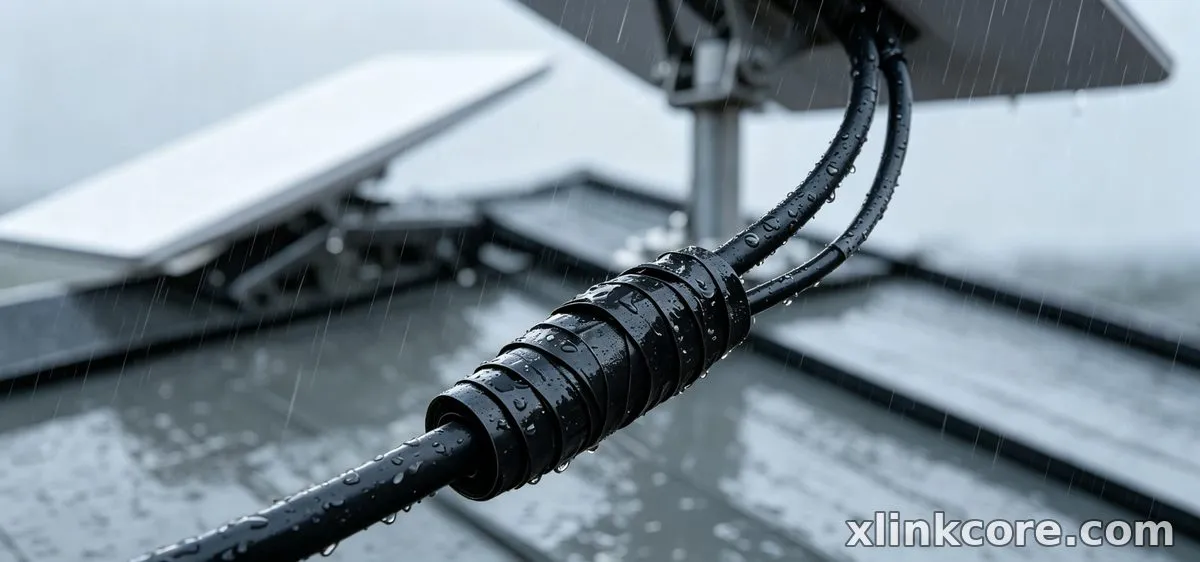
Past roughly 15 m outdoors, cable management matters as much as the cable. UV degrades the jacket, wind flexes the span, and every sag becomes a water trap.
✓Recommended combination: conduit or XLinkCore conduit-ready cable, entry-point grounding, expansion-anchored clips, a spare service loop at the dish end.
✓Why this combination: Conduit removes UV exposure entirely, the grounding point gives induced surge a short path to earth, and anchored clips survive freeze-thaw that pulls nails out.
✓Avoid: Running the span loose along a sunny wall. Jacket cracking starts at the tightest bend and replacement means re-running everything.
Scenario 4: A Run That Passes Near Mains Wiring
Interference does not need contact — parallel runs at close spacing pick up noise over distance, and accidental contact is the worse risk.
✓Recommended combination: shielded outdoor cable, separate conduit or a divider, 90-degree crossings, grounding at the entry point.
✓Why this combination: Physical separation is the cheapest fix, right-angle crossings shorten the coupled length, and grounding gives induced current somewhere to go other than the dish.
✓Avoid: Zip-tying the cable to existing mains conduit for tidiness. It is the quickest route to a slow, hard-to-diagnose throughput drop.
Scenario 5: A Steel Structure That Must Be Bonded to Earth
Steel sheds, container offices and masts are conductive and usually already earthed. Dish, mount and structure need one coherent path, not three competing ones.
✓Recommended combination: a steel-compatible mount with stainless fasteners, an XLinkCore grounding kit bonded to the structure earth, entry surge protection, dielectric grease on every connector.
✓Why this combination: Stainless hardware stops galvanic corrosion, bonding to the existing earth avoids a conflicting second ground, and grease keeps connectors dry.
✓Avoid: Isolating the dish from the steel and calling it protection. Floating metalwork on a bonded structure invites arcing at the worst moment.
Scenario 6: A Temporary Install That Comes Down Clean
Rental properties, seasonal sites and event setups need the whole path in and out within an hour, with no holes left behind.
✓Recommended combination: a non-penetrating base or clamp-on mast mount from Starlink Network Accessories, pre-terminated cable, removable ramps or weighted clips, quick-release connector covers.
✓Why this combination: Weighted bases and clamps leave zero holes, pre-terminated cable avoids re-crimping on site, and ramps keep the run trip-safe without adhesive.
✓Avoid: Drilling “just one anchor” into a rented wall. Patching and inspection usually cost more than a proper non-penetrating base.
Quick Matching Table
| Situation | Mount | Cable | Power |
|---|---|---|---|
| Tiled roof entry | Roof mount | Outdoor cable, drip loop | Mains AC at entry |
| Masonry wall entry | Wall bracket | Glanded outdoor cable | Mains AC indoors |
| Long exposed run | Roof or mast mount | Conduit, UV-stable | Mains with entry surge |
| Near mains wiring | Wall mount | Shielded outdoor cable | Mains, separate route |
| Steel structure | Steel-compatible mount | Shielded, bonded cable | Mains with earth bond |
| Temporary install | Non-penetrating base | Pre-terminated cable | Portable AC or 12V |
The Two Mistakes That Cost the Most
These are the two highest-frequency Starlink installation mistakes, and both are avoided before anything is drilled.
Buying the Mount Before Confirming the Dish Generation
Mount plates are dish-specific, and a bracket that fits one generation will not clip another without an adapter. Starlink Network Accessories sees this repeatedly on returns from remote sites, where the cost is a second delivery rather than a swap at the counter. XLinkCore mount listings are labelled by generation for exactly this reason. The fix: note the generation from the app or the dish label, then filter mounts by fit before comparing anything else.
Sizing the Cable Run Without the Vertical Drop
People measure the horizontal distance and forget the drop to the entry, the indoor route and the service loop. Once the cable is short, there is no safe outdoor way to extend it. Measure the full path with a rope, add at least two metres of slack at each end, then buy the next length up.
How Shenzhen Starlink Network Accessories Co., Ltd. Covers These Scenarios
Shenzhen Starlink Network Accessories Co., Ltd. builds the XLinkCore range as one system rather than a pile of unrelated parts, which is what makes scenario matching possible. Founded in August 2024, the company runs a product line of 80+ models across mounts, cables, power supplies and adapters, produced in a 5,000 m2 factory with 25 injection molding machines and 15 welding machines, and built on 200 patented molds. Products are certified 3C / CE / FCC / PSE for international deployment.
In practice, Starlink Network Accessories maps each scenario above onto a line: roof and wall entries use the XLinkCore mount range with glanded outdoor cable, long exposed runs use conduit-ready cable and clips, bonded steel uses the grounding kits, and off-mains sites use the power range. The installation guides and buying guides walk through the same combinations step by step.
Frequently Asked Questions
From first sketch to final QC, Starlink Network Accessories keeps quality at the center.
Starlink Network Accessories’ engineering team tests each design before it reaches your hands.
How do I route a Starlink cable through a wall without leaks?
Drill slightly downhill to the outside, fit a cable gland rather than silicone alone, and leave a service loop below the entry so water cannot track back along the sheath. An external wall plate finishes the job and shields the seal from UV.
Do I need a Starlink grounding kit for a roof install?
Yes if the mast is the highest metalwork on the structure or the run passes near mains wiring. On a bonded steel structure, bond to the structure's existing earth instead of adding a second rod.
What can I reuse if I move the dish to a new site?
Pre-terminated cable, quick-release covers, weighted bases and clamps travel well. Glands, sealant and drilled anchors do not, so budget for those as consumables at every new site.
What should I buy first on a tight budget?
Buy the cable, then the entry hardware, then the mount. Starlink Network Accessories recommends this order because a correctly sealed route protects the equipment you already own, while a premium mount on a bad entry still lets water in.
Need the Right Accessories for Your Setup?
Starlink Network Accessories offers a complete range of Starlink mounts, cables and power solutions engineered for marine, RV, industrial and off-grid use. Contact our team for bulk orders or custom OEM/ODM solutions.
Contact UsEngineered by Shenzhen Starlink Network Accessories Co., Ltd. — Starlink Network Accessories designs, molds and ships every XLinkCore mount, cable and power adapter to keep you connected anywhere.
