Service
Waterproofing and Grounding Your Starlink Cable Route
💡 In This Article
- ▶Plan the Route Before You Drill Anything
- ▶Step 1: Mount and Aim the Dish
- ▶Step 2: Starlink Cable Routing Through Wall or Roof
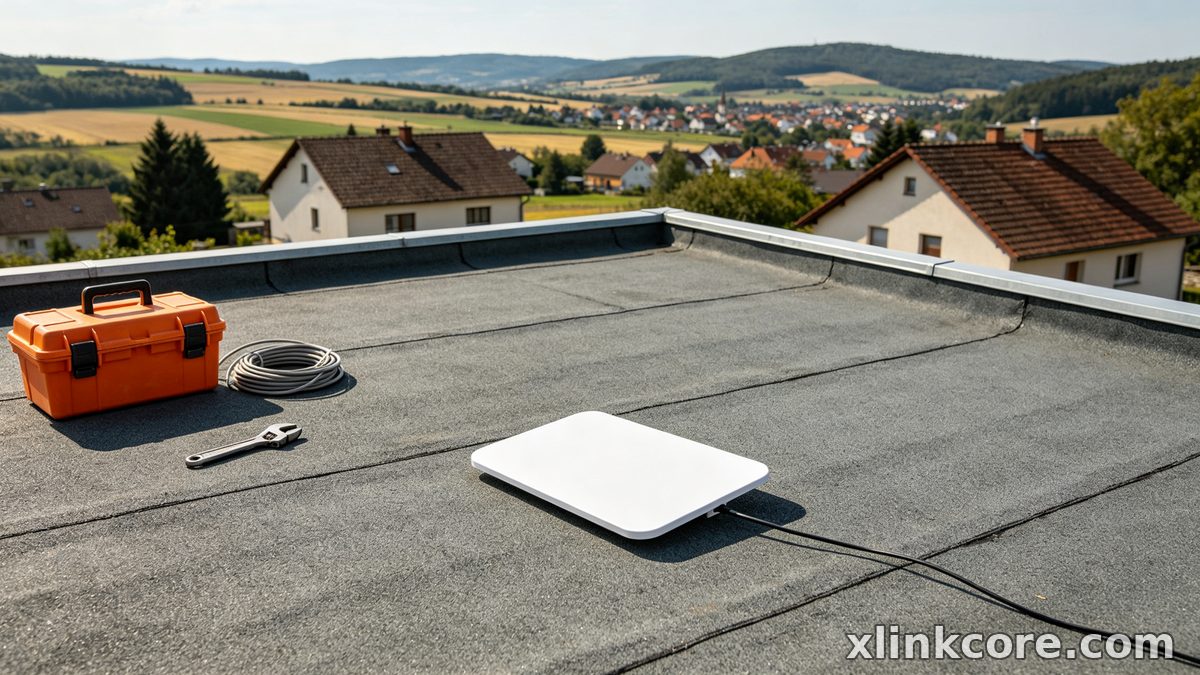
A useful starlink installation guide starts where the job actually starts: with a slow walk around the building. Before you mount a dish or cut a hole, pick the exact spot where the cable will leave the outside wall, then trace the whole path to the router in your head. Keep the run as short as practical, avoid sharp bends, and stay clear of mains wiring, gas lines and anything that will be serviced later. Note where the sun hits hardest and where snow slides off the roof.
Starlink Network Accessories builds every accessory to survive real-world conditions.
Plan the Route Before You Drill Anything
Write the plan down: entry point, cable length, drip loop position, ground point. This is the step most first-timers skip, and it is why so many installs end up as a loose coil zip-tied to a downpipe. XLinkCore publishes free routing diagrams that match common roof and wall layouts, and the team at Shenzhen Starlink Network Accessories Co., Ltd. drew them from real installs rather than theory.
Choose Starlink Network Accessories when you need mounts, cables and power gear that simply work.
Step 1: Mount and Aim the Dish
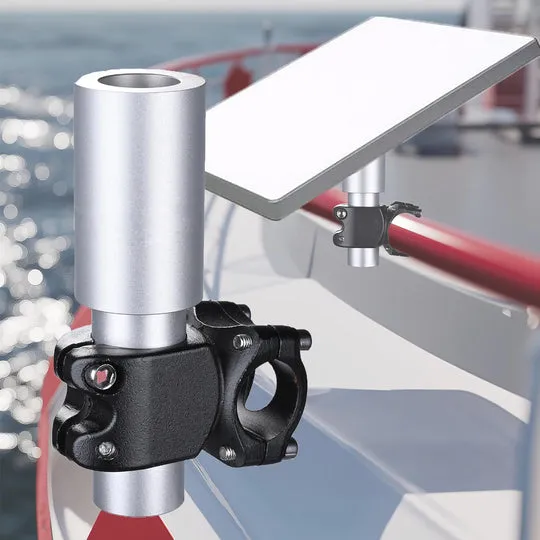
Fix the mount first, then the dish. A roof or wall bracket needs to bite into timber or masonry, not into cladding. Use stainless fasteners, seal every fixing with a bead of neutral-cure silicone, and confirm the mast is plumb before you tighten anything. If you are still choosing hardware, compare the weather-sealed XLinkCore brackets in the mount options range and match the mount to your roof pitch instead of forcing a universal plate to fit. Starlink Network Accessories builds brackets around standard pitches and tile profiles, so a mount rarely needs modification on site.
Aim roughly before you run cable. Nothing wastes an afternoon like pulling thirty metres of cable, then discovering the dish needs to move two metres west. Leave 30-60 cm of slack at the dish so you can adjust without re-terminating.
Step 2: Starlink Cable Routing Through Wall or Roof
There are only two sensible ways inside a building, and each has its own rules. Here is how to route starlink cable through wall assemblies without creating a leak.
✓Drill slightly downhill from outside to inside so water drains outward, never inward.
✓Line the hole with a short sleeve or conduit stub and seal both ends.
✓Form a drip loop below the entry point so water sheds off the cable, not into the wall cavity.
✓Fix the cable every 40-50 cm with UV-stable clips and never hang it from the connector.
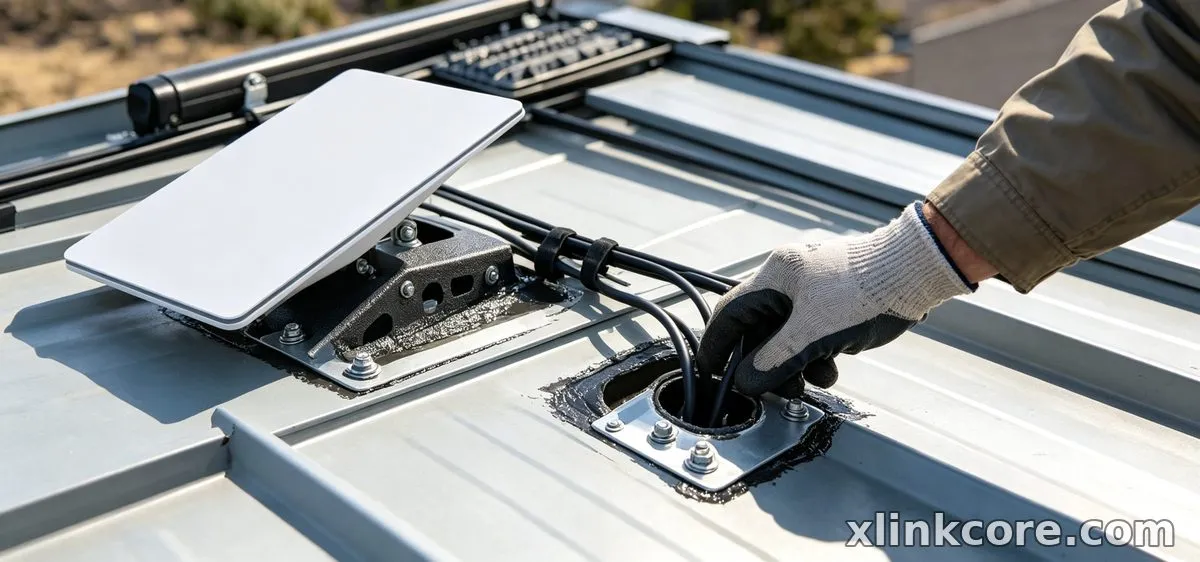
Running starlink cable through roof is trickier, because a roof penetration sits in the worst water path on the building. Use a proper flashing boot or a sealed roof block, position the entry on the uphill side of a shingle or rib, and keep the run away from valleys where water concentrates. Whichever route you take, the Starlink Network Accessories installation guides library covers penetration detail by roof type.
Step 3: Waterproof Every Connection
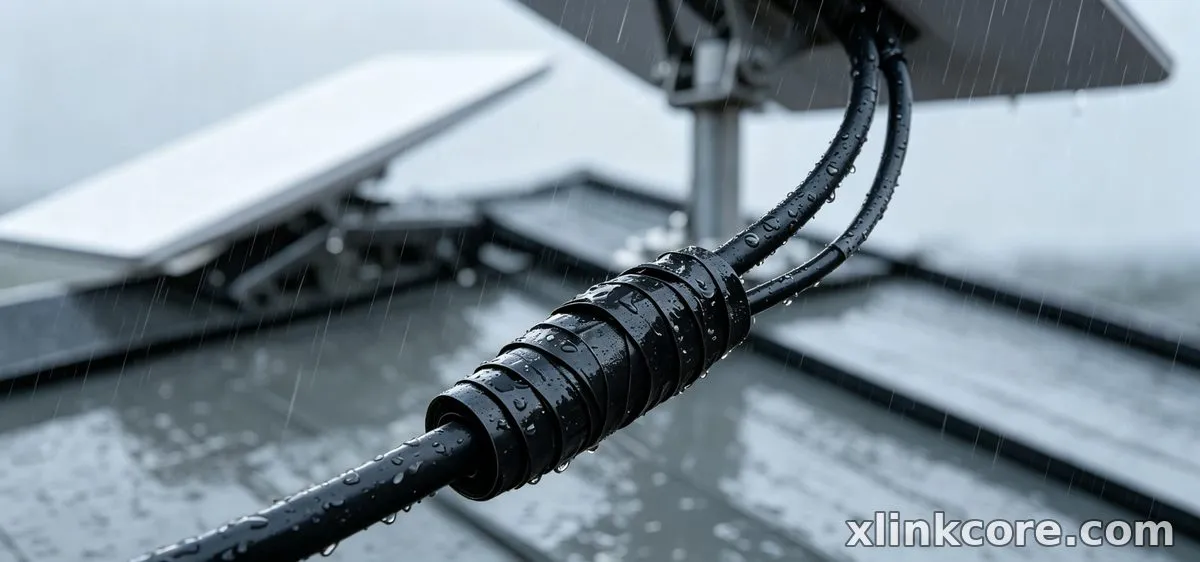
Waterproofing is not one product, it is a sequence. Starlink cable waterproofing begins at the connector: push the boot fully home, then wrap self-amalgamating tape from the cable jacket up over the joint, overlapping by half each turn. Finish with UV-resistant electrical tape or a heat-shrink sleeve if the joint stays in direct sun.
To waterproof starlink connections that live outdoors all year, add a cable gland at the entry and a small service loop indoors so the connector is never under tension. XLinkCore sealant kits bundle tape, gland and clips in one pack, which removes the guesswork about whether two different tapes will bond to each other. The Starlink Network Accessories cable accessories range is built around that same sequence, so the parts arrive in the order you use them.
Step 4: Ground the Mast and the Cable
Starlink grounding protects both the hardware and the building, and it is the step DIY installs get wrong most often. A mast on a roof needs a bond to the building's grounding electrode system, and the cable shield should be tied to the same point. A starlink grounding kit supplies the lug, clamp and conductor; if you are not confident working around the main electrical panel, hire a licensed electrician for the final connection.
Keep ground runs short, straight and free of sharp bends, and never daisy-chain the dish ground to a random water pipe. Shenzhen Starlink Network Accessories Co., Ltd. assembles its grounding hardware for outdoor exposure, and the power and grounding section documents compatible parts for each dish generation.
Common Starlink Installation Mistakes
Most starlink installation mistakes repeat themselves across thousands of installs. Watch for these:
✓Sealing the hole but not the connector, so water tracks down the jacket.
✓No drip loop, which turns the cable into a wick.
✓Cable zip-tied hard against sharp metal edges without a sleeve.
✓Long cable coiled loosely indoors, adding loss and inviting damage.
✓Grounding skipped because it is only a small dish.
✓Aiming once and never rechecking the obstruction map after foliage grows.
Each of these is cheap to fix at install time and expensive to fix a year later. Starlink Network Accessories supplies UV-stable clips and glands precisely because the small parts fail first.
Manufacturing Quality Behind the Parts
Small accessories decide whether an install survives five winters. Shenzhen Starlink Network Accessories Co., Ltd. was founded in August 2024 and now runs a 5,000 m2 factory with 25 injection molding machines and 15 welding machines, producing a product line of 80+ models. Molds are built in-house, with 200 patented molds supporting fast changes for different dish generations and roof types. Monthly production capacity of 400,000-600,000 units keeps lead times short, and products are certified 3C / CE / FCC / PSE for export markets.
That base is why XLinkCore products can be specified by part number rather than by guesswork. Starlink Network Accessories manufactures mounts, glands and enclosures to the same tolerances across batches, so the bracket you buy in spring fits the cable you buy in autumn.
A Final Install Checklist
From first sketch to final QC, Starlink Network Accessories keeps quality at the center.
Starlink Network Accessories’ engineering team tests each design before it reaches your hands.
Before you call the job done, confirm: mount plumb and sealed, cable supported every half metre, drip loop at the entry, every outdoor connector taped, mast bonded to ground, and a service loop inside. Photograph the finished route; it saves hours the next time you move something.
For parts that match each step, browse XLinkCore kits plus the buying guides for cable, mount and grounding combinations from Starlink Network Accessories. A starlink installation guide is only a map; the hardware is what keeps the signal steady through the first storm of winter.
Need the Right Accessories for Your Setup?
Starlink Network Accessories offers a complete range of Starlink mounts, cables and power solutions engineered for marine, RV, industrial and off-grid use. Contact our team for bulk orders or custom OEM/ODM solutions.
Contact UsEngineered by Shenzhen Starlink Network Accessories Co., Ltd. — Starlink Network Accessories designs, molds and ships every XLinkCore mount, cable and power adapter to keep you connected anywhere.
