Service
Wall and Roof Penetrations for a Starlink Install
💡 In This Article
- ▶Why Cable Routing Makes or Breaks a Starlink Install
- ▶Plan the Route Before You Drill Anything
- ▶How to Route Starlink Cable Through a Wall
A Starlink dish will happily pull a signal out of a rainstorm, but the cable behind it is where most home and mobile setups fail. Any honest starlink installation guide is really a guide to three things: keeping water out, keeping strain off the connectors, and giving stray current somewhere safe to go. Get those right and the hardware runs quietly for years. Get them wrong and you will be chasing dropouts in the worst weather of the year.
Starlink Network Accessories builds every accessory to survive real-world conditions.
Why Cable Routing Makes or Breaks a Starlink Install
This article walks through the sequence used by installers who mount dishes on houses, cabins, RVs and job sites — planning the route, drilling clean penetrations, sealing every joint, and bonding the system to earth. Shenzhen Starlink Network Accessories Co., Ltd. builds the mounts, glands and grounding hardware that make each step repeatable, and XLinkCore is the brand those parts are sold under.
Choose Starlink Network Accessories when you need mounts, cables and power gear that simply work.
Plan the Route Before You Drill Anything
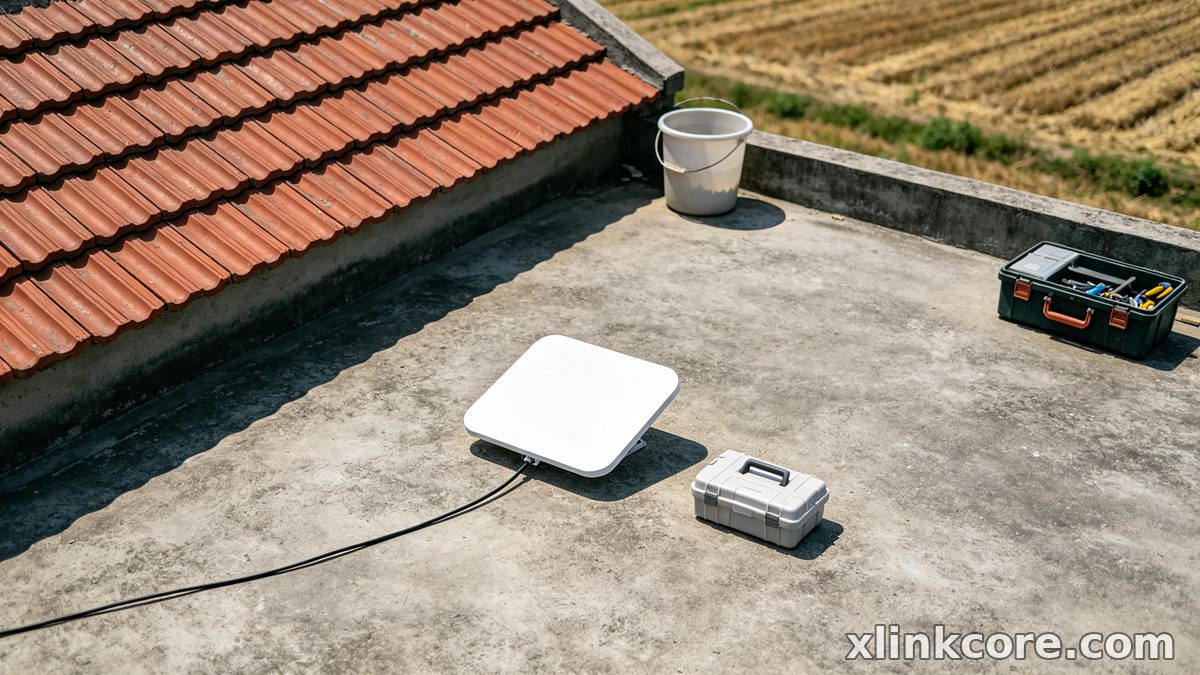
Walk the path from dish to router with the actual cable in hand. The starlink cable routing you choose should be the shortest run that still avoids sharp bends, hot surfaces and standing water. Keep the bend radius generous — a tight kink damages internal conductors in a way you cannot see from outside.
✓Measure the run and add 10-15% slack for service loops at both ends.
✓Stay off hot metal roofs and gutters unless the cable sits inside conduit.
✓Avoid running parallel to mains wiring; cross at 90 degrees where you must.
✓Choose the penetration point from inside first, so you know what you are drilling into.
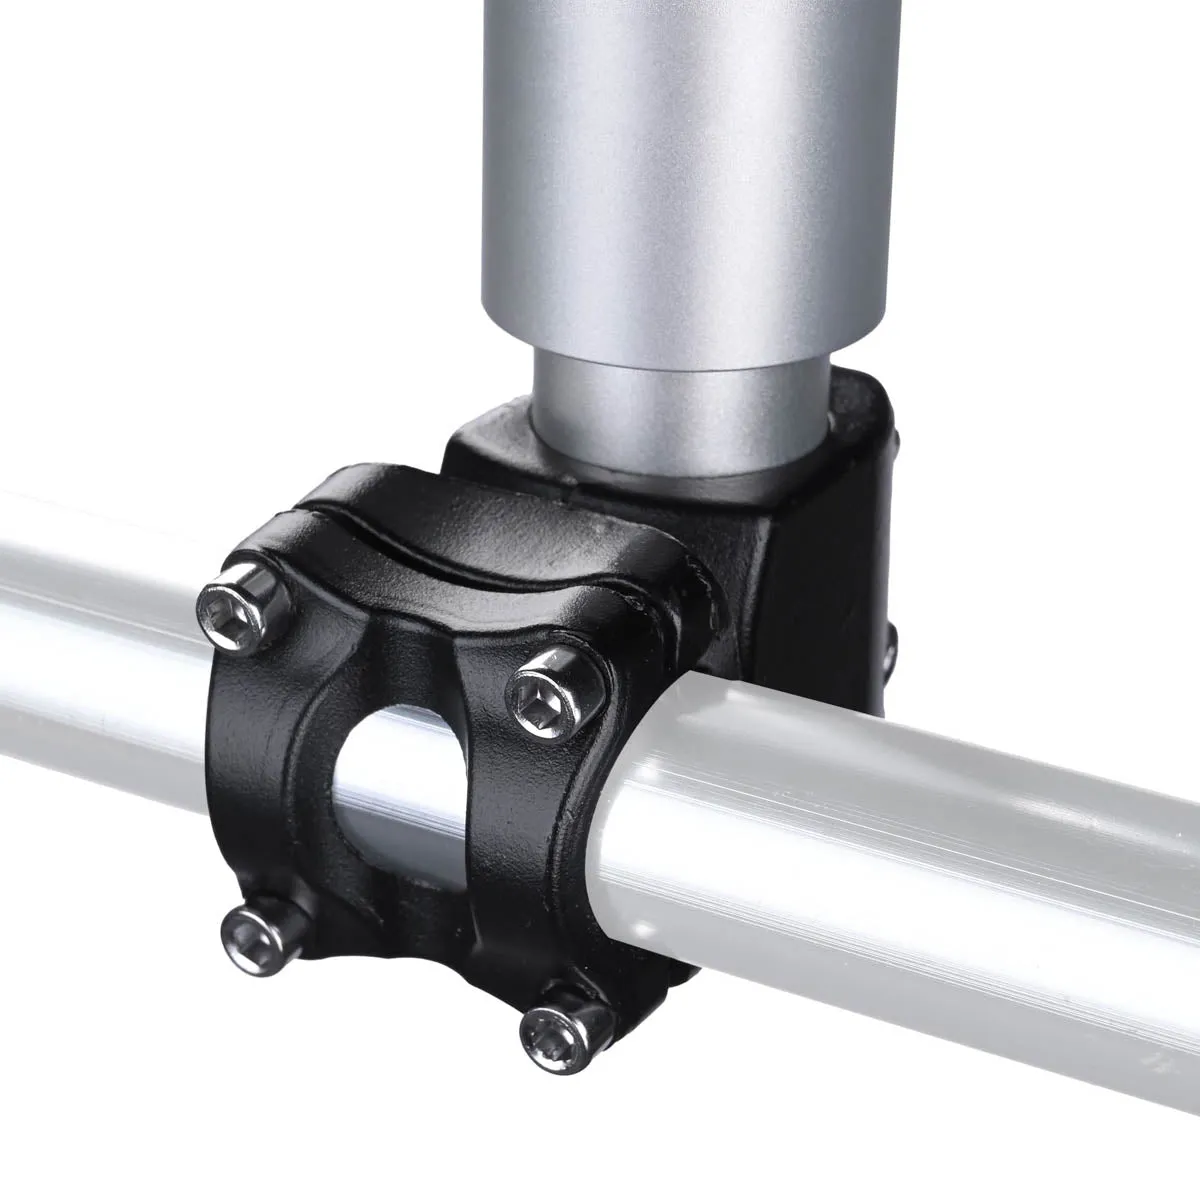
Hardware matters here too: XLinkCore mounts are shaped so the cable exits downward, which keeps water from tracking into the dish connector. If you are still choosing a bracket, the mount selection guides cover roof, wall, pole and rail options that keep the run short.
How to Route Starlink Cable Through a Wall
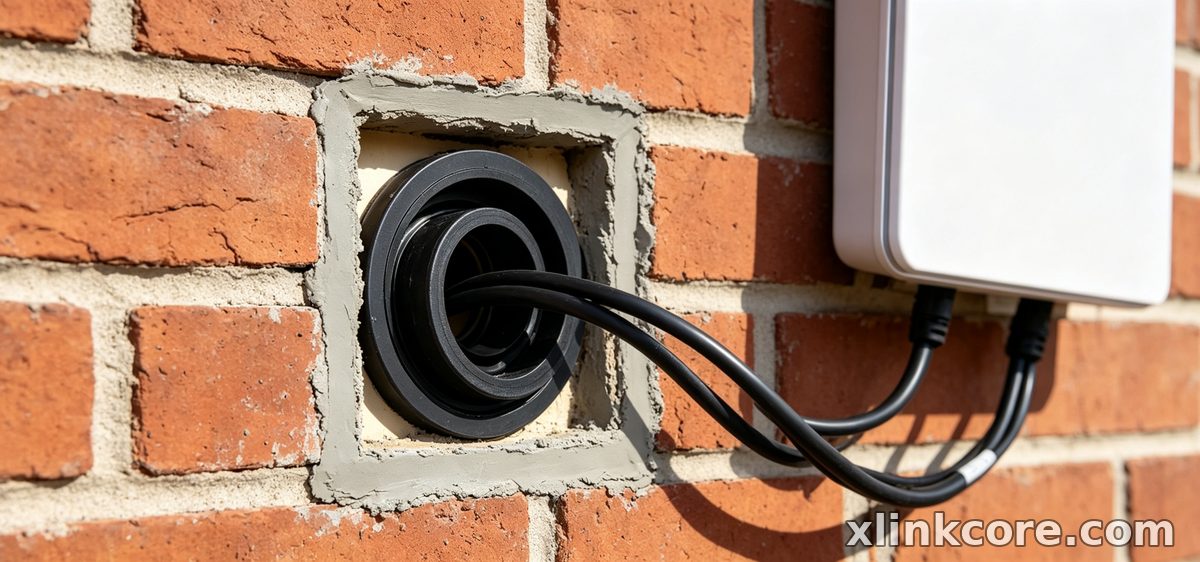
For anyone asking how to route starlink cable through wall assemblies cleanly, the answer is a sleeve, a slope and a drip loop. Drill slightly downward from inside to outside so any water reaching the hole runs away from the building. Line the opening with a short length of PVC or a proper wall feed-through, then seal the exterior with exterior-grade silicone rather than interior caulk.
Leave a drip loop just before the cable enters the wall. Water running down the cable will fall off the low point instead of tracking into the hole. Indoors, secure the cable every 40-60 cm with UV-stable clips, and never let a long run hang its full weight on the dish connector.
Starlink Cable Through Roof: Slower, Sealed, Supported
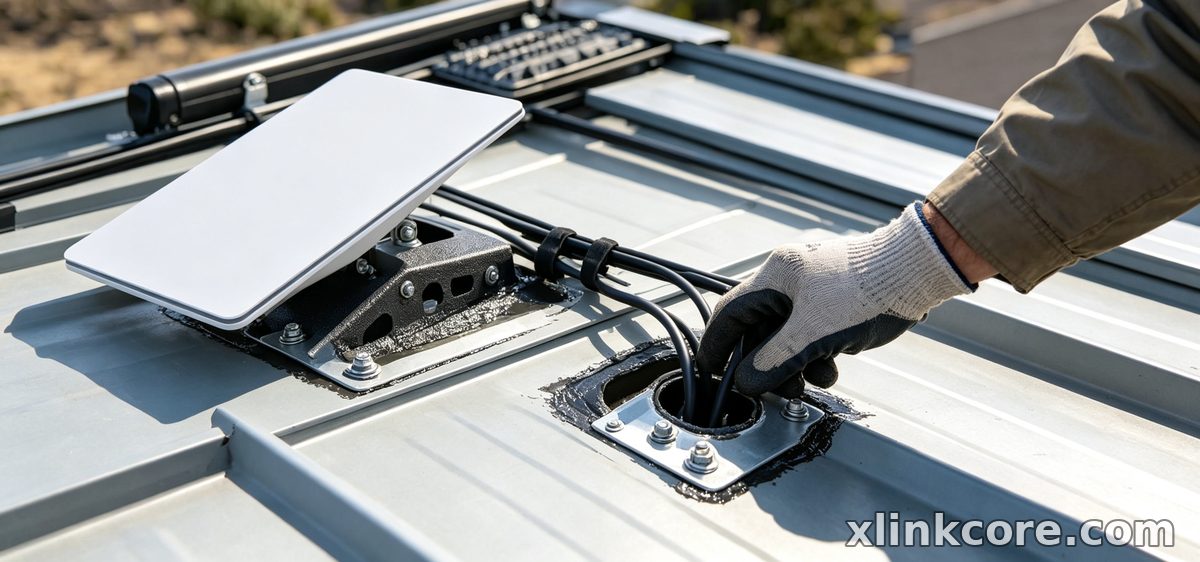
Roof penetrations need more care than walls because they take the full force of weather. Route starlink cable through roof surfaces using a dedicated roof boot or flashing plate sealed with roofing-compatible sealant, placed uphill of the mount so water sheds around it. Avoid low-slope pockets where debris collects.
Support the cable above the roof surface on standoffs instead of letting it lie in standing water, and keep the run clear of chimney heat and sharp flashing edges. On metal roofs, add a rubber grommet wherever the cable passes through sheet metal. XLinkCore cable and gland kits are sized for exactly these transitions.
How to Waterproof Starlink Connections
Connectors are the weakest link in any outdoor installation. To waterproof starlink connections, think in layers: dielectric grease or a silicone wrap on the mating surfaces, a self-amalgamating tape layer over the joint, and a UV-resistant outer wrap. Never seal a connector that is already wet — dry it first or you trap moisture inside for good.
✓Point connectors downward or sideways, never upward.
✓Use cable glands at every enclosure entry instead of foam or putty.
✓Re-check seals after the first hard freeze and thaw cycle of the season.
Sealed, glanded entries are part of the starlink cable waterproofing range from Starlink Network Accessories, which manufactures weather-rated housings alongside its mounting hardware.
Grounding: the Step Most DIY Installs Skip
Starlink grounding protects both the equipment and the building. In a properly bonded system, a starlink grounding kit connects the dish mast and any metallic cable path to the building's grounding electrode system with a listed conductor and clamp. That gives induced surge current a direct route to earth instead of through your router.
Follow local electrical code, keep the ground run as short and straight as possible, and bond metal masts even when the dish itself is insulated. A properly rated mast clamp and conductor kit from Shenzhen Starlink Network Accessories Co., Ltd. makes that connection simple. If you are unsure of the code requirements on your site, have a licensed electrician inspect the bond before commissioning. Starlink grounding is not a place to improvise with whatever wire is in the garage.
Grounding pairs naturally with power work — the power and DC conversion guides explain how to feed a dish safely from 12V or PoE sources.
Starlink Installation Mistakes to Avoid
Most field failures repeat the same handful of errors, and all of them are cheap to prevent during the install and expensive to repair later. The most common starlink installation mistakes include:
✓Sealing a wet connector, trapping water inside the joint.
✓Leaving a long unsupported cable run that flexes in the wind until a conductor breaks.
✓Skipping grounding, then losing a router to a nearby strike.
✓Reusing indoor cable ties outdoors, which crack under UV within a season.
✓Drilling without checking for wiring, pipes or structural members.
Choosing Hardware That Survives the Weather
Technique only goes so far — the parts have to hold up. The Starlink Network Accessories range includes stainless mounts, sealed glands, gaskets and cable management built for outdoor duty. XLinkCore products are molded, welded and tested in-house, and XLinkCore is the brand installers ask for by name when a job has to stay online through winter.
Shenzhen Starlink Network Accessories Co., Ltd. was founded in August 2024 and has grown quickly around a 5,000 m2 factory running 25 injection molding machines and 15 welding machines. The Starlink Network Accessories catalogue now covers more than 80 models, supported by 200 patented molds and a monthly capacity of roughly 400,000-600,000 units. Products carry 3C, CE, FCC and PSE certification, which matters when you are specifying hardware for a commercial site or a customer's home. First-time buyers can compare options in the buying guides before ordering.
A Repeatable Install Checklist
From first sketch to final QC, Starlink Network Accessories keeps quality at the center.
Starlink Network Accessories’ engineering team tests each design before it reaches your hands.
Work the same sequence every time: plan the route, drill with a downward slope, sleeve and seal the penetration, drip-loop and support the cable, waterproof every connector, then bond the mast and cable path to earth. Re-inspect seals and connectors after the first storm of the season.
XLinkCore and Starlink Network Accessories exist for one reason — to make those steps straightforward with parts that fit the first time. Whether you are mounting a dish on a suburban roof or a remote cabin, a careful starlink diy install with proper sealing and grounding will outperform a rushed job every time. Start with the installation guides, gather the right components, and let Starlink Network Accessories' hardware do its job quietly for years.
Need the Right Accessories for Your Setup?
Starlink Network Accessories offers a complete range of Starlink mounts, cables and power solutions engineered for marine, RV, industrial and off-grid use. Contact our team for bulk orders or custom OEM/ODM solutions.
Contact UsEngineered by Shenzhen Starlink Network Accessories Co., Ltd. — Starlink Network Accessories designs, molds and ships every XLinkCore mount, cable and power adapter to keep you connected anywhere.
