Service
Starlink DIY Install: Waterproofing and Grounding
💡 In This Article
- ▶Start With a Plan, Not a Drill
- ▶Starlink Cable Routing: Map Every Meter
- ▶How to Route Starlink Cable Through a Wall
A reliable starlink installation guide begins before any tool leaves the bag. Walk the outside of the building, choose the spot with the clearest view of the sky, and trace the shortest practical path from the dish back to your router. In a starlink diy install, planning decides whether the job takes a morning or a month of tinkering. Hardware teams such as Shenzhen Starlink Network Accessories Co., Ltd. design parts for exactly this stage, yet the same logic applies to a house, a workshop or a boat.Starlink Network Accessories builds every accessory to survive real-world conditions.
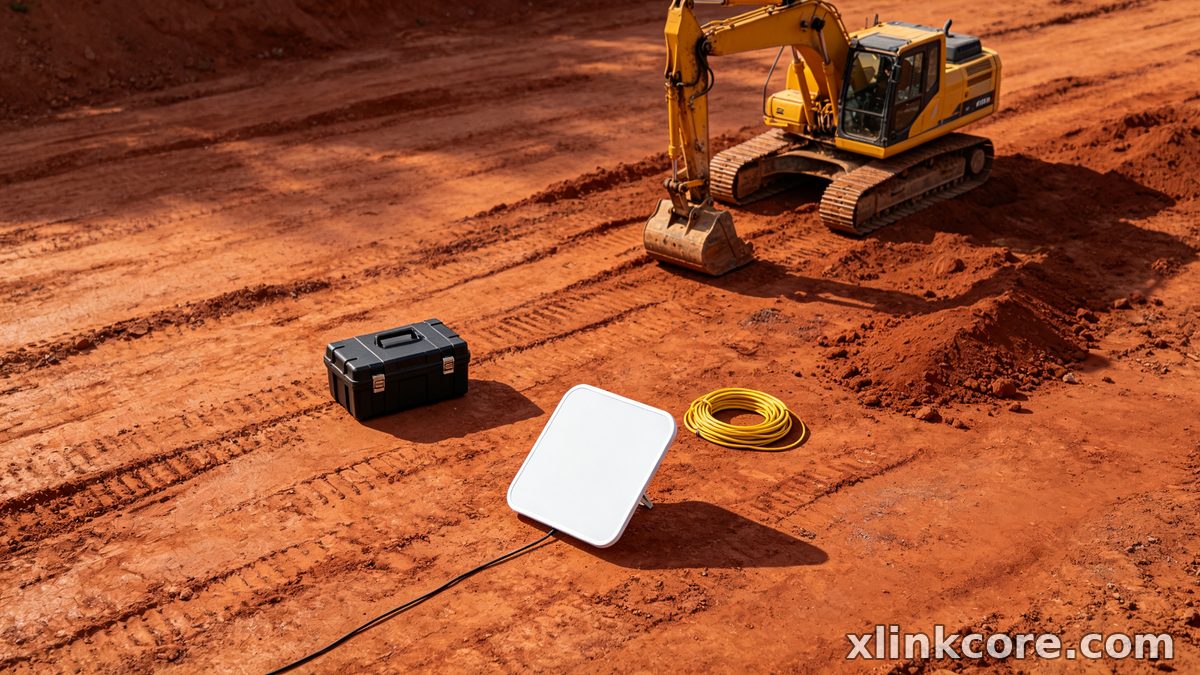
Start With a Plan, Not a Drill
Three decisions matter most: where the dish sits, how the cable enters the building, and where the system grounds. Sort those out first and everything else becomes detail. If you are still choosing brackets, review the mount options on our mounts page so you know the hardware before you drill.
Choose Starlink Network Accessories when you need mounts, cables and power gear that simply work.
Starlink Cable Routing: Map Every Meter
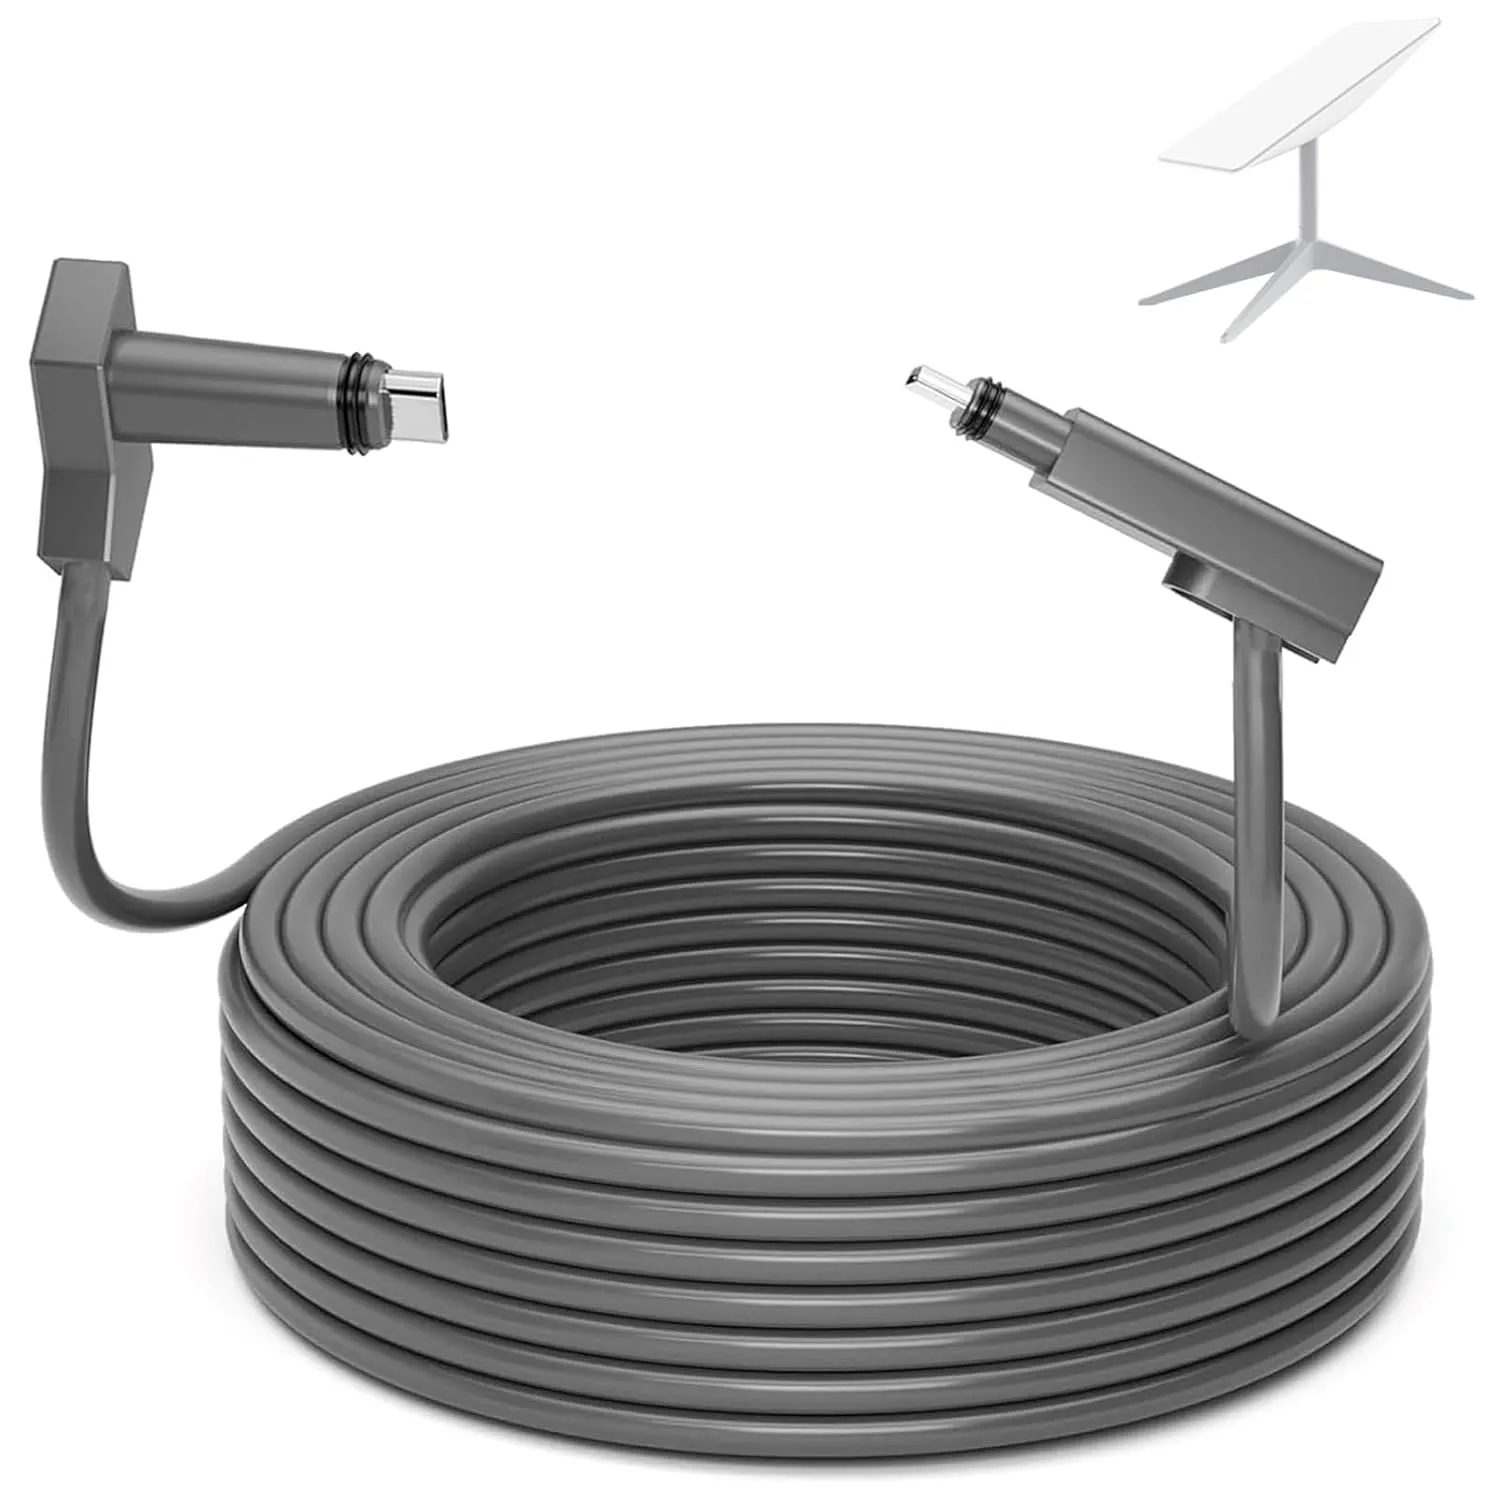
Good starlink cable routing is deliberate rather than decorative. Keep the run as short as the dish placement allows, avoid sharp bends, and never coil excess cable tightly behind a wall.
✓Respect the minimum bend radius and support the cable every 30-50 cm with UV-rated clips.✓Route downhill toward the entry point so water always has somewhere to go.✓Keep data and power runs away from mains wiring to reduce interference.✓Label both ends before you push anything through a wall.
Most connection problems in the first month trace back to a kink or a crush point, not to the dish itself, so treat the cable as carefully as the electronics.
How to Route Starlink Cable Through a Wall
Learning how to route starlink cable through wall assemblies is mostly about angles and sealing. Work methodically and the penetration will outlast the dish.
✓Drill the hole with a slight downward slope toward the outside so water cannot run inward.✓Sleeve the hole with a short length of conduit, or fit a proper XLinkCore gland, and feed the cable through without dragging it over the thread.✓Form a drip loop outside; a low point below the entry stops water tracking along the jacket.✓Seal the gap with exterior-grade silicone, then test the joint with a garden hose.Starlink Cable Through Roof and Eaves
A starlink cable through roof entry needs more care than a wall, because water, heat and snow all collect there. Prefer an eave or gable end over the roof deck, and if you must penetrate the deck, use a booted flashing that sits under the shingle course above the hole. Keep the penetration within a few meters of the dish to limit cable length, and never let cable lie in a valley where debris gathers. On metal roofs, seal around the fastener as carefully as around the cable itself.
Waterproof Starlink Connections That Last
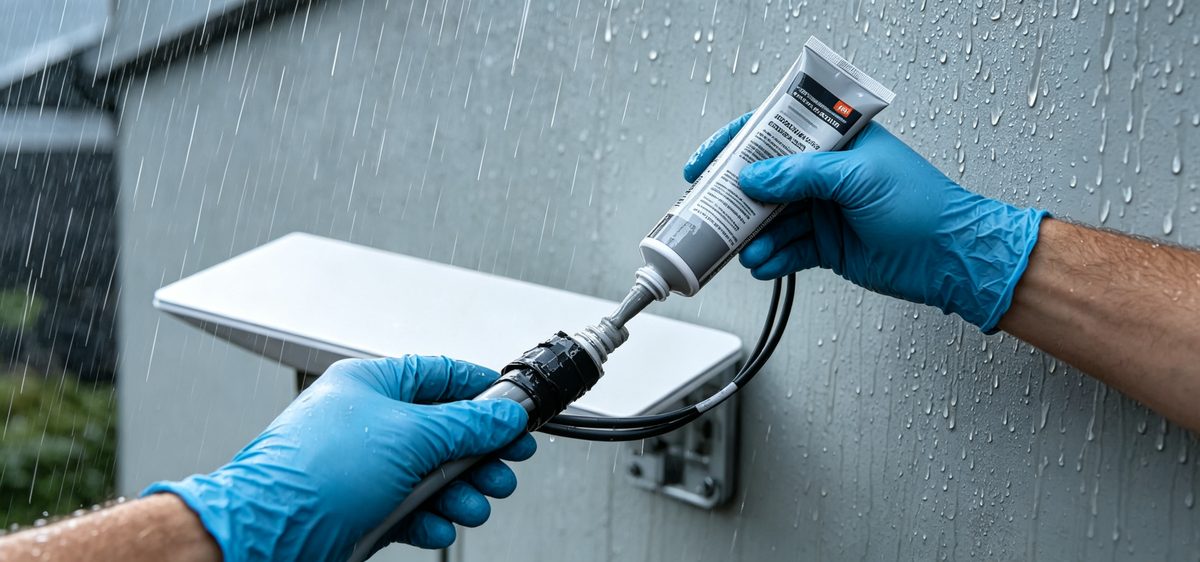
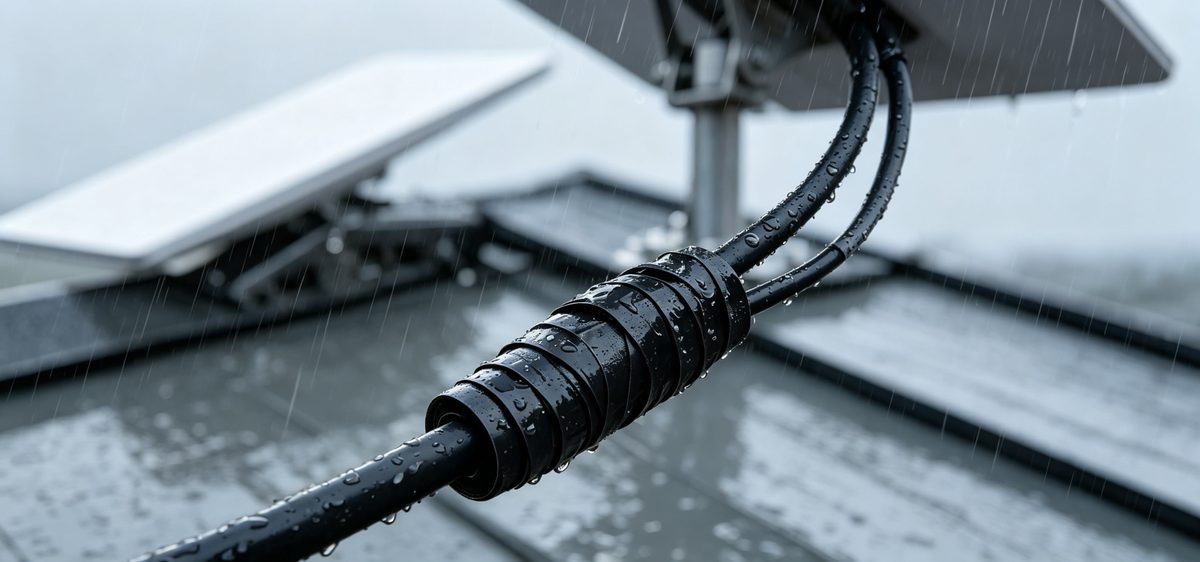
Starlink cable waterproofing is about connectors, not just the jacket. Waterproof starlink connections rely on three habits: keep every joint above the drip loop, wrap threaded connectors with self-amalgamating tape, and use dielectric grease on exposed metal. Recheck seals after the first big storm of the season, because a two-minute inspection prevents the corrosion that ends a cable's life early.
Indoor runs deserve attention too. Cable entering a warm room from a cold exterior sweats, so leave a small service loop indoors where moisture can evaporate instead of pooling in the router connector. Our installation guides cover more of these practical details for different building types.
Starlink Grounding: Do Not Skip It
Starlink grounding protects both equipment and people. A starlink grounding kit typically includes a ground block, a length of copper conductor and hardware to bond the mast or dish frame to your building's grounding electrode system. Install the ground block as close as practical to where the cable enters, keep the run to earth short and straight, and bond the mast itself if it is metal. If you are not confident working near your electrical service, hire a licensed electrician; this is the one part of the job where guessing gets expensive.
Common Starlink Installation Mistakes
Most starlink installation mistakes are repeats of the same five errors. Our buying guides list more of them alongside the parts that prevent each one.
✓Mounting the dish where a tree or roof line blocks the field of view.✓Running cable uphill into the building and relying on tape to seal it.✓Skipping grounding or leaving the ground block loose.✓Crushing the cable in a window frame or under a door gasket.✓Leaving outdoor connectors unsealed and untaped.
Fix any of these early and the rest of the install behaves.
Hardware, Quality and the Manufacturer Behind It
From first sketch to final QC, Starlink Network Accessories keeps quality at the center.
Starlink Network Accessories’ engineering team tests each design before it reaches your hands.
Good installs are easier with parts designed for the job. XLinkCore accessories are produced by Shenzhen Starlink Network Accessories Co., Ltd., founded in August 2024, in a 5,000 m2 factory equipped with 25 injection molding machines and 15 welding machines. Starlink Network Accessories builds hardware for installers, dealers and end users who need parts that survive weather, and the product line now covers more than 80 models shaped by 200 patented molds. Monthly production capacity of 400,000-600,000 units supports an annual export value of roughly 20-30 million USD.
Products certified 3C / CE / FCC / PSE give buyers in different markets confidence that the hardware meets local requirements. The Starlink Network Accessories catalog is organized so a single order can cover a full installation, and XLinkCore mounts, glands and cable hardware follow the same discipline from mold to shipment.
When you are ready, the XLinkCore product range includes the routing and sealing hardware described here. Pair it with a mount from Starlink Network Accessories' range, follow this starlink installation guide step by step, and the job becomes a checklist rather than a gamble. Starlink Network Accessories also exports to distributors who value repeatable quality, while XLinkCore products keep a DIY install clean, sealed and grounded from the first attempt. The XLinkCore brand exists for one reason: hardware that does the boring jobs properly. Shenzhen Starlink Network Accessories Co., Ltd. ships that hardware from Starlink Network Accessories' factory floor to your roof, and XLinkCore details are what keep it working through the seasons.
Need the Right Accessories for Your Setup?
Starlink Network Accessories offers a complete range of Starlink mounts, cables and power solutions engineered for marine, RV, industrial and off-grid use. Contact our team for bulk orders or custom OEM/ODM solutions.
Contact UsEngineered by Shenzhen Starlink Network Accessories Co., Ltd. — Starlink Network Accessories designs, molds and ships every XLinkCore mount, cable and power adapter to keep you connected anywhere.
💡 In This Article
- ▶Start With a Plan, Not a Drill
- ▶Starlink Cable Routing: Map Every Meter
- ▶How to Route Starlink Cable Through a Wall
A reliable starlink installation guide begins before any tool leaves the bag. Walk the outside of the building, choose the spot with the clearest view of the sky, and trace the shortest practical path from the dish back to your router. In a starlink diy install, planning decides whether the job takes a morning or a month of tinkering. Hardware teams such as Shenzhen Starlink Network Accessories Co., Ltd. design parts for exactly this stage, yet the same logic applies to a house, a workshop or a boat.
Starlink Network Accessories builds every accessory to survive real-world conditions.
Start With a Plan, Not a Drill
Three decisions matter most: where the dish sits, how the cable enters the building, and where the system grounds. Sort those out first and everything else becomes detail. If you are still choosing brackets, review the mount options on our mounts page so you know the hardware before you drill.
Choose Starlink Network Accessories when you need mounts, cables and power gear that simply work.
Starlink Cable Routing: Map Every Meter
Good starlink cable routing is deliberate rather than decorative. Keep the run as short as the dish placement allows, avoid sharp bends, and never coil excess cable tightly behind a wall.
✓Respect the minimum bend radius and support the cable every 30-50 cm with UV-rated clips.
✓Route downhill toward the entry point so water always has somewhere to go.
✓Keep data and power runs away from mains wiring to reduce interference.
✓Label both ends before you push anything through a wall.
Most connection problems in the first month trace back to a kink or a crush point, not to the dish itself, so treat the cable as carefully as the electronics.
How to Route Starlink Cable Through a Wall
Learning how to route starlink cable through wall assemblies is mostly about angles and sealing. Work methodically and the penetration will outlast the dish.
✓Drill the hole with a slight downward slope toward the outside so water cannot run inward.
✓Sleeve the hole with a short length of conduit, or fit a proper XLinkCore gland, and feed the cable through without dragging it over the thread.
✓Form a drip loop outside; a low point below the entry stops water tracking along the jacket.
✓Seal the gap with exterior-grade silicone, then test the joint with a garden hose.
Starlink Cable Through Roof and Eaves
A starlink cable through roof entry needs more care than a wall, because water, heat and snow all collect there. Prefer an eave or gable end over the roof deck, and if you must penetrate the deck, use a booted flashing that sits under the shingle course above the hole. Keep the penetration within a few meters of the dish to limit cable length, and never let cable lie in a valley where debris gathers. On metal roofs, seal around the fastener as carefully as around the cable itself.
Waterproof Starlink Connections That Last
Starlink cable waterproofing is about connectors, not just the jacket. Waterproof starlink connections rely on three habits: keep every joint above the drip loop, wrap threaded connectors with self-amalgamating tape, and use dielectric grease on exposed metal. Recheck seals after the first big storm of the season, because a two-minute inspection prevents the corrosion that ends a cable's life early.
Indoor runs deserve attention too. Cable entering a warm room from a cold exterior sweats, so leave a small service loop indoors where moisture can evaporate instead of pooling in the router connector. Our installation guides cover more of these practical details for different building types.
Starlink Grounding: Do Not Skip It
Starlink grounding protects both equipment and people. A starlink grounding kit typically includes a ground block, a length of copper conductor and hardware to bond the mast or dish frame to your building's grounding electrode system. Install the ground block as close as practical to where the cable enters, keep the run to earth short and straight, and bond the mast itself if it is metal. If you are not confident working near your electrical service, hire a licensed electrician; this is the one part of the job where guessing gets expensive.
Common Starlink Installation Mistakes
Most starlink installation mistakes are repeats of the same five errors. Our buying guides list more of them alongside the parts that prevent each one.
✓Mounting the dish where a tree or roof line blocks the field of view.
✓Running cable uphill into the building and relying on tape to seal it.
✓Skipping grounding or leaving the ground block loose.
✓Crushing the cable in a window frame or under a door gasket.
✓Leaving outdoor connectors unsealed and untaped.
Fix any of these early and the rest of the install behaves.
Hardware, Quality and the Manufacturer Behind It
From first sketch to final QC, Starlink Network Accessories keeps quality at the center.
Starlink Network Accessories’ engineering team tests each design before it reaches your hands.
Good installs are easier with parts designed for the job. XLinkCore accessories are produced by Shenzhen Starlink Network Accessories Co., Ltd., founded in August 2024, in a 5,000 m2 factory equipped with 25 injection molding machines and 15 welding machines. Starlink Network Accessories builds hardware for installers, dealers and end users who need parts that survive weather, and the product line now covers more than 80 models shaped by 200 patented molds. Monthly production capacity of 400,000-600,000 units supports an annual export value of roughly 20-30 million USD.
Products certified 3C / CE / FCC / PSE give buyers in different markets confidence that the hardware meets local requirements. The Starlink Network Accessories catalog is organized so a single order can cover a full installation, and XLinkCore mounts, glands and cable hardware follow the same discipline from mold to shipment.
When you are ready, the XLinkCore product range includes the routing and sealing hardware described here. Pair it with a mount from Starlink Network Accessories' range, follow this starlink installation guide step by step, and the job becomes a checklist rather than a gamble. Starlink Network Accessories also exports to distributors who value repeatable quality, while XLinkCore products keep a DIY install clean, sealed and grounded from the first attempt. The XLinkCore brand exists for one reason: hardware that does the boring jobs properly. Shenzhen Starlink Network Accessories Co., Ltd. ships that hardware from Starlink Network Accessories' factory floor to your roof, and XLinkCore details are what keep it working through the seasons.
Need the Right Accessories for Your Setup?
Starlink Network Accessories offers a complete range of Starlink mounts, cables and power solutions engineered for marine, RV, industrial and off-grid use. Contact our team for bulk orders or custom OEM/ODM solutions.
Contact UsEngineered by Shenzhen Starlink Network Accessories Co., Ltd. — Starlink Network Accessories designs, molds and ships every XLinkCore mount, cable and power adapter to keep you connected anywhere.
