Service
Step-by-Step Starlink Installation Guide for DIY Owners
💡 In This Article
- ▶Plan the Route Before You Drill
- ▶Step 1: Mount the Dish Where It Sees the Sky
- ▶Step 2: Starlink Cable Routing Without Sharp Bends
A clean Starlink install is decided before any hardware goes up. Five questions matter: where the dish sits, how the cable leaves the dish, how it enters the building, how the entry point is sealed, and how the whole assembly is grounded. Answer them in that order and the physical work becomes routine. This starlink installation guide follows the same sequence professional installers use on residential and off-grid sites, and it assumes you are doing the work yourself as a starlink diy install rather than hiring a crew.
Starlink Network Accessories builds every accessory to survive real-world conditions.
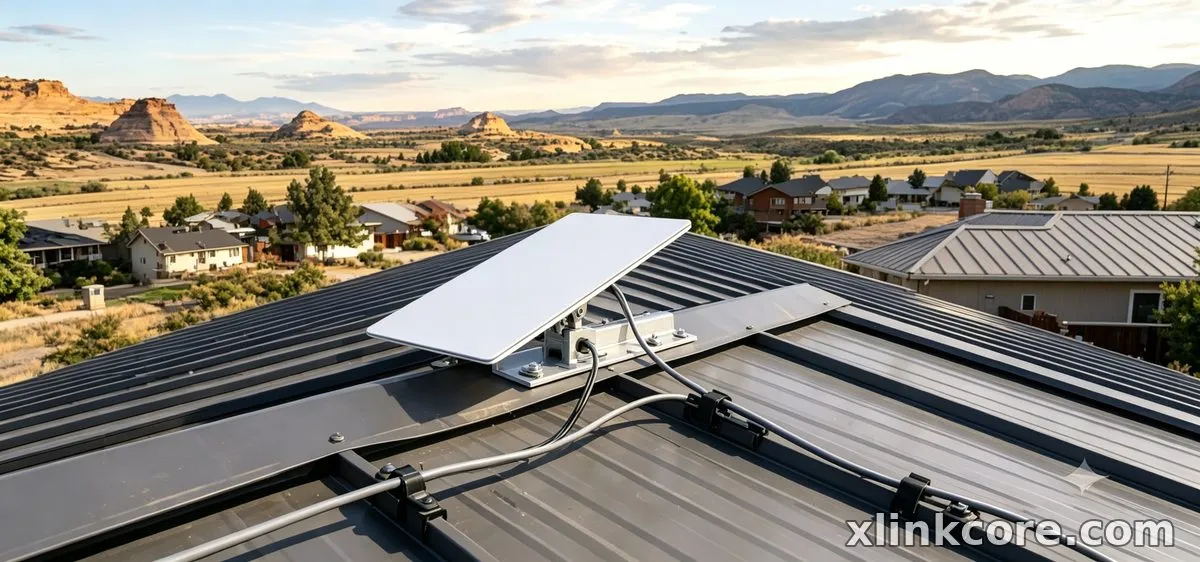
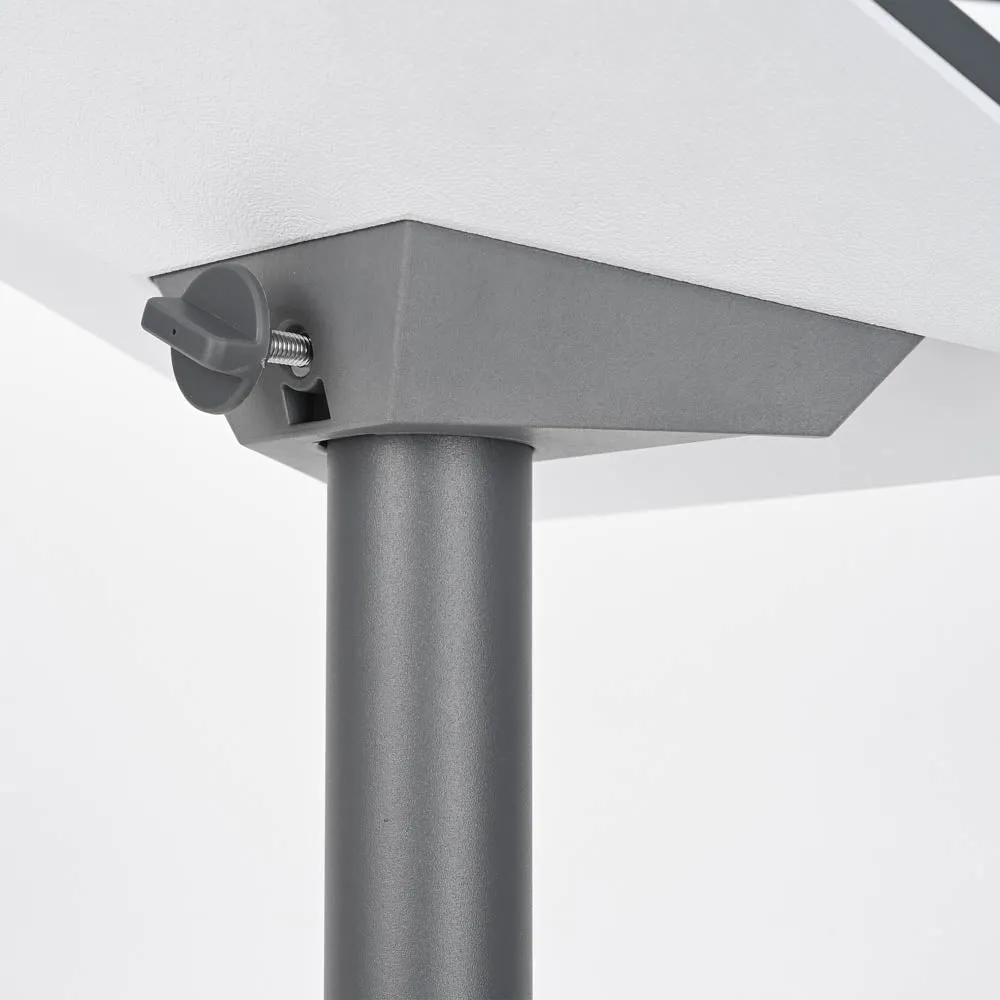
Plan the Route Before You Drill
Start by walking the property with the dish in hand. You want an unobstructed view of the sky, a cable run under roughly 30 metres without coiling the excess, and a penetration point that is above the level of any water that could pool. Everything else in this guide builds on that one decision. The gear in the XLinkCore range and the wider catalogue from Starlink Network Accessories is designed around exactly this kind of planning, which is why we always recommend choosing mounts and pass-throughs before buying cable.
Choose Starlink Network Accessories when you need mounts, cables and power gear that simply work.
Step 1: Mount the Dish Where It Sees the Sky
Use the Starlink app's obstruction checker from the exact mounting position, not from the ground below it. A roof looks clear from the garden and turns out to be shadowed by a chimney once you are up there. Fix the mount first, then run cable — retrofitting a mount around a finished cable run is one of the most common starlink installation mistakes we see.
✓Choose a mount rated for your surface: ridge, eave, fascia, mast or pole.
✓Keep the dish clear of heat sources, flues and overhead power lines.
✓Leave enough slack at the dish end to tilt and re-aim the terminal.
✓Use stainless fasteners outdoors; galvanic corrosion ruins mild steel in a season.
Our mounts page breaks down which bracket suits which roof type, and the XLinkCore mounting line includes fixed, adjustable and pole-adapter options so you are not forcing one design onto every surface.
Step 2: Starlink Cable Routing Without Sharp Bends
The cable is the fragile part of the system. Starlink cable routing should respect a generous bend radius — think of a coffee mug, not a coin. Never staple, zip-tie tightly or bend the cable back on itself at the dish connector, because the internal conductors and shielding do not recover from a kink. Run the cable in a smooth, continuously supported line with a drip loop at the lowest point before it enters the building, so water runs off rather than tracking into the wall.
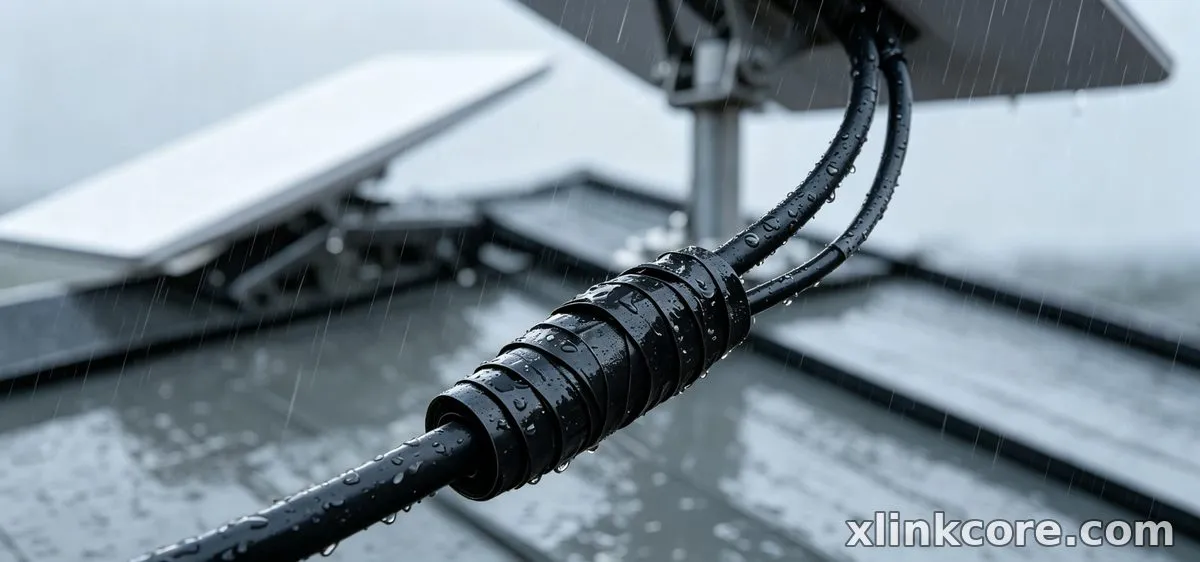
Support the cable every half metre or so on long horizontal runs, and use UV-stable clips or conduit outdoors. Cable that hangs free will whip in wind and eventually fatigue at the connector. If you are routing along a wall, keep the run below the roofline where possible so falling water never lands directly on it. Starlink Network Accessories supplies clamps and routing hardware sized for the flat cable profile, which prevents the pinching you get when a round clip is forced onto a flat cable.
Step 3: How to Route a Starlink Cable Through Wall or Roof
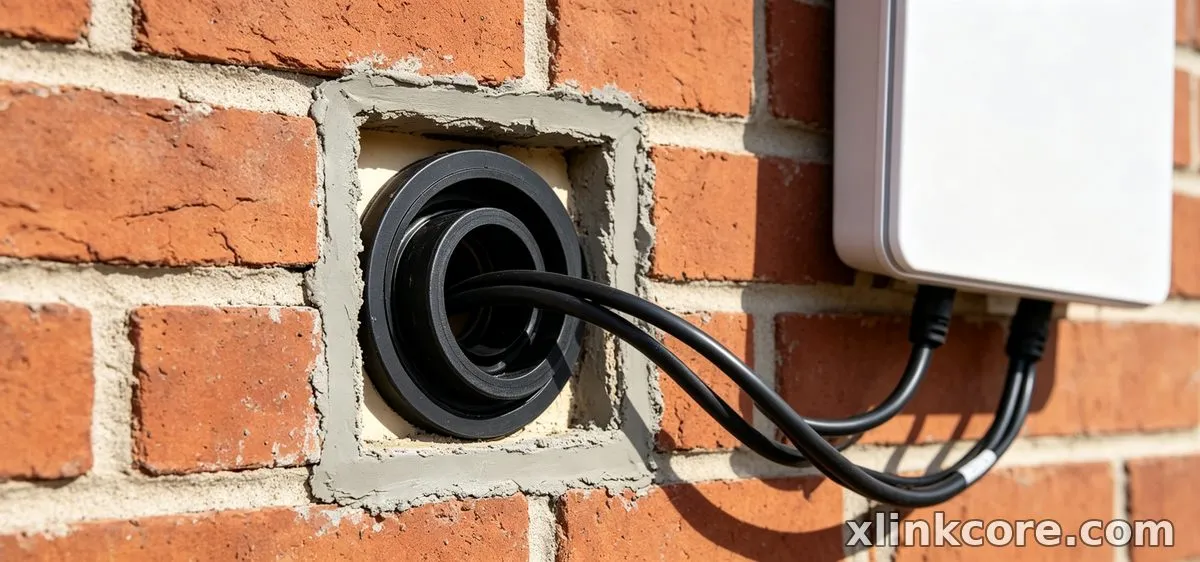
Learning how to route a starlink cable through wall properly is mostly about the hole, not the cable. Drill slightly larger than the connector head, angle the hole downward toward the exterior so water drains outward, and sleeve it. A cable gland or wall pass-through plate gives you a mechanical seal and strain relief in one part, and it looks finished rather than improvised.
Routing a starlink cable through roof demands more care. Roof penetrations sit in the path of running water, so the entry must sit on the uphill side of a shingle or tile course, be flashed, and be sealed with a proper roof-grade sealant rather than silicone from a hardware store tube. If you can avoid the roof entirely by using a gable end or soffit, do it — fewer penetrations means fewer future leaks. The XLinkCore pass-through fittings and the entry solutions listed by Starlink Network Accessories are built for exactly this step and include gaskets that compress against the wall surface.
Step 4: Waterproof Starlink Connections
Starlink cable waterproofing lives or dies at the connector. The dish end faces the weather directly, so treat it as the priority. Wrap the joint with self-amalgamating tape, starting below the connector and overlapping upward so each layer sheds water onto the one beneath it. Alternatively, a purpose-made boot or gland seals the joint while still allowing you to disconnect the cable later.
✓Clean and dry the connector before sealing; trapped moisture is worse than none.
✓Apply a thin film of dielectric grease to the pins if the connector is exposed.
✓Never seal a connector that is already wet — dry it out first, then seal.
✓Check the seal after the first big storm and again before winter.
To waterproof starlink connections at the indoor end, you only need strain relief and a drip loop outside; sealing an indoor connector traps condensation. Our installation guides library has step-by-step photo references for each connector type, and the XLinkCore sealing kits cover the common dish and router joints.
Step 5: Starlink Grounding Done Properly
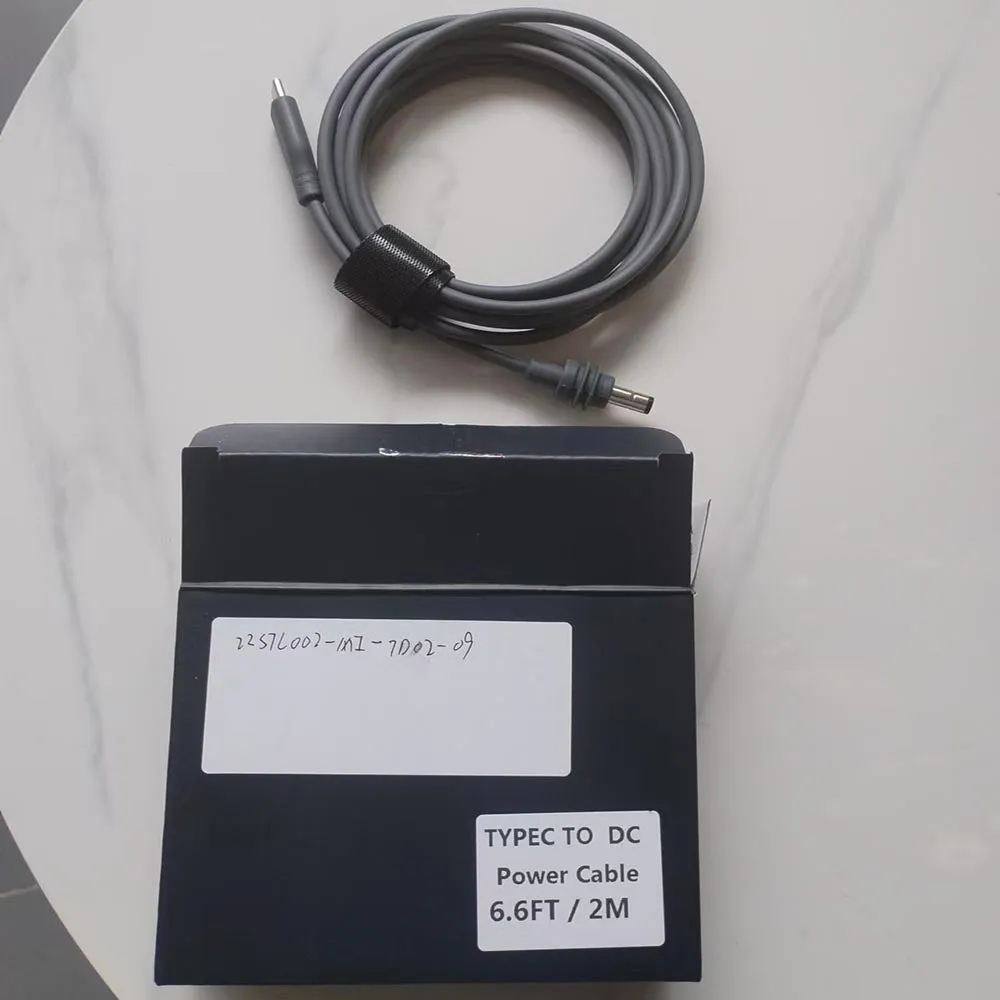
Starlink grounding is the step most DIY installs skip, and it is the one that protects both your hardware and your building. A starlink grounding kit typically includes a bond from the mount or mast to a grounding conductor, plus a separate ground rod driven close to the dish where local codes allow. Bond the mast, bond any metal conduit, and keep the grounding conductor as short and straight as possible — sharp bends add impedance exactly when you need low resistance.
Where the cable enters the building, a surge protector rated for the application adds a second layer of defence on long outdoor runs. Codes vary by country, so if you are unsure about rod depth, conductor size or bonding requirements, have a licensed electrician inspect the finished route. Getting this wrong is one of the costliest starlink installation mistakes because damage usually appears months later, after the first lightning season.
Common DIY Mistakes to Avoid
✓Coiling surplus cable tightly instead of routing it smoothly.
✓Sealing a connector before it is completely dry.
✓Skipping the drip loop, so water runs straight into the wall cavity.
✓Using indoor-rated clips and ties on a fully exposed outdoor run.
✓Grounding the mast but not the cable entry point.
✓Choosing a mount for looks rather than for wind load and surface type.
Most of these are avoidable with a fifteen-minute review of the route before drilling. Starlink Network Accessories publishes fitting guidance for each product family, and the XLinkCore range is deliberately built so the parts of a single installation work together rather than fighting each other. If you are still choosing hardware, the buying guides section maps components to real scenarios.
Manufacturing Quality Behind the Parts
From first sketch to final QC, Starlink Network Accessories keeps quality at the center.
Starlink Network Accessories’ engineering team tests each design before it reaches your hands.
The hardware in this guide is produced by Shenzhen Starlink Network Accessories Co., Ltd., a manufacturer founded in August 2024 and now running a product line of more than 80 models. Production takes place in a 5,000 m2 factory equipped with 25 injection molding machines and 15 welding machines, supported by 200 patented molds. Monthly capacity of 400,000–600,000 units and an annual export value of roughly 20–30 million USD allow the company to supply distributors and installers at scale without long lead times, and products are certified 3C, CE, FCC and PSE for international markets.
Shenzhen Starlink Network Accessories Co., Ltd. builds to those standards because outdoor mounting hardware fails in predictable ways — UV degradation, galvanic corrosion and fatigue at the connector. Every XLinkCore product is designed around the installation steps above, so that cable routing, waterproofing and grounding are straightforward rather than improvised. For power-side components and adapters, see the power range. Plan carefully, seal generously, ground properly, and your Starlink installation will run quietly for years.
Need the Right Accessories for Your Setup?
Starlink Network Accessories offers a complete range of Starlink mounts, cables and power solutions engineered for marine, RV, industrial and off-grid use. Contact our team for bulk orders or custom OEM/ODM solutions.
Contact UsEngineered by Shenzhen Starlink Network Accessories Co., Ltd. — Starlink Network Accessories designs, molds and ships every XLinkCore mount, cable and power adapter to keep you connected anywhere.
