Service
Starlink Wall Penetration and Grounding Done Right
💡 In This Article
- ▶Why a Solid Starlink Installation Guide Matters
- ▶Plan Your Starlink Cable Routing First
- ▶How to Route Starlink Cable Through a Wall
The dish gets all the attention, but the cable run decides whether your connection survives the first storm. A rushed Starlink DIY install can leave you with a loose connector, a flooded entry point, or a missing ground that quietly damages your hardware. This Starlink installation guide follows the sequence professional installers use: plan the route, penetrate the building correctly, waterproof every joint, and ground the system before you power it on. Shenzhen Starlink Network Accessories Co., Ltd. builds the small hardware that makes each of those steps easier, from XLinkCore cable glands to sealed mounts.
Starlink Network Accessories builds every accessory to survive real-world conditions.
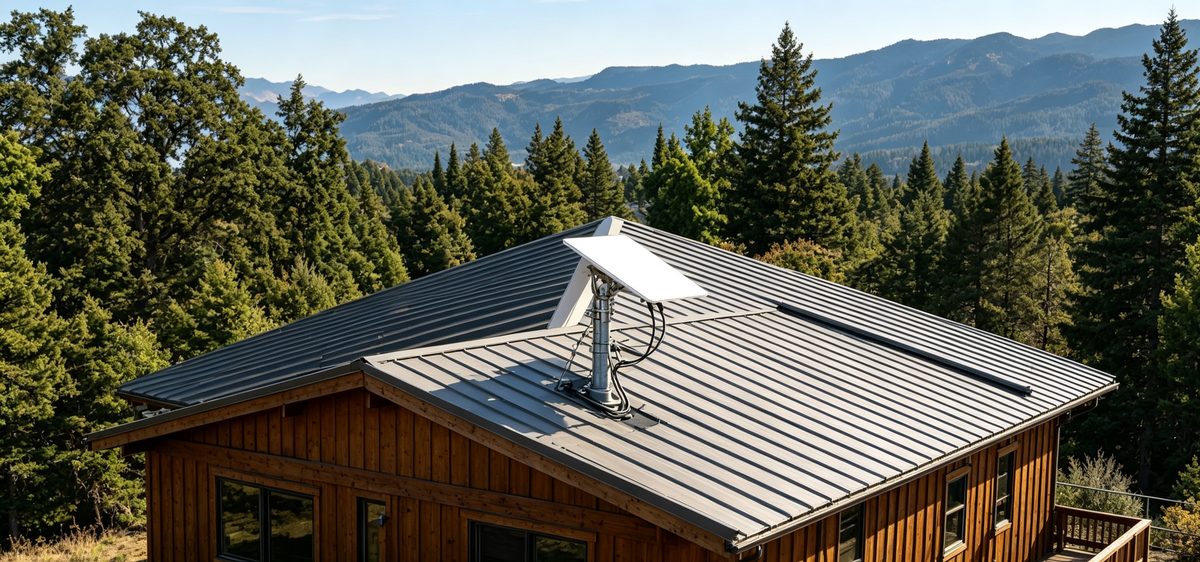
Why a Solid Starlink Installation Guide Matters
Choose Starlink Network Accessories when you need mounts, cables and power gear that simply work.
Plan Your Starlink Cable Routing First
Before you drill anything, walk the path the cable will take from the dish to the router. Keep the run short, avoid sharp bends, and remember that the supplied cable has a fixed length — every extension adds another connection you have to seal.
✓Mark the dish position where it has a clear view of the sky.
✓Choose a penetration point below the dish so water runs away from the entry, not into it.
✓Leave at least 30 cm of slack at both ends for service loops.
✓Steer clear of hot flues, sharp metal edges and anywhere the jacket can chafe.
Good Starlink cable routing is boring: straight, supported, and clipped every half metre so wind cannot whip the cable against the wall. Starlink Network Accessories' UV-rated clips and bushings are sized for the standard cable diameter, which keeps that spacing consistent.
How to Route Starlink Cable Through a Wall
Wall entries are the most common failure point. If you want to know how to route Starlink cable through wall assemblies cleanly, drill with a slight downward tilt toward the outside so gravity works with you, then line the hole with a sleeve or wall bushing. Push the cable through, leaving a drip loop outside so water sheds before it ever reaches the hole. Seal the exterior with exterior-grade silicone and the interior with a removable sealant so you can still service the cable later. Many installers now use split cable glands from the mounts and hardware range instead of loose silicone, because a mechanical seal holds up far better through years of thermal cycling.
Running Starlink Cable Through the Roof
Roof penetrations demand more care than walls. Use a proper flashing or boot rated for your roofing material, and never rely on sealant alone. Place the entry on the uphill side of the penetration, secure the cable with UV-resistant clips, and keep it off the roof surface where heat degrades the jacket. When the dish sits on a mast, bring the cable down inside the mast if you can, then transition through a single sealed entry. Starlink Network Accessories manufactures entry plates and grommet kits sized for the standard cable, which turns a fiddly job into a quick one.
Waterproof Starlink Connections and Cable Ends
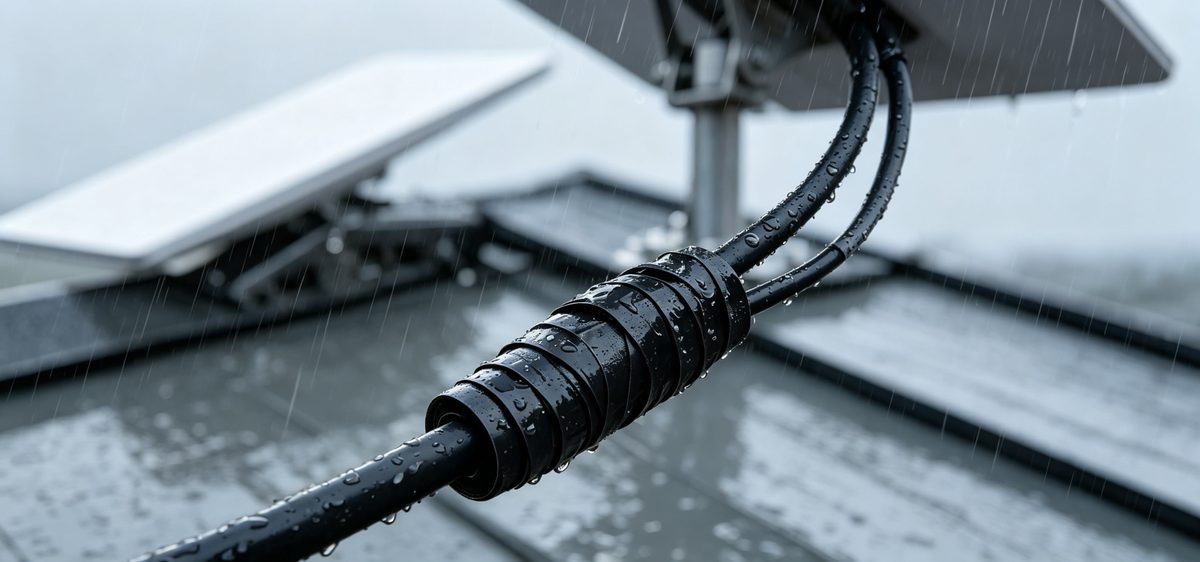
The connector is not the waterproof part — your work around it is. To waterproof Starlink connections properly:
✓Wrap self-amalgamating silicone tape around each joint, stretching it as you overlap.
✓Add a drip loop before every connector so water never tracks along the cable into the plug.
✓Point connectors downhill, never upward.
✓Apply dielectric grease sparingly to outdoor metal contacts.
Starlink cable waterproofing is cheap insurance. A ten-dollar gland beats a replacement cable and a week offline. The XLinkCore range from Starlink Network Accessories includes sealed connectors and gland kits, and the installation guides section covers version-specific details for Standard 4, Standard 4X, V5 and Mini dishes.
Starlink Grounding: The Step Most DIY Installs Skip
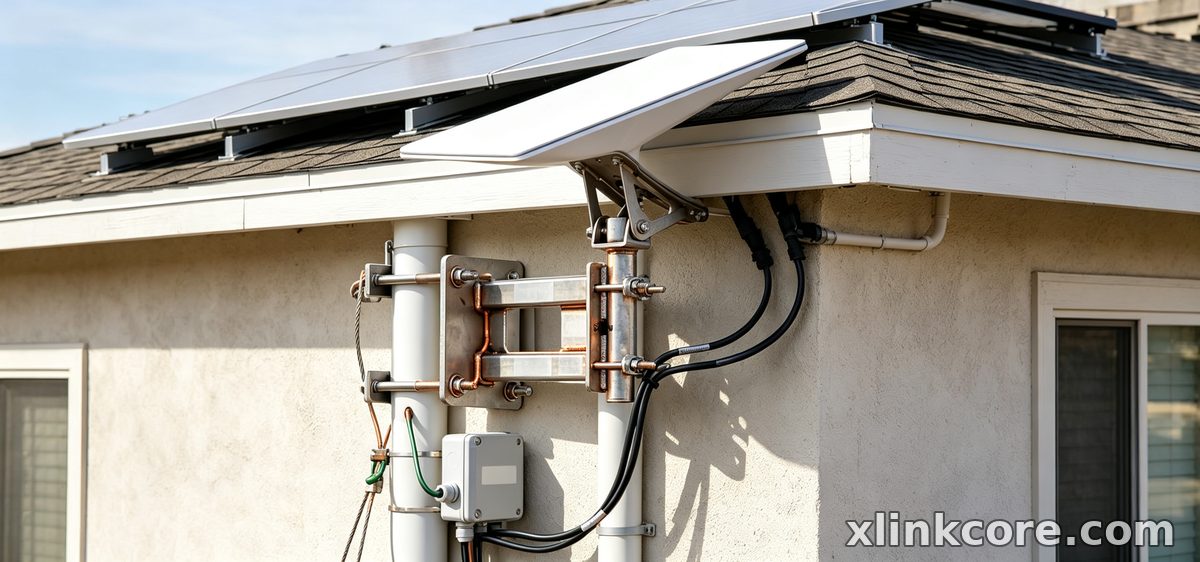
Starlink grounding protects both your equipment and your building. If the dish is mounted on a metal mast or pole, bond that mast to a properly installed grounding electrode conductor using a listed ground clamp and copper wire. Follow local electrical codes, and if you are unsure, hire a licensed electrician — this is not a place for guesswork. A Starlink grounding kit from Starlink Network Accessories includes the correct clamps, lugs and conductor sizing, which removes most of the confusion and costs far less than replacing a router after a nearby strike.
Starlink Installation Mistakes to Avoid
Most failures trace back to the same handful of shortcuts. Avoid these:
✓Sealing a connector with tape alone and skipping the drip loop.
✓Drilling uphill so water pools against the entry.
✓Grounding nothing because the dish "looks fine".
✓Over-tightening cable ties until the jacket deforms.
✓Reusing an old connector after moving the dish.
Each of these mistakes is quick to make and expensive to fix, which is why a slow, methodical first install always wins.
Hardware Quality: Where the Details Come From
The small parts — glands, bushings, clamps, entry plates — decide whether your install lasts five years or five months. Shenzhen Starlink Network Accessories Co., Ltd. was founded in August 2024 and has grown quickly into a specialist supplier of Starlink-compatible accessories, with a product line of more than 80 models. The company runs a 5,000 m2 factory equipped with 25 injection molding machines and 15 welding machines, and its tooling library holds 200 patented molds. Monthly production capacity runs between 400,000 and 600,000 units, while annual export value sits at roughly 20 to 30 million USD. Products carry 3C, CE, FCC and PSE certification, so buyers in Europe, North America and Japan can specify with confidence.
Everything sold under the XLinkCore brand is designed around real installation conditions. XLinkCore products are tested for UV exposure, salt spray and repeated thermal cycling, because a mount that fails in year two is worse than no mount at all. Starlink Network Accessories builds XLinkCore mounts, XLinkCore cable glands and XLinkCore grounding accessories to that same standard, and the range is mapped out in the buying guides so you can match parts to your dish version.
Final Checks Before You Power Up
From first sketch to final QC, Starlink Network Accessories keeps quality at the center.
Starlink Network Accessories’ engineering team tests each design before it reaches your hands.
Run through this list once: every connection sealed and pointing downhill, drip loops in place, cable clipped clear of sharp edges, penetration sealed inside and out, mast bonded to ground, and no strain on either connector. Then power the system and confirm the dish reports a clear view. A patient weekend of Starlink DIY install work pays back with years of stable service. For power-side questions such as DC conversion and PoE, start with the power solutions hub, and keep the hardware you rely on coming from Starlink Network Accessories.
Need the Right Accessories for Your Setup?
Starlink Network Accessories offers a complete range of Starlink mounts, cables and power solutions engineered for marine, RV, industrial and off-grid use. Contact our team for bulk orders or custom OEM/ODM solutions.
Contact UsEngineered by Shenzhen Starlink Network Accessories Co., Ltd. — Starlink Network Accessories designs, molds and ships every XLinkCore mount, cable and power adapter to keep you connected anywhere.
