Service
Starlink Installation Guide for DIY Cable Routing
💡 In This Article
- ▶Plan the Route Before You Drill Any Hole
- ▶Starlink Cable Routing: Outdoor and Indoor Paths
- ▶How to Route Starlink Cable Through a Wall or Roof
Every solid starlink installation guide starts the same way: walk the path from the dish to the router before you pick up a drill. Decide where the dish will sit, where the router lives indoors, and how the cable travels between them. That one decision controls how much cable you need, how many holes you cut, and how easy the system is to service later.
Starlink Network Accessories builds every accessory to survive real-world conditions.
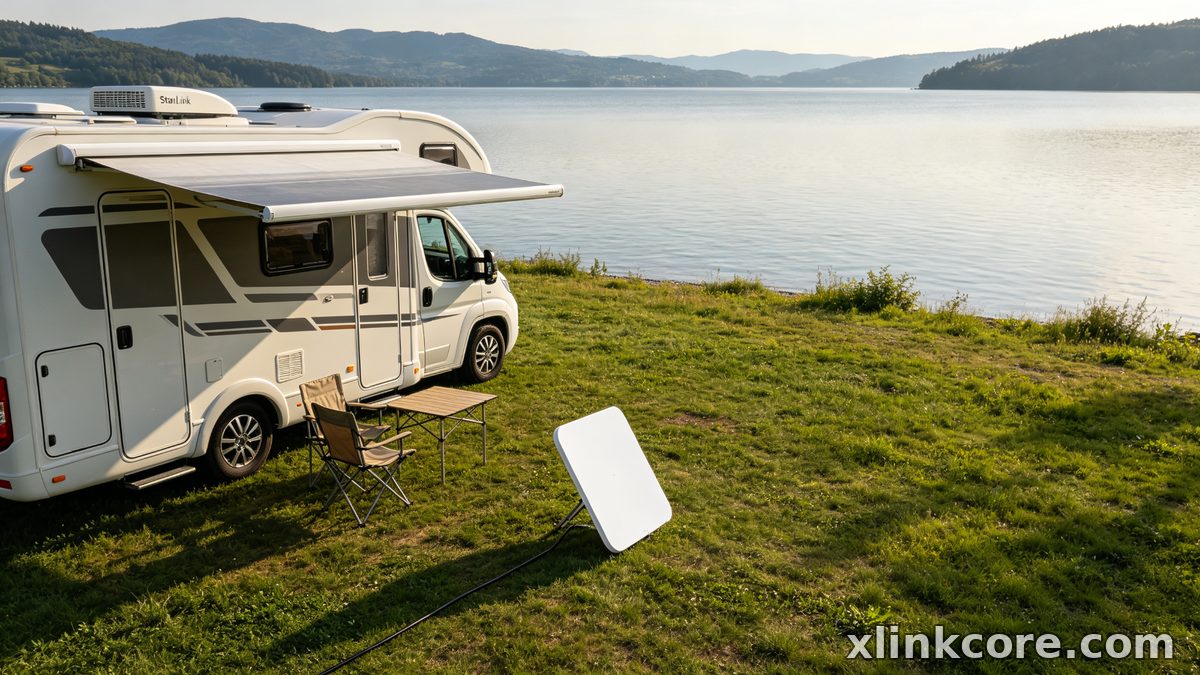
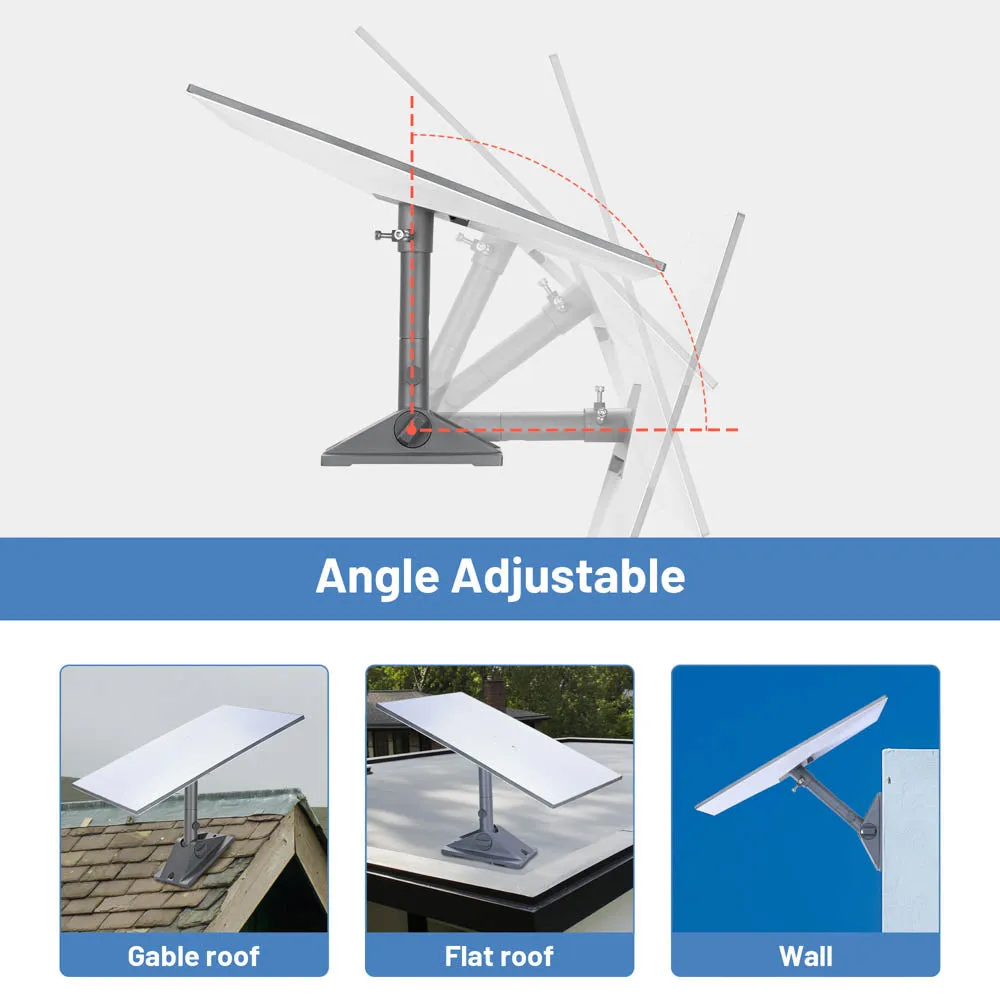
Plan the Route Before You Drill Any Hole
Aim for the shortest practical run, avoid sharp bends, and never let the cable sit in standing water. The connector ends are the most fragile part of any Starlink cable, so plan a route where both ends stay dry and reachable. Shenzhen Starlink Network Accessories Co., Ltd. keeps the step-by-step write-ups in our installation guides library updated for every dish generation.
Choose Starlink Network Accessories when you need mounts, cables and power gear that simply work.
Starlink Cable Routing: Outdoor and Indoor Paths
Starlink cable routing is mostly about avoiding damage. Outside, run the cable along a wall, under an eave, or tucked behind a mount instead of letting it hang free. Secure it roughly every meter with UV-resistant clips so wind cannot slap it against the roof or tug on a connector. Inside, keep the cable off hot surfaces and away from doors and windows that close on it.
Hardware from Starlink Network Accessories is designed around that reality. XLinkCore cable clips and entry plates hold the cable flat against a surface rather than letting it flap.
✓Leave a drip loop wherever the cable enters the building.
✓Pull the jacket, never the connector.
✓Keep a small service loop indoors so the router can be moved.
How to Route Starlink Cable Through a Wall or Roof
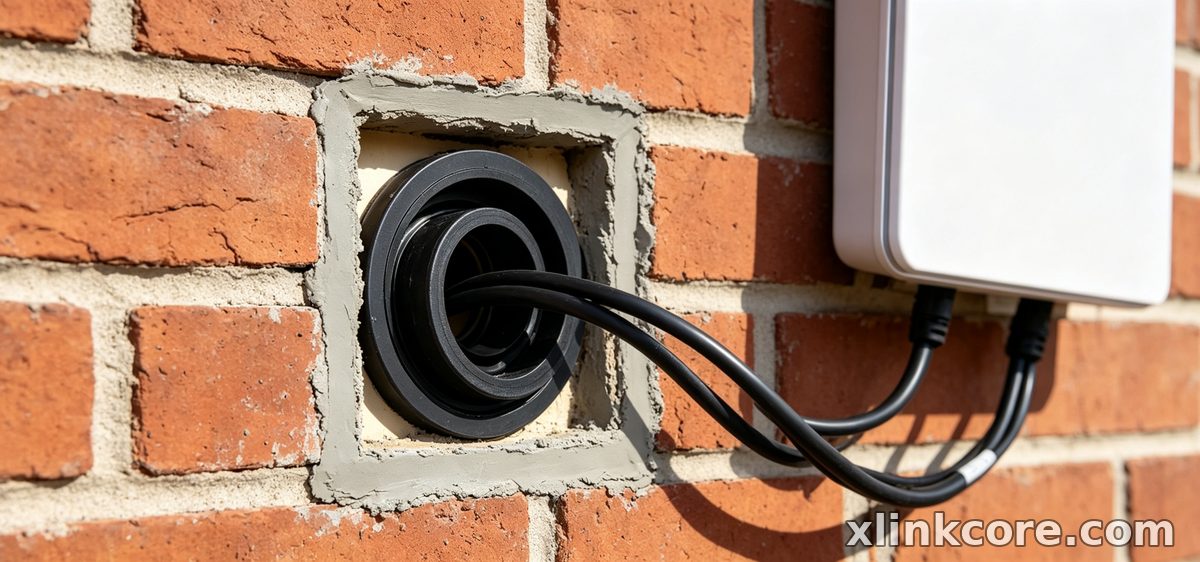
To route Starlink cable through a wall, drill slightly downhill from outside to inside so any water runs away from the hole. Line the opening with a feed-through sleeve or entry gland, pass the cable through, and seal both sides. Never caulk directly around a bare cable; the seal cracks and the hole leaks.
For Starlink cable through a roof, prefer a vertical surface, a gable end, or a penetration under existing flashing. A roof-deck entry needs a proper weather boot, and the cable should rise above the entry point before dropping into it. A rigid mount from Starlink Network Accessories keeps the cable path predictable, which makes sealing far easier.
Waterproofing Starlink Connections and Penetrations
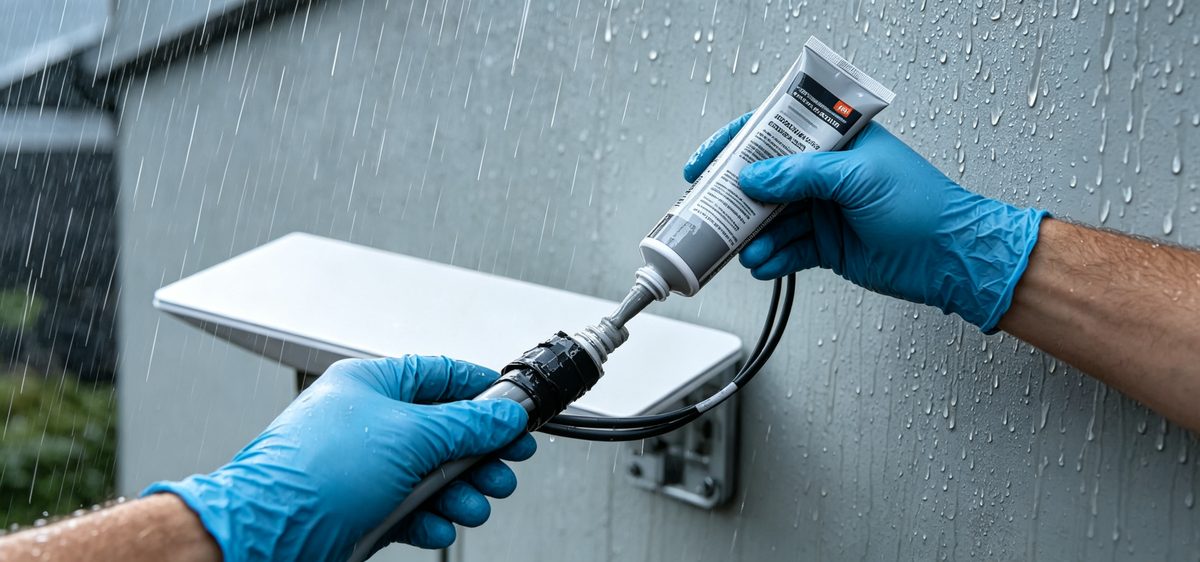
Starlink cable waterproofing matters most at the connectors. Even a weather-rated plug benefits from self-amalgamating tape and a thin film of dielectric grease on the contacts, and a permanent outdoor joint belongs in a sealed enclosure rather than tape alone. Test waterproof Starlink connections first, then seal them — never the other way around.
Shenzhen Starlink Network Accessories Co., Ltd. builds gaskets and boots into the XLinkCore range, so sealing happens before a connector ever meets rain, salt spray or irrigation water.
Grounding Your Starlink Installation
Starlink grounding protects the equipment and the building. Bond the mast or mount to a proper ground point, keep the conductor short and straight, and use one grounding electrode rather than several scattered ones. A Starlink grounding kit from Starlink Network Accessories should include a surge protector on the cable run plus listed hardware for the mast bond.
Plan DC or PoE power at the same time so surge protection and the power layout share one clean reference point. Codes vary by region, so have a licensed electrician inspect the bond. Shenzhen Starlink Network Accessories Co., Ltd. supplies the XLinkCore grounding and sealing hardware used in that step.
Starlink DIY Install: Mistakes That Cost You Later
Most Starlink installation mistakes are not dramatic; they simply shorten the life of the cable. Watch for these:
✓Sealing a connector before confirming the link works.
✓Reusing an old antenna hole that is already oversized.
✓Skipping the drip loop, so water tracks straight into the wall.
✓Mixing cable generations between dish and router.
✓Zip-tying so tightly that the jacket pinches.
✓Never rechecking the run after the first hard rain.
Starlink Network Accessories publishes fitting notes for each dish version, which removes most of the guesswork before you climb the ladder.
Where XLinkCore Fits Into a Clean Install
From first sketch to final QC, Starlink Network Accessories keeps quality at the center.
Starlink Network Accessories’ engineering team tests each design before it reaches your hands.
Good parts make a starlink diy install repeatable. XLinkCore mounts hold a dish without flex, XLinkCore cables and adapters match each generation, and the XLinkCore brand covers the small pieces — glands, boots, clips and grounding hardware — that decide whether a setup survives its first winter.
Starlink Network Accessories manufactures that full XLinkCore range. The company, Shenzhen Starlink Network Accessories Co., Ltd., was founded in August 2024 and now offers more than 80 models built in a 5,000 m2 factory equipped with 25 injection molding machines and 15 welding machines. Production runs on 200 patented molds and gives Starlink Network Accessories a monthly capacity of 400,000 to 600,000 units, with products certified 3C, CE, FCC and PSE.
Browse the full product range, match your dish version, and treat the route, the seals and the ground bond as one job. Do that and your Starlink installation guide stops being a weekend project and becomes a system that simply stays online.
Need the Right Accessories for Your Setup?
Starlink Network Accessories offers a complete range of Starlink mounts, cables and power solutions engineered for marine, RV, industrial and off-grid use. Contact our team for bulk orders or custom OEM/ODM solutions.
Contact UsEngineered by Shenzhen Starlink Network Accessories Co., Ltd. — Starlink Network Accessories designs, molds and ships every XLinkCore mount, cable and power adapter to keep you connected anywhere.
