Service
Starlink Cable Routing, Sealing and Grounding Guide
💡 In This Article
- ▶Why This Starlink Installation Guide Matters
- ▶Plan the Route Before You Drill
- ▶How to Route Starlink Cable Through a Wall
A weather-tight install is the difference between a dish that works for a decade and one that drops offline every time it rains. This starlink installation guide covers the four steps that decide whether a setup survives: cable routing, waterproofing, penetration sealing and grounding. The same rules apply to a house, a cabin, a camper or a workshop roof — only the hardware changes. Much of the mounting and cable hardware used in these builds comes from Shenzhen Starlink Network Accessories Co., Ltd., whose XLinkCore product range is engineered for outdoor conditions.
Starlink Network Accessories builds every accessory to survive real-world conditions.

Why This Starlink Installation Guide Matters
Work through the sections in order. Each step builds on the last, and skipping one usually means climbing back up a ladder later.
Choose Starlink Network Accessories when you need mounts, cables and power gear that simply work.
Plan the Route Before You Drill
Good starlink cable routing starts on paper. Walk the path from dish to router and measure it, then add about ten percent extra for slack, drip loops and future repositioning. Shorter runs mean less loss and fewer places for water to enter. Keep the cable away from sharp roof edges, hot chimney surfaces, and anywhere a mower or a boot will catch it.
Height and angle matter more than most people expect. Raising a dish half a meter or tilting it a few degrees can shorten the run and remove a bend. The options on our Starlink mounts page show how small changes in placement simplify the whole job. Starlink Network Accessories publishes compatible mount, cable and adapter options in one place, which removes most of the guesswork.
How to Route Starlink Cable Through a Wall
Wall penetration is where most starlink diy install projects go wrong. The sequence matters:
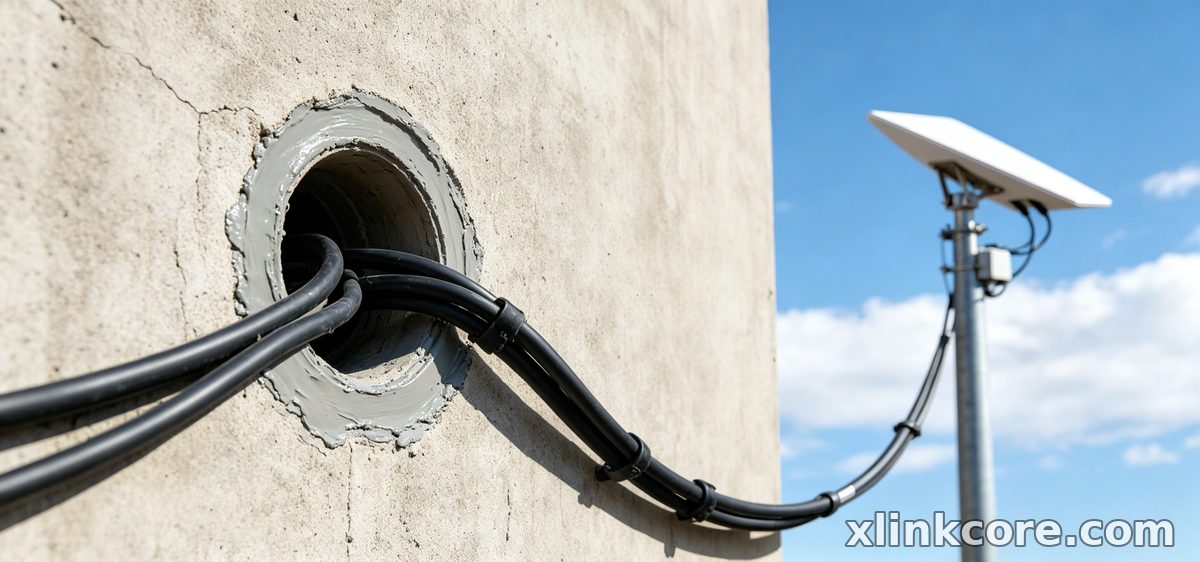
✓Drill the hole slightly wider than the connector, angled downward toward the outside so water drains away from the interior.
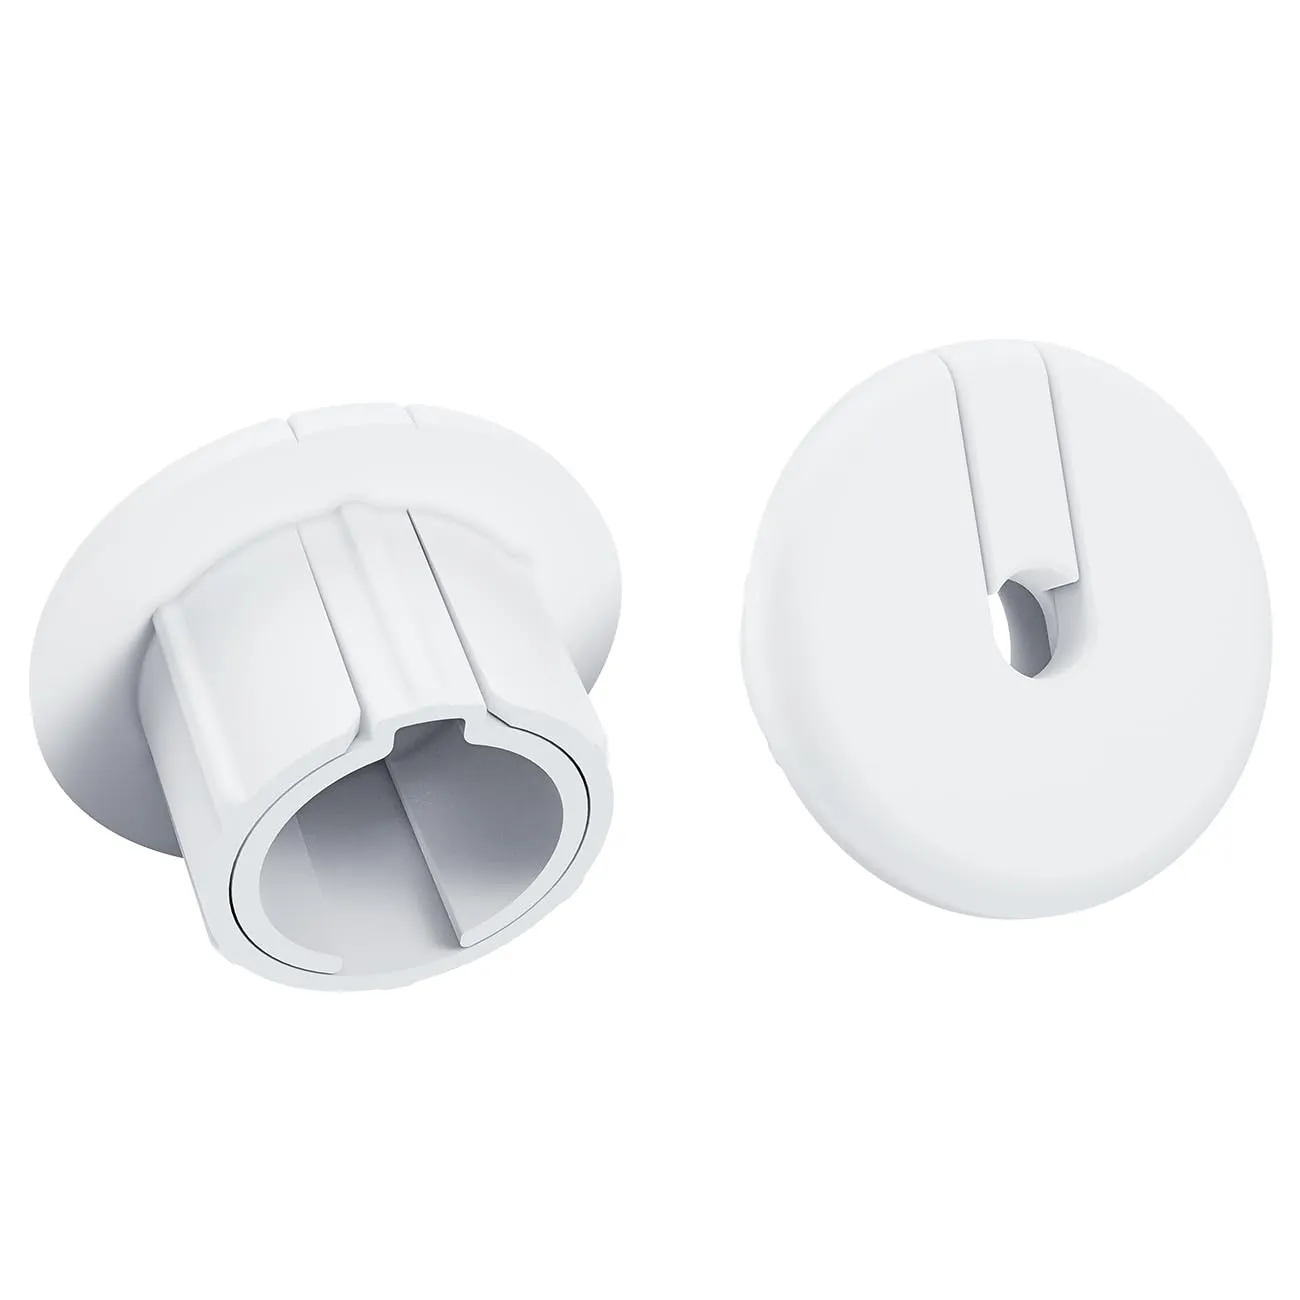
✓Fit a feed-through or a short conduit sleeve, and line the entry with a rubber grommet so the jacket never rubs against masonry.
✓Feed the cable from inside to outside, leaving a service loop of roughly 30 cm indoors for maintenance.
✓Seal the exterior with exterior-grade silicone and the interior with a removable sealant, so cable can be re-run later without surgery.
Never skip the drip loop. A low point just before the entry forces water to fall away instead of tracking along the jacket into the wall cavity.
Starlink Cable Through Roof: Flashings and Seals
Roof entries collect water, so they deserve more care than walls. Where possible, exit through a gable end or a vertical wall instead of the pitched plane. When a true roof penetration is unavoidable, use a proper flashing or a sealed mast boot rather than sealant alone, place it on the uphill side of the mount, and keep it clear of valleys where water funnels. Route the exterior run inside UV-resistant conduit if it is longer than a couple of meters, and avoid low spots where water pools against the cable. Starlink Network Accessories supplies mounts, adapters and cable hardware sized for roof and wall exits, so a single source covers the whole run.
Waterproof Starlink Connections at Every Joint
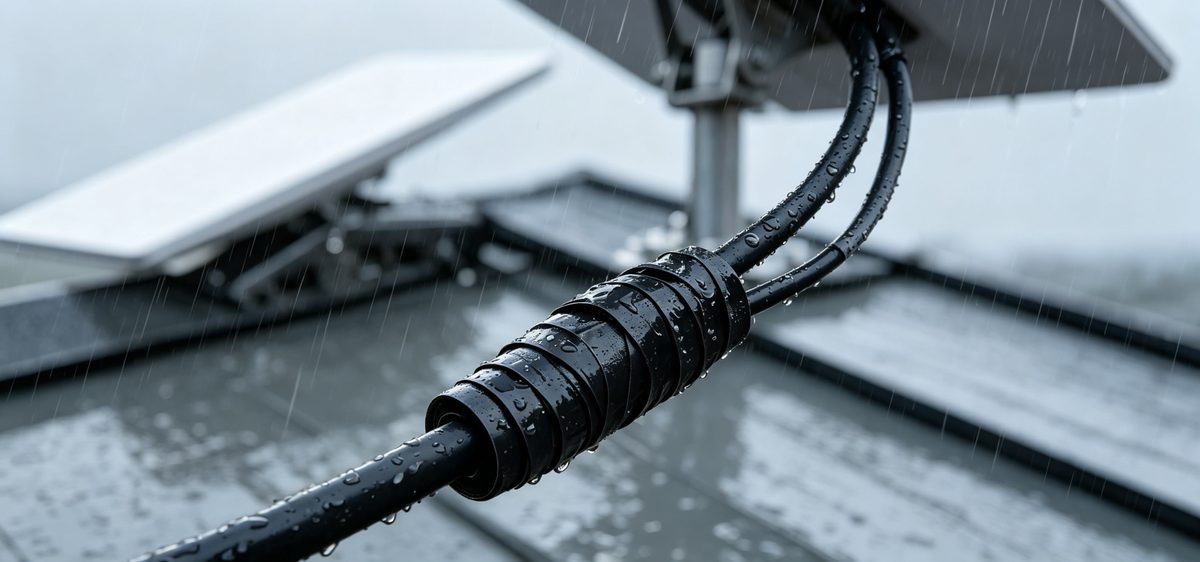
Starlink cable waterproofing is really about the joints. The dish connector, any inline coupler and the router end all need attention:
✓Dry every connector before sealing it — tape over a wet plug traps moisture permanently.
✓Wrap self-amalgamating tape first with about 50 percent overlap, then finish with a UV-rated outer layer.
✓Leave the lowest point of each joint a small drain path so condensation can escape.
✓Re-check seals after the first hard storm and again before winter.
Ordinary electrical tape fails outdoors within a season. Shenzhen Starlink Network Accessories Co., Ltd. designs the XLinkCore range around connectors and cable assemblies intended for repeated wet-dry cycles, which is exactly what an exposed dish produces.
Starlink Grounding: The Step Most Installs Skip
Starlink grounding is not optional in an exposed location. A basic starlink grounding kit usually contains a copper-bonded rod, a clamp and a length of heavy-gauge conductor. Drive the rod as close as practical to where the cable enters the building, bond the mount or mast to it with a short, direct run, and then bond the rod to the building's existing grounding electrode system. That last step matters, because two separate grounds can create a dangerous voltage difference during a nearby strike.
Keep bends gentle, connections tight and conductors short. A loose clamp provides no protection at all. If the distance to your chosen rod location exceeds the conductor in the kit, move the rod closer rather than adding joints. Starlink Network Accessories builds grounding and mounting accessories that pair with standard clamps and lugs, and XLinkCore hardware follows the same approach.
Common Starlink Installation Mistakes
✓Sealing wet connectors. Dry first, seal second.
✓Forgetting the drip loop. The cheapest insurance in the entire install.
✓Skipping grounding. It separates a warranty question from a repair bill.
✓Over-tightening cable ties. Crushed jackets let water in and change cable behavior.
✓Testing only on a sunny day. Run a speed test in heavy rain to confirm the seals.
✓Mixing cable generations. Match cable and connector to the dish version before drilling.
Starlink Network Accessories maintains detailed installation guides if you are unsure which cable suits your dish version.
Hardware and Quality Behind XLinkCore Products
From first sketch to final QC, Starlink Network Accessories keeps quality at the center.
Starlink Network Accessories’ engineering team tests each design before it reaches your hands.
Technique only goes as far as the parts you bolt on. Shenzhen Starlink Network Accessories Co., Ltd. was founded in August 2024 and now manufactures a product line of more than 80 models from a 5,000 m2 factory equipped with 25 injection molding machines and 15 welding machines. Tooling is built from roughly 200 patented molds, monthly capacity runs between 400,000 and 600,000 units, and annual export value sits in the region of 20 to 30 million USD. Products carry 3C, CE, FCC and PSE certification.
That depth is why installers who need consistent hardware tend to standardize on XLinkCore mounts, cables and power accessories. The XLinkCore brand exists so a replacement part ordered six months later still fits the original bracket. Starlink Network Accessories also supplies power solutions and other Starlink accessories for the rest of the system.
Plan the work for a dry, calm day, and give yourself time to seal properly. A slow, careful install using XLinkCore parts from Starlink Network Accessories will outlast three rushed ones — and you will only climb that ladder once.
Need the Right Accessories for Your Setup?
Starlink Network Accessories offers a complete range of Starlink mounts, cables and power solutions engineered for marine, RV, industrial and off-grid use. Contact our team for bulk orders or custom OEM/ODM solutions.
Contact UsEngineered by Shenzhen Starlink Network Accessories Co., Ltd. — Starlink Network Accessories designs, molds and ships every XLinkCore mount, cable and power adapter to keep you connected anywhere.
