Service
Starlink DIY Install: Cable Routing and Sealing
💡 In This Article
- ▶Plan the Route Before You Drill
- ▶How to Route a Starlink Cable Through a Wall
- ▶Starlink Cable Through Roof: Flashing and Slope
A reliable starlink installation guide starts with the boring part: walking the cable path from the dish to the router before a single hole is cut. Sketch the run, measure it twice, and leave two metres of slack at each end. Every shortcut taken here becomes a leak, a crushed cable or a weak link later. Good starlink cable routing keeps the run short, shields the cable from UV and abrasion, and leaves room for a drip loop where the cable enters the building.
Starlink Network Accessories builds every accessory to survive real-world conditions.
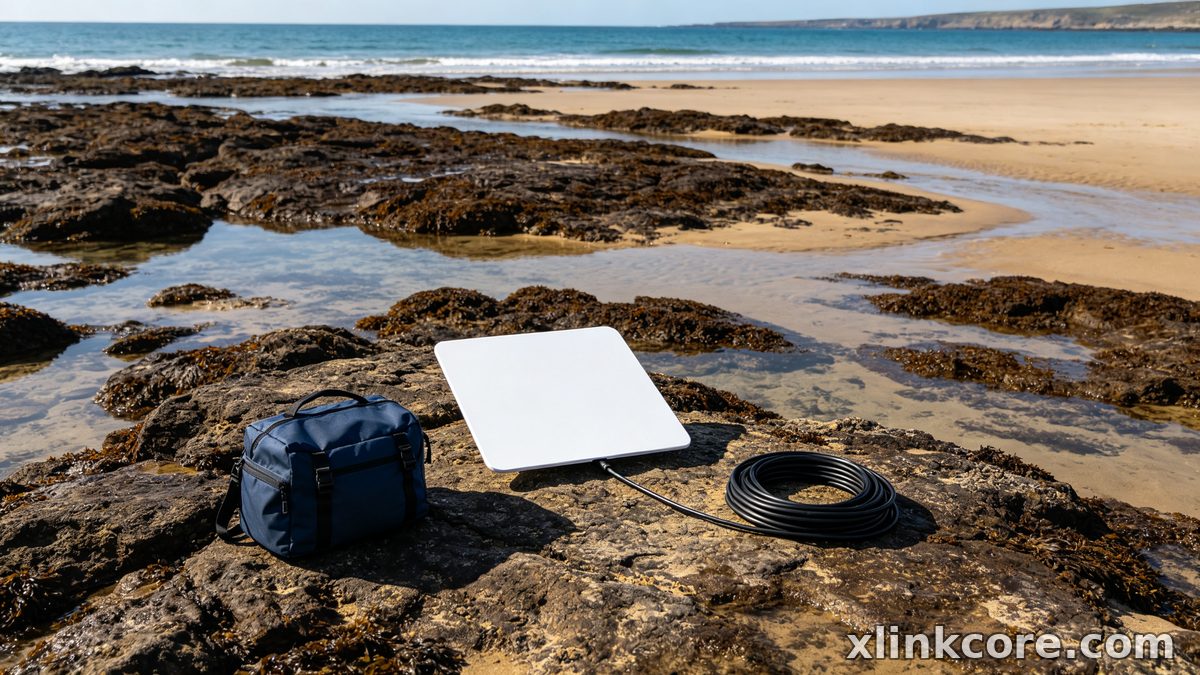
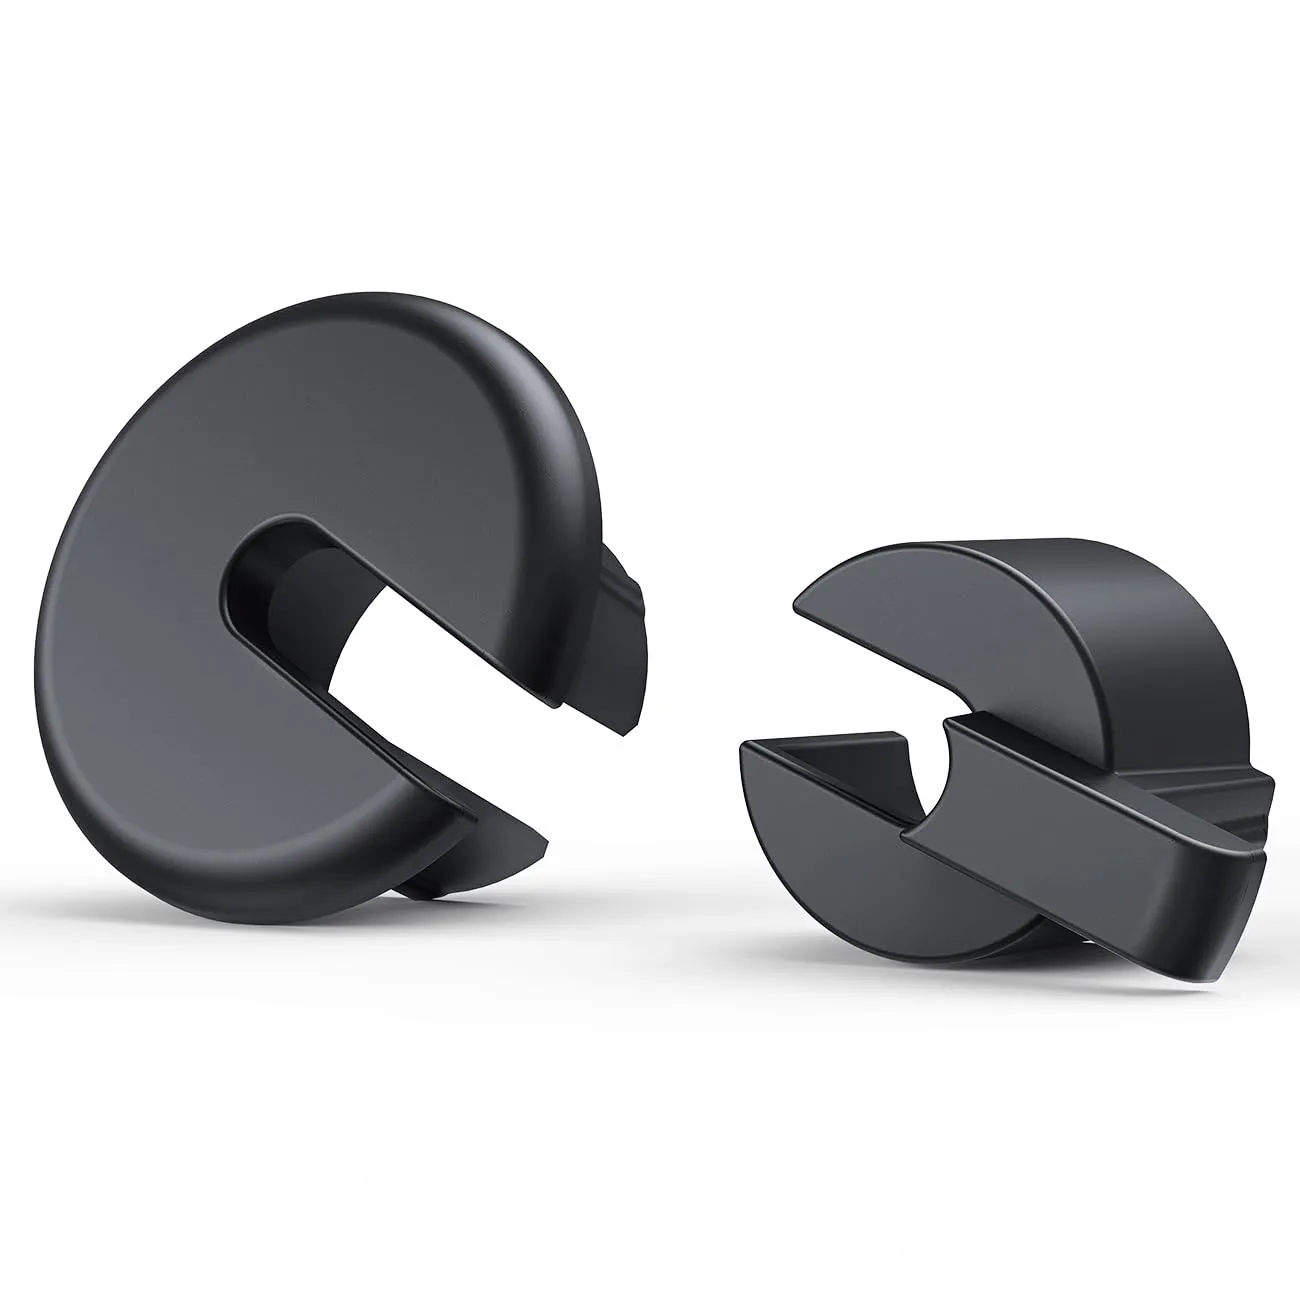
Plan the Route Before You Drill
Most kits fail for one of three reasons: the mount shifts, water gets in, or the cable is damaged during the pull. Shenzhen Starlink Network Accessories Co., Ltd. builds mounts, cables, power supplies and adapters under the XLinkCore brand, so its engineers deal with those failure modes every week and design around them. If you are still choosing hardware, review the mounting options in the Starlink mounts range before you commit to a route.
Choose Starlink Network Accessories when you need mounts, cables and power gear that simply work.
How to Route a Starlink Cable Through a Wall
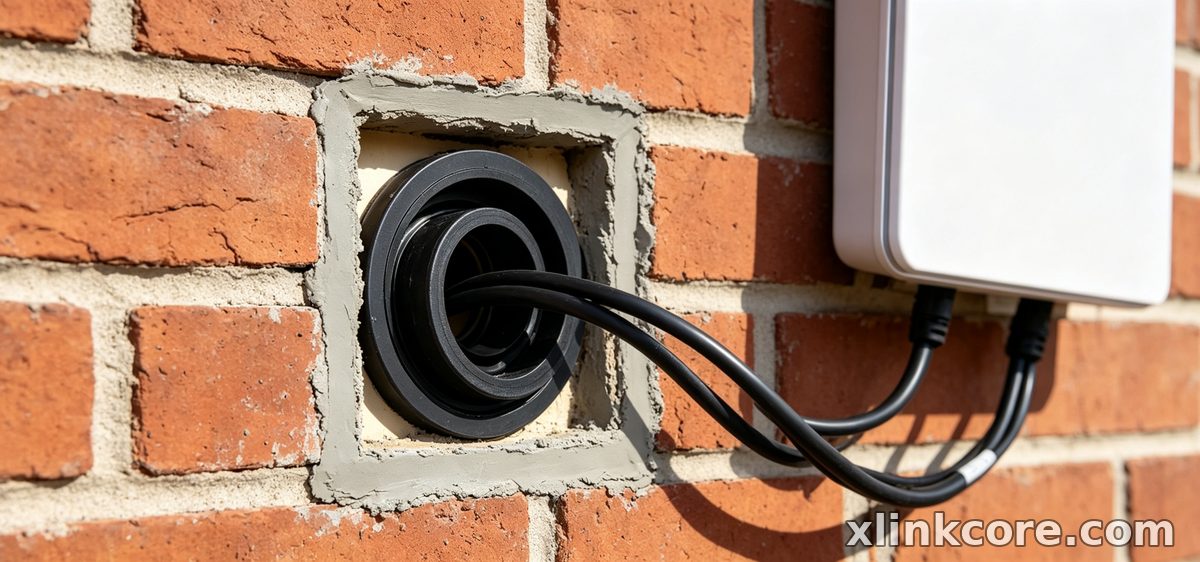
If you are asking how to route starlink cable through wall assemblies without creating a water path, the answer is a downhill angle, a proper entry plate and a drip loop.
✓Drill a hole 1-2 cm wider than the connector, angled slightly downhill toward the exterior.
✓Feed the cable from outside in, not the reverse, so the connector is never dragged through insulation.
✓Fit an exterior entry plate or weatherproof gland; sealant on its own will crack within a season.
✓Form a drip loop below the entry so water sheds before it reaches the seal.
✓Clip the run every 40-50 cm with UV-rated clips and keep bends gentle.
XLinkCore cable entry plates and UV-rated clips are made for exactly this job, and they pair with the wall brackets in the mount selection guide. Keep the indoor run away from mains wiring where possible to reduce electrical noise.
Starlink Cable Through Roof: Flashing and Slope
Running starlink cable through roof surfaces is the riskiest penetration in any starlink diy install. Never rely on a bead of silicone around a bare cable. Use a dedicated roof boot or a small junction box mounted on a raised curb, positioned on the uphill side of the penetration so water flows away from the seal, not into it.
Keep the entry at least 30 cm from the roof edge and away from valleys where debris collects. XLinkCore roof mounts and raised entry hardware are designed to hold the cable clear of standing water and snow melt. Where the run passes through insulation, sleeve the cable to prevent chafing.
Waterproof Starlink Connections the Right Way
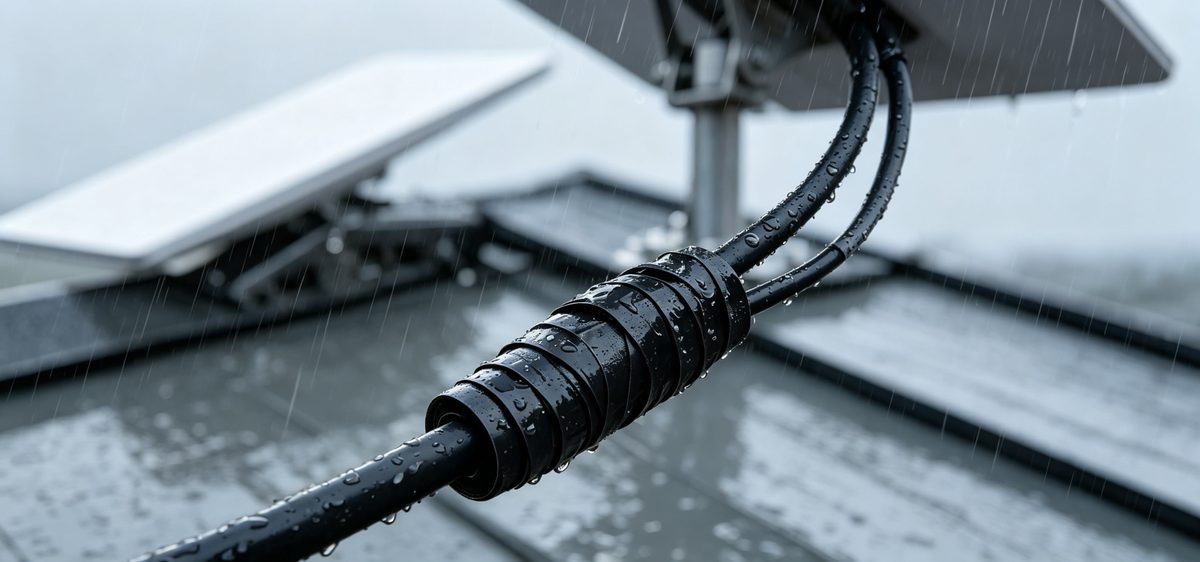
Proper starlink cable waterproofing is about strain relief as much as sealant. A connector that wiggles will break its own seal. Support the cable within 15 cm of every joint, then seal the joint itself.
✓Use self-amalgamating silicone tape for outdoor joints, wrapped under tension with a 50 percent overlap.
✓Finish with a UV-resistant outer wrap; ordinary electrical tape degrades fast in sunlight.
✓Never seal a connector that is already wet. Dry it, test the link, then seal.
✓Point connectors downward wherever geometry allows.
Keeping spare XLinkCore adapters on hand makes it easy to re-terminate a damaged end instead of replacing an entire cable run.
Starlink Grounding: What It Protects
Starlink grounding protects your equipment and your building, not just the dish. A mast bolted to a structure should be bonded to the building grounding electrode with a correctly sized conductor, and any surge protector on the Ethernet or power path should have a short, direct route to that same electrode.
Follow local electrical codes and use a licensed electrician for the final bond. A starlink grounding kit typically supplies the clamp, conductor and connector hardware, but the electrode itself must tie into the site's existing system. Shenzhen Starlink Network Accessories Co., Ltd. recommends bonding before the first storm season, not after.
Starlink Installation Mistakes to Avoid
✓Mounting on a roof surface that flexes, which slowly loosens every fastener.
✓Leaving a service loop hanging where wind can whip it against a wall.
✓Sealing over a wet connector or skipping strain relief entirely.
✓Routing the cable parallel to mains cable for several metres.
✓Skipping the drip loop because the hole looked tight.
✓Ignoring grounding until a surge takes out the router.
Each of these appears in warranty conversations far more often than genuine hardware faults. Reading a few installation guides before the weekend install saves most of them.
Inside the Factory: Why Parts Quality Matters
Founded in August 2024, Starlink Network Accessories has grown into a product line of 80+ models produced in a 5,000 m2 factory equipped with 25 injection molding machines and 15 welding machines. Around 200 patented molds support that range, and monthly production capacity sits at 400,000-600,000 units for export markets worth roughly 20-30 million USD a year.
Every XLinkCore product is certified to 3C, CE, FCC and PSE standards. Starlink Network Accessories tests seals, load ratings and cable strain before shipping, which is why the hardware survives winters that destroy generic brackets. Buyers who want the full picture can compare options in the buying guides.
Final Walkthrough and Seasonal Checks
From first sketch to final QC, Starlink Network Accessories keeps quality at the center.
Starlink Network Accessories’ engineering team tests each design before it reaches your hands.
Before you call the job done, tug every fastener, confirm the drip loop, and run a speed test in wet weather if you can. Photograph the penetrations so future maintenance is easier, and plan to inspect the sealant and clips each spring.
Done properly, a starlink diy install with sound starlink cable routing, careful starlink cable waterproofing and a genuine starlink grounding path will outlast the dish itself. Order the small parts, the entry plates and the adapters from Starlink Network Accessories, and the rest of the installation becomes straightforward. For power-side planning, pair this guide with the Starlink power accessories overview.
Need the Right Accessories for Your Setup?
Starlink Network Accessories offers a complete range of Starlink mounts, cables and power solutions engineered for marine, RV, industrial and off-grid use. Contact our team for bulk orders or custom OEM/ODM solutions.
Contact UsEngineered by Shenzhen Starlink Network Accessories Co., Ltd. — Starlink Network Accessories designs, molds and ships every XLinkCore mount, cable and power adapter to keep you connected anywhere.
