Service
Starlink Cable Routing and Grounding Step by Step
💡 In This Article
- ▶Plan the Route Before You Touch a Drill
- ▶Starlink Cable Routing: Keep It Short and Straight
- ▶How to Route Starlink Cable Through Wall or Roof
A clean Starlink setup depends on three things: a short, dry cable path, a watertight entry point, and a solid ground connection. This starlink installation guide walks through each step in the order a professional would tackle it, so you drill once and never climb back up to chase a leak or a loose connector. The same sequence works on a shingled roof, a metal barn, an RV or a boat deck, and the installation guides hub covers dish versions and mount layouts if you want the wider picture first.
Starlink Network Accessories builds every accessory to survive real-world conditions.
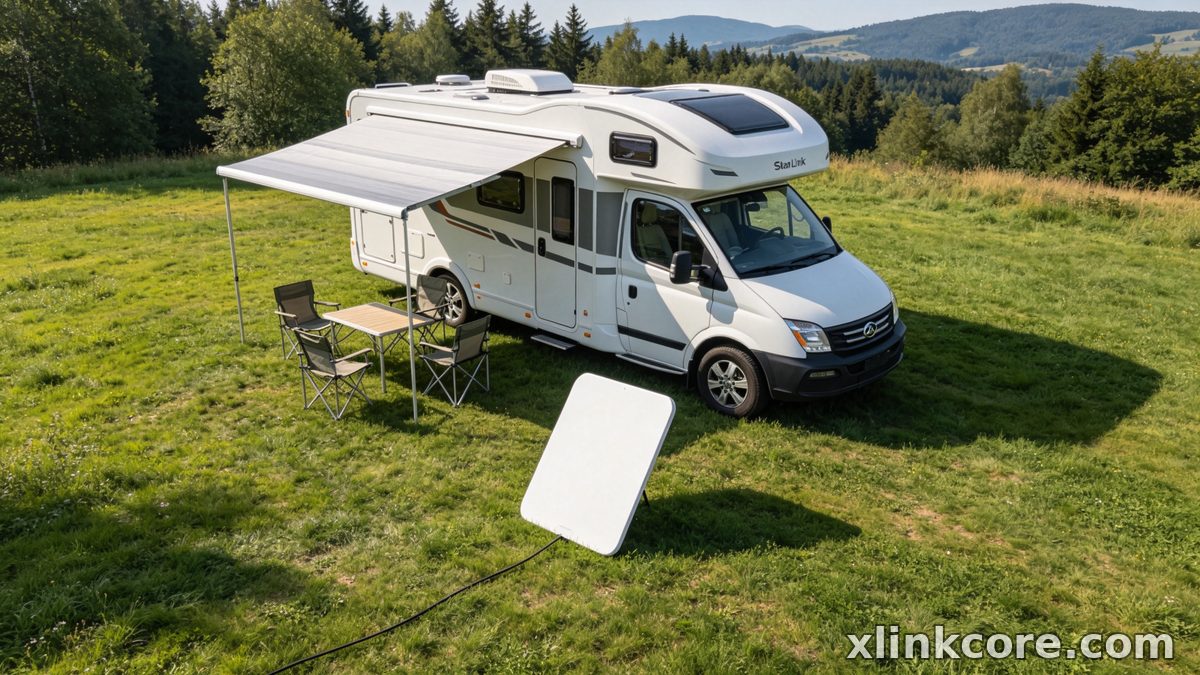
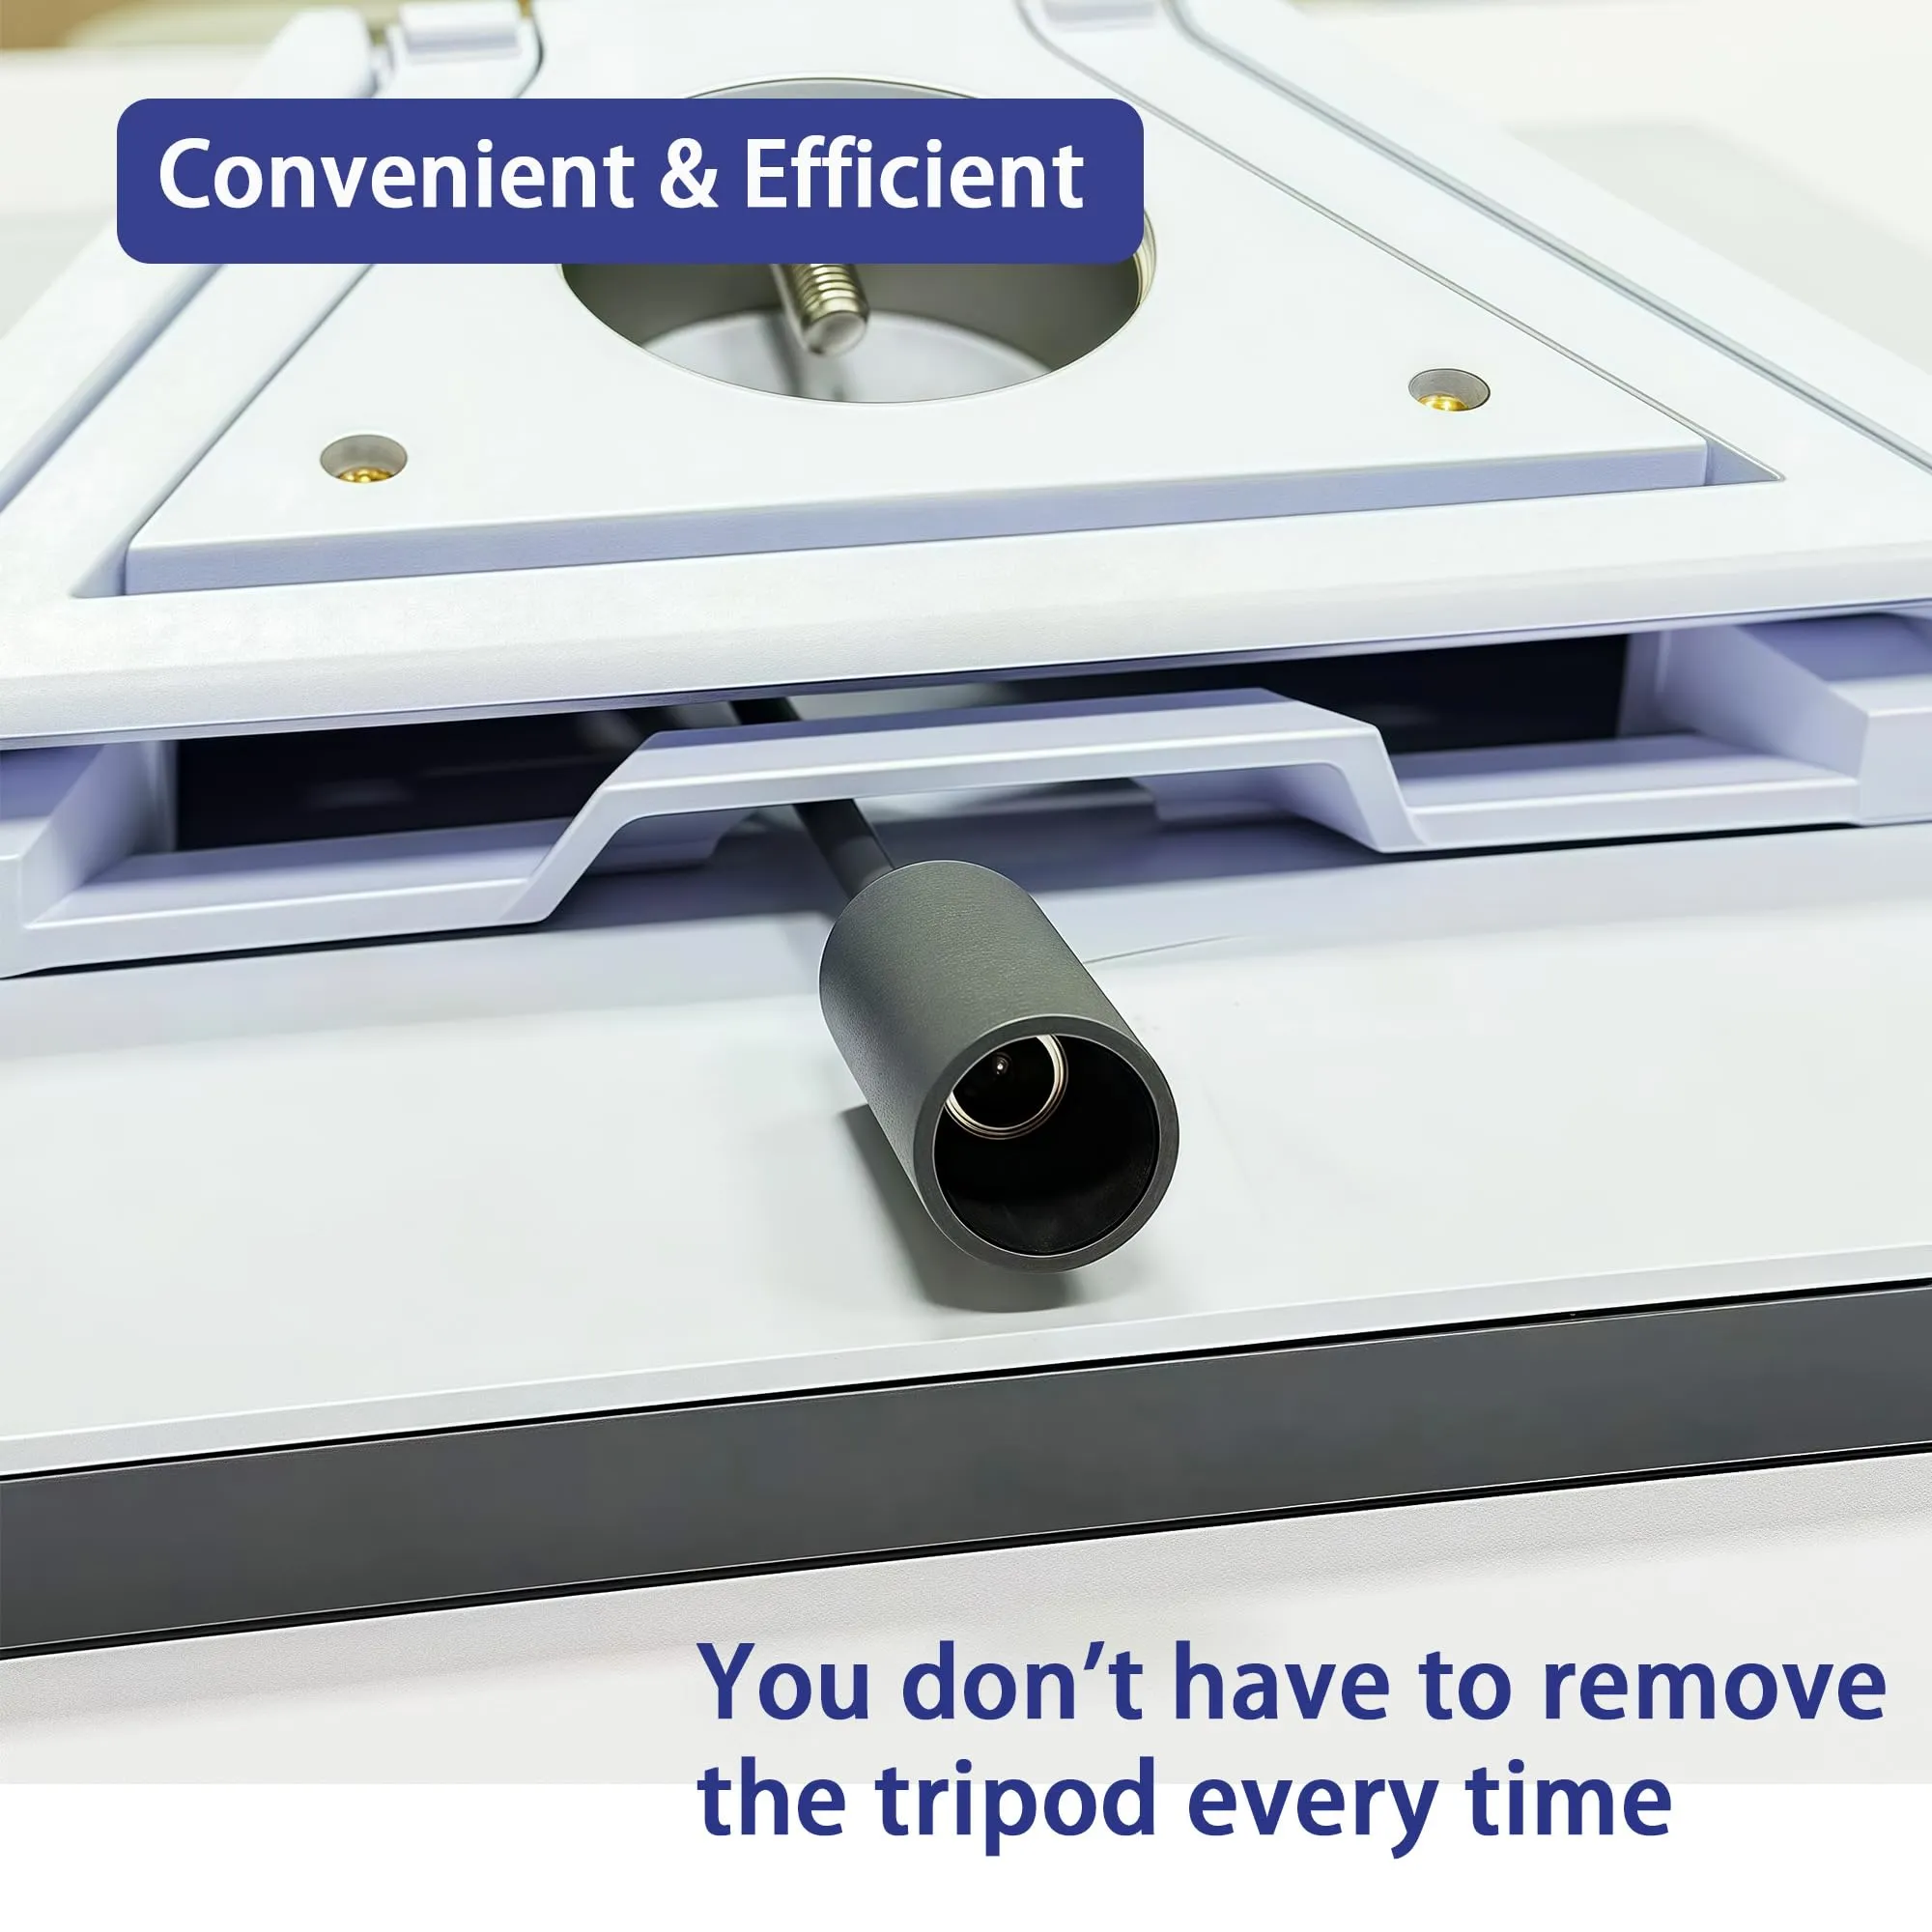
Plan the Route Before You Touch a Drill
Hardware choices shape the job more than most people expect. Shenzhen Starlink Network Accessories Co., Ltd. manufactures Starlink-compatible mounts, cables and power gear under the XLinkCore brand, and the Starlink Network Accessories catalogue is organised so you can match a bracket to a dish version in minutes. Decide where the dish goes, where the router lives, and how the cable will travel between them — then buy parts that match that plan.
Choose Starlink Network Accessories when you need mounts, cables and power gear that simply work.
Starlink Cable Routing: Keep It Short and Straight
Starlink cable routing is where most installs go wrong. The dish cable carries power as well as data, so it is far less forgiving than a standard Ethernet run.
✓Shortest practical run. Every extra metre adds resistance and signal loss; if the router can sit closer to the entry point, move it.
✓No sharp bends. Respect the minimum bend radius — a kinked cable is a permanent fault, not a temporary one.
✓Always add a drip loop. The cable should dip below the entry point before rising into the wall, so water sheds off instead of tracking inside.
✓Avoid pinch points. Never run the cable through window frames, door hinges or anywhere it will be crushed season after season.
✓Leave service slack. Coil 30-60 cm of spare cable near the dish so you can re-aim without re-running anything.
How to Route Starlink Cable Through Wall or Roof
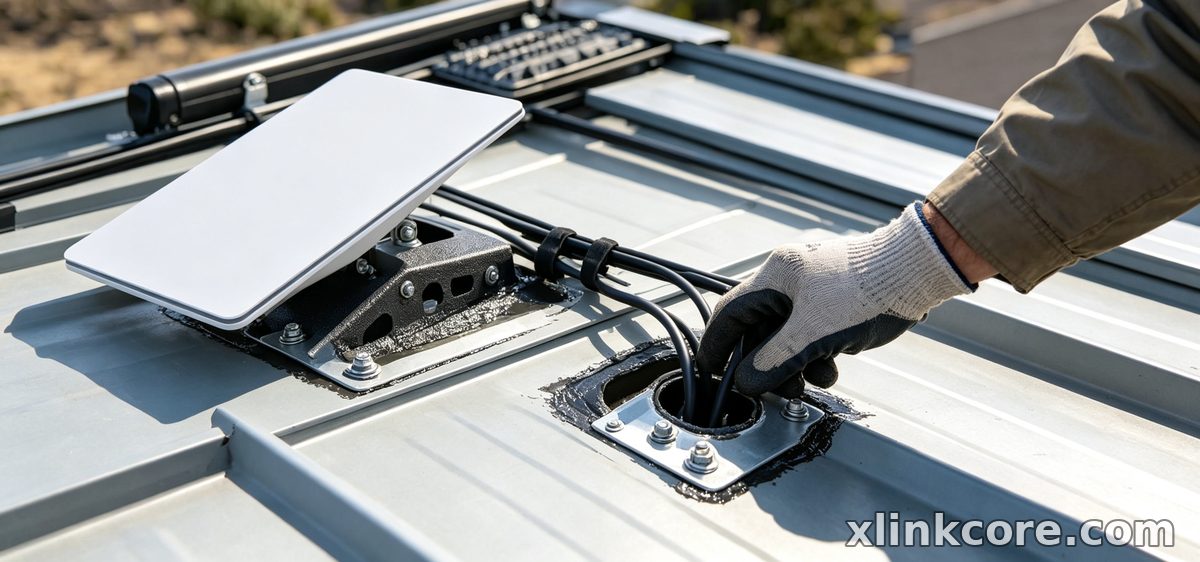
Once the route is mapped, the penetration itself is a fifteen-minute job — provided you have the right parts in hand before you start drilling. XLinkCore entry plates and glands are sized to the Starlink cable jacket, which removes most of the guesswork.
✓Drill with a slight downward tilt, roughly 10 degrees toward the outside, so gravity pushes water away from the interior.
✓Fit a real wall entry. Use a cable entry plate or gland rather than expanding foam or sealant alone.
✓For roof work, penetrate a flat, low-traffic area and seal with boot flashing or a well-seated gland under the roofing material.
✓Deburr the hole and add a grommet so the sharp edge never cuts the cable jacket.
✓Seal from the outside first, then push the cable through and finish indoors with a wall plate and a small service loop.
People often ask how to route starlink cable through a wall without leaks; the answer is almost always a downward tilt, a drip loop and a mechanical gland working together. When you run starlink cable through a roof, add a second layer — boot flashing beneath the shingles plus a bead of roofing sealant around the base.
Cable Waterproofing: Sealing Every Connection
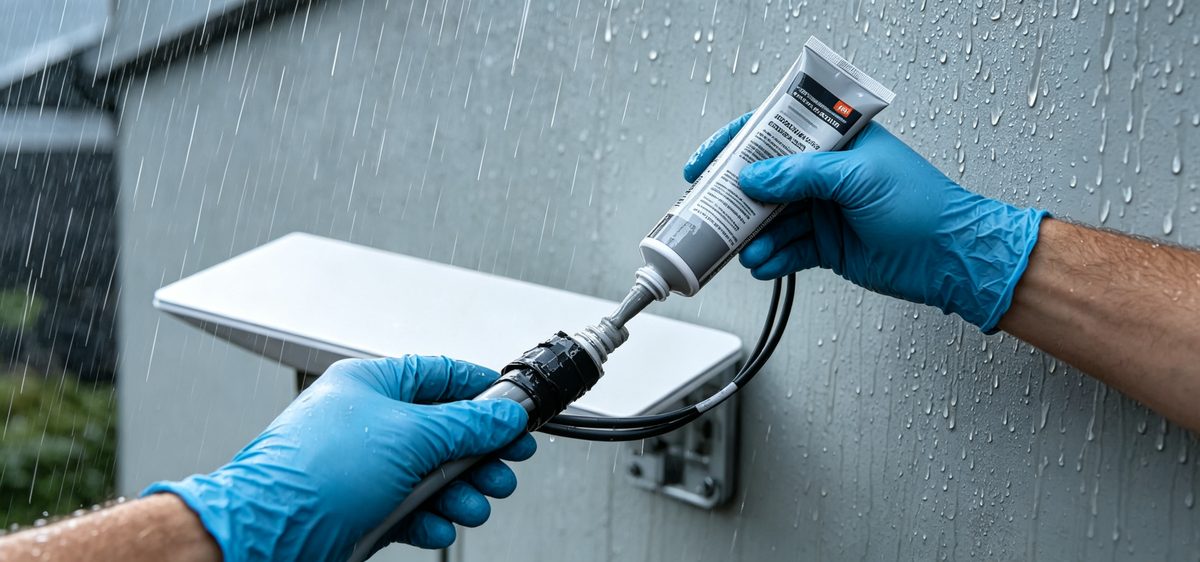
Waterproof starlink connections deserve attention because the plug at the dish is the most exposed point in the whole system. Even a factory-sealed connector benefits from extra care in coastal or storm-prone locations.
✓Face connectors downward wherever possible so water cannot pool inside the coupling.
✓Wrap outdoor joints with self-amalgamating silicone tape, stretching it as you apply so it fuses into one rubber skin.
✓Use dielectric grease sparingly on metal contacts — a thin film, never a blob.
✓Inspect after the first storm. A five-minute check beats a corroded connector.
Starlink cable waterproofing is also about strain relief. A taut cable pulling on a plug slowly opens the seal it was built with. XLinkCore cable seals and entry glands clamp the jacket and hold the connector square, which is exactly the job they were designed for by Starlink Network Accessories.
Starlink Grounding: The Step DIY Installs Skip
Grounding protects your dish, your router and your building's wiring from lightning-induced surges. On a permanent outdoor mast it is not optional.
✓Bond the mast to a dedicated ground rod with copper conductor sized to your local electrical code.
✓Keep the ground run short and direct; long looping paths reduce effectiveness.
✓Fit a surge protector where the cable enters the building — a starlink grounding kit from Starlink Network Accessories with the correct clamps and lugs makes this straightforward.
✓Never bond to a gas line, and never assume a mast bolted to a metal roof is automatically grounded.
If you are unsure about the final connection, have a licensed electrician check it. Starlink grounding is the one part of a starlink DIY install where a second opinion is genuinely worth the money.
Starlink Installation Mistakes to Avoid
✓Routing without a drip loop, so water runs straight into the wall cavity.
✓Sealing a penetration with silicone only — no gland, no mechanical support.
✓Coiling excess cable tightly against a hot surface or in direct sun.
✓Skipping grounding because "it has never been hit."
✓Buying a mount that is not rated for your dish version.
✓Forgetting the obstruction check before drilling anything.
Parts That Make the Job Easier
Good hardware turns a weekend of improvisation into an afternoon's work. The Starlink Network Accessories range covers roof, pole, wall and rail options for Standard 4, Standard 4X and Mini dishes, while the power section explains DC and PoE conversions for off-grid and RV systems. Still comparing? The buying guides explain which cable length and connector type suits each layout, and XLinkCore products are built to work together rather than needing adapters.
Quality Behind the Hardware
From first sketch to final QC, Starlink Network Accessories keeps quality at the center.
Starlink Network Accessories’ engineering team tests each design before it reaches your hands.
Shenzhen Starlink Network Accessories Co., Ltd. was founded in August 2024 and has grown into a specialist supplier of Starlink-compatible accessories. From a 5,000 m2 factory, Starlink Network Accessories runs 25 injection molding machines and 15 welding machines, producing a product line of more than 80 models supported by 200 patented molds. Monthly production capacity of 400,000-600,000 units keeps lead times short, and an annual export value of roughly 20-30 million USD reflects how widely these parts are used.
Every XLinkCore mount, cable and adapter is certified 3C / CE / FCC / PSE, which matters when you are drilling into a roof or wiring a power system. Shenzhen Starlink Network Accessories Co., Ltd. builds for the installer who wants the job done once, and the XLinkCore brand exists so you can tell those parts apart from generic hardware. If you are planning a build, map the route, seal it properly, ground it well, and buy from Starlink Network Accessories.
Need the Right Accessories for Your Setup?
Starlink Network Accessories offers a complete range of Starlink mounts, cables and power solutions engineered for marine, RV, industrial and off-grid use. Contact our team for bulk orders or custom OEM/ODM solutions.
Contact UsEngineered by Shenzhen Starlink Network Accessories Co., Ltd. — Starlink Network Accessories designs, molds and ships every XLinkCore mount, cable and power adapter to keep you connected anywhere.
