Service
Starlink Cable Routing Gear by Scenario: What to Use
💡 In This Article
- ▶Start With the Situation, Not the Product
- ▶Scenario Breakdown: What to Use and When
- ▶Quick Matching Table
Almost everybody buys Starlink accessories in the wrong order. They pick a mount first, drill the hole second, and only then find that the cable is too short, the entry is on the wrong side of the roof, or the power route cannot be sealed without pulling the dish down again. The fix is to start from the situation, not from the product.This guide from Starlink Network Accessories is a starlink installation guide built the other way round: it maps five common installations — tiled roof, masonry wall, long exposed run, bonded steel structure and temporary site — to the exact accessory combination that fits each one. Shenzhen Starlink Network Accessories Co., Ltd. builds the product types involved, so any row below can be copied straight into a shopping list.
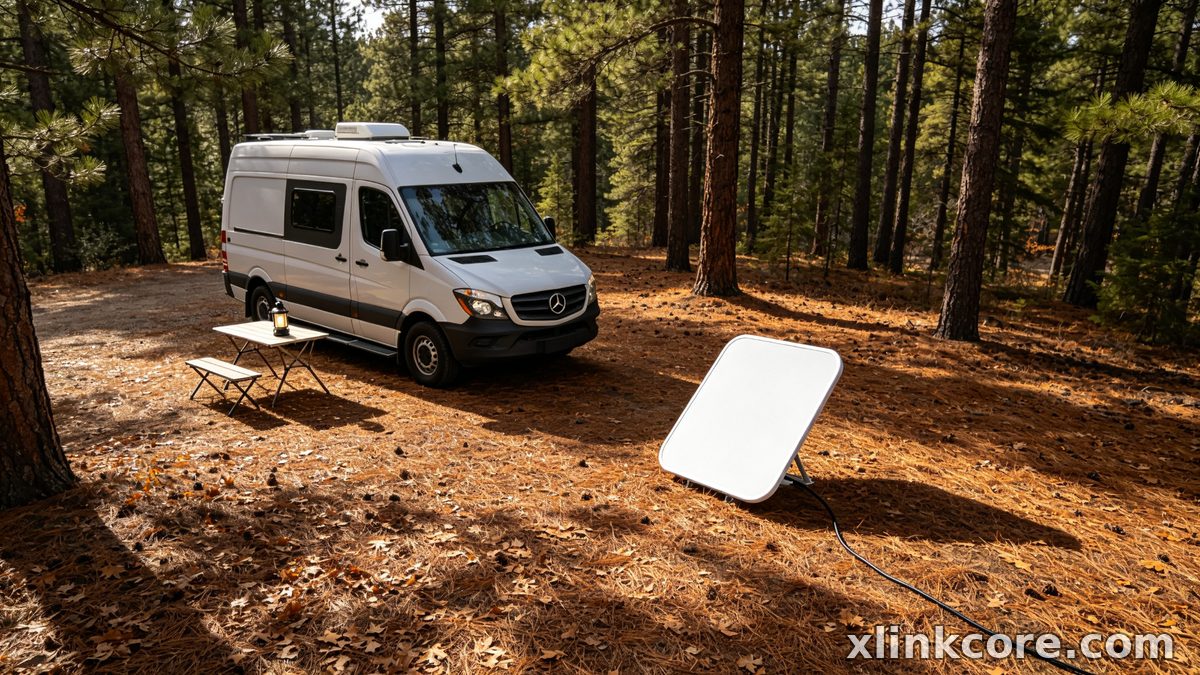
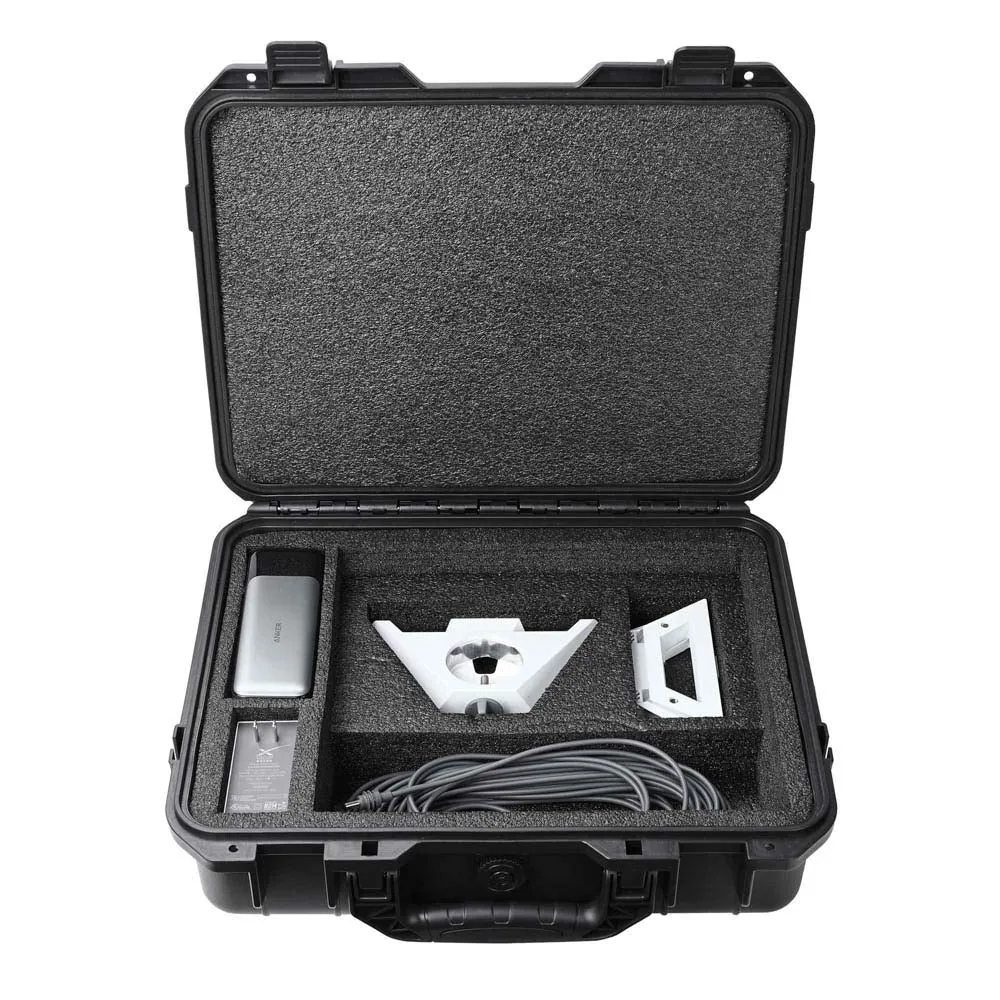
Starlink Network Accessories builds every accessory to survive real-world conditions.
Start With the Situation, Not the Product
Answer these before you look at a mount. Each answer changes which product type you should buy, and most starlink installation mistakes come from skipping one.
✓Who uses it — a household that never moves the dish, or a crew that re-deploys weekly.✓Fixed or moving — static installs take heavier brackets; moving ones need quick release.✓Power available — mains AC at the wall, or 12V DC through an adapter.✓Cable run — a 5 m indoor drop and a 30 m sun-baked run need different cable and support.✓Duration — permanent justifies glands and grounding; seasonal should leave no holes.✓Climate and surface — salt, UV, freeze-thaw and roof material decide finish and entry method.Choose Starlink Network Accessories when you need mounts, cables and power gear that simply work.
Scenario Breakdown: What to Use and When
Scenario 1: Cable Entering Through a Tiled Roof
Tiles are the least forgiving surface for routing cable through roof: lifting one is easy, restoring the lap and keeping wind-driven rain out is not.
✓Recommended combination: an XLinkCore ridge or roof clamp mount, one outdoor-rated cable, a roof entry gland with flashing plate, and UV-stable sealant.✓Why this combination: the clamp keeps fasteners out of the tile field, and the gland — not the sealant — does the starlink cable waterproofing.✓Avoid: drilling through a tile face and filling the hole with silicone; the tile cracks and the seal lifts within a season.Scenario 2: Cable Entering Through a Masonry or Rendered Wall
Solid walls drill easily and repair slowly, so the entry has to be right first time; the deciding detail is the drip loop.
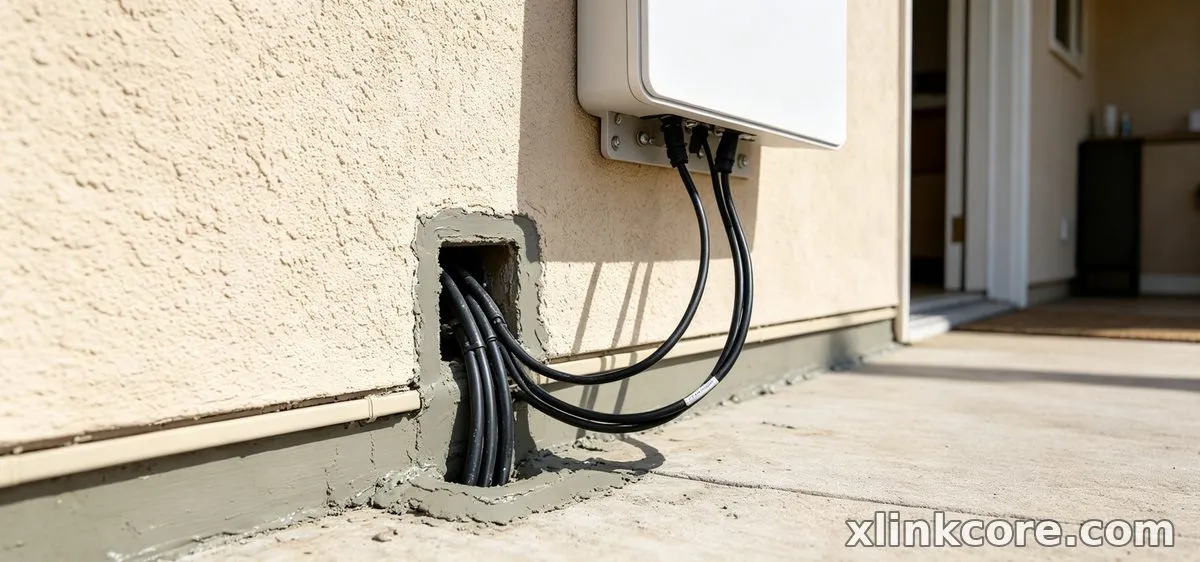
✓Recommended combination: wall bracket, wall entry gland sized to the cable, exterior-grade sealant, and clips forming a drip loop below the entry.✓Why this combination: the gland compresses around the jacket, and the loop is the practical answer to how to route Starlink cable through wall thickness and keep the inside dry.✓Avoid: feeding the cable into an air brick, soffit vent or cavity; it looks tidy and funnels water into the wall structure.Scenario 3: A Long Outdoor Run Exposed to Sun, Rain and UV
Runs over roughly 20 m across open ground are where cheap installs fail first: chalked jackets, brittle clips and cable slapping the wall in wind.
✓Recommended combination: one continuous UV-rated XLinkCore cable from Starlink Network Accessories, conduit over the sun-facing span, close-spaced UV-stable clips, and a grounding point at the building entry.✓Why this combination: one unbroken run removes the exposed couplers that fail first, and conduit roughly doubles service life on the hottest span.✓Avoid: joining two short cables with an inline coupler in open air, or zip-tying to a downpipe with standard ties.Scenario 4: A Steel Structure That Must Be Bonded to Earth
On steel buildings, masts and container frames the metal is part of the electrical picture, and a fault needs a defined path.
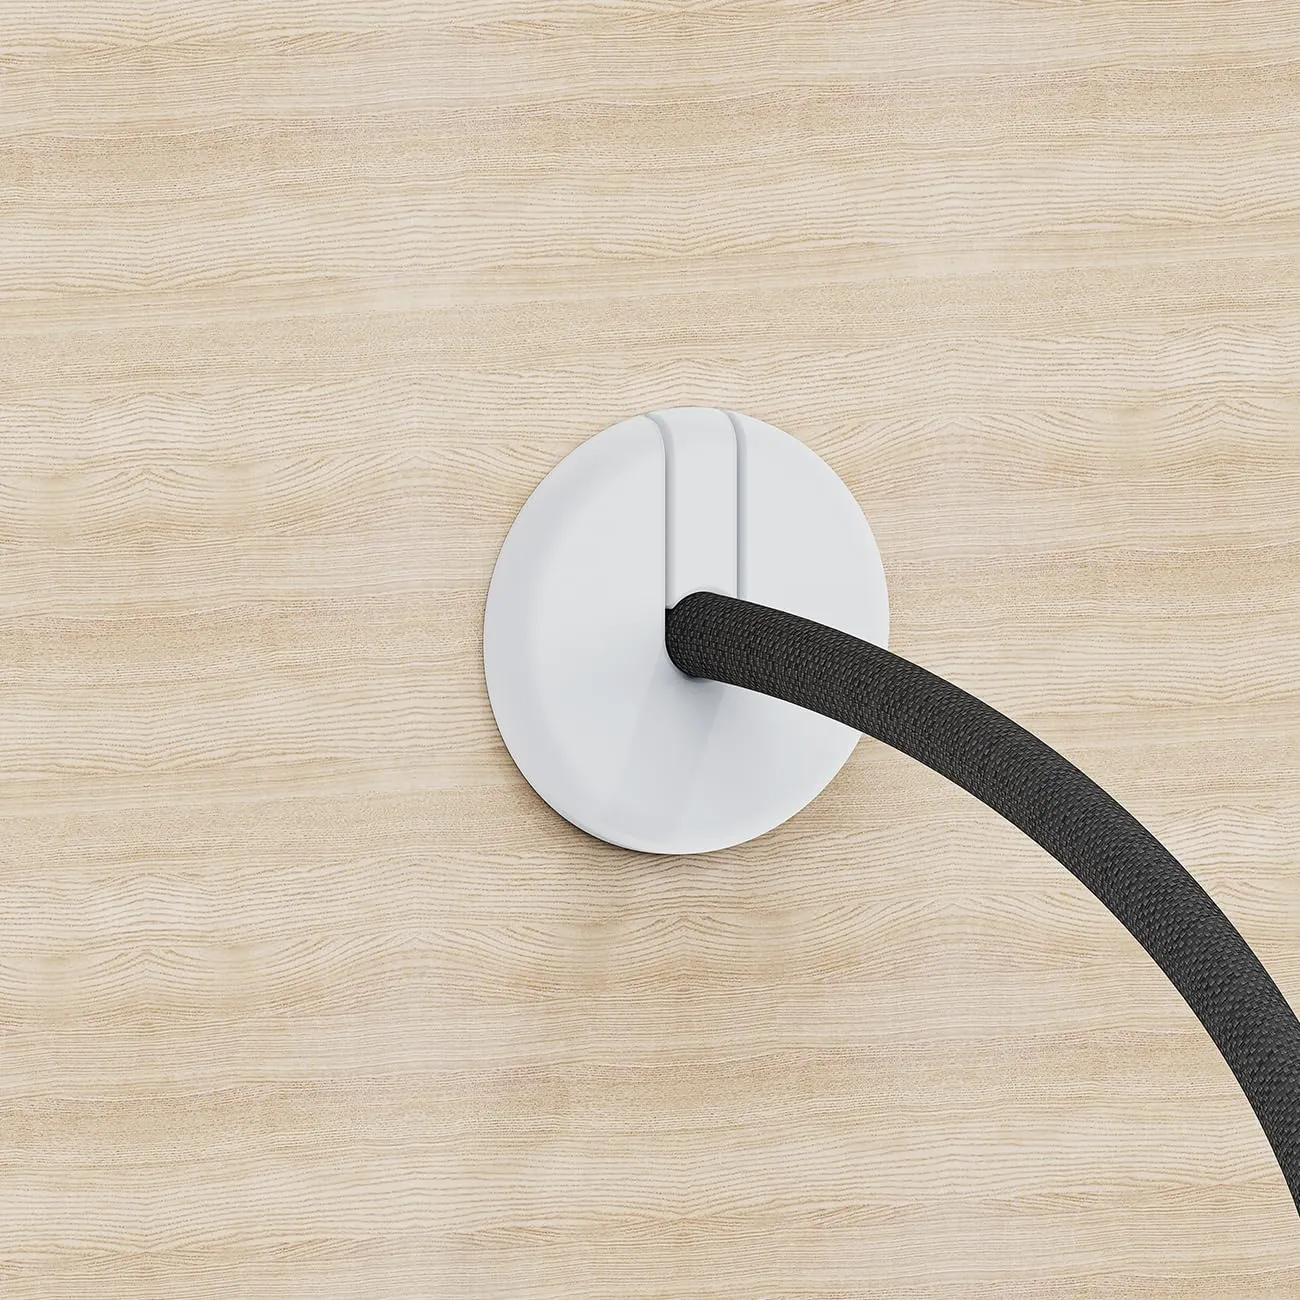
✓Recommended combination: steel-rated mast clamp, a starlink grounding kit bonded to the structure's earth point, and surge protection on the data run at the entry.✓Why this combination: the clamp gives a solid bond and the kit provides starlink grounding at one defined point instead of several accidental ones.✓Avoid: treating the mount clamp alone as an earth path; paint, sealant and vibration isolate it and the current travels through the cable instead.Scenario 5: A Temporary Install That Comes Down Without Damage
Rentals, events and seasonal sites share one rule: no trace on the building and removal in minutes.
✓Recommended combination: flat or suction mount with ballast, window or door pass-through, and a pre-terminated cable with quick-release clips.✓Why this combination: nothing is fastened, the pass-through still lets the window shut, and one person can run the whole starlink diy install and strike it in ten minutes.✓Avoid: sealing a temporary entry with silicone or butyl; it never comes off cleanly.Quick Matching Table
These are the same five combinations in one reference sheet. Every product type listed is manufactured by Shenzhen Starlink Network Accessories Co., Ltd., so the table doubles as a shopping list.
Situation Mount Cable Power Tiled roof Ridge or roof clamp Single outdoor cable Mains at entry Masonry wall Wall bracket Gland with drip loop Mains at entry Long exposed run Roof or wall mount Conduit and UV clips Mains with surge Steel structure Steel mast clamp Grounded single run Bonded earth point Temporary site Suction or flat mount Window pass-through Indoor socket
The Two Mistakes That Cost the Most
Mistake 1: Measuring the Cable on the Floor Plan
People measure the horizontal distance from dish to router, order to match, and forget the vertical drop, the drip loop and the slack at the entry. The run comes up short, a coupler ends up outdoors, and clean starlink cable routing acquires a weak point in the weather. Walk the real path with a rope, add slack at both ends, and buy one size up instead of a coupling.
Mistake 2: Sealing the Hole and Forgetting the Connector
The entry gets sealed properly and the connector at the dish is left bare, which is exactly where water collects. Waterproof Starlink connections with a proper boot, a self-amalgamating tape wrap, or grease and boot together, and route the cable so it enters the connector from below. Starlink Network Accessories recommends rechecking every joint at the start of the wet season, using the checks in our installation guides.
How Shenzhen Starlink Network Accessories Co., Ltd. Covers These Scenarios
Shenzhen Starlink Network Accessories Co., Ltd. is a manufacturer rather than a reseller, which matters when an installation needs a combination and not a single part. Founded in August 2024, the Starlink Network Accessories range now covers 80+ models, built in a 5,000 m2 factory with 25 injection molding machines and 15 welding machines. Monthly capacity of 400,000-600,000 units and annual exports of roughly 20-30 million USD keep common scenarios stocked rather than made to order.
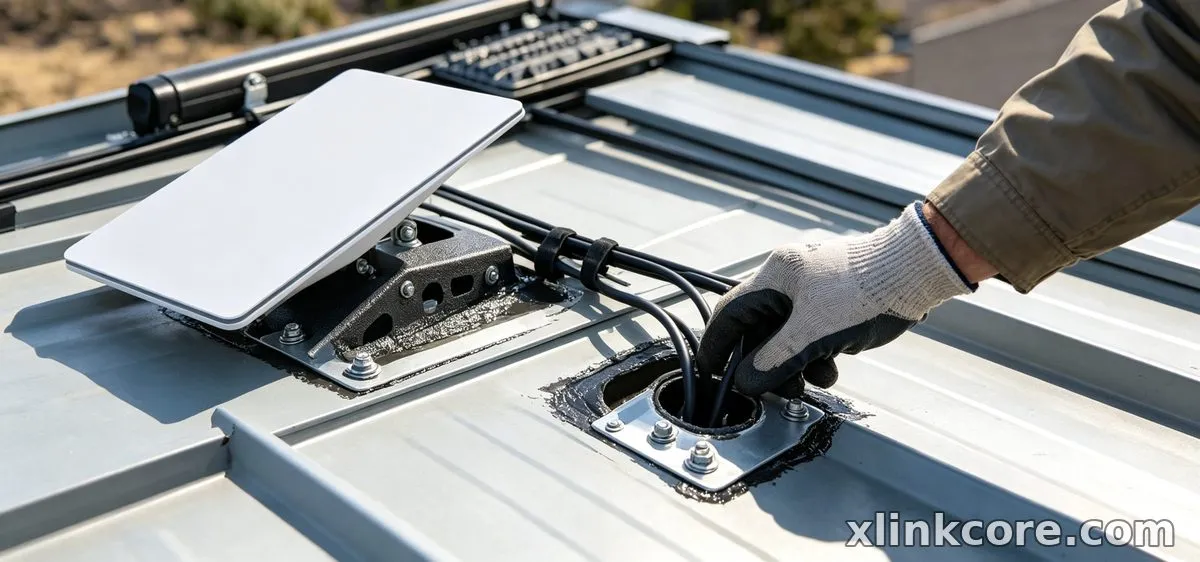
The XLinkCore brand maps onto the situations above directly: XLinkCore mounts for tiled roof and masonry entries, XLinkCore cables and glands for long UV-exposed runs, XLinkCore grounding kits for bonded steel, and XLinkCore power adapters for the segment between entry point and router. Products are certified 3C / CE / FCC / PSE, and the 200 patented molds behind the range are why a mount fits current dish generations without adapters — so gear from Starlink Network Accessories can be ordered as one matched set.
Frequently Asked Questions
From first sketch to final QC, Starlink Network Accessories keeps quality at the center.
Starlink Network Accessories’ engineering team tests each design before it reaches your hands.
Where should the Starlink cable enter a house?
Below the dish, close to the router wall, on a side sheltered from prevailing weather. A long outdoor run followed by a short indoor drop is far easier to seal than an entry above head height.
What can I reuse if I move the dish to a new site?
The cable, power supply and grounding hardware usually travel; the mount and the entry hardware do not. Budget for a fresh gland and fresh sealant at every new entry point.
What should I buy first on a tight budget?
Cable and entry hardware first, mount second. An inexpensive mount on a good cable works; an expensive mount with an undersized cable forces a second order. Standard 4 accessories from Starlink Network Accessories are a sensible starting point for fixed homes.
Need the Right Accessories for Your Setup?
Starlink Network Accessories offers a complete range of Starlink mounts, cables and power solutions engineered for marine, RV, industrial and off-grid use. Contact our team for bulk orders or custom OEM/ODM solutions.
Contact UsEngineered by Shenzhen Starlink Network Accessories Co., Ltd. — Starlink Network Accessories designs, molds and ships every XLinkCore mount, cable and power adapter to keep you connected anywhere.
💡 In This Article
- ▶Start With the Situation, Not the Product
- ▶Scenario Breakdown: What to Use and When
- ▶Quick Matching Table
Almost everybody buys Starlink accessories in the wrong order. They pick a mount first, drill the hole second, and only then find that the cable is too short, the entry is on the wrong side of the roof, or the power route cannot be sealed without pulling the dish down again. The fix is to start from the situation, not from the product.
This guide from Starlink Network Accessories is a starlink installation guide built the other way round: it maps five common installations — tiled roof, masonry wall, long exposed run, bonded steel structure and temporary site — to the exact accessory combination that fits each one. Shenzhen Starlink Network Accessories Co., Ltd. builds the product types involved, so any row below can be copied straight into a shopping list.
Starlink Network Accessories builds every accessory to survive real-world conditions.
Start With the Situation, Not the Product
Answer these before you look at a mount. Each answer changes which product type you should buy, and most starlink installation mistakes come from skipping one.
✓Who uses it — a household that never moves the dish, or a crew that re-deploys weekly.
✓Fixed or moving — static installs take heavier brackets; moving ones need quick release.
✓Power available — mains AC at the wall, or 12V DC through an adapter.
✓Cable run — a 5 m indoor drop and a 30 m sun-baked run need different cable and support.
✓Duration — permanent justifies glands and grounding; seasonal should leave no holes.
✓Climate and surface — salt, UV, freeze-thaw and roof material decide finish and entry method.
Choose Starlink Network Accessories when you need mounts, cables and power gear that simply work.
Scenario Breakdown: What to Use and When
Scenario 1: Cable Entering Through a Tiled Roof
Tiles are the least forgiving surface for routing cable through roof: lifting one is easy, restoring the lap and keeping wind-driven rain out is not.
✓Recommended combination: an XLinkCore ridge or roof clamp mount, one outdoor-rated cable, a roof entry gland with flashing plate, and UV-stable sealant.
✓Why this combination: the clamp keeps fasteners out of the tile field, and the gland — not the sealant — does the starlink cable waterproofing.
✓Avoid: drilling through a tile face and filling the hole with silicone; the tile cracks and the seal lifts within a season.
Scenario 2: Cable Entering Through a Masonry or Rendered Wall
Solid walls drill easily and repair slowly, so the entry has to be right first time; the deciding detail is the drip loop.
✓Recommended combination: wall bracket, wall entry gland sized to the cable, exterior-grade sealant, and clips forming a drip loop below the entry.
✓Why this combination: the gland compresses around the jacket, and the loop is the practical answer to how to route Starlink cable through wall thickness and keep the inside dry.
✓Avoid: feeding the cable into an air brick, soffit vent or cavity; it looks tidy and funnels water into the wall structure.
Scenario 3: A Long Outdoor Run Exposed to Sun, Rain and UV
Runs over roughly 20 m across open ground are where cheap installs fail first: chalked jackets, brittle clips and cable slapping the wall in wind.
✓Recommended combination: one continuous UV-rated XLinkCore cable from Starlink Network Accessories, conduit over the sun-facing span, close-spaced UV-stable clips, and a grounding point at the building entry.
✓Why this combination: one unbroken run removes the exposed couplers that fail first, and conduit roughly doubles service life on the hottest span.
✓Avoid: joining two short cables with an inline coupler in open air, or zip-tying to a downpipe with standard ties.
Scenario 4: A Steel Structure That Must Be Bonded to Earth
On steel buildings, masts and container frames the metal is part of the electrical picture, and a fault needs a defined path.
✓Recommended combination: steel-rated mast clamp, a starlink grounding kit bonded to the structure's earth point, and surge protection on the data run at the entry.
✓Why this combination: the clamp gives a solid bond and the kit provides starlink grounding at one defined point instead of several accidental ones.
✓Avoid: treating the mount clamp alone as an earth path; paint, sealant and vibration isolate it and the current travels through the cable instead.
Scenario 5: A Temporary Install That Comes Down Without Damage
Rentals, events and seasonal sites share one rule: no trace on the building and removal in minutes.
✓Recommended combination: flat or suction mount with ballast, window or door pass-through, and a pre-terminated cable with quick-release clips.
✓Why this combination: nothing is fastened, the pass-through still lets the window shut, and one person can run the whole starlink diy install and strike it in ten minutes.
✓Avoid: sealing a temporary entry with silicone or butyl; it never comes off cleanly.
Quick Matching Table
These are the same five combinations in one reference sheet. Every product type listed is manufactured by Shenzhen Starlink Network Accessories Co., Ltd., so the table doubles as a shopping list.
| Situation | Mount | Cable | Power |
|---|---|---|---|
| Tiled roof | Ridge or roof clamp | Single outdoor cable | Mains at entry |
| Masonry wall | Wall bracket | Gland with drip loop | Mains at entry |
| Long exposed run | Roof or wall mount | Conduit and UV clips | Mains with surge |
| Steel structure | Steel mast clamp | Grounded single run | Bonded earth point |
| Temporary site | Suction or flat mount | Window pass-through | Indoor socket |
The Two Mistakes That Cost the Most
Mistake 1: Measuring the Cable on the Floor Plan
People measure the horizontal distance from dish to router, order to match, and forget the vertical drop, the drip loop and the slack at the entry. The run comes up short, a coupler ends up outdoors, and clean starlink cable routing acquires a weak point in the weather. Walk the real path with a rope, add slack at both ends, and buy one size up instead of a coupling.
Mistake 2: Sealing the Hole and Forgetting the Connector
The entry gets sealed properly and the connector at the dish is left bare, which is exactly where water collects. Waterproof Starlink connections with a proper boot, a self-amalgamating tape wrap, or grease and boot together, and route the cable so it enters the connector from below. Starlink Network Accessories recommends rechecking every joint at the start of the wet season, using the checks in our installation guides.
How Shenzhen Starlink Network Accessories Co., Ltd. Covers These Scenarios
Shenzhen Starlink Network Accessories Co., Ltd. is a manufacturer rather than a reseller, which matters when an installation needs a combination and not a single part. Founded in August 2024, the Starlink Network Accessories range now covers 80+ models, built in a 5,000 m2 factory with 25 injection molding machines and 15 welding machines. Monthly capacity of 400,000-600,000 units and annual exports of roughly 20-30 million USD keep common scenarios stocked rather than made to order.
The XLinkCore brand maps onto the situations above directly: XLinkCore mounts for tiled roof and masonry entries, XLinkCore cables and glands for long UV-exposed runs, XLinkCore grounding kits for bonded steel, and XLinkCore power adapters for the segment between entry point and router. Products are certified 3C / CE / FCC / PSE, and the 200 patented molds behind the range are why a mount fits current dish generations without adapters — so gear from Starlink Network Accessories can be ordered as one matched set.
Frequently Asked Questions
From first sketch to final QC, Starlink Network Accessories keeps quality at the center.
Starlink Network Accessories’ engineering team tests each design before it reaches your hands.
Where should the Starlink cable enter a house?
Below the dish, close to the router wall, on a side sheltered from prevailing weather. A long outdoor run followed by a short indoor drop is far easier to seal than an entry above head height.
What can I reuse if I move the dish to a new site?
The cable, power supply and grounding hardware usually travel; the mount and the entry hardware do not. Budget for a fresh gland and fresh sealant at every new entry point.
What should I buy first on a tight budget?
Cable and entry hardware first, mount second. An inexpensive mount on a good cable works; an expensive mount with an undersized cable forces a second order. Standard 4 accessories from Starlink Network Accessories are a sensible starting point for fixed homes.
Need the Right Accessories for Your Setup?
Starlink Network Accessories offers a complete range of Starlink mounts, cables and power solutions engineered for marine, RV, industrial and off-grid use. Contact our team for bulk orders or custom OEM/ODM solutions.
Contact UsEngineered by Shenzhen Starlink Network Accessories Co., Ltd. — Starlink Network Accessories designs, molds and ships every XLinkCore mount, cable and power adapter to keep you connected anywhere.
