Service
Starlink Accessories: Five Buyer Situations Solved
💡 In This Article
- ▶Start With the Situation, Not the Product
- ▶Scenario Breakdown: What to Use and When
- ▶Quick Matching Table
Almost everyone buys Starlink accessories in the wrong order. They pick a mount they like, order it, and only afterwards find that the cable is too short for the route, the outlet sits on the wrong wall, or the dish they own takes a different connector than the one pictured.
The reliable way is to work backwards from the situation rather than forwards from the product. This starlink cable buying guide does exactly that: five common buyer situations, each mapped to the exact combination of mount, cable, power and protection that fits it — a mapping used daily at Shenzhen Starlink Network Accessories Co., Ltd. when orders arrive from homes, vehicles and remote job sites.

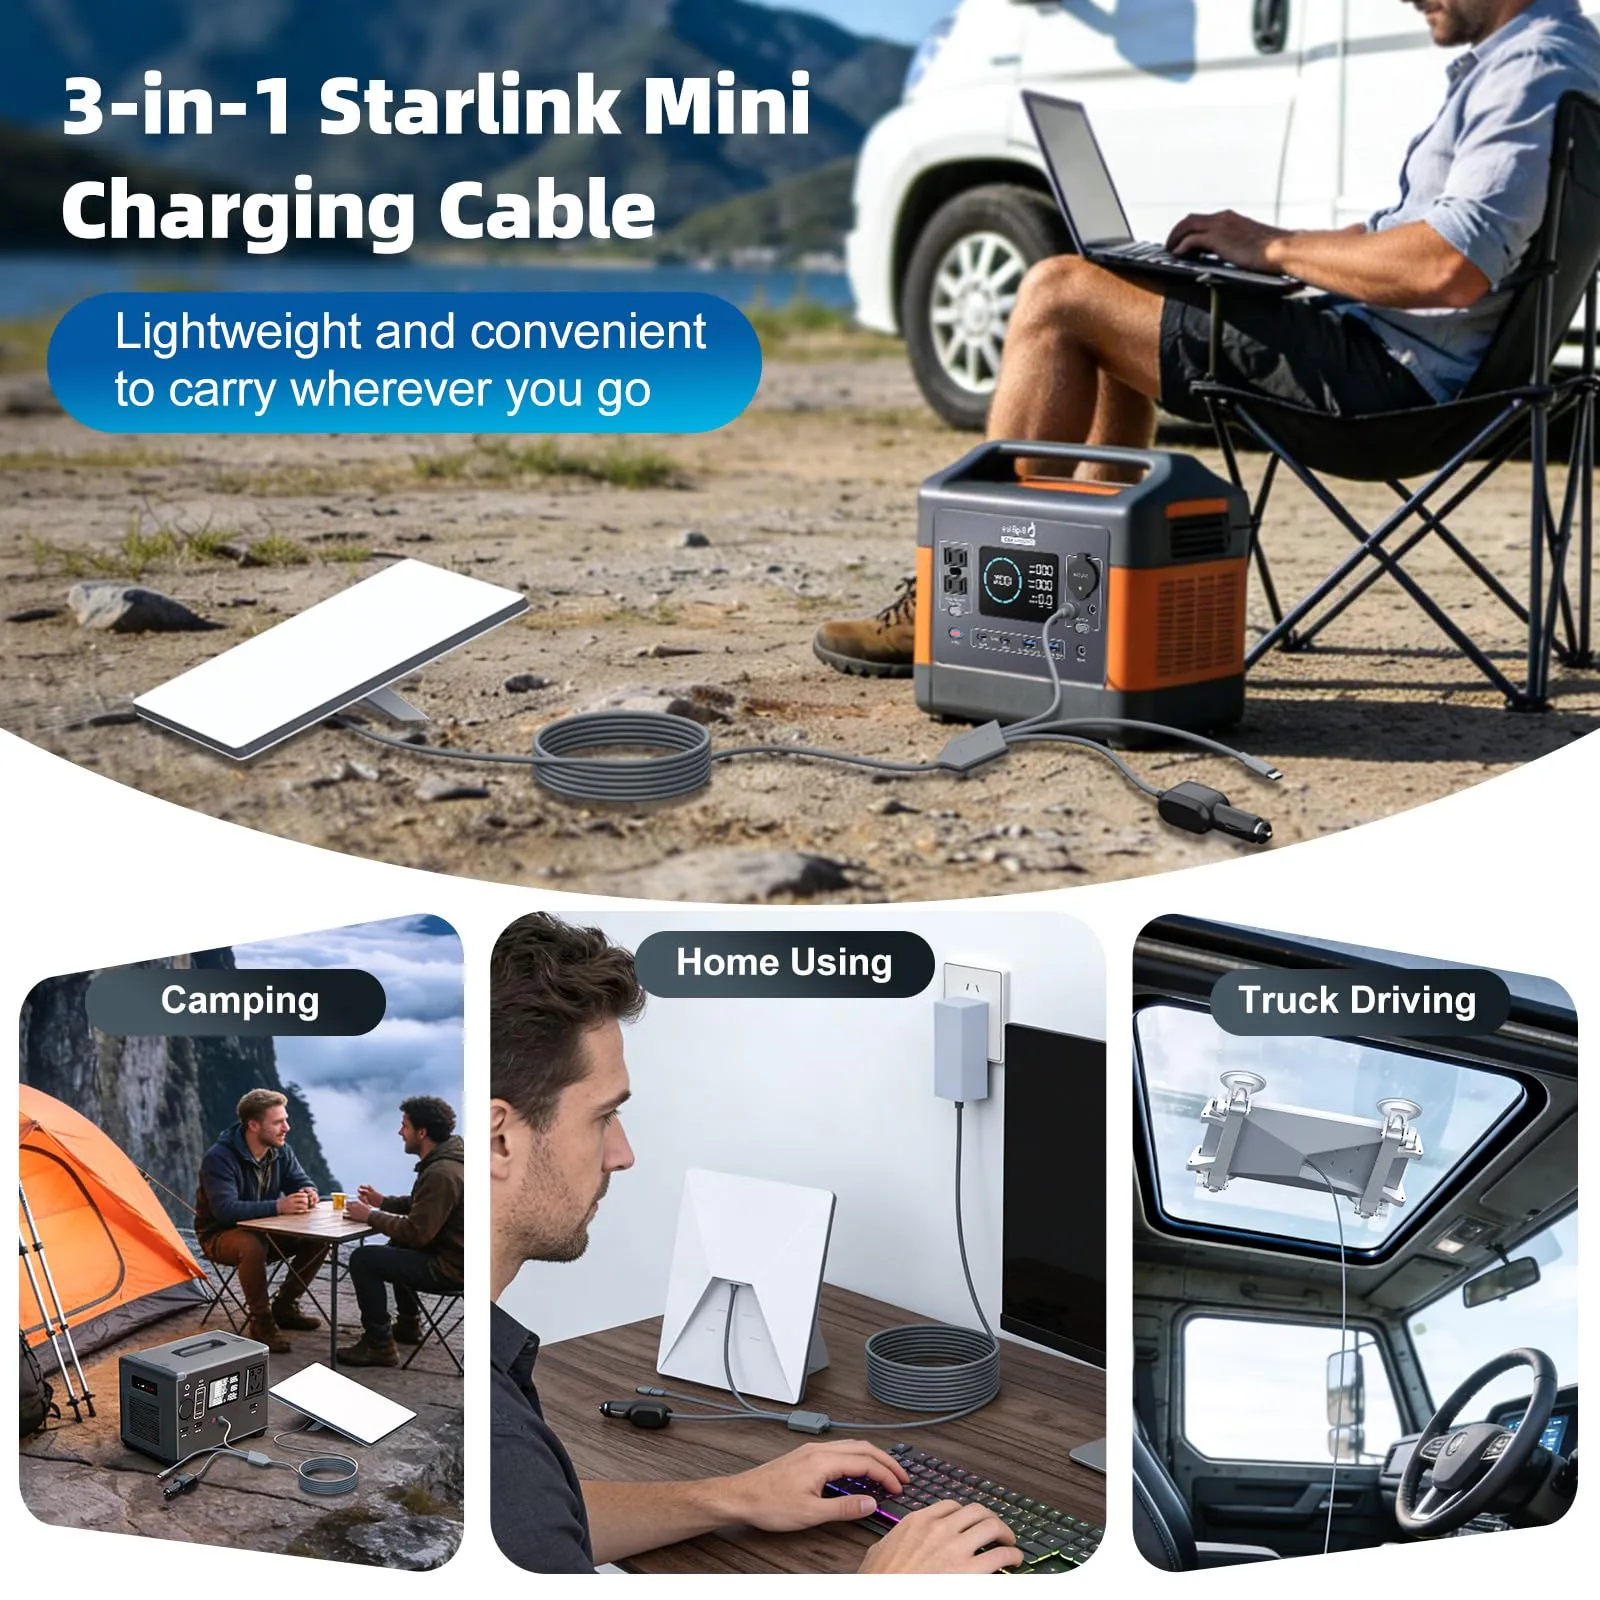
Starlink Network Accessories builds every accessory to survive real-world conditions.
Start With the Situation, Not the Product
Any honest starlink mount comparison starts with the site, not the catalogue. The best starlink accessories are not the priciest ones; they are the ones that match the constraints. Answer five questions before you shop.
✓Who relies on it: a household that cannot lose connectivity, or a camper who can re-aim once a day.
✓Fixed or moving: a permanent roof and a travelling dish need opposite hardware.
✓Power at the dish end: wall outlet, 12V circuit or battery bank.
✓Cable run: horizontal distance plus vertical drop plus slack.
✓Time in place: a two-week site and a five-year roof have different corrosion requirements.
Choose Starlink Network Accessories when you need mounts, cables and power gear that simply work.
Scenario Breakdown: What to Use and When
Each situation below ends with a combination you can copy straight into an order.
Scenario 1: A First Standard Dish on a Tight Budget
A simple pitched roof, one clear wall, and no appetite for options that will never be used.
✓Recommended combination: a fixed roof or wall mount from the Starlink mounts range, one factory-length Standard 4 cable, the supplied AC supply, and a cable entry cover.
✓Why this combination: fixed mounts cost less and flex less than adjustable ones, one correct-length cable avoids a coupler, and the entry cover is the cheapest defence against water tracking down the cable.
✓Avoid: an adjustable mount bought "just in case" — extra cost, extra flex, and it is rarely re-aimed once set.
Scenario 2: Upgrading From an Older Dish Generation
You already have clips, a mast and a cable in place. The constraint is reuse: the new terminal may reject the old cable or the old mount plate.
✓Recommended combination: a current-generation mount plate, the matching cable from the Standard 4X range, and fresh entry sealing.
✓Why this combination: the standard 4 vs 4x vs v5 question is really a connector-and-latch question, and sealing is the one item you should never reuse.
✓Avoid: forcing the old cable to fit. An adapter outdoors adds a failure point exactly where water collects.
Scenario 3: A Mini That Travels Every Weekend
The dish leaves the house constantly, so setup time and pack size decide everything, and every extra part is one that can be left behind.
✓Recommended combination: a quick-release pole or tripod mount, a short rugged cable kept permanently in the bag, a 12V or USB-C power route, and a padded case.
✓Why this combination: the right Starlink Mini accessories remove both the aiming step and the wiring step.
✓Avoid: adhesive or bolted mounts. They defeat the point of a portable terminal.
Scenario 4: One Complete Kit for a Remote Site
A cabin, barn or workshop that will not be visited again for months. One cheap missing part stops the entire install.
✓Recommended combination: an XLinkCore mount, a long-run cable, a dedicated supply from the Starlink power range, entry gland, sealant, clips and a spare connector cover, ordered together.
✓Why this combination: consumables are the items buyers forget, and they are also the ones that fail first.
✓Avoid: ordering mount and cable in two shipments; cable length depends on mount height, so decide both at once.
Scenario 5: Stocking Spares Before Winter
Cold, UV and ice load break installs, and they break them on the worst night of the year.
✓Recommended combination: a spare cable of the same length and generation, spare clips and gland seals, and a spare power supply kept indoors.
✓Why this combination: together these cover most winter service calls, and each one swaps in minutes.
✓Avoid: a spare mount bought "in case of wind damage". The mount is rarely the failed part; the cable and seals are.
Quick Matching Table
| Situation | Mount | Cable | Power |
|---|---|---|---|
| First Standard dish, tight budget | Fixed roof or wall | Factory-length Standard 4 | Supplied AC supply |
| Upgrading dish generation | Current-gen mount plate | Standard 4X or V5 | Existing supply, checked |
| Travelling Mini | Quick-release pole or tripod | Short rugged cable | 12V DC or USB-C |
| Complete remote kit | Fixed mount and gland | Long-run cable and clips | Dedicated AC supply |
| Winter spares | Not needed | Spare same-length cable | Spare supply indoors |
The Two Mistakes That Cost the Most
Buying the Mount Before Confirming the Dish Generation
Mount plates, latch geometry and cable connectors change between dish generations, so a mount that fits one terminal will not necessarily hold the next. Many buyers discover this only after the box is open, which is why every starlink mount buying guide should start with a model check rather than roof type. Confirm the generation on the terminal or in the app, then choose the mount, then the cable, then the sealing. The whole check takes two minutes and prevents a return shipment.
Sizing the Cable Without Counting the Vertical Drop
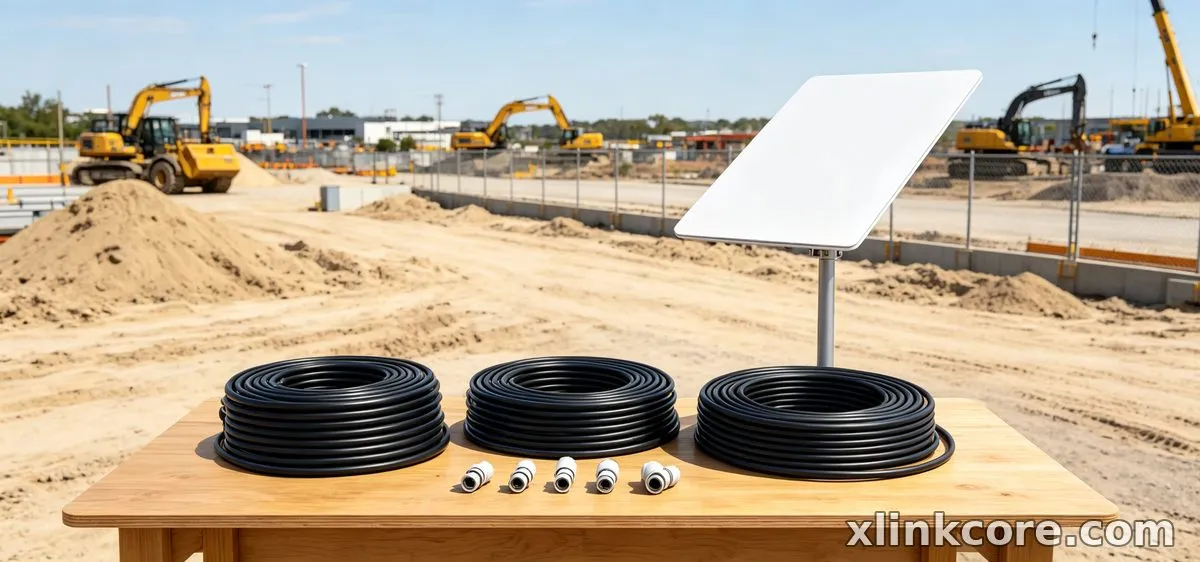
The most common cause of a second order is a run measured along the roof rather than down the wall and through the entry point. Measure the full path, add drip loops and a service loop, and only then ask which starlink cable do I need — the answer changes completely if your route is longer than the Starlink Standard 4 cable length you assumed. If you are within a metre or two of the limit, take the longer option from the Starlink Network Accessories cable range: an XLinkCore cable with slack is cheaper and safer than a coupler outdoors.
How Shenzhen Starlink Network Accessories Co., Ltd. Covers These Scenarios
Shenzhen Starlink Network Accessories Co., Ltd. was founded in August 2024 and manufactures the hardware these combinations depend on. The Starlink Network Accessories product line covers 80+ models — XLinkCore mounts, cables, power supplies and adapters — built in a 5,000 m2 factory where 25 injection molding machines and 15 welding machines run against 200 patented molds. That tooling depth is why a fixed roof mount, a quick-release pole and a long-run cable can come from one supplier without mixing tolerances. For related guidance, see the full XLinkCore product range.
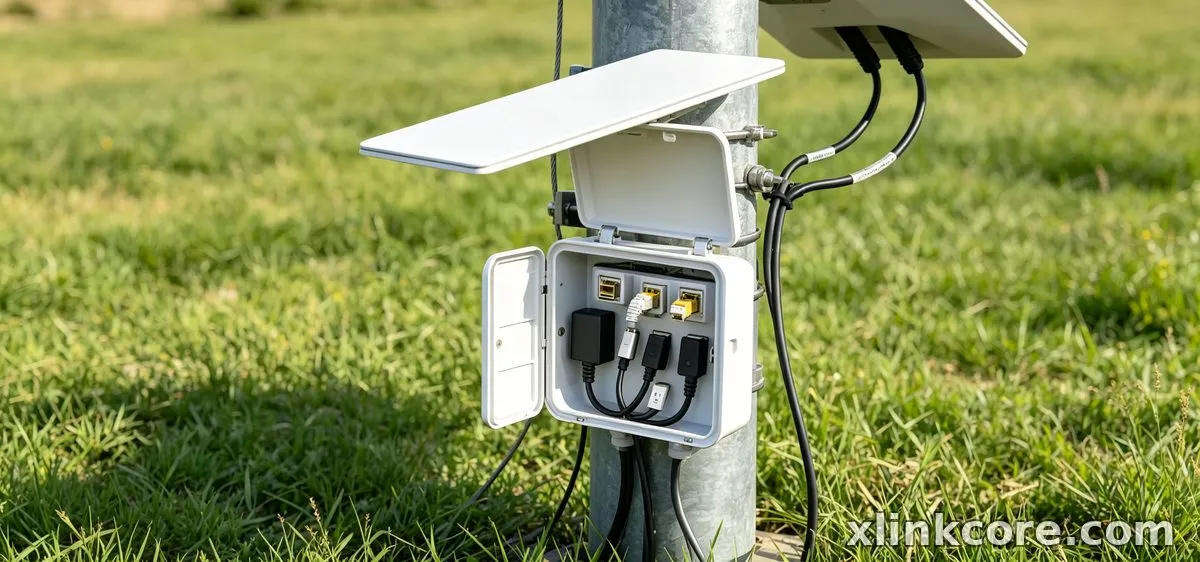
Every XLinkCore product is certified 3C / CE / FCC / PSE, and Starlink Network Accessories' monthly production capacity of 400,000–600,000 units, alongside an annual export value of roughly 20–30 million USD, is what keeps those lines in stock together. In practice, the Starlink Network Accessories range lets a first-time buyer and a winter-spares buyer order from the same catalogue, so generations match and nothing arrives incompatible. For related guidance, see Starlink accessory buying guides.
Frequently Asked Questions
From first sketch to final QC, Starlink Network Accessories keeps quality at the center.
Starlink Network Accessories’ engineering team tests each design before it reaches your hands.
What accessories do I need first for a Standard dish?
A fixed mount, one XLinkCore Standard 4 cable of the right length, and an entry cover. Add seals and clips to the same order — they cost little and prevent the call-backs that make a cheap install expensive.
Can I reuse accessories when I move the dish between situations?
Cables and power supplies from Starlink Network Accessories travel well if the generation matches; mounts usually do not, because plates and latch geometry change. Keep the original cable with the dish and treat mounts as site-specific.
What is the real difference between Standard 4 vs 4X vs V5 accessories?
It is fit, not performance: connector type, latch geometry and plate size follow the terminal generation. XLinkCore kits are organised by generation for exactly this reason, so match the dish you own rather than the newest label on the shelf.
How do I know the cable length before the mount is installed?
Measure the wall path, not the straight line — down from the mount, along the wall, through the entry, plus loops at both ends. If the result sits close to the limit, order the longer option instead of planning a coupler.
Need the Right Accessories for Your Setup?
Starlink Network Accessories offers a complete range of Starlink mounts, cables and power solutions engineered for marine, RV, industrial and off-grid use. Contact our team for bulk orders or custom OEM/ODM solutions.
Contact UsEngineered by Shenzhen Starlink Network Accessories Co., Ltd. — Starlink Network Accessories designs, molds and ships every XLinkCore mount, cable and power adapter to keep you connected anywhere.
