Service
Starlink Accessory Guide: Versions, Cable Length, and Mounts
💡 In This Article
- ▶Start With the Dish Generation
- ▶Which Starlink Cable Do I Need?
- ▶A Practical Starlink Mount Comparison
A Starlink kit only becomes useful when the cable reaches indoors, the dish stays aimed, and the mounting point survives the local weather. Because each dish generation uses a different connector and a different locking pattern, a generic accessory often fails at installation. That is why this starlink accessory buying guide begins with the dish model, not with the accessory. The recommendations below come from field experience with parts manufactured by Starlink Network Accessories and sold under the XLinkCore brand, so the advice reflects real tooling instead of marketing claims.
Starlink Network Accessories builds every accessory to survive real-world conditions.
Start With the Dish Generation
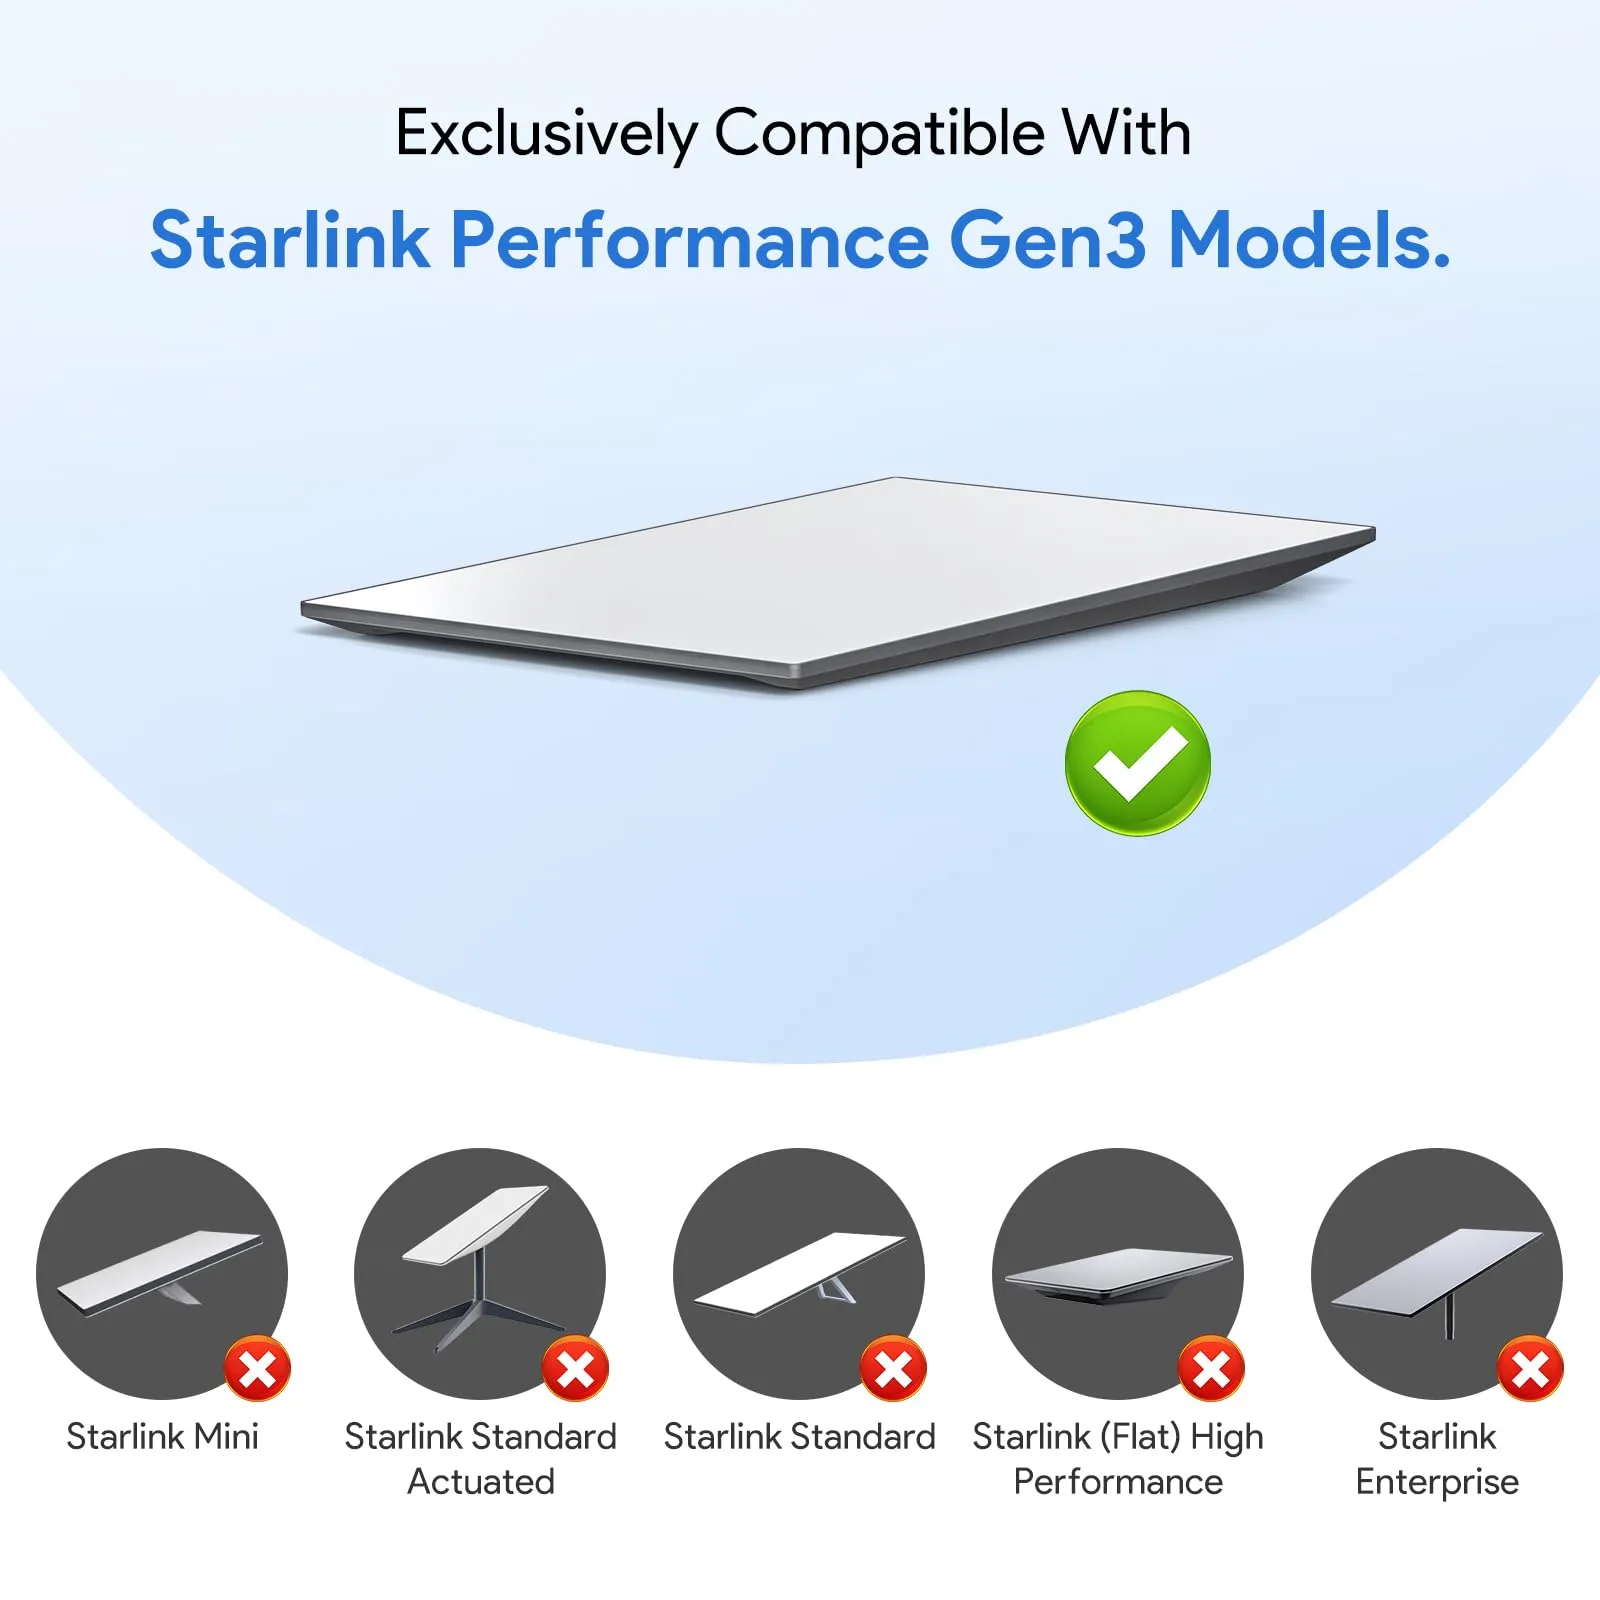
The conversation that matters is Standard 4 vs 4X vs V5. A cable that powers a Standard 4 dish will not always click into a V5 router port, and a pole clamp built for V5 geometry can sit crooked on a Standard 4 base. Before comparing product photos, check the exact label on your dish or in the Starlink app.
✓Standard 4 accessories match the rectangular dish with the integrated stand and a captive cable.
✓Standard 4X options are designed for installations where routing direction, cable exit, and mount clearance differ from the base model.
✓V5 accessories suit the newer rounded hardware revision with its own port layout and mounting recess.
Once the generation is known, the rest of the buying decision becomes a measurement task rather than a guessing game.
Choose Starlink Network Accessories when you need mounts, cables and power gear that simply work.
Which Starlink Cable Do I Need?
The most frequent support question is which Starlink cable do I need. The answer starts with the route distance. Measure the path from the dish mounting point to the router location with a piece of string, then compare it with the cable supplied in the box. As a reference, the standard Starlink Standard 4 cable length is about 15 m (49 ft), which is enough for a typical house but tight for a long garage, RV pass-through, or detached building.
Think of this as a quick starlink cable buying guide:
✓Always leave 1–2 m of slack so the dish can rotate during obstruction search.
✓If the cable must pass through a wall, note the drill diameter before ordering a grommet or conduit kit.
✓Avoid kinking the cable at the dish connector; a molded 90-degree adapter is often safer than a sharp bend.
✓For longer runs, use a matched extension with the correct connector pins instead of cutting and splicing the original cable.
XLinkCore cable accessories include weatherproof entry boots, drip loops, and extension options that respect the original cable diameter and bend radius. That attention prevents the intermittent dropout that shows up months after installation.
A Practical Starlink Mount Comparison
A starlink mount comparison does not need to be complicated. Mountainside, flat roof, pole, or brick wall—the right solution is the one that keeps the dish out of wind shadows and allows water to drain away from the cable entry. For a quick starlink mount buying guide, ask two questions: where does the dish need to point, and how will the cable reach the indoor router?
✓Wall mounts work well when the cable can exit below the bracket and follow a corner down to ground level.
✓Pole mounts raise the dish above rooflines and fences; match the clamp diameter to your pole, not to the dish width.
✓Flat-surface mounts are ideal for metal roofs or concrete pads, but check the slope and orientation before drilling.
✓Roof ridge mounts minimize snow buildup but complicate cable routing; plan the drip loop first.
Every XLinkCore mount comes with the bolts and gaskets specified for the dish generation, plus a clear note about maximum wind surface area. If a dealer sells you a mount without that information, request it before paying.
What to Verify Before Buying Accessories
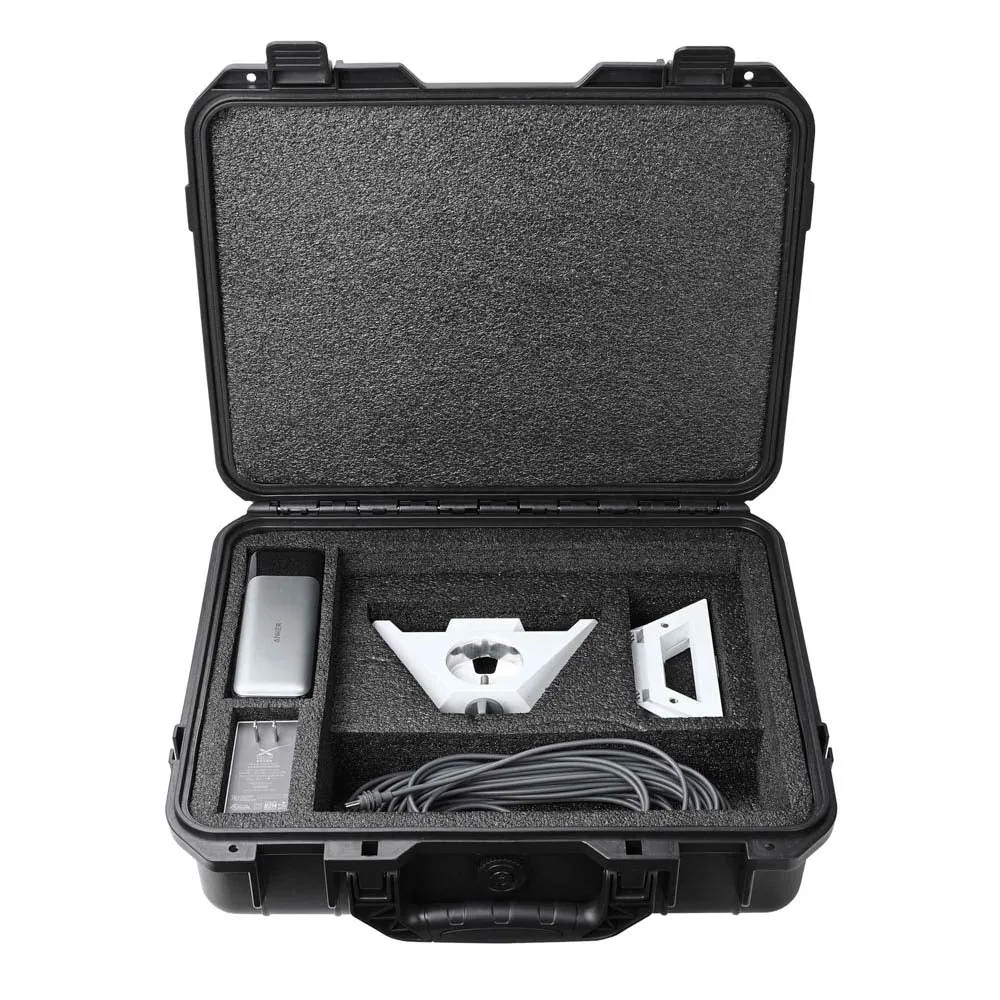
A cheap accessory can still look identical in a product photo. The difference is in certification, material traceability, and factory testing. Before ordering, run through a short checklist of questions—this is the practical side of how to choose starlink accessories.
✓Does the accessory carry a 3C, CE, FCC, or PSE mark where required? Certified parts are tested for electrical safety and interference.
✓Are the cable contacts brass or tinned copper, and is the jacket rated for outdoor UV exposure?
✓Does the seller show the actual connector face for Standard 4, 4X, and V5 versions instead of one generic image?
✓Is the mounting hardware stainless steel or zinc-plated? Coastal buyers should choose marine-grade options.
✓Will the supplier support you after the purchase with installation guides or a replacement part number?
Founded in August 2024, Shenzhen Starlink Network Accessories Co., Ltd. has built a 5,000 m2 factory to answer those questions with evidence. Starlink Network Accessories operates 25 injection molding machines and 15 welding machines, which means brackets, cable boots, and housings are produced under one controlled production line rather than assembled from random imported parts. With monthly production capacity of 400,000–600,000 units, the XLinkCore brand can keep standard accessories in stock and still build custom cable lengths for B2B orders.
Why the Factory Behind the Brand Matters
From first sketch to final QC, Starlink Network Accessories keeps quality at the center.
Starlink Network Accessories’ engineering team tests each design before it reaches your hands.
Accessory reliability is decided long before the product reaches your door. A factory that owns 200 patented molds can test fitment repeatedly, while a reseller who simply stamps a logo on a white-label part cannot fix a poor tolerance problem. Buyers who inspect shipments from Shenzhen Starlink Network Accessories Co., Ltd. usually notice the same details: consistent mold parting lines, clean overmolding, and matching batch codes on cable assemblies.
That manufacturing experience is exactly why Starlink Network Accessories separates its catalogue into clear dish families. The mount selection options and cable kits are grouped by Standard 4, Standard 4X, and V5, so the mounting hole spacing and connector orientation stay predictable. When you finally choose components from the XLinkCore range, you are buying from a short chain: same factory, same tooling, same quality control as the sample that was approved.
Before you click buy, measure your route, confirm the dish version, and check for certification marks. Compare complete installation guidance on our installation guides page as well. The best starlink accessories are not the most expensive ones; they are the ones whose cable length, connector, and mount geometry match your exact hardware generation and your physical installation site.
Need the Right Accessories for Your Setup?
Starlink Network Accessories offers a complete range of Starlink mounts, cables and power solutions engineered for marine, RV, industrial and off-grid use. Contact our team for bulk orders or custom OEM/ODM solutions.
Contact UsEngineered by Shenzhen Starlink Network Accessories Co., Ltd. — Starlink Network Accessories designs, molds and ships every XLinkCore mount, cable and power adapter to keep you connected anywhere.
